Introduction
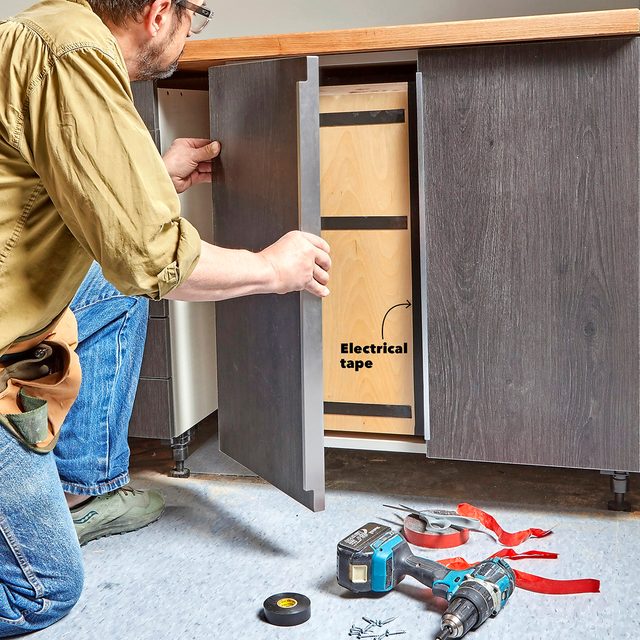
Our garages are multitaskers. Vehicle storage, workshop, tool organizer and hangout space for friends and family. For this garage to serve all those purposes, it must be highly organized. I customized two typical kitchen cabinets for maximum storage.
 Family Handyman
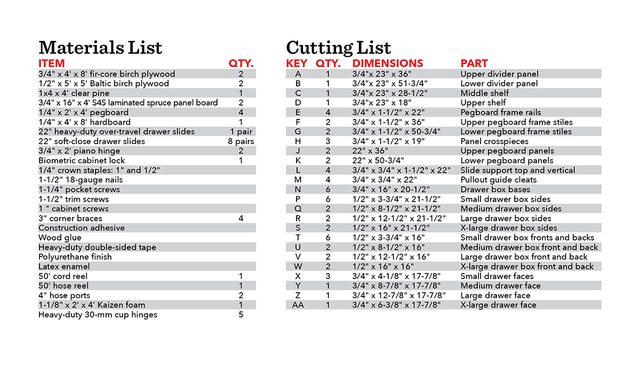
Materials Required
- 3/4" x 4' x 8' fir-core birch plywood
- 1/2" x 5' x 5' Baltic birch plywood
- 3/4" x 16" x 4' S4S laminated spruce panel board
- 1 x 4 x 4' clear pine
- 1/4" x 2' x 4' pegboard
- 1/4" x 4' x 8' hardboard
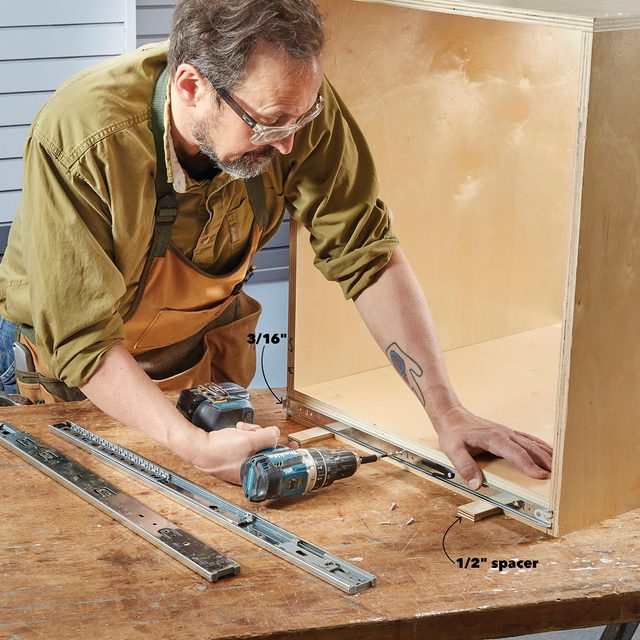
- 22" heavy-duty over-travel drawer slides
- 22" soft-close drawer slides
- 3/4" x 2' piano hinge
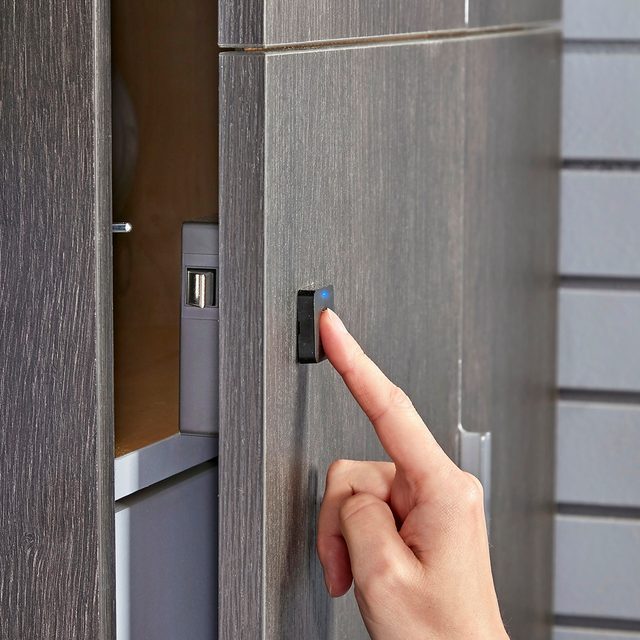
- Biometric cabinet lock
- 1"x 1/4" crown staples: 1"-1/4" and 1-1/2" 18-gauge nails
- 1-1/4" pocket screws
- 1-1/2" trim screws
- 1 " cabinet screws
- 3" corner braces
- Construction adhesive
- Wood glue
- Heavy-duty double-sided tape
- Polyurethane finish
- Latex enamel
- 50' cord reel
- 50' hose reel
- 4" hose ports
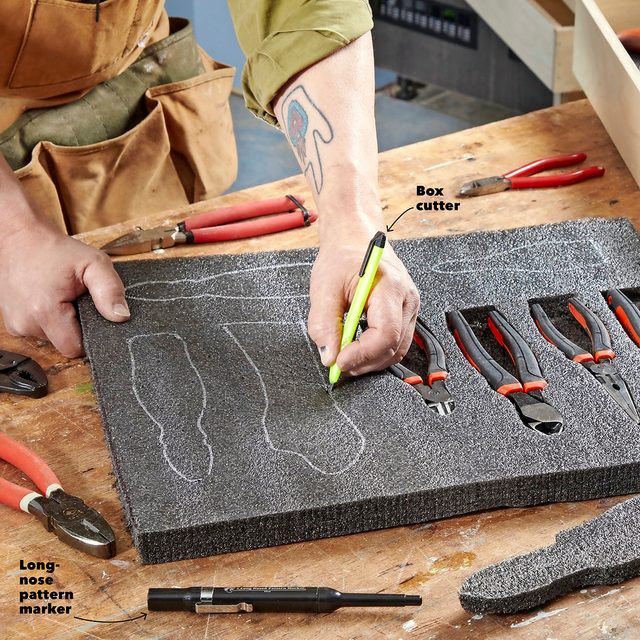
- 1-1/8" x 2' x 4' Kaizen foam
- Heavy-duty 30-mm cup hinges
Watch How to Customize Garage Cabinets for More Storage