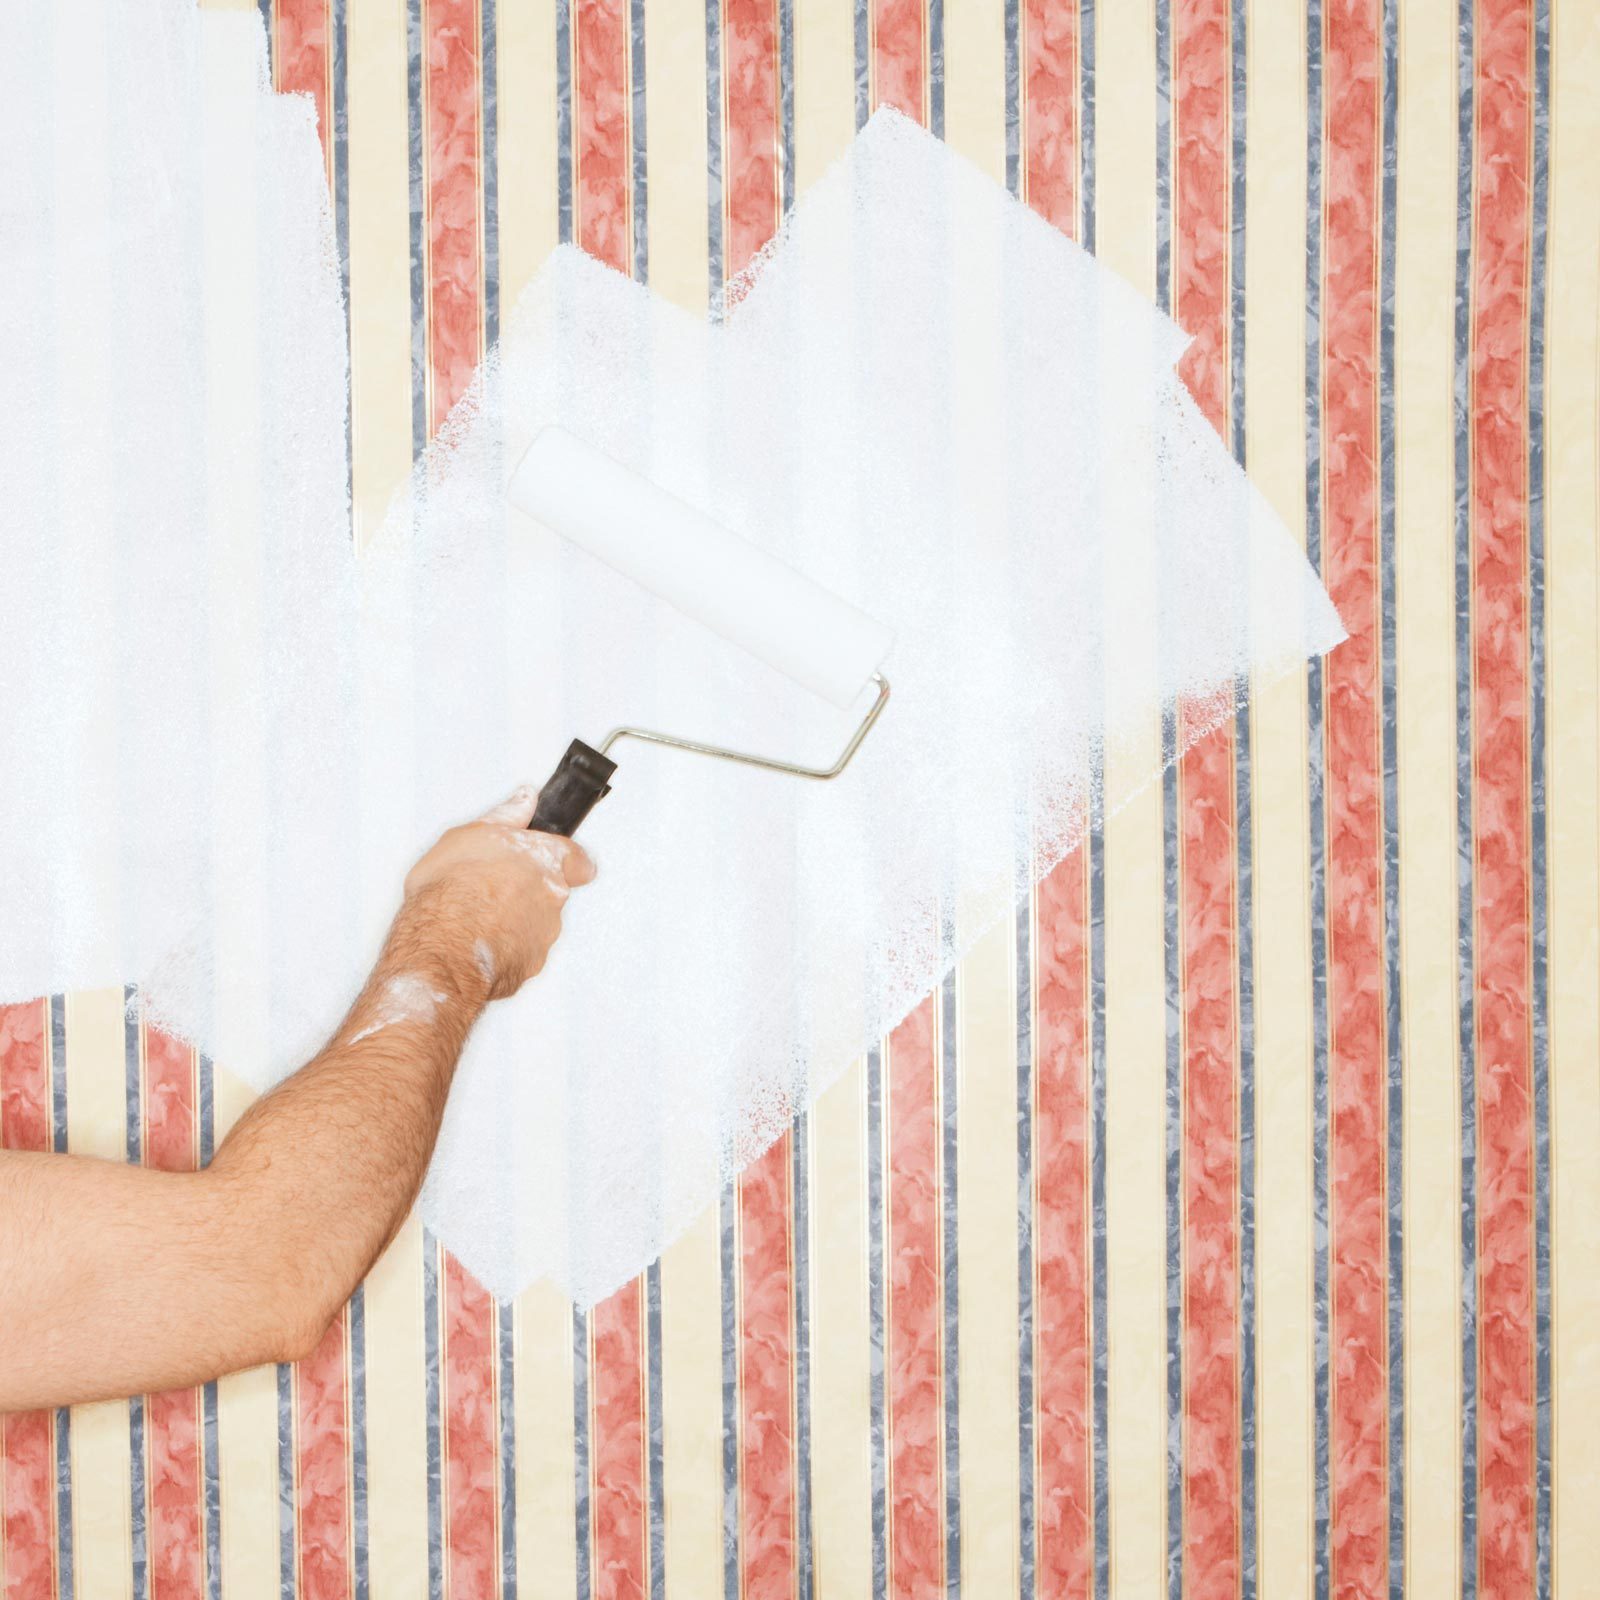
How to Paint Over Wallpaper With Great Results

Updated: Feb. 01, 2024

Painting over wallpaper can be a fast and cost-effective way to transform a room. Before you begin, read this step-by-step guide.

Next Project
Time

Varies

Complexity

Beginner

Cost

Varies

Introduction

It's generally recommended to remove wallpaper before painting a wall. But like most things in life, there are exceptions to this rule.

Consider painting over wallpaper if removing it will be cost prohibitive or damage the wall. Previously painted wallpaper can be time-consuming and expensive to remove, so it's a good candidate for paint. Same with wallpaper hung without a primer, which won't come off easily, either.

In my home repair business, I recently worked on a property with improperly installed wallpaper. At some point, someone hung wallpaper without sealing the wall first. Sealant provides a barrier between the wallpaper glue and the wall surface. If not sealed, wallpaper adheres directly to the drywall's paper surface.

So when I tried to remove it, the drywall paper came off with it. I stopped right away and recommended painting over the wallpaper instead.

Read on for step-by-step instructions to prep, prime and paint over your wallpaper the right way.

Tools Required

  • 2-1/2-in. sash paint brush
  • 2-in. putty knife
  • 6-in. taping knife
  • Bucket
  • Fine dust mask/respirator
  • Fine/Medium drywall sanding sponge
  • Latex gloves
  • Paint tray
  • Pencil
  • Rags
  • Roller frame
  • Roller pad
  • Sponge
  • Stepladder
  • Trash bags
  • Tray liner
  • Wallpaper seam roller

Materials Required

  • All-purpose cleaner
  • Drywall joint compound
  • Latex paint
  • Lightweight surfacing compound
  • Oil primer
  • Wallpaper seam glue

Project step-by-step (10)

Step 1

Prepare the space

  • Clear out the space, removing furniture and rugs.
  • Remove pictures from the walls and curtains from the windows.
  • Cover floor surfaces with drop cloths or plastic.
  • Remove light switch and outlet faceplates.

putting drop cloth on the floorLaurie M Nichols for family handyman

Step 2

Examine the wallpaper and walls

  • Look for holes, loose wallpaper or damaged drywall on all wall surfaces.
  • Use a pencil to lightly mark each spot.
Step 3

Repair wallpaper and walls

  • Apply wallpaper seam repair glue under any loose wallpaper.
  • Roll firmly with the seam roller in a back and forth motion until it lays flat.
  • Fill any small holes with surfacing compound.
  • Wait to repair larger holes until after applying primer to the walls.

seam repair glueLaurie M Nichols for family handyman

Step 4

Wash the wallpaper

  • Fill a bucket with water and a few drops of an all-purpose cleaner, like Simple Green.
  • Wet your sponge and thoroughly wring it out. (It should not drip.)
  • Wash all wall surfaces, including areas near the ceiling that often harbor dust and cobwebs.
  • Let the wall dry before proceeding.

cleaning wallsLaurie M Nichols for family handyman

Step 5

Prime the wallpaper

painting on primer on wallpaper with brushLaurie M Nichols for family handyman

  • Roll the wall surface with a 3/16-in. or 1/4-in. nap paint roller.

painting on primer on wallpaper with rollerLaurie M Nichols for family handyman

  • Allow primer to dry thoroughly before proceeding.
Step 6

Cover visible wallpaper seams and repair large holes

  • Apply a thin coat of drywall joint compound over each wallpaper seam with a 2-in. putty knife.
  • Smooth the joint compound with a 6-in. taping knife.
  • Feather the edges of the compound with the taping knife.
  • Allow 24 hours to dry.
  • If seams are still visible, repeat the process with a second coat.
  • Repair any holes larger than 1/2-in.-dia. with joint compound and drywall joint tape.
  • Cut the drywall joint tape one inch larger than the hole.
  • Secure it in place with a layer of joint compound, feathering the edges.
  • Add a second and third coat if necessary to cover the tape.

repairing holes with putty knifeLaurie M Nichols for family handyman

Step 7

Sand the joint compound

sanding wallLaurie M Nichols for family handyman

Step 8

Paint the walls

paint with a brushLaurie M Nichols for family handyman

  • Paint the remainder of the wall surface with a 3/16-in. or 1/4-in. nap paint roller.
  • Wait the manufacturer’s recommended dry time before applying a second coat.

second coat of paint with a paint rollerLaurie M Nichols for family handyman

  • Examine the walls and add another coat if more coverage is needed.
Step 9

Clean up

  • Wash brushes and rollers with warm soapy water and let dry before storing.
  • Remove drop cloths from the floor.
  • Replace furniture, rugs, pictures and curtains.
  • Reinstall light switch and outlet faceplates.
Step 10

Maintain and clean your painted walls

  • Wipe down walls periodically as needed with water and gentle soap.
  • Touch up as necessary with leftover paint.