


How to Build a Simple Gardening Bench

Updated: May 02, 2023
Build this lovely and functional garden bench in half a day. Here's how.
A few hours
Beginner
$100 - $200
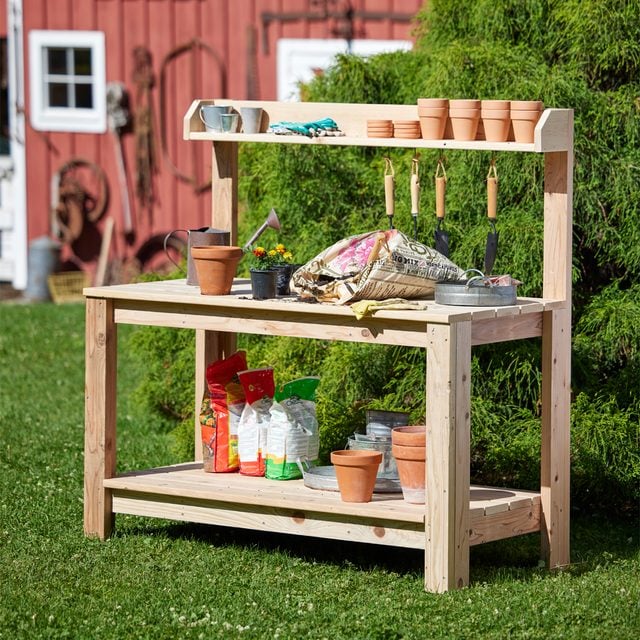
Introduction
Get your garden growing with this DIY gardening bench that's perfect for potting plants and more.Tools Required
- Circular saw or miter saw
- Drill driver
- Finish nailer
- Hand saw
- Hearing and eye protection
- Measuring tape
- Quick-Grip clamps
- Speed square
Materials Required
- #10 - 3" deck screws
- 10 -2x4x8' cedar
- 12 - 5/4x6x8' cedar decking
- 3d finish nails
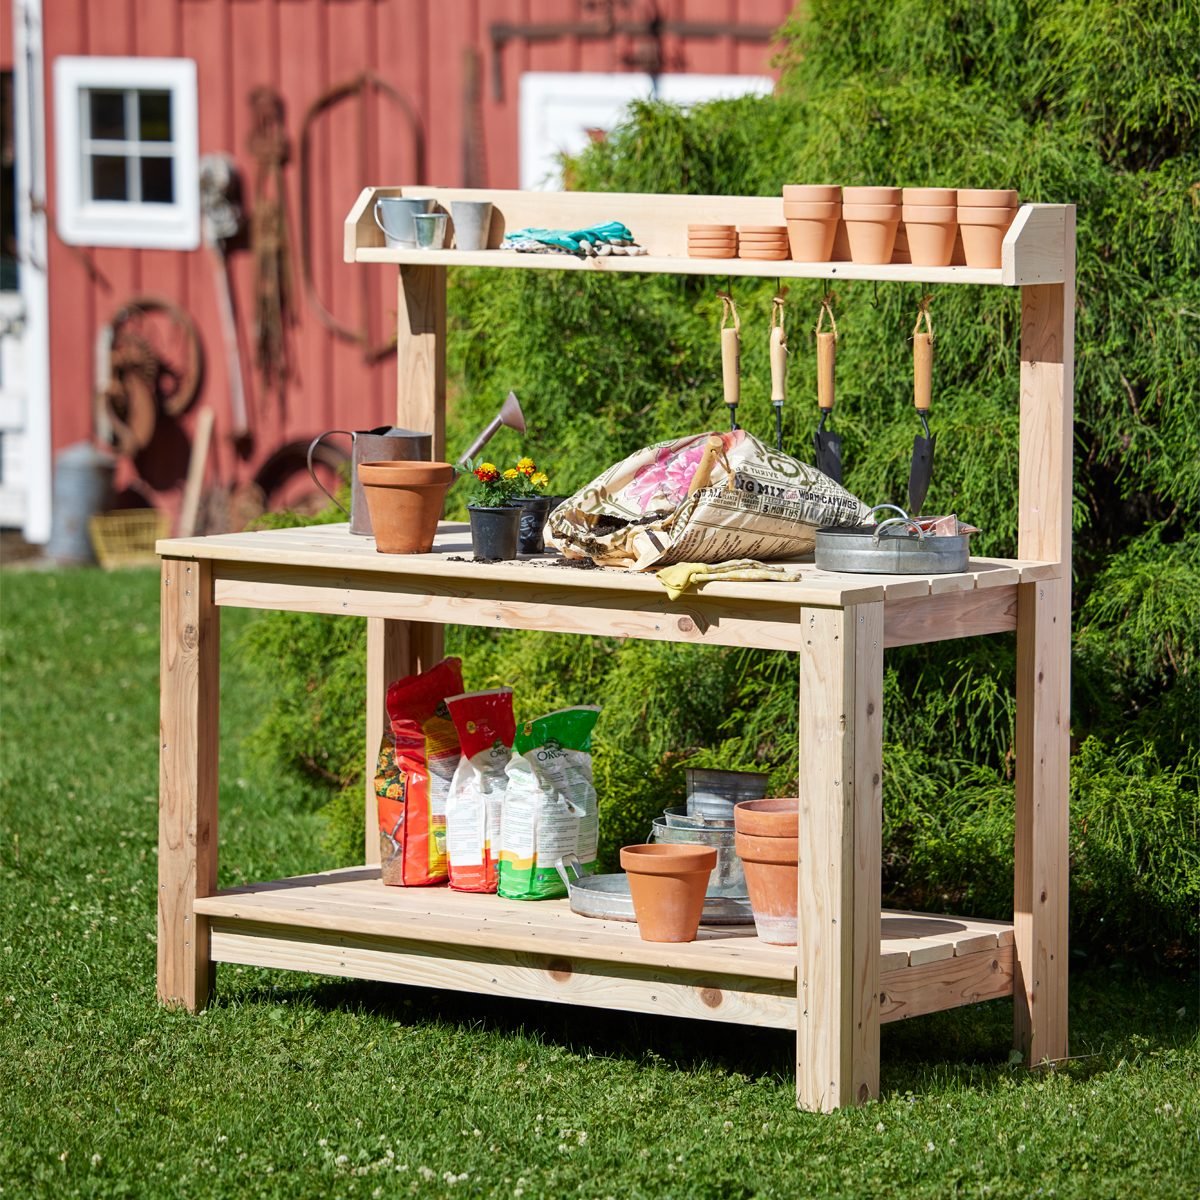
A sturdy bench for potting plants and other garden chores is a necessity when you get into serious gardening.
I designed this bench using cedar 2x4s and deck boards. All you need to do is cut the parts to length and assemble, so your bench can be ready for use in just a few hours.
If you want to save a little money, use pressure-treated lumber instead of cedar boards.
Figure A
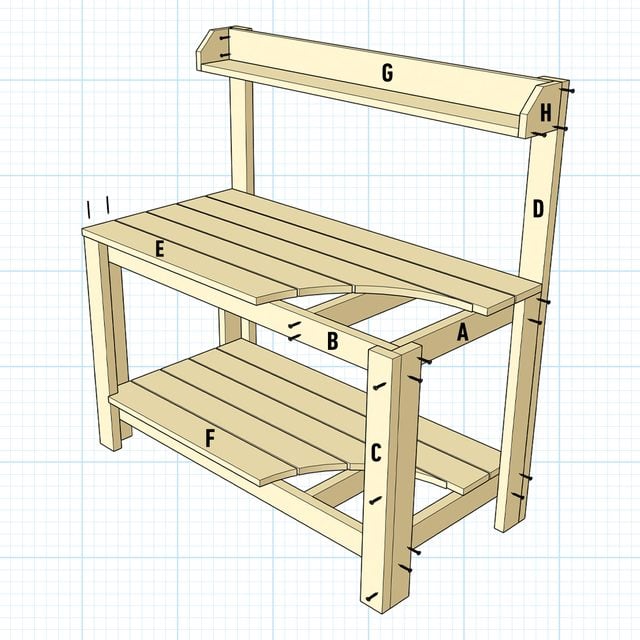
Cutting List
| KEY. | QTY. | PART. | DIMENSIONS |
| A | 10 | Frame supports | 2″ x 4″ x 23-3/4″ |
| B | 4 | Front & back frame boards | 2″ x 4″ x 55″ |
| C | 6 | Legs | 2″ x 4″ x 34″ |
| D | 2 | Back leg/shelf support | 2″ x 4″ x 60″ |
| E | 5 | Bench top deck | 5/4″ x 6″ x 58″ |
| F | 5 | Lower shelf deck | 5/4″ x 6″ x 55″ |
| G | 2 | Upper shelf | 5/4″ x 6″ x 56″ |
| H | 2 | Shelf ends | 5/4″ x 6″ x 6-1/2″ |
Project step-by-step (8)
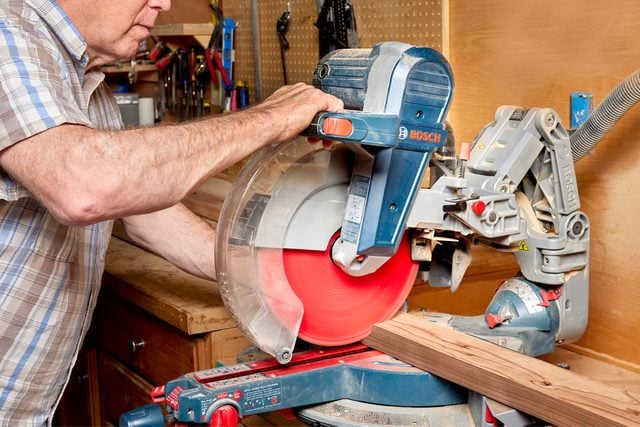
Step 1
Cutting Frame Boards
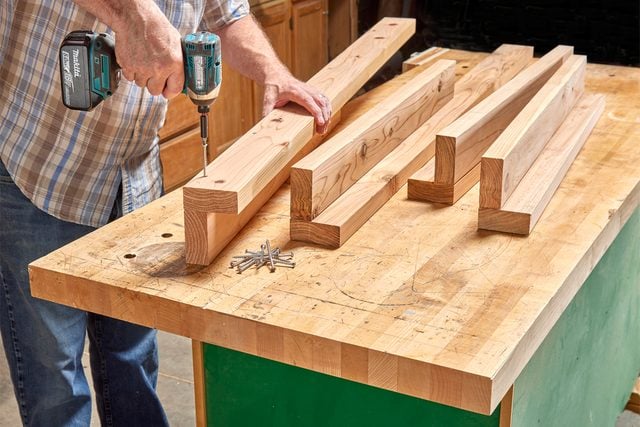
- Start by cutting all the top and shelf frame boards to length.
- Next, cut all the leg boards to length. At this point, when cutting the 2x4s for the back legs, you can choose the option of an upper shelf on your gardening bench.
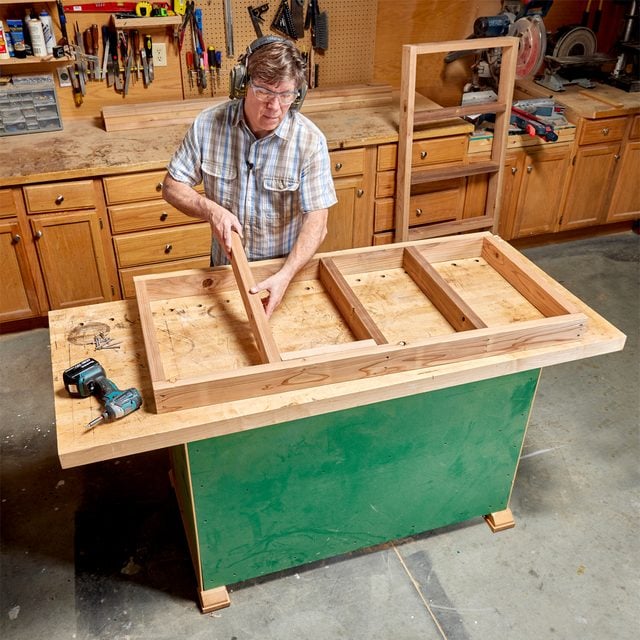
Step 2
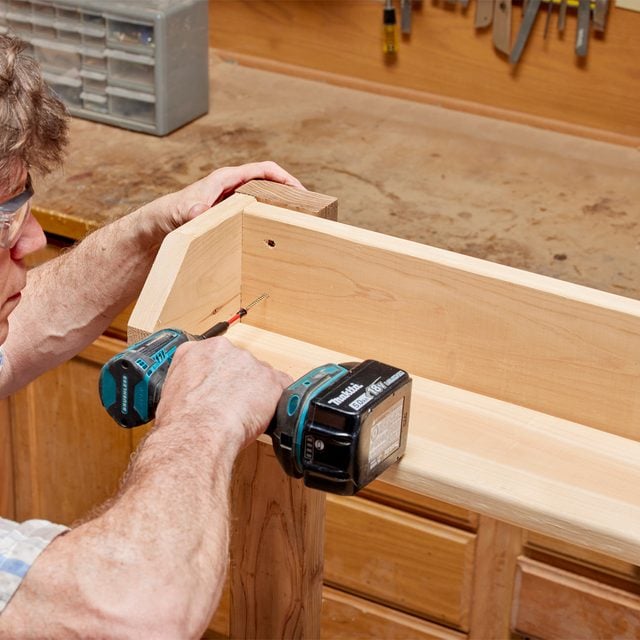
Top and Shelf Frames Assembly
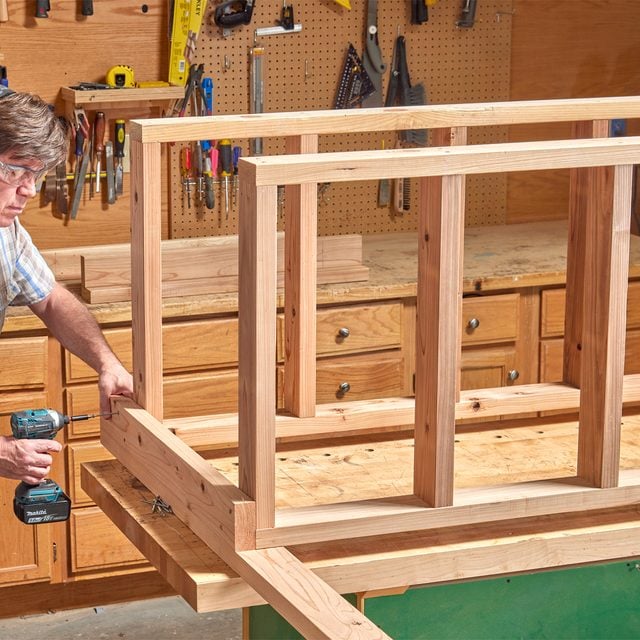
- First, construct a rectangle by attaching a 2×4 support board to each end of the front and back frame boards, securing them with three-inch screws or nails.
- Next, attach the three support boards evenly spaced inside the frame. (See photo.)
- The top and shelf frames are identical. Repeat the previous steps for the second frame.
Step 3
Leg Assembly
- The legs are a basic L shape. To construct the front legs, start by attaching the edge of a 2×4 on to the face of another 2×4, keeping them flush with the end and one edge. Secure them together using screws or nails.
- The short leg of the L will face toward the front of the table, and the long leg of the L will be on the sides of the table.
- The back legs are constructed similar to the front legs. The only differences: You have a left and right leg, and the two long shelf support boards face the back of the table. (See photo.)
Step 4
Assemble the Table
- To assemble the table frame, start by laying the left and right back legs on a flat work surface. Place the top frame between the two legs, flush with the top of the short 2x4s.
- Secure the legs to the frame using three-inch screws or nails through the side 2×4 into the frame.
- Next, place the shelf frame between the two legs five inches from the bottom, and secure the legs to the frame.
- Moving on to the front legs, place the right and left front legs on both shelf frames, keeping the end of the legs flush with the top frame.
- Secure both legs to the frames using three-inch screws or nails through the side and front 2x4s into the frames.
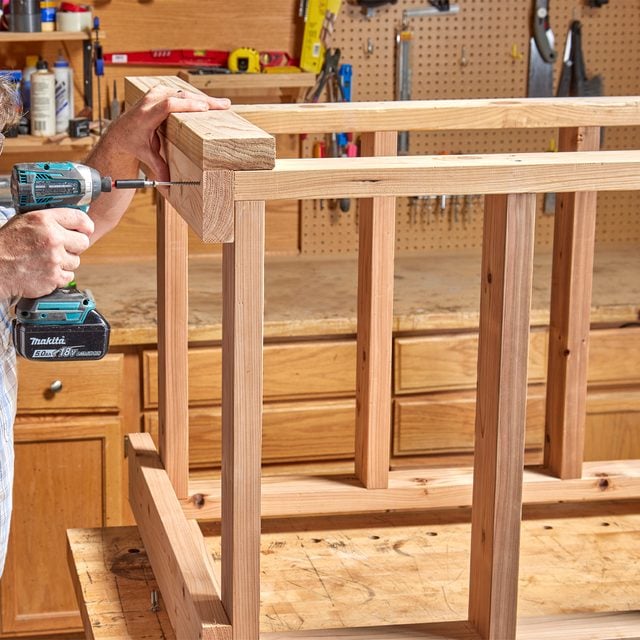
- Move the complete frame assembly onto the floor and finish screwing the back legs to the frames.
Step 5
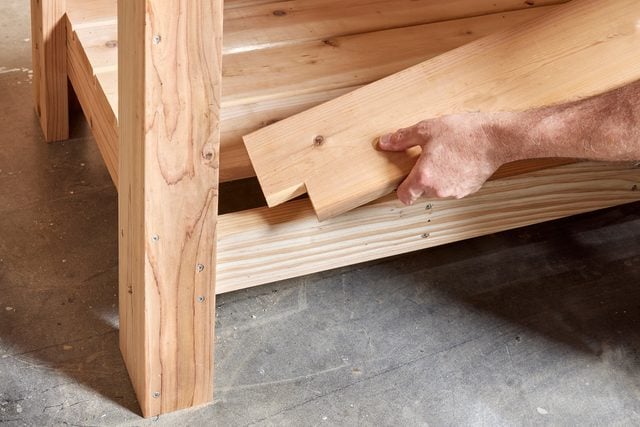
Cut Top and Shelf Deck Boards
- Measure the width of the bench and cut five-deck boards to length for the top. For the lower shelf, measure the distance between the legs. and five deck boards to length.
Step 6
Attaching Deck Boards
- Place the first deck board on the top frame tight to the shelf support board, flush with the outside of the legs. Attach it to each support with screws or nails.
- Attach four more deck boards to the top with a 1/4-inch gap between them.
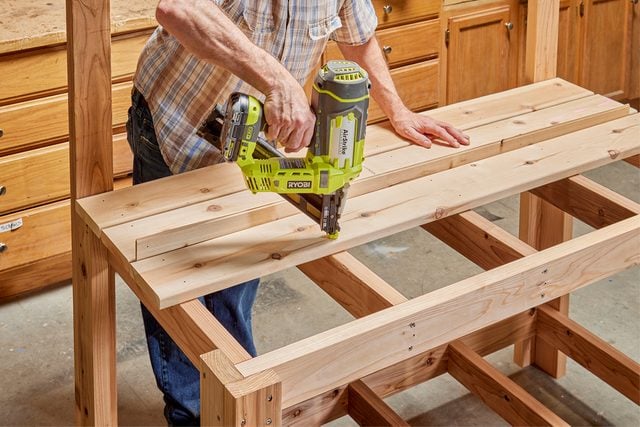
- For the first deck board of the lower shelf, you’ll need to cut a 1-1/2- x 2-inch rectangle out of each end of the board. Then you can attach it to the frame with screws or nails.
- Attach four more deck boards with a 1/4-inch gap between them.
Step 7
Upper Shelf
- Start by cutting two shelf boards two inches shorter than the width of your table. Then cut two shelf ends.
- The upper shelf is a simple design, like the L shape of the legs. Attach the edge of a deck board onto the face of another deck board, keeping them flush at both the end and one edge.
- Attach the shelf ends to each end of the shelf using screws or nails.
- Attach the assembled shelf to the shelf supports using screws or nails.
Step 8
Hang Tools
- Install hooks or drill holes in the upper shelf so your gardening tools are within arm’s reach.
Originally Published: May 02, 2023