
Simple Timber Outdoor Bench
Updated: Jan. 03, 2024
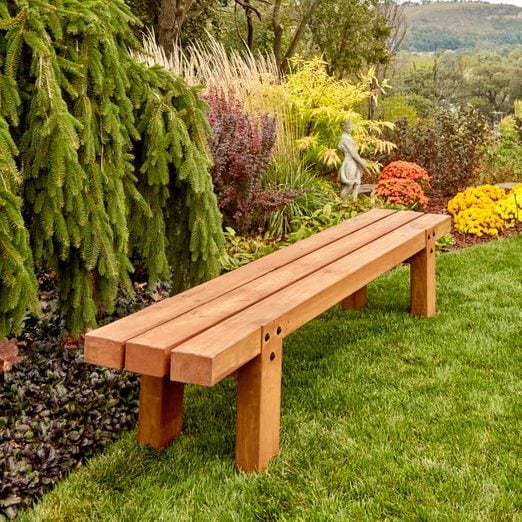
We knew what we wanted in a bench, and this one has it all! Low cost, stylish design, rock-solid, low maintenance and super easy to build.
A half day
Beginner
$101–250
Introduction
Maybe we're biased, but we love this simple outdoor bench. It’s massive without being clunky, rustic yet modern, well designed (if I do say so myself) and super easy to build. In fact, if you can lift the heavy landscape timbers needed for this project—about 60 lbs. each—you can build this bench! And since the bench is made from treated lumber, it’s practically rot-proof, so you’ll enjoy it for decades.Tools Required
- Circular saw
- Drill/driver
- Standard hand tools
Building this timber bench is surprisingly fast. If you have some experience with power tools, you’ll have it built in just a few hours, though staining it may add a couple of hours more. You can build it with just a drill/driver, circular saw and basic hand tools, but you’ll get faster, better results if you also have a router and a random orbit sander.
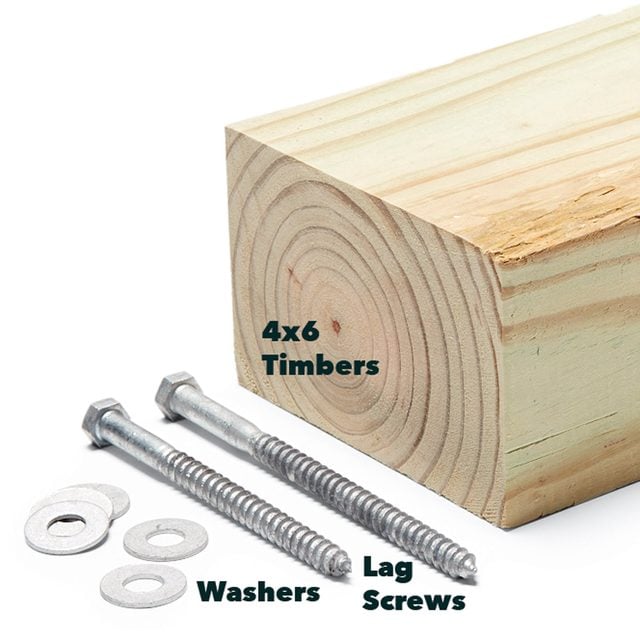
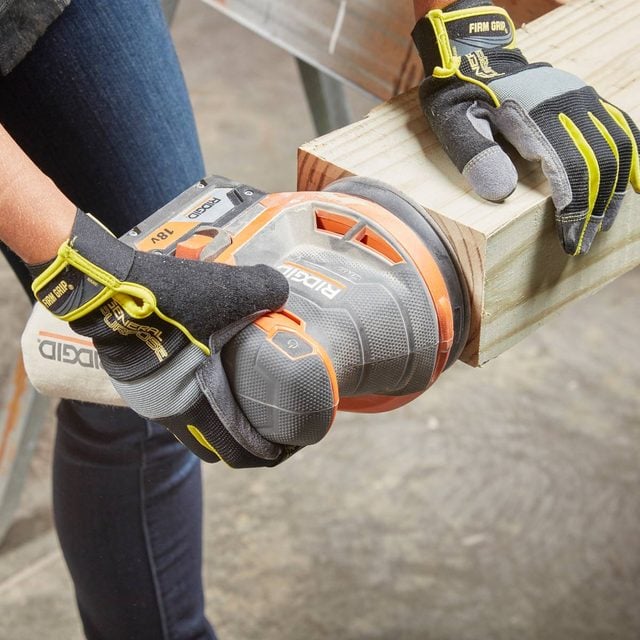
This bench is made entirely from pressure-treated landscape timbers and a few galvanized lag screws and washers. Add black spray paint and exterior stain and you’ll have a beautiful, low-maintenance bench. The hardest part of the project is picking through the pile of heavy landscape timbers at the home center to find the best ones. When you’re choosing timbers, take the time to pick through the pile for the straightest ones. They’ll twist a little after you build the bench (see “One Year Later” at the end of this project), but they need to be nice and straight when you’re cutting the joints and assembling the bench.

Project step-by-step (13)
Mark the Lengths of the Parts
- The timbers are slightly longer than 8 ft. when you buy them, so you’ll need to cut a little off each end to make them exactly 96 in. long.
- Note: Three of the landscape timbers will become the “beams” for the bench’s seat.
- Set each timber on a pair of sawhorses and use a Speed Square to draw a pencil line on all four sides.
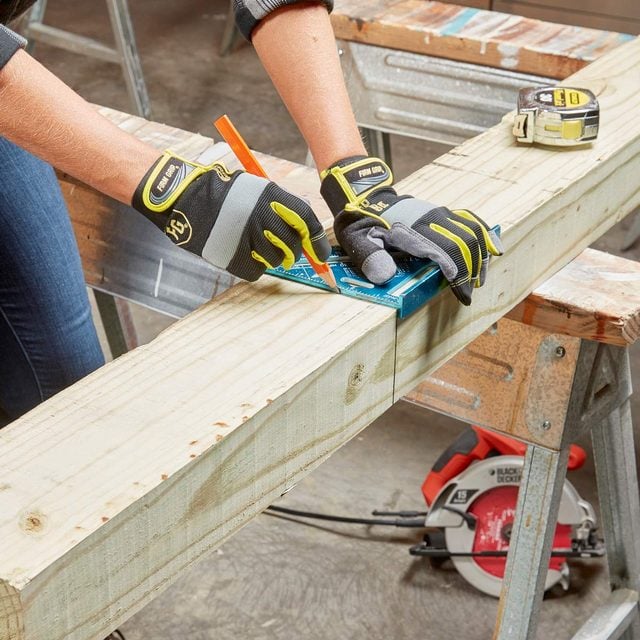
Cut Three Times
- Set your circular saw blade for a full-depth cut.
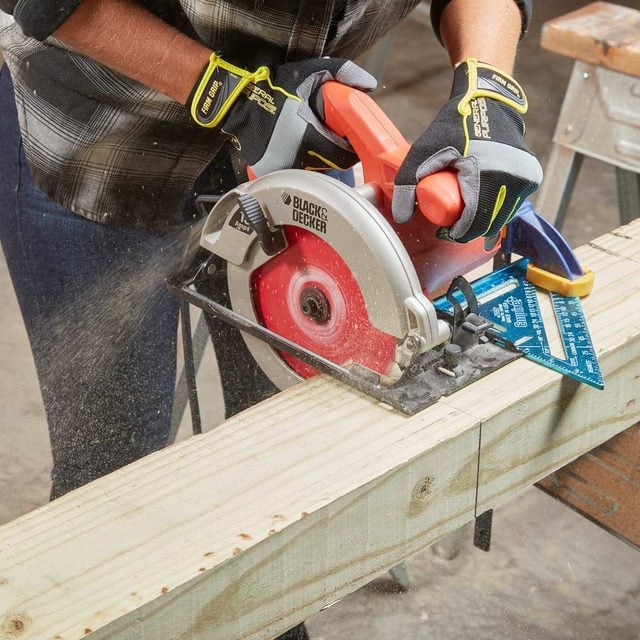
- Using your square as a guide, make the first cut on one of the wide “faces” of the timber.
- Note: You won’t be able to cut all the way through in one pass; doing three passes works well.
- When you finish the first cut, flip the timber on edge, start the saw and slip your saw’s blade partway into the “kerf” (slit) you just made to align the blade for your second cut.
- Guide the saw with your square again, finish the second cut, then flip the timber one more time and do the same thing to make the third and final cut.
- Now cut the rest of the parts to length the same way.
Sand Off Saw Marks
- Remove any saw marks left behind with a random orbit sander and 60-grit sandpaper.
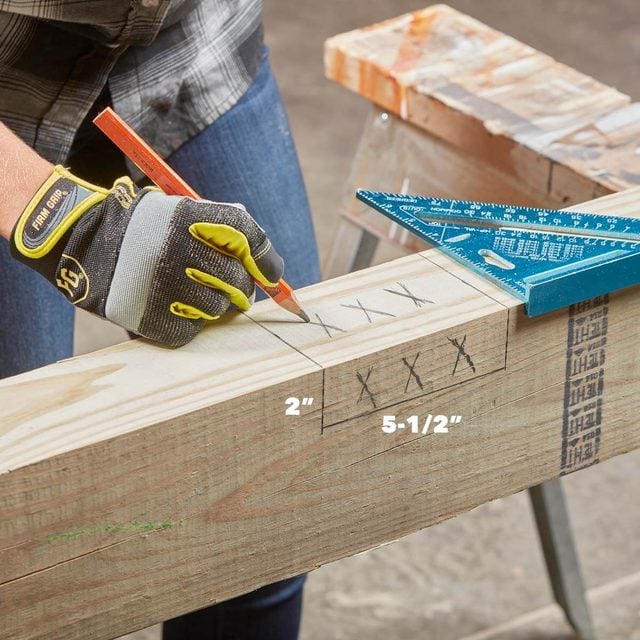
Mark the Notches
- Tip each of the outside beams on end and, using a pencil and your square, mark layout lines for the sides and bottoms of the notches.
- Make X’s to remind yourself where to cut.
- Note: The joinery that connects the legs to the seat beams looks complicated, but it’s really simple. The outside beams of the bench’s seat are supported by L-shape notches in the legs. U-shape notches are also cut into the seat beams so the leg’s faces can sit about 1/4 in. proud of the beams. The notches are all formed the same way using a circular saw, a square and a sharp wood chisel.
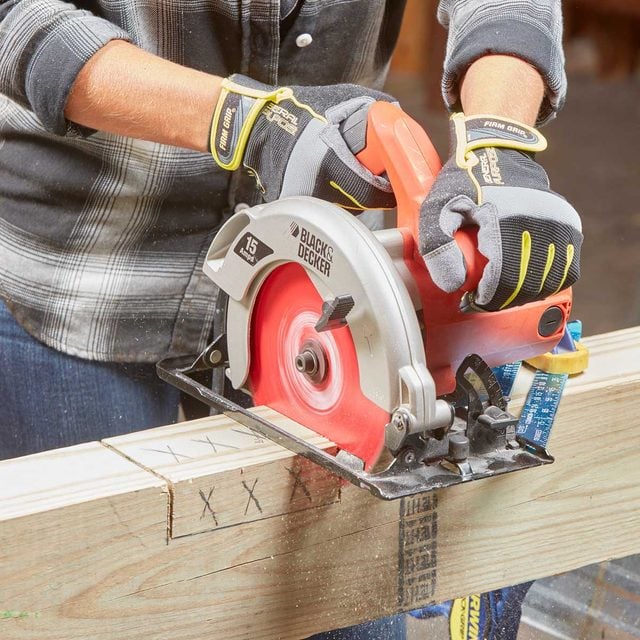
Make the Shoulder Cuts
- Set your circular saw blade to the proper depth and then, using the square as a guide (clamp it down if needed), make a perfectly straight cut on each side of the notch (Photo above).
- Note: This will define the outsides of the notches in the legs and beams. The beams get two shoulder cuts per notch. The legs get one shoulder cut per notch.
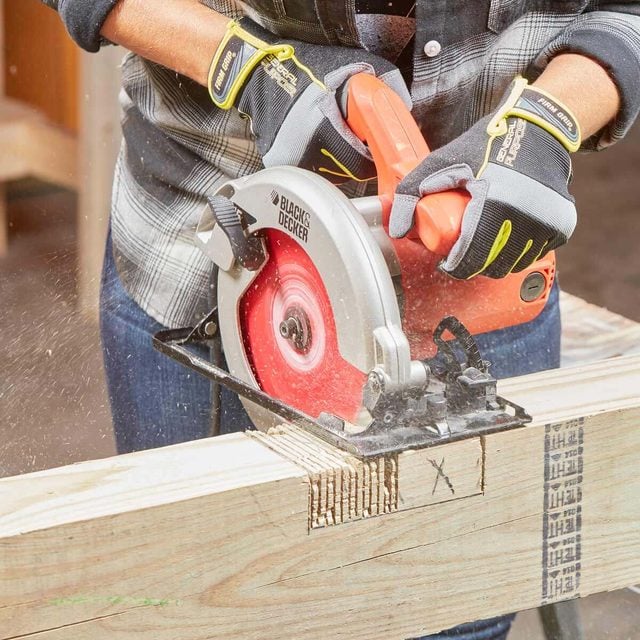
Make the Kerf Cuts
- Cut a series of freehand kerfs between the shoulder cuts you made for the notches in the beams.
- Pro tip: The legs have only one shoulder cut per notch, so start your kerf cuts at the ends and work toward the shoulder cut.
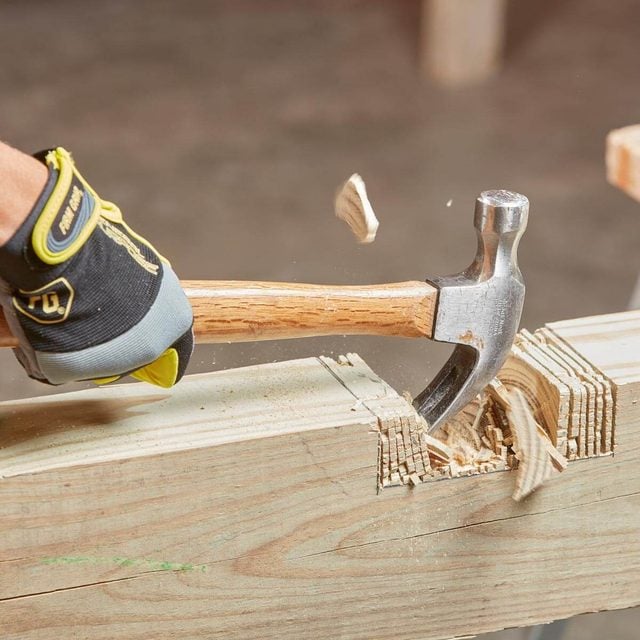
Knock Away the Slivers
- When you’re done cutting, knock out the thin slivers of wood with the claw of your hammer.
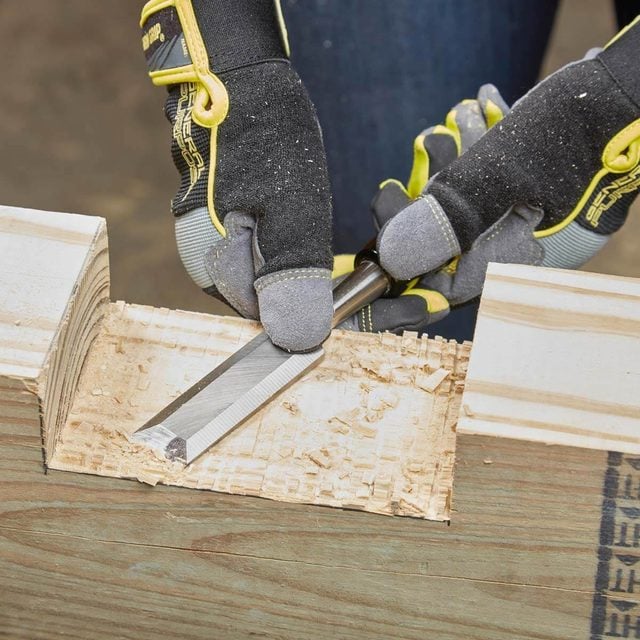
Chisel the Notches Smooth
- Smooth the “cheek” of each notch with a sharp wood chisel.
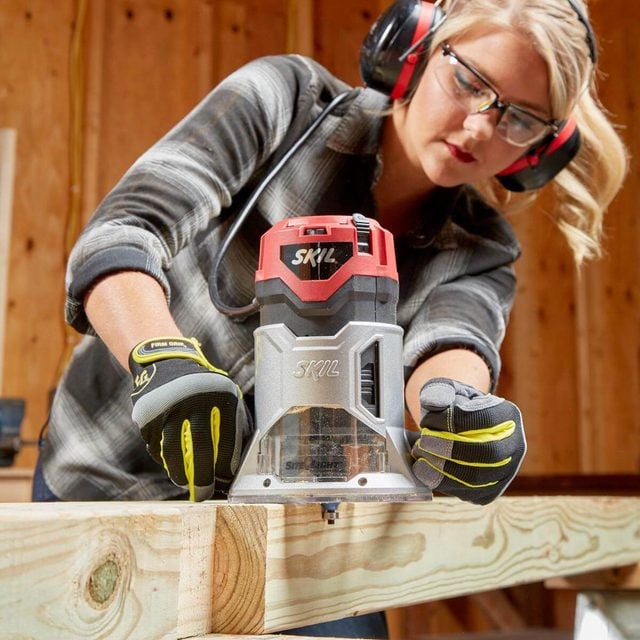
Round Over the Edges
- Lay the beams and legs on sawhorses and knock off all the sharp edges with a router and 1/4-in. round-over bit.
- Pro tip: Be sure to go counterclockwise with the router. If you don’t have a router, you can do the job with a block plane, a sanding block or a random orbit sander. Don’t round over the edges of the notches.
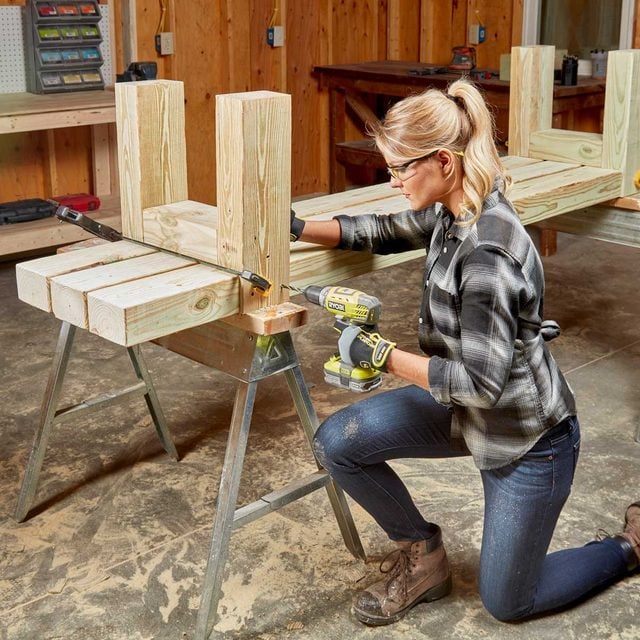
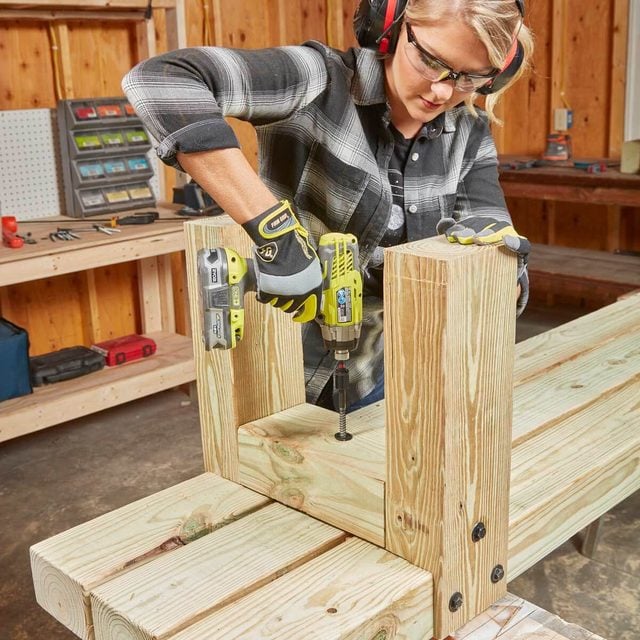
Drill Pilot Holes for Lag Screws
- Set the outside beams for the seat upside down across your sawhorses with the U-shape notches facing out and fit the L-shape notches of the legs into each of the U-shape notches.
- Note: The L-shape notches should fit snugly into the U-shape notches and the tops of the legs should be flush with the tops of the seat beams. The faces of the legs will sit a little proud of the seat beams—about 1/4 in. If the joints won’t go together by hand, knock them together with a rubber mallet or dead blow hammer. If they still won’t go together, you might have to fine-tune the fit of each joint with your chisel.
- Set the third beam (the one without notches) between the other two beams, making sure the spaces are even—about 1/2 in.
- Now set the ledgers between the legs, pull everything together tightly and use long clamps to hold it temporarily.
- Drill pilot holes through the tops of the legs for lag screws (photo above)—two through each L-shape notch and one below each notch’s shoulder and drill one hole in the center of each ledger.
- Pro tip: If you’re planning to stain your bench, do it now before you assemble all the parts. You might need to let the wood dry out a bit before staining because pressure-treated lumber is very wet when you buy it.
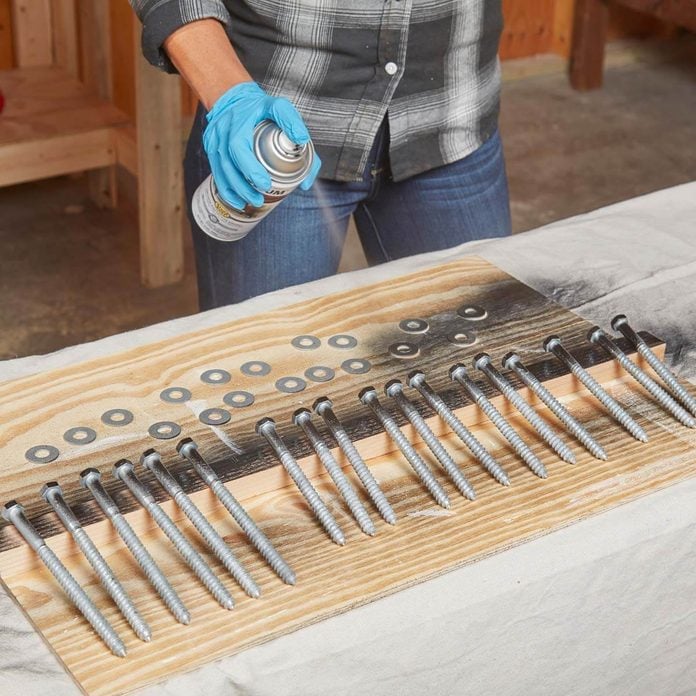
Paint the Lag Screws and Washers
- Spray-paint the heads of the lag screws and washers and let them dry before driving.
Drive the Lag Screws
- Once they’re dry, drive the lag screws with washers through all the pilot holes you drilled.
- Pro tip: An impact driver with a socket works great for this, but you can also use a wrench or ratchet.
- Touch up the tops of the lag screws with more paint if they get scuffed up (spray a little on a disposable brush).
One Year Later…
This timber bench sat outside, completely unsheltered, through a hot summer and a hard Minnesota winter and it still looks great! The timbers twisted a little, but that just added to the rustic look. The joints on this timber bench loosened up a bit from wood shrinkage, but that was easily fixed by tightening the lag screws.
