


Fertilizing is key to a luscious, healthy lawn and garden, and these tips will make a big difference.
13 Brilliant Fertilizing Tips and Tricks

Updated Aug. 29, 2024
1
/
13
Fertilizing Dense Plants
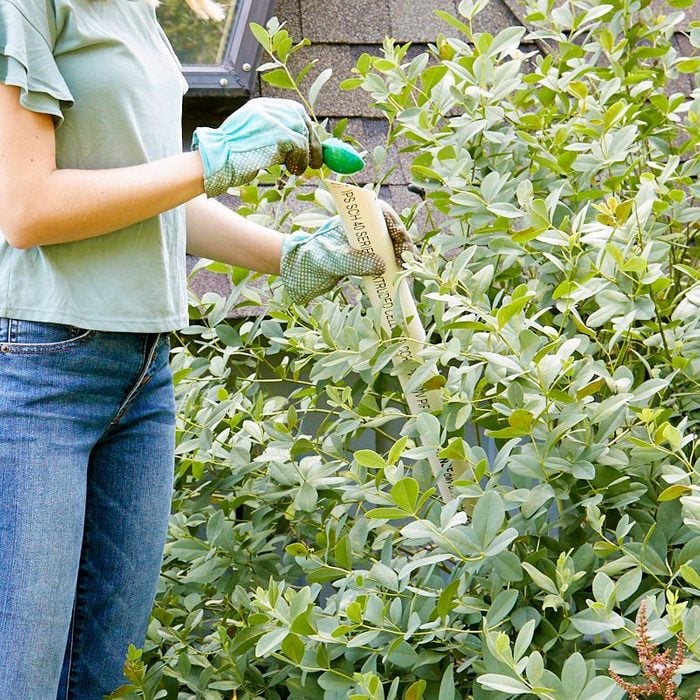
To get fertilizer to the base of bushes and other dense plants, use a length of 2-in. PVC. Slide one end down to the plant base and pour the fertilizer into the pipe. Cut the top of the pipe at 45 degrees to give yourself a larger opening
2
/
13
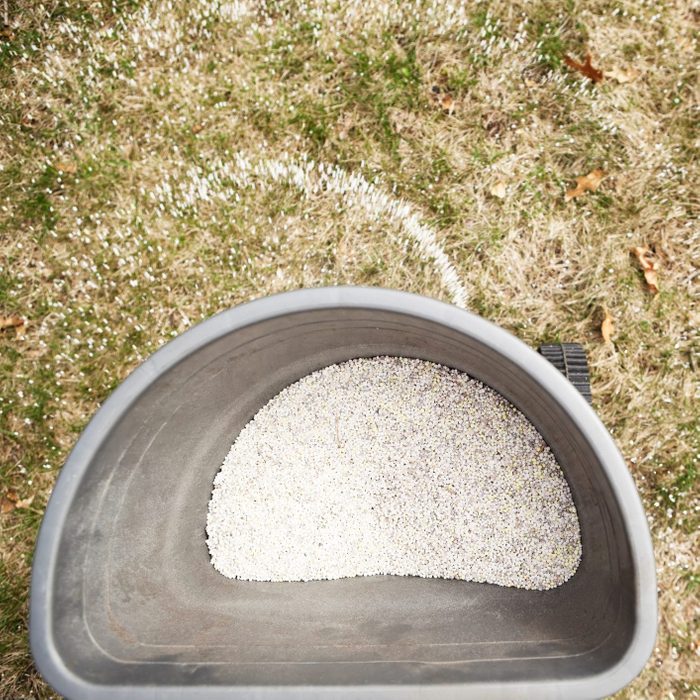
Grass Seed Broadcaster
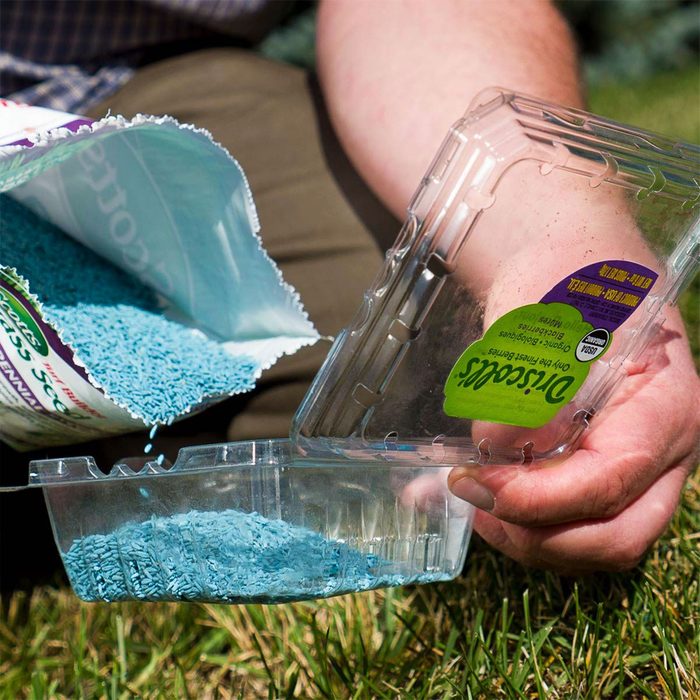
When it’s time to clean out the refrigerator, be sure to save those plastic berry containers for repurposing ideas. You can toss the mushy raspberries, but wash and dry the container—it’s perfect for spreading grass seed on your lawn.
3
/
13
Lawn Fertilizer Markers
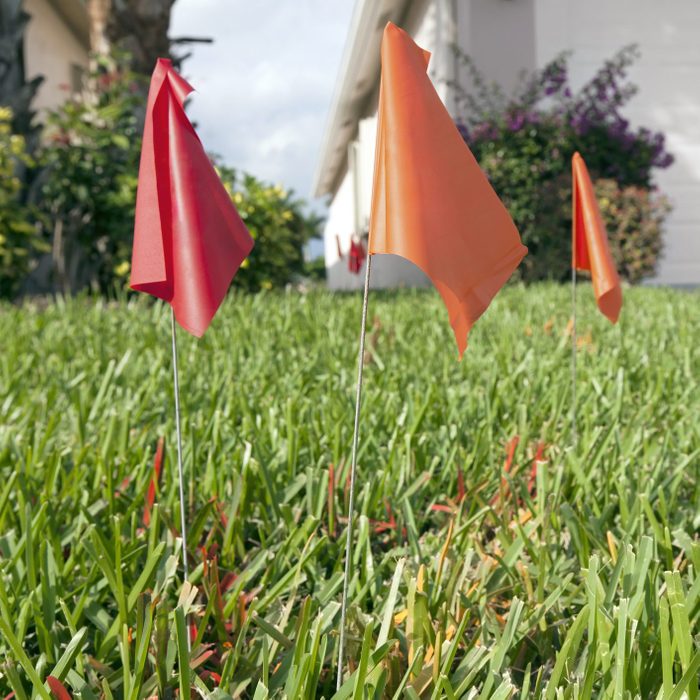
So you fertilized your lawn last week, and now you’ve got some streaks of pale grass where you missed, and some really dark streaks where you hit twice. To prevent this, use two short lengths of wood as markers. Whenever you start a new row from either end of your run, drop a marker at the edge of the line of the fertilizer. Aim for the marker as you proceed, and move the marker at each end every time you make a turn. It works with a broadcast spreader as well. — Jim Carabetta.
4
/
13
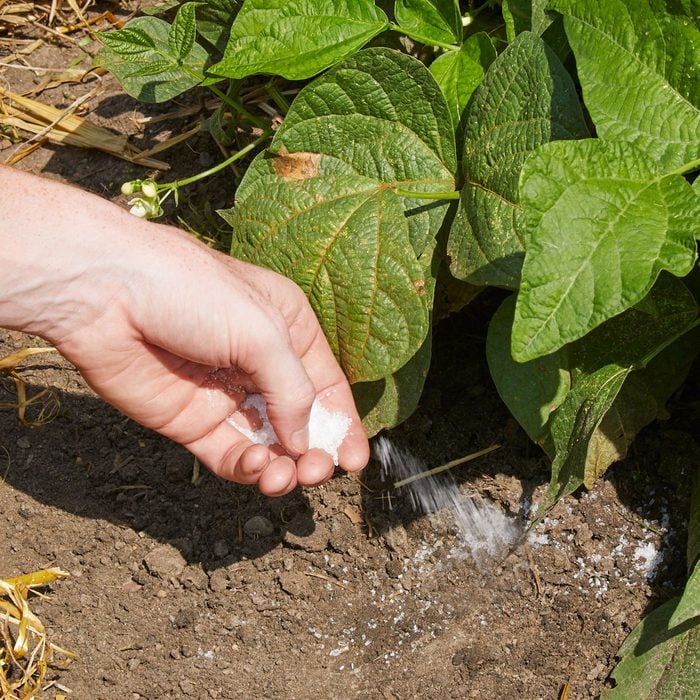
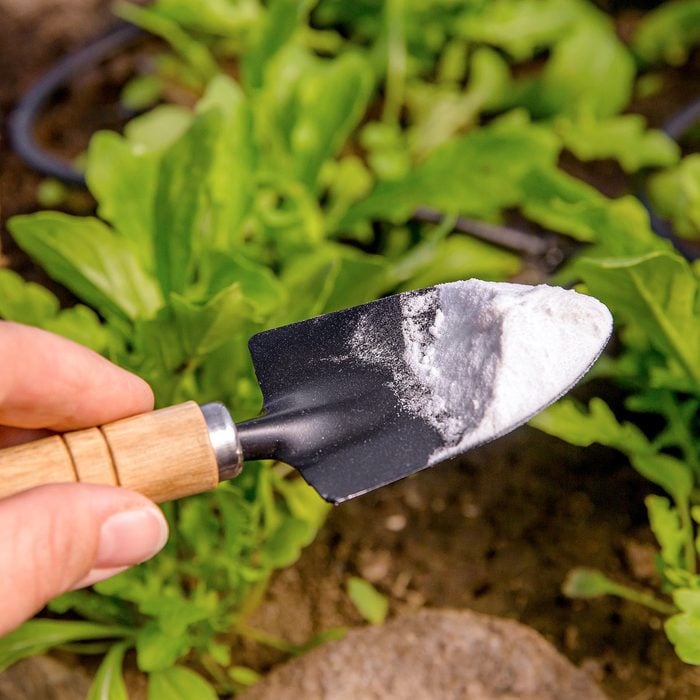
Epsom Salt Fertilizer Trick
Epsom salt (hydrated magnesium sulfate) is known for its home remedy uses, but the garden might be the place that it shines the most. Like store-bought fertilizers, Epsom salt contains magnesium, which aids in seed germination, chlorophyll production and absorption of vital nutrients like nitrogen and phosphorus.
Most plants grow better with a ratio of two teaspoons to one gallon of water per month. You can also dilute the Epsom salt with water in a bottle and apply as a foliar spray. Misting the plant greatly increases its growth. This works especially well on vegetables and roses. — Taylor Peterson
5
/
13
Add a Little Baking Soda for a Quick Soil Fix
If you think your soil may be too acidic (low pH) for a sensitive plant like geraniums, mix in a sprinkle of baking soda with the soil before planting, then water the area thoroughly so it mixes in well. Baking soda is a natural alkaline substance that will raise the pH level at a fraction of the cost of soil amendments such as lime. It only takes a few seconds, and it’s right there in your kitchen.
6
/
13
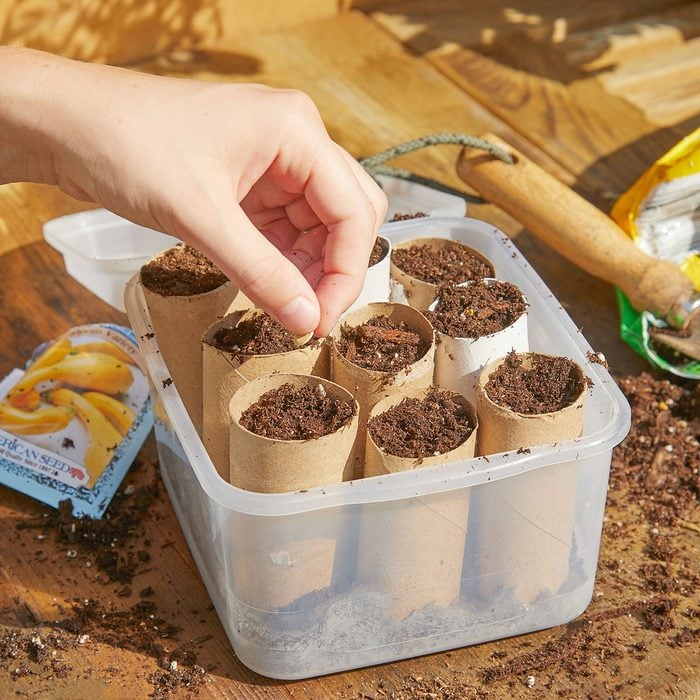
Start Seeds in Toilet Paper Tubes
For an easy and green way to start seeds, save your toilet paper and paper towel tubes. Cut the tubes into 2 in. lengths and set them in a waterproof tray. Fill the tubes with potting soil and plant your seeds. When the seedlings are ready to move to the garden, plant them right in their cardboard tube. The cardboard will decompose. Be sure to keep the tube below the soil surface, so it doesn’t wick moisture away from the roots.
7
/
13
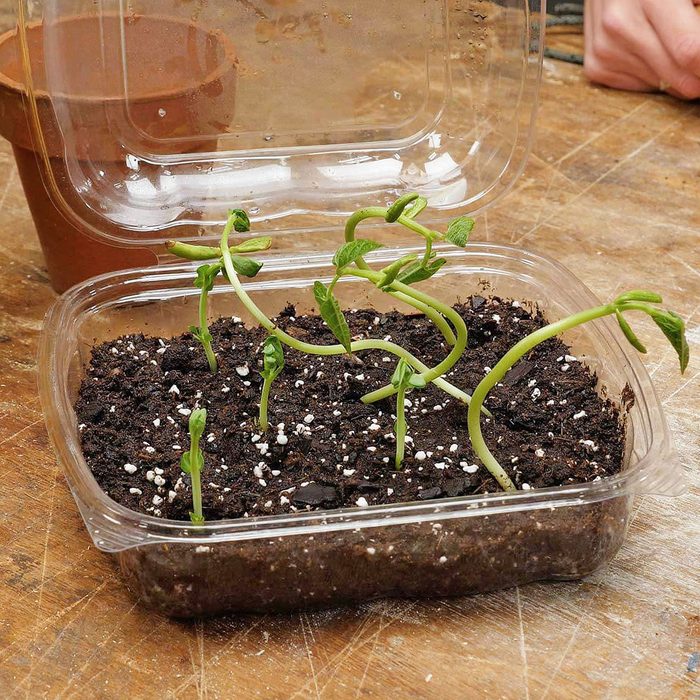
Greenhouses from the Salad Bar
Reuse a plastic clamshell container from the salad bar as a mini greenhouse for starting seeds in the spring. After washing the container, punch a few holes in the top. Fill the bottom with potting soil and plant your seeds. Close the lid and place the container in a sunny spot. It acts like a mini greenhouse, allowing the sun to reach the plants while holding in moisture.
8
/
13
Fertilize in the Fall
If you want the best lawn in town, fertilize four times a year. But if you can only bother to fertilize once a year, you still have a great lawn if you only fertilize in the fall. Choose a fertilizer that’s labeled 4-1-2. (Those numbers refer to the percentages of nitrogen, phosphorus and potassium in the fertilizer.) Better yet, ask an expert at a garden center for advice about the best fertilizer blend for your fall grass type and local soil conditions.
Apply the fertilizer about three weeks before the last mowing of the season. Fertilizing in the fall provides energy and nutrients for the grass roots as they multiply in cooler weather before the grass goes dormant. The roots store food for the winter as well, which gives the grass an initial growth spurt when it emerges from dormancy in the spring.
You can also look into organic and chemical free options like an eggshell fertilizer.
9
/
13
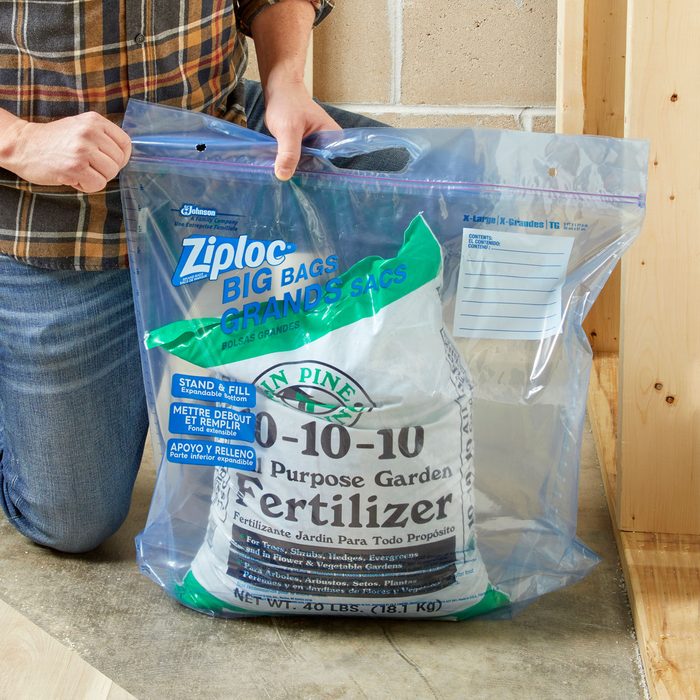
Save Your Lawn Products
Leave a bag of fertilizer or weed killer open for long and it’ll soak up moisture from the air and won’t go through a spreader. Even grass seed could use an extra layer of protection from a moisture-wicking concrete floor. Place opened bags of lawn products in large resealable plastic bags. The products will be free of clumps or pests when you need them
10
/
13
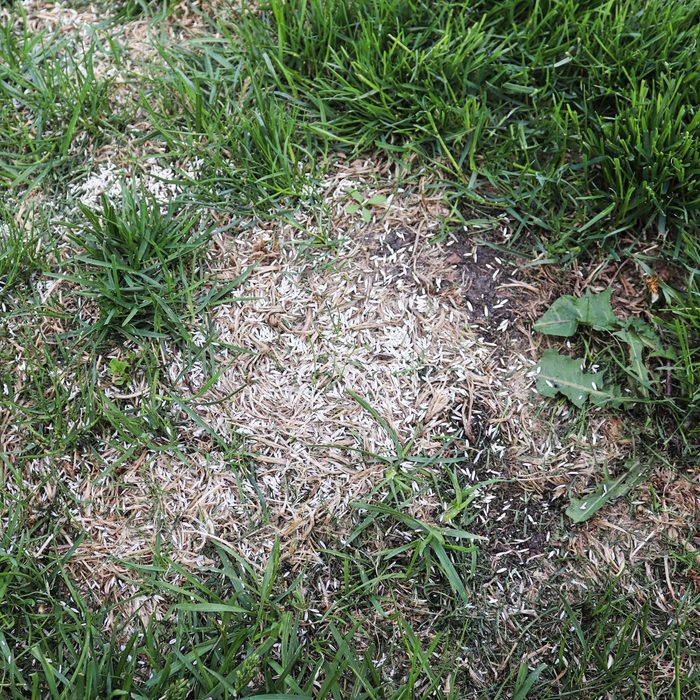
Reseed Bare Patches
Late summer and early fall are the best times to reseed any dead areas. Summer is just too hot for the seed to thrive. Water the new seed a couple of times a day until the grass is about 1-1/2 in. high. Don’t use normal fertilizers, however. Use a product like Scotts Starter Fertilizer, which is formulated for new grass. Spread the seed so that you have about 15 seeds per square inch. Don’t overdo it or the grass won’t thrive due to overcrowding.
11
/
13
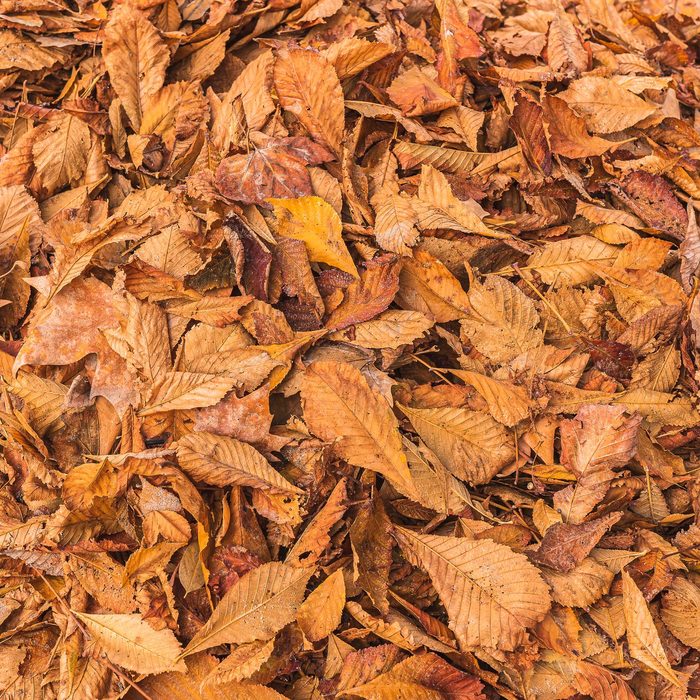
Mulch Leaves for Fall Grass Fertilizer
If you’re not a fan of raking leaves, then consider investing in a mulching mower. A mulching mower shreds leaves into tiny flakes that settle into the fall grass and decompose into natural fertilizer. You might have to go over some areas two or three times to completely chop up the leaves. Still, it’s fast, easy and it makes the grass happy — and there’s no raking involved!
12
/
13
Feed Shady Areas Less
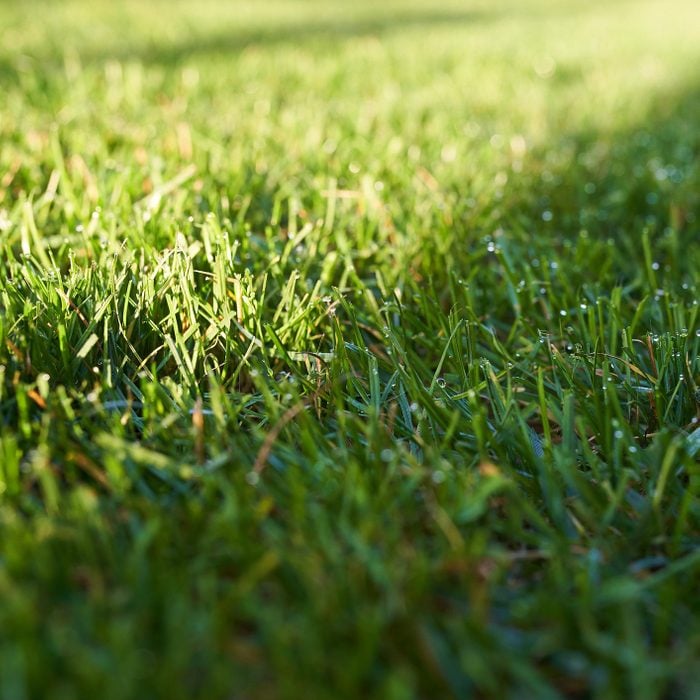
People tend to overapply fertilizer to shady areas because the grass is struggling. But that just kills it faster!
Many people really have two lawns—a lawn that gets full sun for most of the day, and a shaded lawn that may get only two to four hours of direct sun—and their water and fertilizer needs are different. The grass in shady areas needs less water because less evaporates, and it needs less fertilizer because with less sun it doesn’t grow as much. When you go into shade, shift the controls on the spreader so you’re spreading about half the amount.
13
/
13
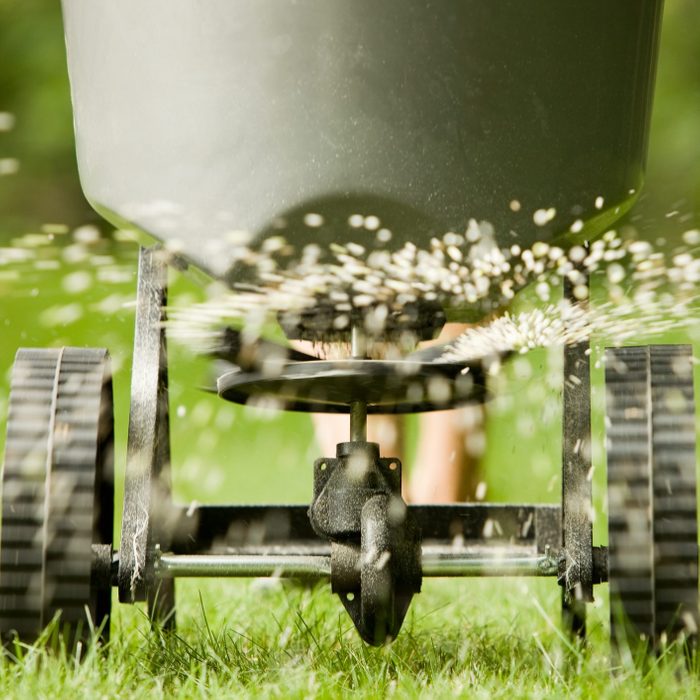
Broadcast Spreader Technique
Broadcast spreaders do a great job of spreading grass seed, fertilizer and weed killer on larger lawns because they throw the material out more consistently over a wide area. However, unless you know how much area they cover for each type of product, you can end up spreading too much or too little and get bad results. The best way to find out the actual dispersal pattern for your broadcast spreader is to do a test run on your driveway and then measure the results.
Clean off a 12 x 20-ft. section of the driveway. Close the flow lever on your spreader and set the controls for the product you’re using. Fill the spreader—do this on the driveway or sidewalk to avoid spills on the grass—then open the flow lever and push the spreader several feet down the center of the driveway at your normal pace, continuing for a few steps after you close the hopper. Measure the average dispersal pattern to the sides and front.
Originally Published: February 25, 2022