


Follow these easy steps to replace that “one bad board.”
Our editors and experts handpick every product we feature. We may earn a commission from your purchases.Learn more.


Updated Sep. 19, 2022
Follow these easy steps to replace that “one bad board.”
Our editors and experts handpick every product we feature. We may earn a commission from your purchases.Learn more.
A full day
Beginner
$20-50
Repairing tongue-and-groove hardwood floorboards is easy with the right tools and a little know-how. Many common problems can be fixed in a day to make your floor look like new again.
Over the years, I’ve seen my share of damaged hardwood floors. Sometimes the flaw can be repaired with wood putty and a quick touch-up. Other times, it requires surgery. Here are some tips to help you repair your flooring trouble spots.

As a remodeling carpenter, Jay Cork has repaired many hardwood floors but never damaged any — he swears.
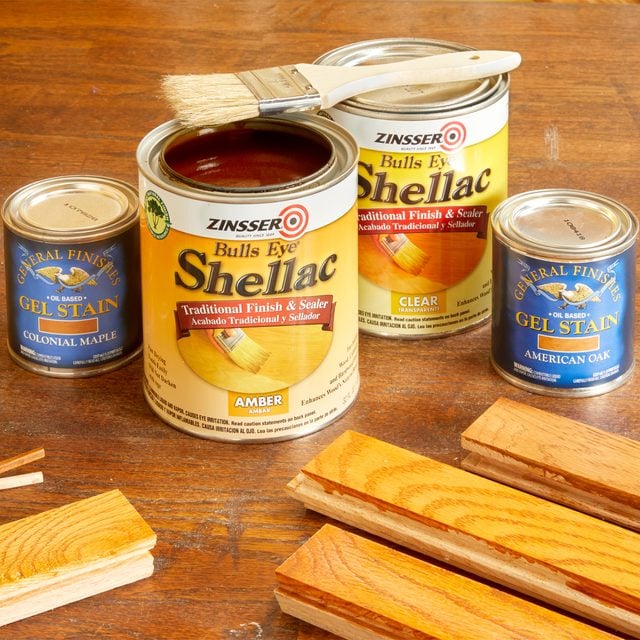
I prefer to always do this step first. Test some stain colors on new floorboards and apply some urethane. Once you find a good match, repeat that process for the actual repair.
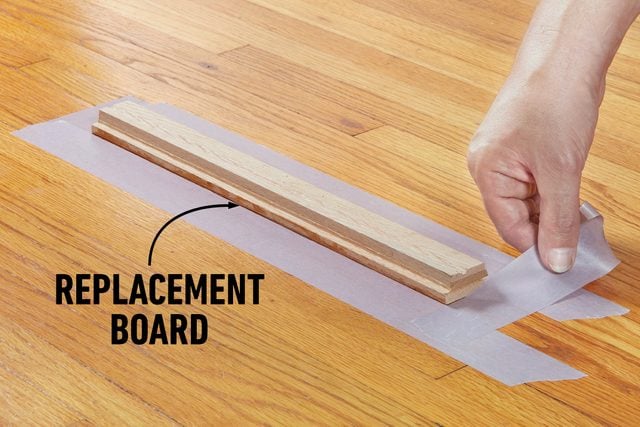
Inspect the damaged flooring plank and decide how much length to remove. Stagger the ends of the repair about five inches from the butt joints of the adjacent floorboards. Place masking tape to define the boundary, using the replacement board as a guide.
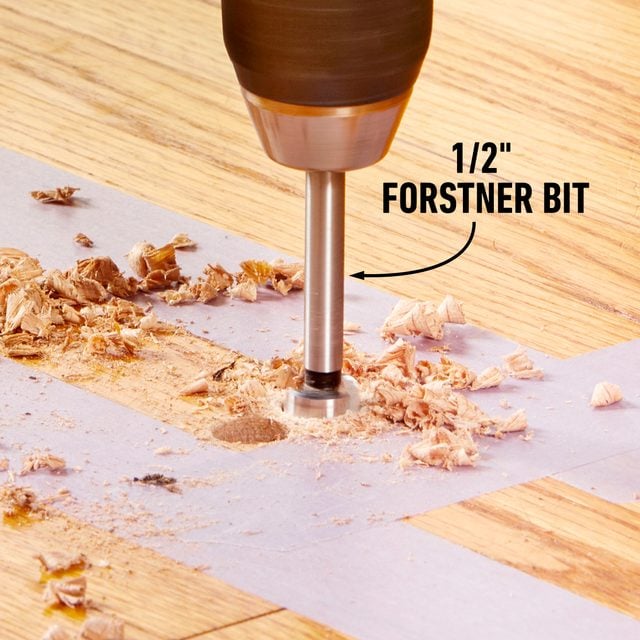
Drill three 1/2-in. holes with a Forstner bit close to each end of the board you’re removing. Don’t try to get the holes perfectly on the butt joint — about 1/8-in. away is fine.
With a sharp chisel, clean up the space between the holes and the end of the repair. Start by making a vertical cut to cleanly sever the wood fibers, then come in at a slight angle to remove waste. Repeat this process until you reach the subfloor.

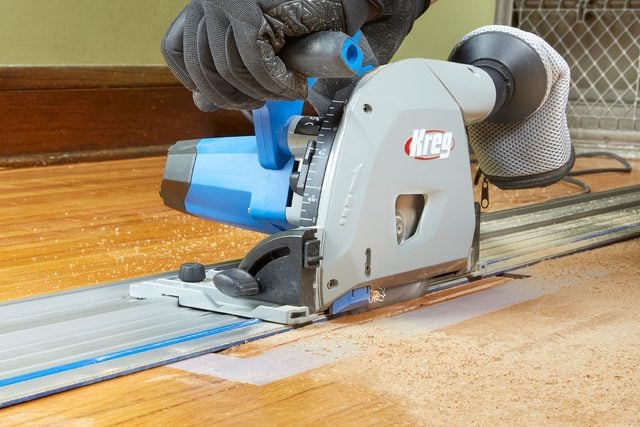
Saw two parallel relief cuts an inch apart down the center of the floorboard to be removed. To avoid cutting through the subfloor, set the saw blade no more than 1/16-in. deeper than the thickness of the flooring.
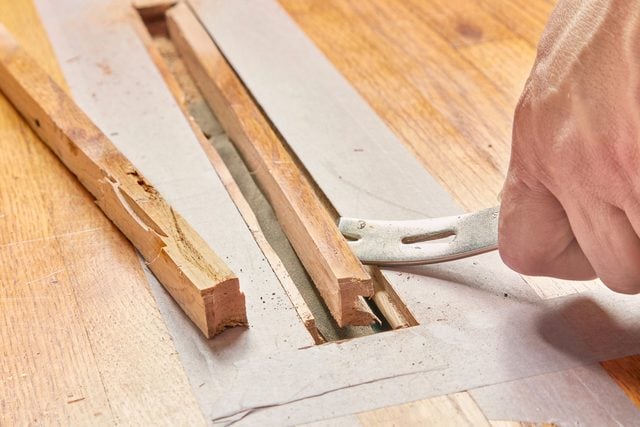
You can get only so close to the ends of the repair with the circular saw. Finish the relief cuts with an oscillating multitool and a narrow wood-cutting blade.

With a small pry bar, remove the strip of flooring between the relief cuts. Next, pull out the tongue-and-groove edges of the damaged board. Completely clean out the open section of flooring with a shop vacuum.
To make it easier for the tongue on the replacement board to slip into the existing floorboards, trim it at a slight angle. Angle the blade on the table saw to about seven degrees and set the fence so the blade just trims the tongue.

Cut off the bottom lip of the grooved edge of the replacement board. Be sure to set your blade depth so it only cuts the bottom lip and avoids cutting the top lip.

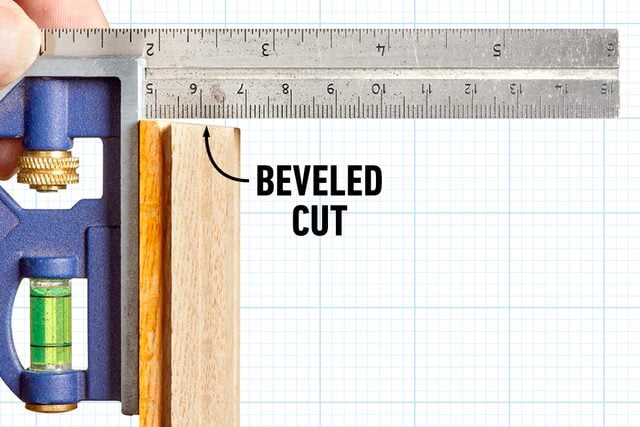
Cut the replacement piece to length with a miter saw. Make the cuts with a slight bevel so the piece will drop into place easier, creating a cleaner, tighter butt joint.
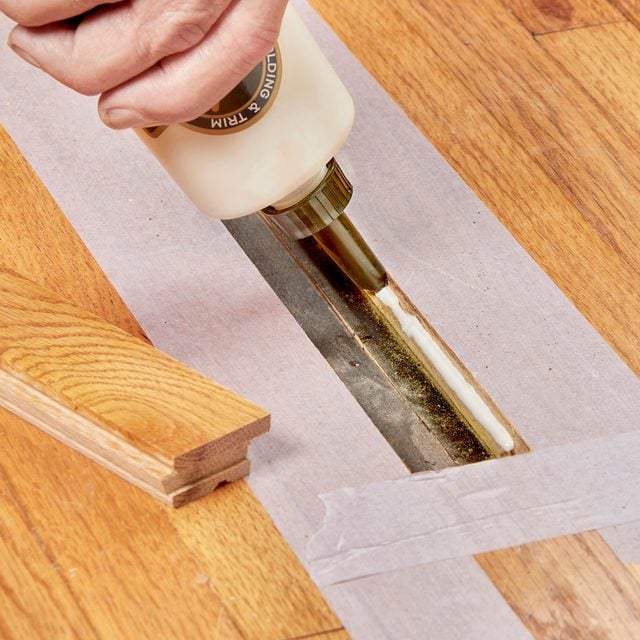
Spread glue on the tongues of the replacement piece and the adjacent board. Any wood glue will work.
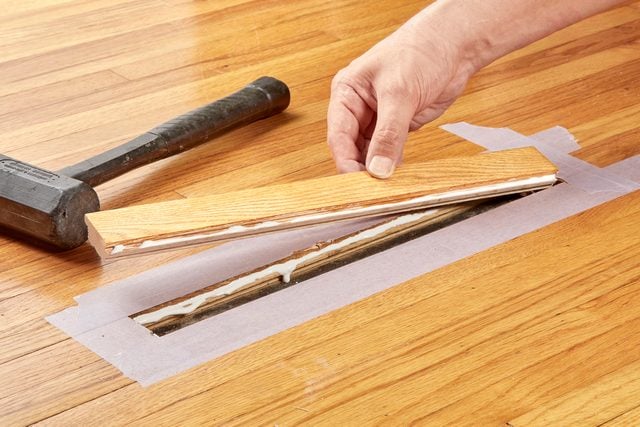
Tap the repair board into place with a rubber mallet. If you don’t have a rubber mallet, a hammer will work, but place a piece of scrap wood in between to protect the repair. Wipe off excess glue with a damp cloth.
After gluing in the replacement board, add 23-gauge pins for peace of mind. Angle the gun slightly and drive in a pin every four inches. Use a micro pin nailer to do the job right.

Originally Published: August 31, 2022