


How to Repair a Garden Hose

Updated: Jul. 26, 2024
Fix leaky garden hoses quickly and cheaply.
An hour or less
Beginner
$5–10
Introduction
A garden hose is an essential outdoor home tool, used for washing cars, watering plants, filling pools and rinsing off muddy pet paws. When it springs a leak (or two), there's nothing more frustrating as it sprays water in your face, on your clothes and down the storm drain - everywhere you DON'T want it to go. Fortunately, fixing a garden hose is a pretty easy task, and is a lot cheaper than buying a new one. I always try to repair hoses before replacing them, both to save money and to reduce my landfill contribution. Not all leaks are the same so every fix might require a different approach— there's more than one way to fix the most common leaks.
Tools Required
- Phillips-head screwdriver
- Pliers
- Utility knife
Materials Required
- 3" piece of 1/2" copper pipe
- Clamp couplers
- Clench hose menders
- Compression mender
- Hose clamps
- Rubber hose washers
Project step-by-step (9)
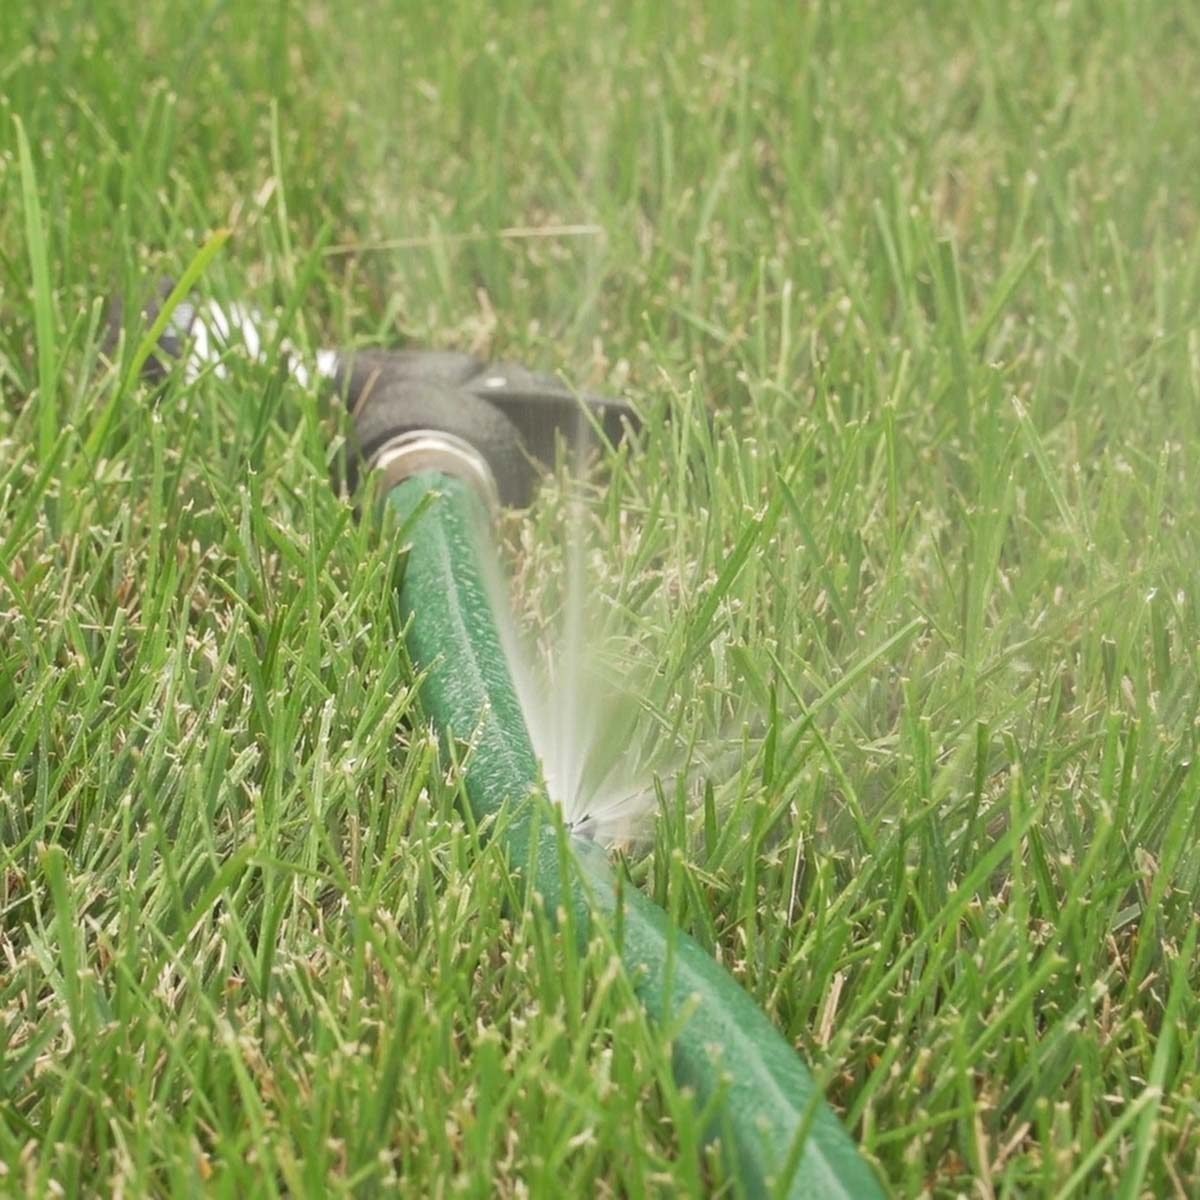
Locate the leak
- Connect the hose to the faucet and turn it on.
- Look for leaks along the entire length of the hose, including both hose ends.

Measure
Determine the size of your garden hose before heading to the hardware store for repair parts. The three common sizes of garden hose are 1/2-, 5/8-, and 3/4-inch, referencing the inside diameter (ID) of the hose. The outside diameter (OD) is typically 1/8-inch larger than the ID, so a 5/8-inch hose has a 3/4-inch OD.
- Use a tape measure to measure across the inside of the hose at the hose end.

Repair the hose with rubber washers
If water is leaking from either end of the hose, such as at the outdoor faucet or spray attachment, the fix could be as simple as replacing the rubber washers in the female end of the hose and or spray attachment.
- Remove the hose from the outdoor faucet.
- Remove any spray attachments.
- Inspect the hose ends for rubber washers.
- If missing, place new rubber washers into the hose ends along the inside of the end fitting.
Repair the hose with clench hose menders
If a leak is within a foot of the male or female connectors, cut off the end of the hose and replace the connector.
- Cut the damaged section off the hose with a utility knife.
- Stick the barbed end of the repair fitting into the hose.
- Bend the tangs down and into the hose with your thumb.
- Squeeze the tangs with a pair of pliers until firmly in place.
- Avoid applying too much pressure to avoid puncturing the hose.


Repair the hose with clamp couplers
If the leak is at the hose ends or in the middle of the hose, use a clamp coupler to repair.
- Cut the damaged section off the hose with a utility knife.
- Remove the screws and cover from the coupler with a Phillips-head screwdriver.
- Stick the barbed end of the coupler into the hose.
- Replace the coupler cover and tighten the screws using a Phillips-head screwdriver.

Repair the hose with hose clamps
This type of repair works best to repair leaks in the middle of the hose.
- Cut the damaged section off the hose with a utility knife.
- Slip a hose clamp over the end of the cut hose.
- Insert the 3-inch length of 1/2-inch copper tubing into the hose, letting 1-1/2 inches stick out.
- Tighten the hose clamp with a flat-head screwdriver.
- Slip another hose clamp over the end of the other piece of cut hose.
- Insert the 1/2-inch piece of copper tubing into the other piece of cut hose.
- Tighten the clamp with a flat-head screwdriver.

Repair the hose with a compression mender
If the leak is in the middle of the hose, a compression mender is a quick and easy fix. The best part is it doesn’t require any tools. This is my go-to hose repair fitting.
- Cut the damaged section off the hose with a utility knife.
- Unscrew and separate the rubber collar from the repair fitting.
- Slip the collar over the hose with the threads facing the cut hose end.
- Push the repair fitting onto the hose.
- Screw the rubber collar to the repair fitting.
- Hand-tighten the collar to the repair fitting until it is snug.

Test for Leaks
- Connect the hose to the faucet and turn it on.
- Checking the entire length of the hose for leaks.
- If a repair leaks, try tightening the screws or collar on the fitting.

FAQ’s
How much does it cost to replace a garden hose?
It can cost between $30 to $125 to replace a garden hose depending on the length, size and quality.
Can you patch a garden hose with tape?
In a pinch, tape can be used to patch a small hose in a garden hose, but is not a reliable long-term solution. I have used tape to repair a hose when I was in the middle of a project and didn’t have time to run to the store, but it was only a temporary repair.
Do all garden hoses have the same fittings?
All residential garden hoses manufactured for use in the United States have a 3/4-in. fitting to attach to all outdoor faucets and watering accessories.
Originally Published: August 06, 2021