Regular aerator clean-ups make a big difference in water flow.
A full day
Beginner
$0 to $10
Introduction
Aerators are found on almost every kitchen and bath faucet. If water flow slows or becomes uneven, clogs inside the aerator are usually the cause. Fortunately it's an easy problem to fix.Tools Required
- 4-in-1 screwdriver
- Adjustable wrench
- Old toothbrush
- Slip joint pliers
- Utility knife
Materials Required
- Electrical tape
- Vinegar
Aerators are great additions to faucets. They can control the water pressure, shape the stream and sometimes conserve water. But if you’re not keeping up with the cleaning and maintenance, you might run into problems, especially if you’ve got hard water.
The first sign of an issue is generally a decrease in water pressure. If the flow from your kitchen or bathroom faucet isn’t what it used to be, the aerator is probably plugged. An aerator can clog slowly as mineral deposits build up, or quickly after plumbing work loosens debris inside pipes. Usually, a quick cleaning solves the problem.
Try this first: Soak the aerator parts in vinegar overnight to soften mineral buildup. If the buildup resists scrubbing and you have a standard cylinder-shaped aerator, you can replace it. Take your old aerator along to the home center or hardware store to find a match.
If your aerator has a fancy shape (like the one shown here), finding a match won’t be as simple. To start, go to any online search engine and type in the brand of your faucet, followed by “faucet parts.” With a little searching, you can usually find diagrams of your faucet and order a new aerator.
Project step-by-step (2)
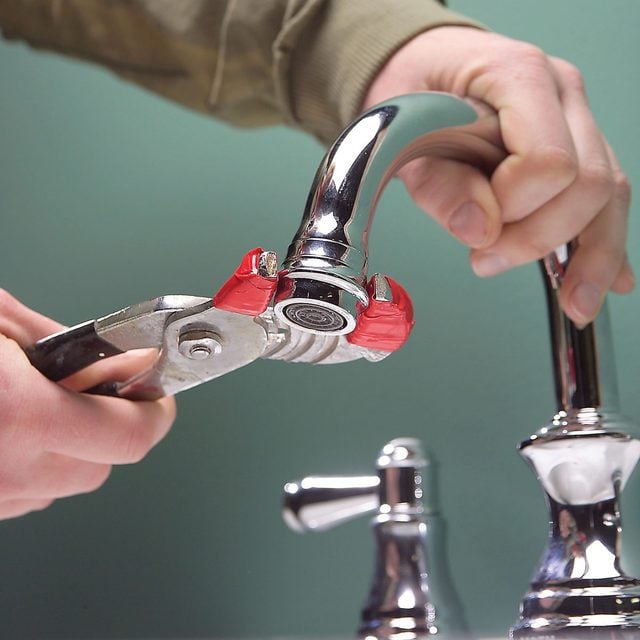
Step 1
Unscrew the aerator
Wrap the jaws of a pliers with electrical tape and unscrew the aerator. Close the stopper so the small parts can’t fall down the drain. You don’t want to fix your aerator problem but find yourself unable to reassemble it, and you don’t want to have to deal with a clogged sink problem instead.
Editor’s Tip: Choosing the right faucet can be a task. Check these tips for choosing the right sink faucets!
Step 2
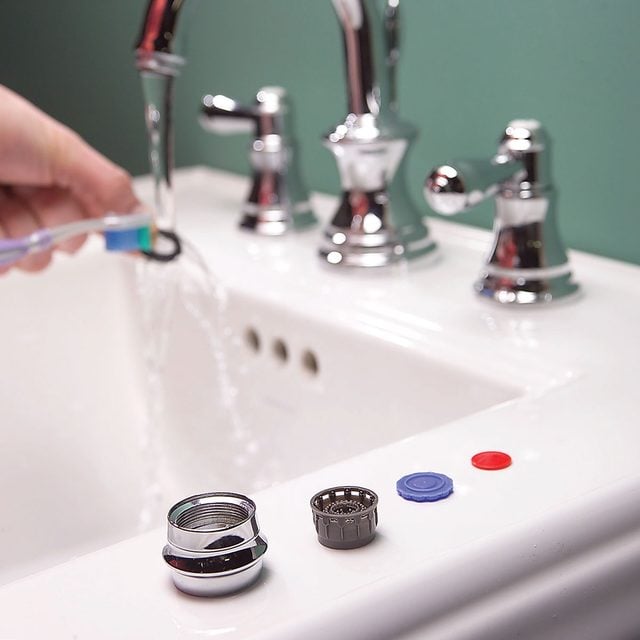
Clean the pieces
Disassemble the aerator and lay out the parts in the order you removed them. This makes reassembly foolproof. (Take a photo to make it even moreso.) Then soak the parts in vinegar and scrub them well.
Gunk can also build up inside the faucet neck, so ream it out with your finger and flush out the loosened debris. Once everything is clean, reassemble the aerator and turn on the faucet to test it out.