House numbers add style and help visitors find you. If your numbers are missing or dated, add pop to your front walk with this easy project.
2 hours
Beginner
$10 per number
Introduction
House numbers can be plain or inventive, practical or showy. Whatever their style, don't overlook their importance. Fire and police services rely on clear, visible house numbers to respond in an emergency. Delivery people want to get your food and packages to the right house on the first try.
I wasn't thinking of any of this when we bought our house. The giant, custom-made numbers above the garage could be seen throughout the neighborhood — heck, they could probably be seen from space. As soon as we moved in, I ripped them down.
It took three missed Amazon deliveries and twice running after the DoorDash guy before I realized the gravity of my mistake. Hidden from the street behind a big iron gate, our courtyard is great for privacy but terrible for anyone trying to find the front door.
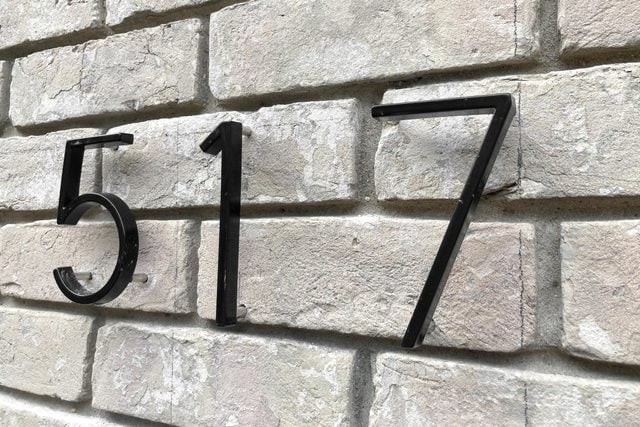
For this project, I installed attractive floating house numbers on my front brick wall. No more missed lunches!
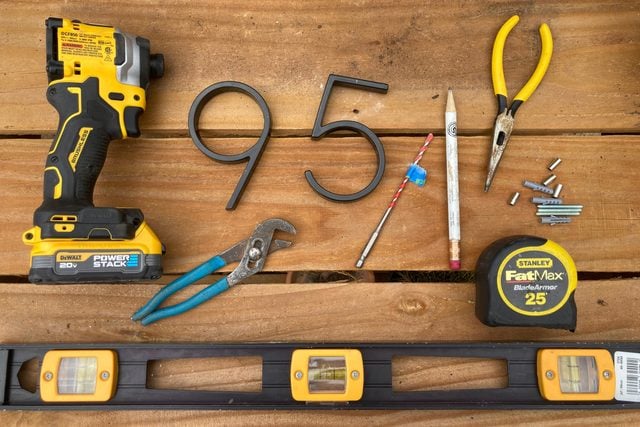
Tools Required
- Carbide or SDS hammer drill bit (check size required)
- Drill
- Level
- Painters tape (optional)
- Pencil
- Pliers
- Scissors
- Sharpie
- Tape measure
Materials Required
- House numbers with mounting hardware
Project step-by-step (6)
Step 1
Pick the best spot
Start by selecting a good place to mount the numbers
- Stand out in the street for a good view of your property.
- Walk around and look at your property from various angles.
- Choose a spot that’s near the front door, visible from the street and illuminated by a light source.
- Numbers should be mounted at approximately eye level.
Step 2
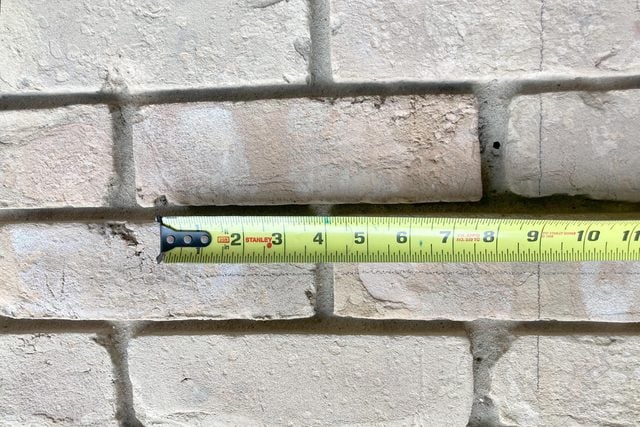
Lay out center line and height
- Mark a center line.
- If the numbers will be mounted between two objects, measure the distance between them and make a pencil mark at the halfway point.
- Draw a vertical line on your mark using the level. This will be the midpoint of your house numbers.
- Pencil marks will wash off brick, but you can put painter’s tape on the wall and make marks on that if desired.
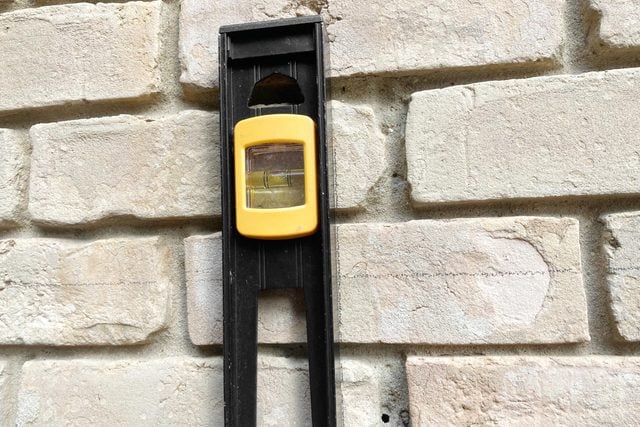
- Decide the height for your numbers.
- Avoid mounting hardware in the mortar joints or on the edge of the bricks.
- Hold up the numbers in a few spots to determine the best height to avoid mortar.
- Mark the height.
- Hold the level horizontally and draw a line to mark the top of your numbers.
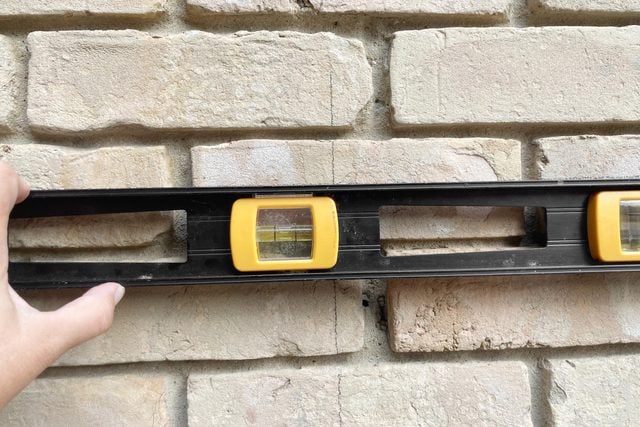
Step 3
Lay out the house number boundaries
- Determine the outside boundaries for your numbers.
- If you want them to fit within an 18-inch space, measure nine inches from your center line on both sides and make marks.
- Determine the spacing based on how many numbers you have.
- Don’t try to cram five numbers in a one-foot space or you risk destroying the brick with all the holes.
- Draw vertical lines at your boundary marks with the level. You now have a three-sided “box” and will fit your numbers within this space.
Step 4
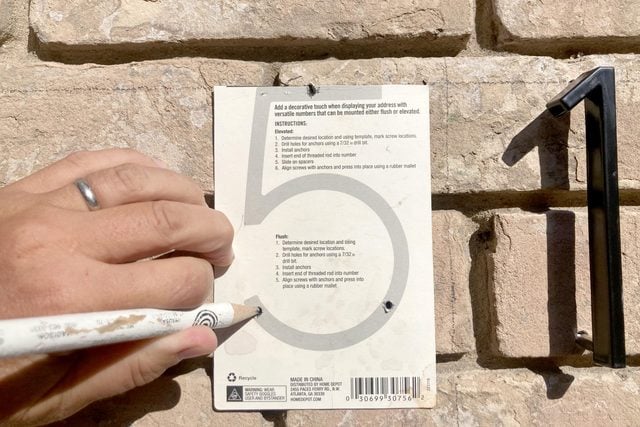
Mark your numbers
- Poke holes as indicated on the templates that come with the numbers.
- If you don’t have a template, make your own with a blank piece of paper:
- Place paper over the back of the number and poke through at the mounting holes.
- Hold the paper level when marking holes on the wall.
- Cut off the top of the templates so you can hold the top of the number flush with the horizontal line on your wall.
- Hold the first template level on the brick wall and mark holes with a pencil.
- For an odd number of house numbers, hold the middle number template centered on your center mark.
- For an even number, align the first and last numbers at the corners of the box you drew on the wall.
- Evenly space out the rest of the numbers and mark holes with a pencil.
Step 5
Drill the holes and install anchors
Safety note: Always wear eye and hearing protection when operating power tools.
- Drill holes at your marks with a drill or impact driver and carbide bit, or a hammer dill and SDS bit.
- Verify the size of the drill bit needed in the instructions that came with the house numbers.
- Make a mark on your drill bit with tape or a Sharpie the same depth as your anchor, so you know how deep to make the hole.
- Do not use a regular wood or metal drill bit in brick or concrete. It will dull quickly.
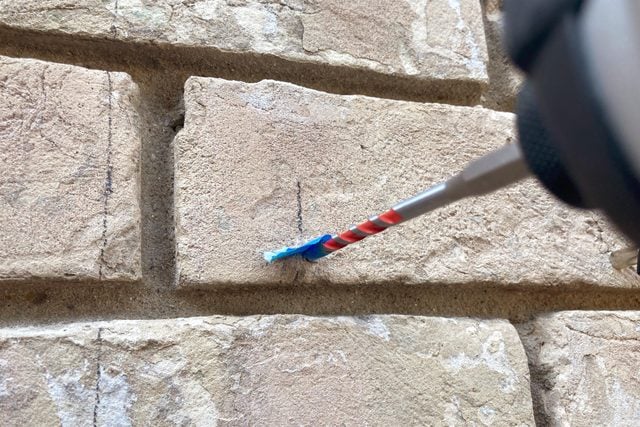
- Drill slowly at first to start the hole. If the drill bit “walks” or moves away from your mark, stop drilling and realign.
- Use firm pressure and be careful to stay on your marks. If you don’t, the anchors won’t line up with your house numbers.
- Blow the dust out of the hole and push in the anchor.
- If the anchor is not flush, pull it out with needle-nose pliers and drill a little deeper.
Step 6
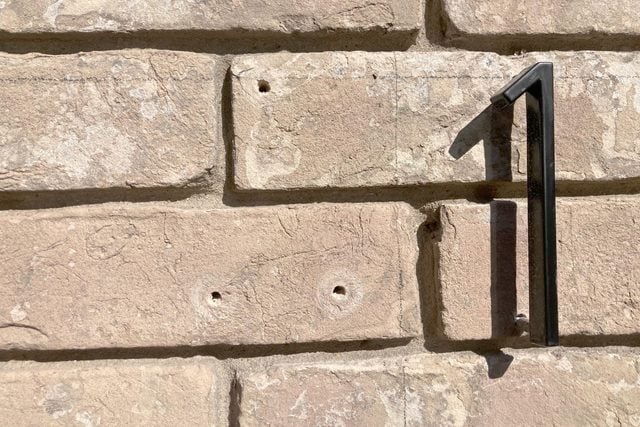
Install the numbers
- Screw in the threaded rod hardware into the back of the numbers and tighten with pliers.
- Slide the spacers onto the threaded rod and push the numbers into the anchors on the wall.
- Verify the instructions on your house numbers. Some brands use caulk instead of concrete anchors.
- The process for laying out and drilling the holes is the same for either method.
- Hold a towel over the numbers and hit with your pliers or another solid object if the numbers don’t slide easily into the holes.
- The towel will prevent scratching the finish when you bang the numbers into place.