


If your headlights could use some freshening up, give this Family Handyman Approved headlight restoration kit a try.
Our editors and experts handpick every product we feature. We may earn a commission from your purchases.Learn more.


Updated Jun. 06, 2024
If your headlights could use some freshening up, give this Family Handyman Approved headlight restoration kit a try.
Our editors and experts handpick every product we feature. We may earn a commission from your purchases.Learn more.
On a recent family road trip, we got caught in a heavy afternoon storm. The sky darkened like night and the rain started coming down in sheets. I turned on our headlights to increase visibility as we crawled along this rural, two-lane highway.
From afar, certain sets of oncoming headlights stood out brighter than others. It wasn’t until we pulled into a gas station and I saw other vehicles up close that I realized their brightness wasn’t due to just changing the headlight bulb. Instead, it had more to do with the clarity of the headlight lens.
Since then, I’ve noticed cloudy headlight lenses everywhere. During my next stroll through the auto parts store, I came across a few headlight restoration kits. The 3M Restore and Protect Headlight Restoration Kit was the only one requiring no tools or a buffer. Curiosity got the better of me, and I picked up a couple of these inexpensive kits to test out.
On This Page
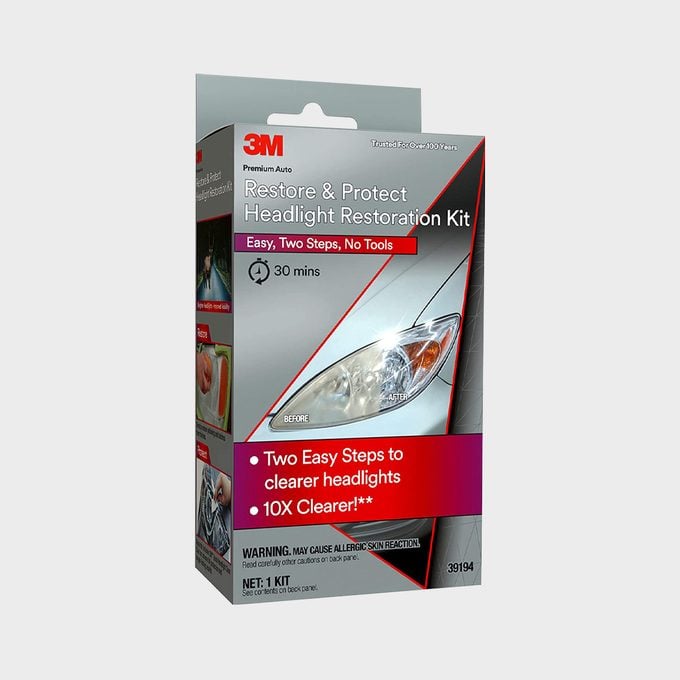
The 3M Restore and Protect Headlight Restoration Kit claims to make your headlights 10 times clearer, improve brightness by up to 200% and add a layer of UV protection. The two-step kit includes an instruction pamphlet, 1,000- and 3,000-grit refining discs, a foam sanding pad, a couple of clear coat wipes and one disposable glove.
The kit comes in a box about the size of your smartphone, only thicker. It’s affordable at less than $10, cheap enough to become a no-brainer for routine vehicle maintenance.
My headlights weren’t in bad enough shape to test this product. However, when a favorite colleague pulled into the office parking lot, his dim headlights gave me an idea. One cup of coffee and quick conversation later, I had the go-ahead to try it out on his ten-year-old car.
As I planned my test of the 3M Headlight Restoration Kit, I wondered if it would work on older, more damaged headlights. In a quick visit to a local junkyard, I scored a pair of headlights from a 15-year-old SUV and a 22-year-old pickup. We were ready to begin.
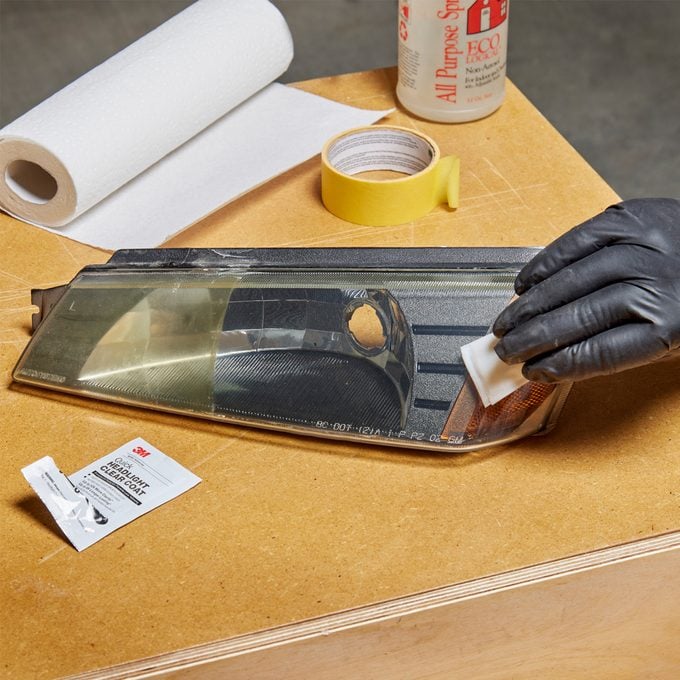
The 3M Headlight Restoration Kit instructions suggested I gather a spray bottle of water, paper towels and masking tape for automotive or delicate surfaces. So I did.
I popped the hood and taped off the perimeter finished surfaces to protect them from the abrasive pads. I was extremely careful and meticulous to prevent damage to my coworker’s car. Next, I finished the prep work by giving the headlights the recommended soap and water bath.
I attached the P1000 abrasive disc to the pad and start sanding. With the spray bottle, I wet the headlight and sanding disc liberally. I attacked the headlight with plenty of elbow grease, sanding vigorously and spritzing with water as needed.
With the P1000 disc, the goal is to remove yellowing, pitting, and surface defects from the lens. Each lens needed two to three minutes to take off all the discoloration and defects.
At this point, it was time to switch to the less-coarse P3000 disc and repeat the process, again dampening the disc and lens as I worked. 3M recommends you sand with this disc for twice as long as with the P1000 disc. That’s exactly what I did, until the headlight looked frosty and felt smooth to the touch.
Once I finished sanding both lights, I removes the masking tape and wiped down the headlight and surrounding areas with a clean towel and water. At this point, I was skeptical. The yellowish color was gone, but the headlights looked just as cloudy as before.
Then it was time to put on the glove and open a clear coat wipe. I applied the first coat to both headlights, starting at the top of the headlight and moving down, slightly overlapping each pass. The clear coat wipe immediately transformed the surface of the lens into something that looked like a new headlight. I got similar results with the junkyard headlights as well.
You may notice some dry spots as the clear coat dries, but don’t worry about touching them up — the second coat will cover them. Allow the first coat to dry for 15 minutes before applying the second coat, repeating the same wiping process. Seriously, you’ll be surprised to find your headlights look new again.
I had my doubts about the 3M Restore and Protect Headlight Restoration Kit, but those proved unfounded. You can clean headlights with toothpaste or other materials, but the kit works very well to restore them, enhancing and renewing all the headlights we treated with it.
Best of all, it’s inexpensive and easy to use, taking about ten minutes per headlight including the prep work. This product is a must-have if your headlights are cloudy or yellowing.
The 3M Restore and Protect Headlight Restoration Kit is available at Amazon.com. Looking for more options? Here’s everything you need to know about HID headlights.
Originally Published: July 25, 2022