


Save your hot water heater with a new thermocouple!
An hour or less
Beginner
Less than $20
Introduction
A hot water heater that doesn't heat might just need a new thermocouple. Learn how to replace this inexpensive part and keep your hot water heater working for years to come.Tools Required
- Adjustable wrench
- Wrench set
Materials Required
- Replacement thermocouple
Project step-by-step (3)
Step 1
Replace a thermocouple to fix a pilot light
Thermocouple

Unscrew the thermocouple lead along with the two gas tubes.
Water Heater Maintenance: Extend Water Heater Life
Step 2
Burner assembly

Remove the burner assembly and detach the thermocouple.
The No. 1 cause of pilot lights that won’t stay lit is a worn-out thermocouple. It’s easy to replace and a new one costs $5 to $10. Rather than trying to unfasten the thermocouple inside the water heater’s burning chamber, it’s easier to remove the whole burner and thermocouple assembly. Then detach the thermocouple from the burner and take it with you to the home center or hardware store to ensure you buy the right replacement.
First, shut off the gas valve on the water heater and the gas valve on the gas line near the heater. Then unfasten the three nuts that hold the thermocouple and the two gas tubes to the valve. The burner typically sits loosely—or under clips—in the burning chamber and just slides out.
Step 3
Vacuum
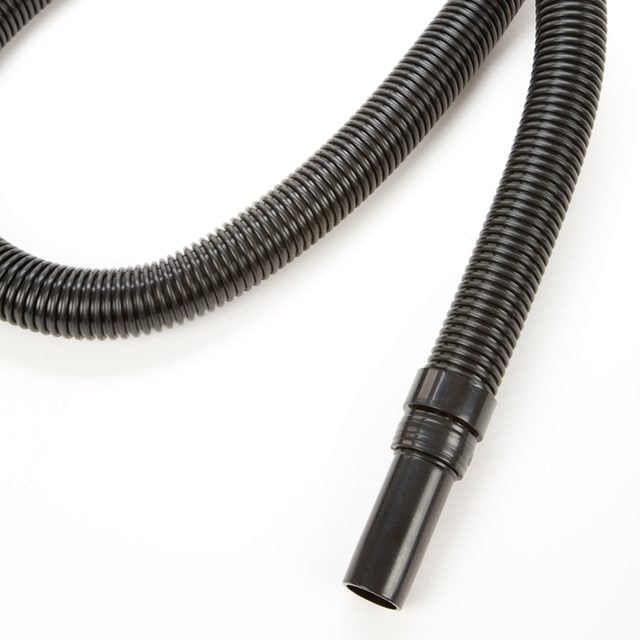
This is a good time to vacuum out the burner compartment, check for water leaks and remove debris in the burner ports. Attach the thermocouple and reinstall the burner assembly. Light the pilot following the instructions on the water heater. Check for gas leaks by applying soapy water to joints and looking for bubbles while the main burner is firing.