


Build this simple DIY range hood project by yourself.
Our editors and experts handpick every product we feature. We may earn a commission from your purchases.Learn more.


Updated Oct. 04, 2024
Build this simple DIY range hood project by yourself.
Our editors and experts handpick every product we feature. We may earn a commission from your purchases.Learn more.
Four Days
Beginner
$500 - $1500
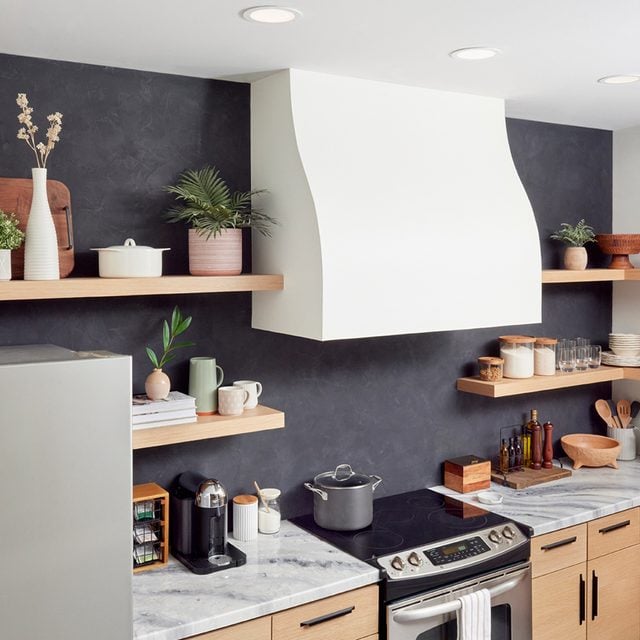
In this project, we'll show you how to design and install a range hood that could be the perfect final touch for your kitchen remodel.
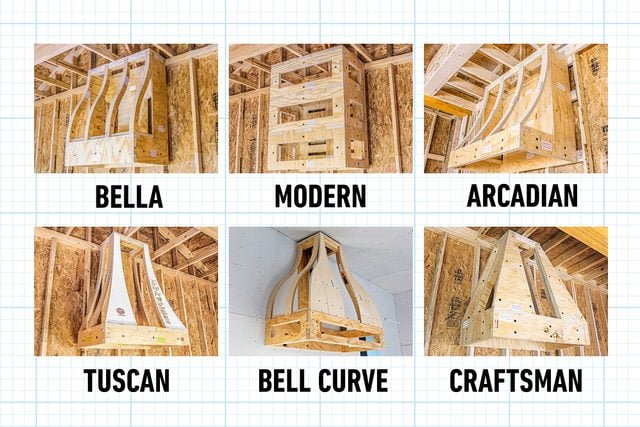
If you can’t find an off-the-shelf range hood that suits your kitchen, you can build your own from scratch — or you can take an easier route, like we did. Archways & Ceilings offers many range hood designs you can size perfectly for your space.
Once you’ve chosen your design and supplied dimensions (follow the instructions on its website), Archways & Ceilings cuts all the parts for your range hood kit and ships it to your door. You assemble the hood and finish it as you wish. On the following pages, we’ll walk you through the steps to install it.
Note: This is a four-day job.
First day: Hang the structure, apply the drywall and joint compound.
Second day: Sand and apply more joint compound and let it dry.
Third day: Finish sanding, prime and add first coat of paint.
Fourth day: Second coat of paint.
Archways & Ceilings offers an array of possibilities for customizing range hoods. Bella, the style we chose for our kitchen, is just one option. The company also makes curved framing kits for archways, ceilings and walls, or the “hard-to-build stuff.”
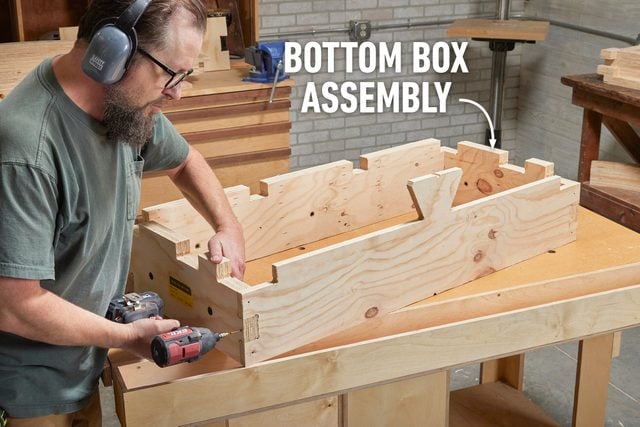
Gather your parts and assemble the hood’s bottom box with construction screws. All the parts have precut joinery for foolproof assembly.
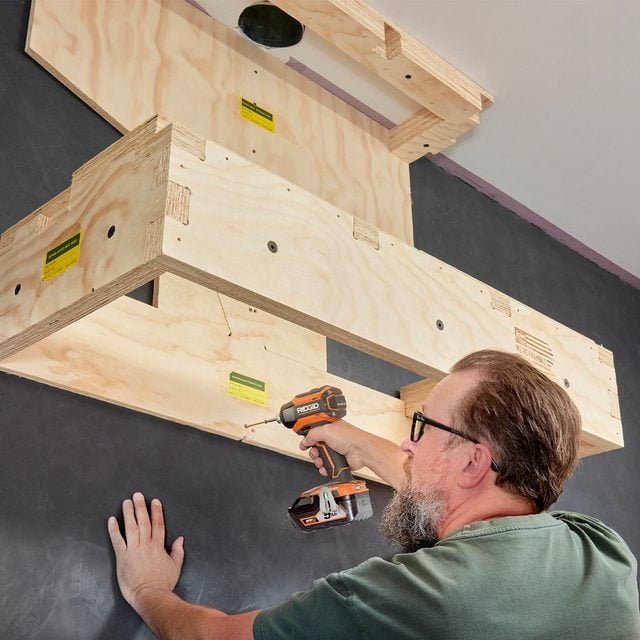
Put the top of the hood together, then hang it in place above the range, driving construction screws into the studs and joists. You could assemble the whole hood and install it as a unit, but it’s easier to do it piece by piece, even with a helper.
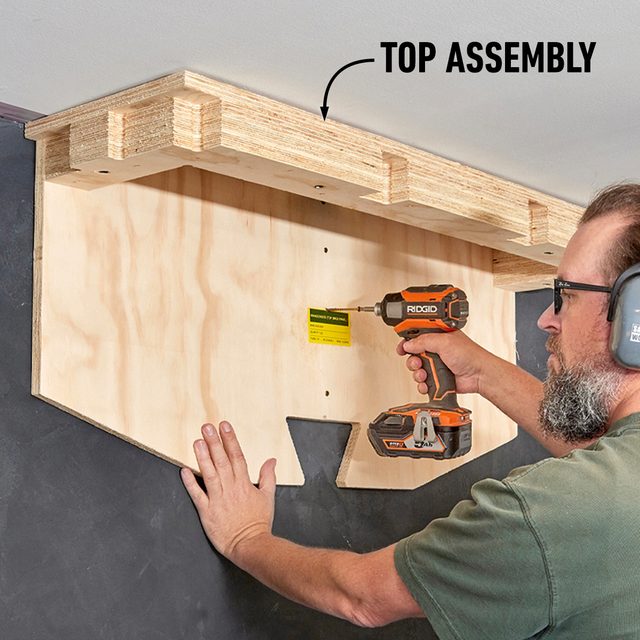
Slip the dovetailed back panel into its mating part in the top assembly, then secure it to your wall studs.

Lift the bottom box into position, connecting it to the back panel via a precut dovetail. Fasten the bottom box to the wall studs with construction screws.
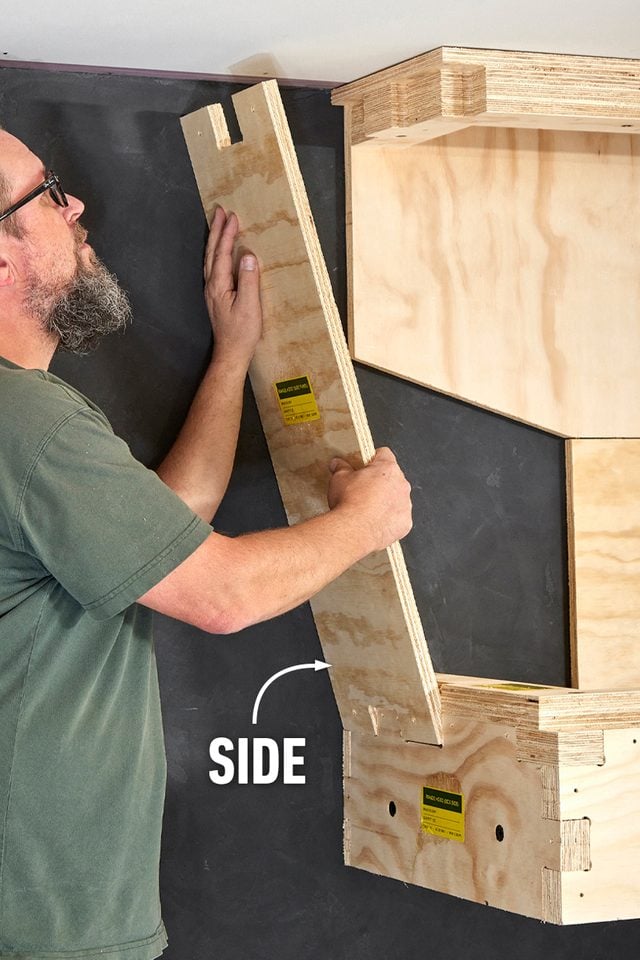
Fasten the sides to the assembly with screws or finish nails.
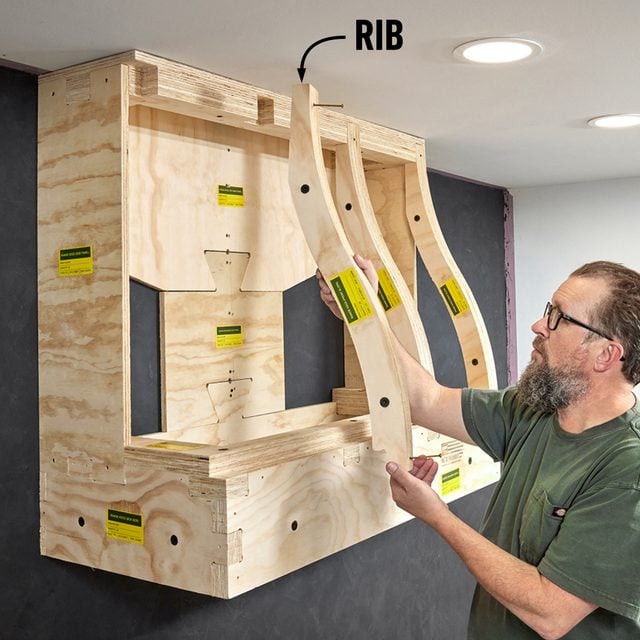
Slip the curved ribs into their indexed slots on the top and bottom boxes. Fasten them with finish nails or screws.
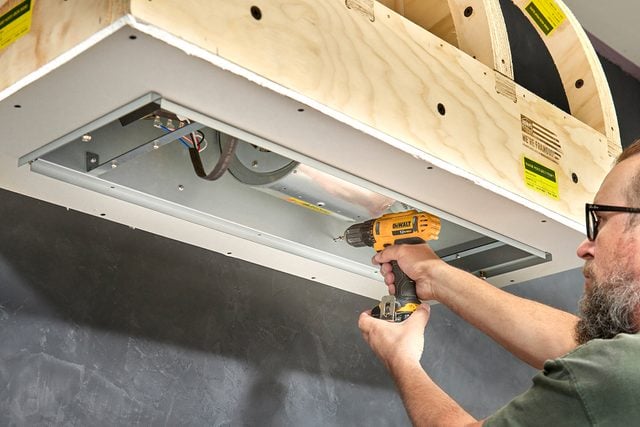
With the framework secured to the wall, install the fan according to the manufacturer’s instructions. Before you attach it, add any cleats and filler pieces needed to mount it and likely drywall the underside of the hood. After installing the fan, make the ductwork and electrical connections.
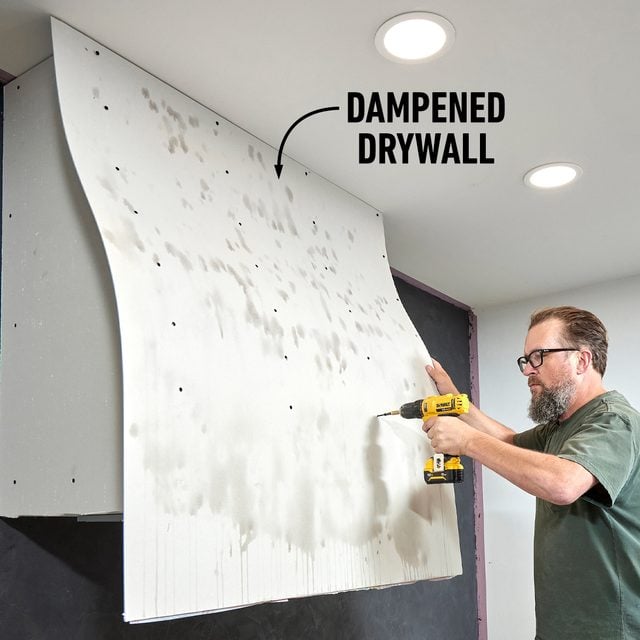
We chose to cover the hood with drywall for painting. For the curved front, dampen both sides of the drywall and carefully bend it onto the form, fastening as you go. We used two layers of 1/4-in. drywall here to meet fire code, and 1/2-in. drywall for the flat parts.
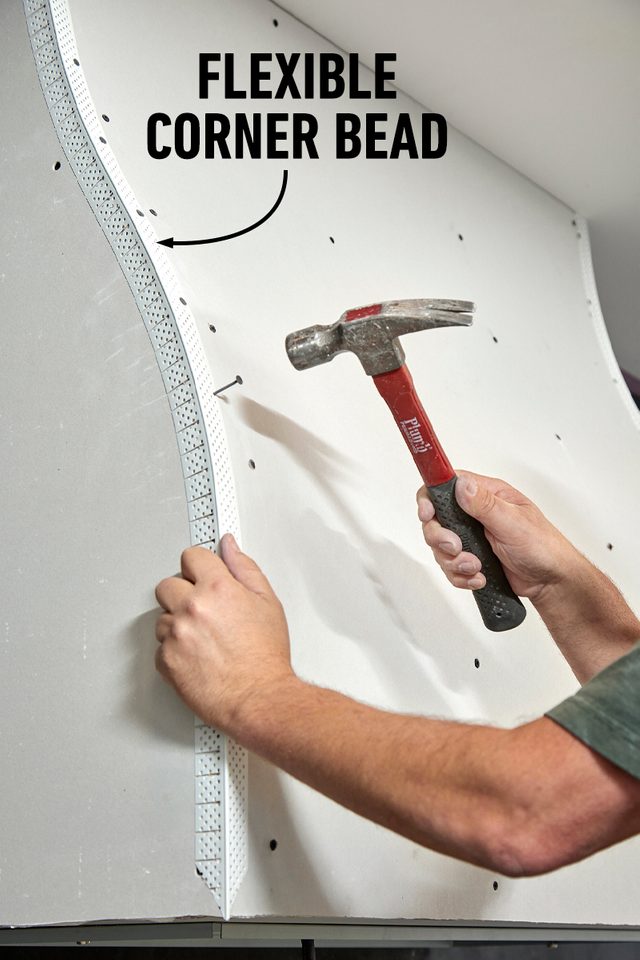
Apply flexible corner bead and joint compound to the curved edges. We used the flexible bead on all the joints for uniformity.
Once the joint compound is dry, sand it smooth. This typically requires more than one coat. If you’re installing the hood on a finished wall, mask off the surrounding surfaces; this is a messy job.
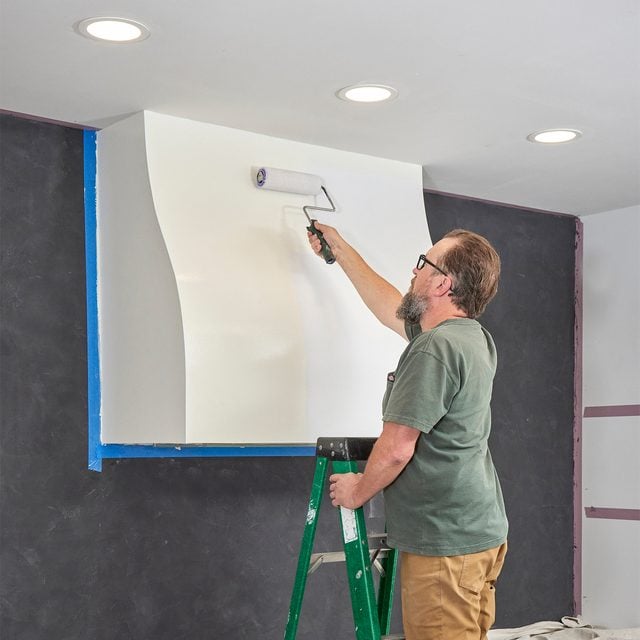
When the last coat of joint compound is sanded smooth, apply a drywall primer. When that’s dry, roll on your paint and you’re done!
Originally Published: August 30, 2022