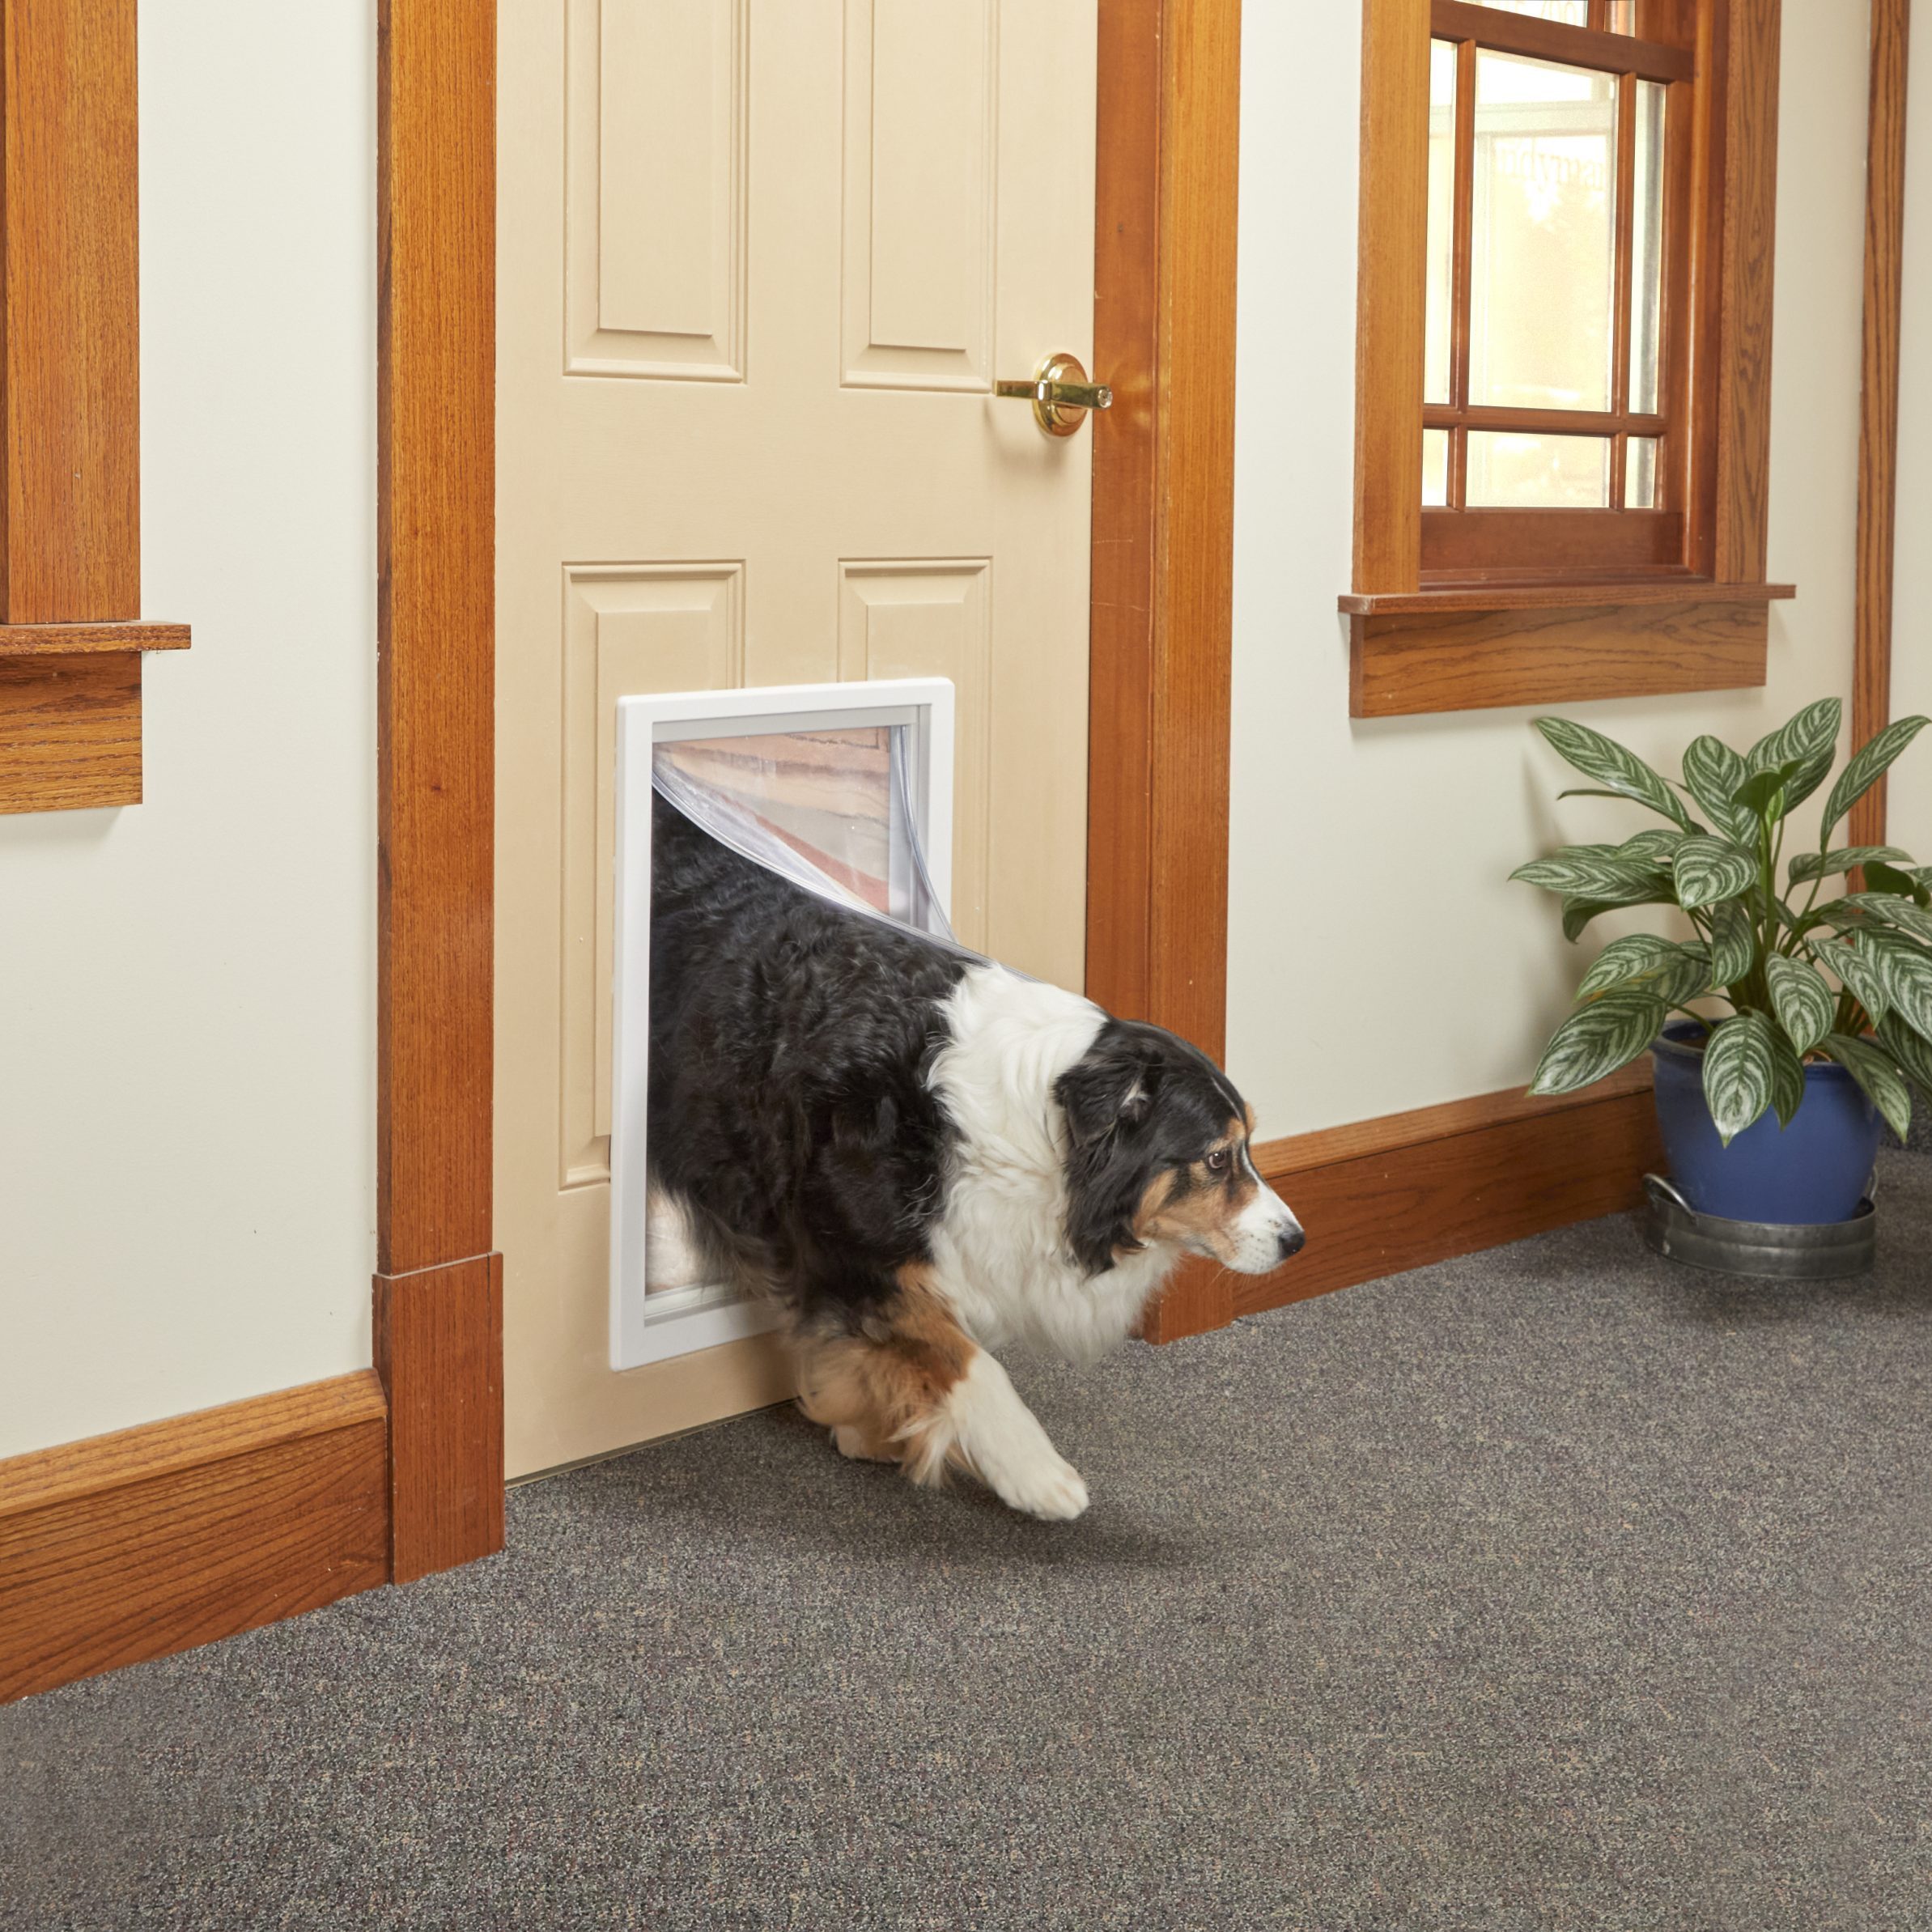
How to Install a Dog Door

Here's an easy project for a neophyte DIYer.

Next Project
Time

An hour or less

Complexity

Beginner

Cost

$50-75

Introduction

Learn how to purchase and install a dog door in less than an hour.

Tools Required

  • Caulking gun
  • Drill
  • Flathead screwdriver
  • Hammer
  • Jigsaw
  • Measuring tape
  • Pencil
  • Phillips screwdriver
  • Safety glasses

Materials Required

  • Dog Door
  • Exterior caulk

Project step-by-step (6)

Step 1

Purchasing a Dog Door

  • Before heading off to the store to purchase your dog door, know EXACTLY how large a dog you’re dealing with. Don’t guess. Measure the height and width of your dog standing, then add two inches to both dimensions. This will help you determine the size (and eventually placement) of the door you’ll buy.
  • Next, measure your exterior door to be sure the dog door you purchase will fit.
  • Dog doors come in various sizes and prices, including some that can be installed inside your wall. Choose a dog door that best fits your situation.

Fh22d Dogdoor 03 24 003Family Handyman

Step 2

Remove the Door

  • Removing the door will make your job much easier. Using a flat blade screwdriver and a hammer, pop the hinge pins from the hinges. Then carefully remove the door from the door jamb and place it on a solid work surface or sawhorse.

Fh22d Dogdoor 03 24 001Family Handyman

Step 3

Lay Out the Opening

  • Use the dog door frame as a template and place it in the center of the door at the determined height. Be sure it’s square with the door from left to right and top to bottom.
    • Important: The cutout of the opening should be at least four inches from the bottom of the door.
  • Hold the door frame in place and, with a pencil, trace around the outside edge of the frame. Make marks where the holes need to be drilled.

Fh22d Dogdoor 03 24 005Family Handyman

Step 4

Drilling and Cutting

  • At all your marks, drill 3/8-inch holes through the door.

Fh22d Dogdoor 03 24 008Family Handyman

  • Using a jigsaw, start in one corner and cut the opening for the dog door along the outside of your line.

Fh22d Dogdoor 03 24 010Family Handyman

Step 5

Install the Dog Door

  • Test fit the outer frame into the opening by inserting it from the exterior side of the door, adjusting the opening as needed.
  • Add a bead of caulk around the inside perimeter of the outer frame and insert it into the opening.

dog doorFamily Handyman

  • Add another bead of caulk around the inside perimeter of the inner frame, then place it into the opening from the inside.
    • Note: If your exterior door has raised panels, add more caulk around the perimeter of the outside frame to keep water from entering.
  • Secure the two frames together with the screws provided.

Fh22d Dogdoor 03 24 012Family Handyman

Step 6

Install the Door

  • Install your door by aligning the hinges on the door with the hinges on the door jamb. Then tap the hinge pins back into the hinges, being careful not to pinch your fingers.
  • Enjoy your new dog door. Also, learn how to winterize a dog door.

Fh22d Dogdoor 03 24 013Family Handyman