


How to Install a Storm Door

Updated: Aug. 17, 2023
Want to enjoy the fresh air and breeze without the bugs? Here's how to install a storm door with ease.
An hour or less
Beginner
$101–250
Introduction
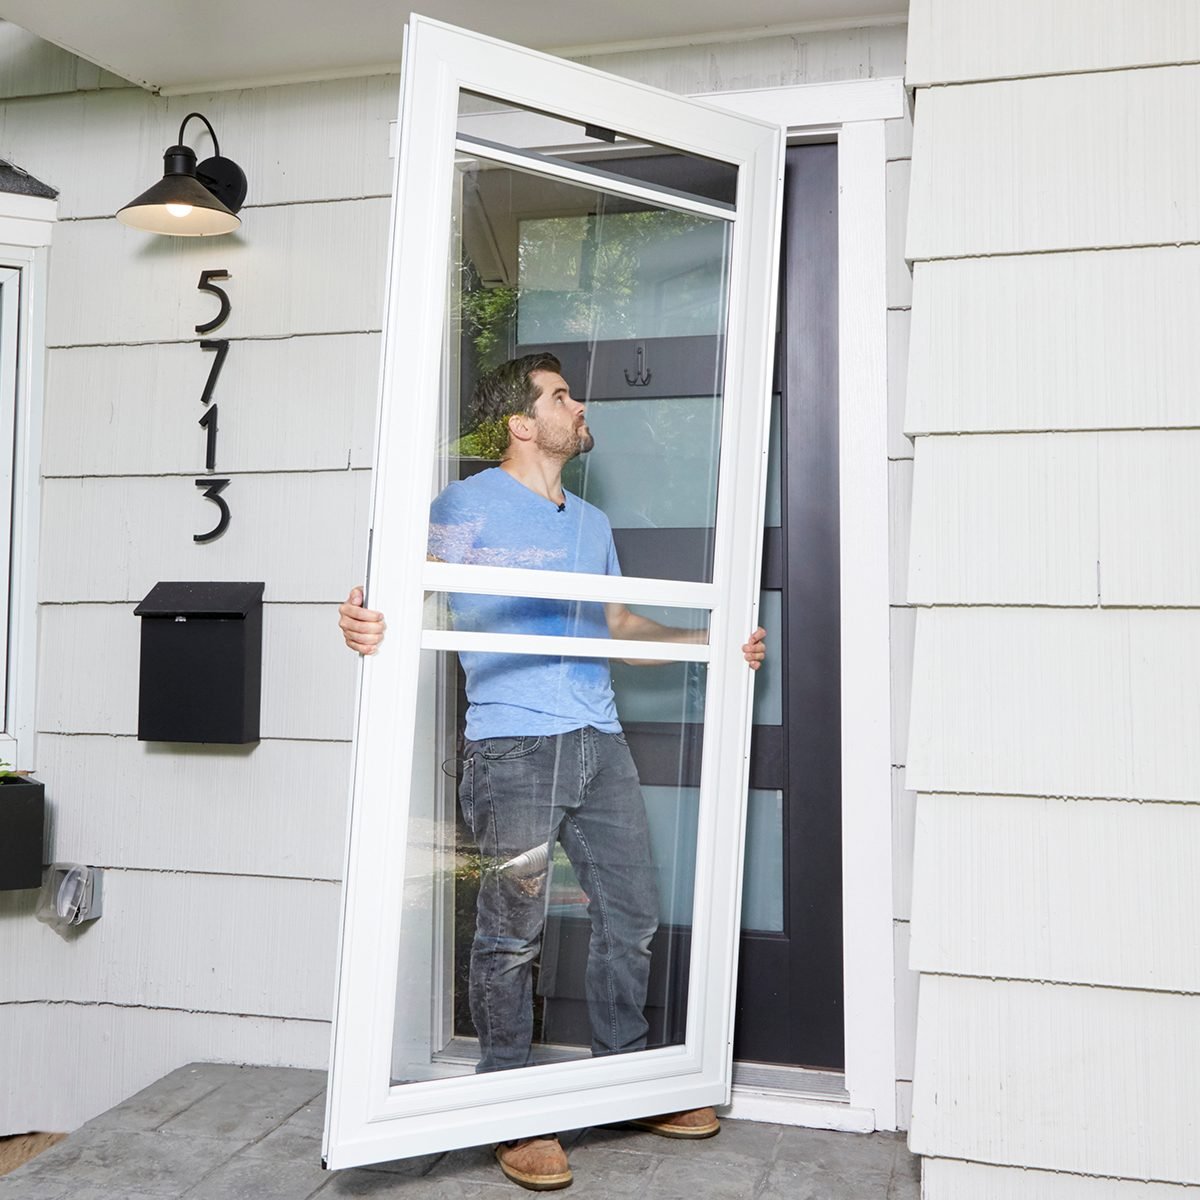
These easy-to-install storm doors with a roll-away screen are a great way to let the breeze flow into your house on a beautiful day and keep the weather out when it's not so nice. They definitely live up to their quick-and-easy name. In about a half an hour I had my new door installed and working perfectly. Follow along as I show you how to install one.Tools Required
- Drill
- Drill bits
- Phillips-head screwdriver
- Safety glasses
Materials Required
- Handle Hardware
- Screen Door
Project step-by-step (10)
Set the placeholder screw
Hold the hinge tight to the trim and drive a screw in the top hole. Leave a 1/8-inch gap between the screw head and the trim. Remove the hinge rail.

Storm door assembly
Put the door on a pair of sawhorses. Screw the hinge rail to the door, cover the unused mortise hole, slide on the adjustable door sweep and slip on the extender rail cap.

Install storm door
Hang the hinge rail onto the placeholder screw and tighten it to hold the door in place.

Fasten the hinge rail
Drive screws along the inside of the hinge rail. Slide the rail cap down to the door’s sill, then fasten the outside of the hinge rail to the trim.

Install drip cap and latch rail
Adjust the storm door so that the drip cap and the edge of the hinge rail line up. Hold it tight to the trim and fasten it with screws. Install the latch rail tight to the drip cap and lined up with the edge of the drip cap, then fasten it with screws.

Drill holes for the latch
Snap the drilling guide on the door and drill the holes with the provided spade bit from both sides.

Insert the lock body
Slide the lock body into the mortise and fasten it with a screw. If the latch isn’t facing the right direction you’ll have to unscrew the front of the lock body and spin the latch.

Storm door handle installation
Place the face plates at each side of the opening. Push the handle rod through the face plate and lock body and secure the other storm door handle with a set screw.

Make room for the latch and deadbolt
The latch and deadbolt should be able to extend all the way into the latch opening. If not, you’ll have to drill and chisel out a space or mortise in the trim. One way to do this is to use a chisel.

Installing a storm door closer
Screw the side jamb bracket to the hinge side jamb, then insert the storm door closer with the short connecting pin. Pull the closer rod out slightly, then attach the door bracket to the door. Connect the closer to the bracket with the long pin.

Originally Published: January 29, 2021