


If your front-loading washer won't drain, something's probably stuck. Here's how to diagnose the problem and fix it.
An hour or less
Beginner
Free
Introduction
As an appliance technician with more than 30 years experience, the most common problem I see with washing machines is a failure to drain. The most likely reason isn't a broken pump — it's a clogged pump.
Small items can be sucked into the drain assembly during the drain cycle, blocking the flow of water. Here’s a small list of things I’ve pulled out of washer drains over the years: Baby socks, panties, thongs, a $20 bill, bra wires, guitar picks, lots of coins, hair pins, hair ties, rubber bands and so on.
The solution is easy: Always empty the pockets of your clothes before washing. And put small clothes in zippered mesh bags to keep them from being sucked into the drain.
I hardly ever replace a washer’s drain motor, except in LG washers. LG drain motors tend to stop working around the fourth year of operation. With other brands, if a washer won’t drain, it usually means something is blocking the flow of water or preventing the drain impeller from turning.
Symptoms of a washer with a drain problem are:
- The cycle ends and the tub is still full of water.
- Faint humming sound from stuck impeller when the washer is set for drain/spin.
- The cycle ends and the clothes are sopping wet.
- Error code displays. All these codes mean no drain: OE, LD, ND.
- The washer won’t spin. It can’t when it’s full of water.
Here’s what to do to fix it.
Tools Required
- 1/4-in. Driver
- Flashlight
- Large pan or bucket
Materials Required
- Bath towel
Project step-by-step (7)
Step 1
Expose the Drain’s Coin Trap
- Unplug the washing machine.
- Locate the lower panel below the washer door.
- Some washers have a small door in the lower right or left corner of the front panel to access the coin trap. That’s a plastic tray with holes in it that catches coins and other small items before they contact the drain impeller. Just hinge this door open. Some washers have a rectangular lower panel that spans the entire width of the front panel. Use the 1/4-in. nut driver to remove the screws below the lower panel.
Pro tip: Lean the washer back. Put something solid that’s about two inches thick under the washer to make it easier to reach the screws on the bottom of the lower panel.

Step 2
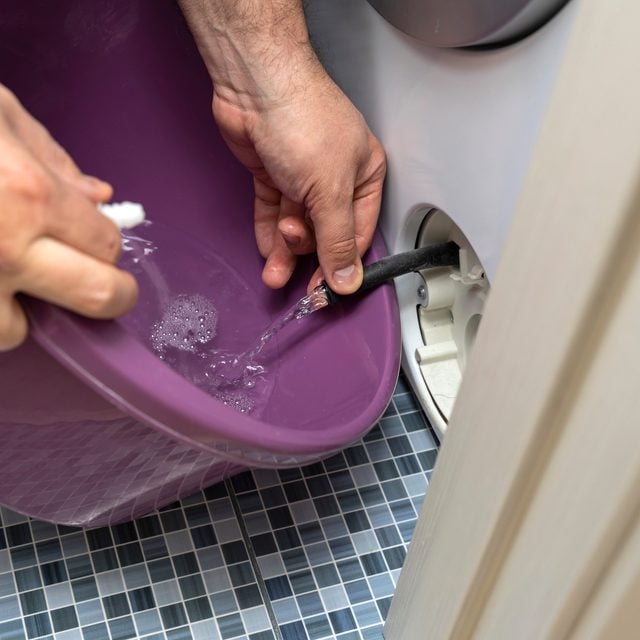
Drain Out The Water
- Pull out the small tube next to the coin trap and put it over the pan or bucket.
- Remove the plastic stopper in the tube to let the water drain.
- Put the stopper back in once the bucket is almost full.
- Pour out the water. There may be a lot of it.
- Repeat this process until no more water comes out.
Some washers lack a small drain tube to remove the water. If your washer doesn’t have this drain tube:
- Put a bath towel on the floor in front of the coin trap cover.
- Put the pan or bucket on the towel directly under the coin trap cover.
- Slowly turn the coin trap plastic cover counterclockwise until a little water dribbles into the bucket.
- When the bucket is almost full, turn the coin trap cover clockwise to tighten it and stop the flow of water.
- Repeat until no more water comes out.
Recent Whirlpool models don’t have front access to the coin trap cover. If you own one of these washers:
- Move the washer two feet away from the wall and remove the 10-1/4-in. screws securing the back panel to the washer.
- Remove the back panel.
- The coin trap cover, pointing toward the side of the washer, will be visible under the tub.
- Access the drain coin trap and follow the procedure above to get the water out.
Step 3
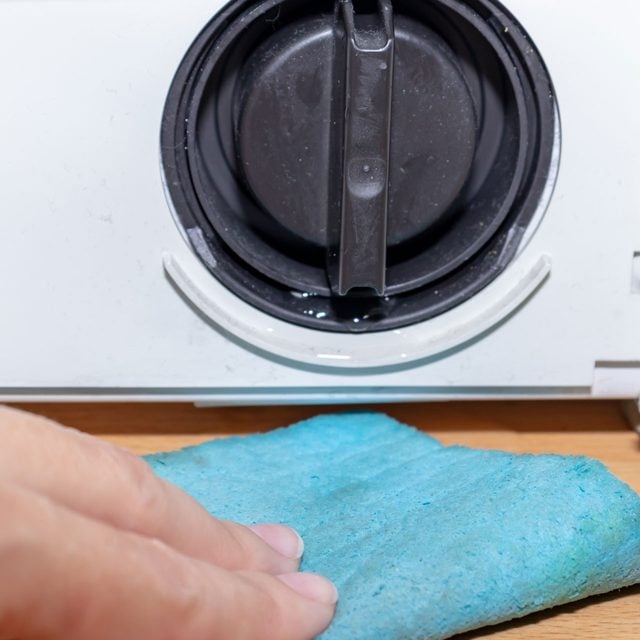
Remove the Coin Trap Cover
- Unscrew the coin trap cover by turning it counterclockwise.
- Make sure all the water is out before removing the cover.

Step 4
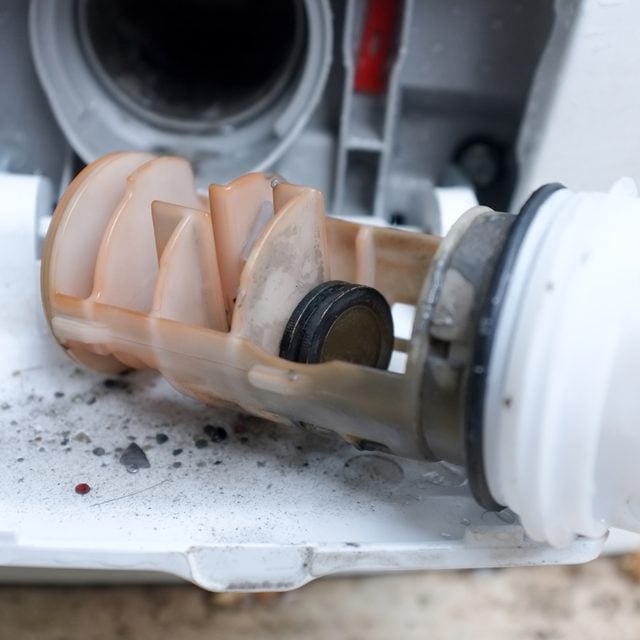
Pull Out the Coin Trap
- Pull the coin trap shelf toward you to get it out of the drain.
- It can take some muscle to remove if there’s a clothing item wedged into it.
- Look at the coin trap shelf to see if you can find the source of the clog.
- Pull out everything you find.
- Take the flashlight and look behind where the coin trap sits inside the drain assembly. See if anything is stuck in the tube between the tub and the back of the coin trap.
- If you see something, carefully pull it out with your fingers or pliers.
- Take it slow. An article of clothing in that tube may hold back a lot of water that will come rushing out when you remove the item.
Step 5
Reinstall the Coin Trap and Cover
- Wiggle the coin trap shelf back into the drain, keeping it horizontal.
- Tighten the coin trap cover by turning clockwise until it won’t turn any more.

Step 6
Reinstall the Lower Cover
- Put the lower panel back on and reinstall the screws.
- For washers without the lower panel, reinstall the back cover and screws.
Step 7
Plug In the Washer and Start a Normal Cycle
- Plug the washing machine back in and start a normal cycle.
- As it fills, watch for any signs of a leak. If you see water leaking from the washing machine, press the cancel button. That will stop the water from filling and activate the drain.
- If it passes the leak test, start a spin cycle to test the drain.
Your washer should now drain quickly and fully. Next, learn how to fix a slow-filling washing machine.

Originally Published: February 08, 2022