


Slow-Filling Washer? How To Check (and Replace) the Water Fill Valve

Updated: Apr. 01, 2022
If your water inlet screens are clean, it's likely time to replace the water fill valve. You can do it yourself with these step-by-step instructions.

An hour or less
Beginner
Less than $100
Introduction
Fixing your slow- or no-fill washing machine can be easy, with this simple water inlet screen cleaning technique that often solves the problem. If the screen cleaning doesn't solve the problem, it's time to order a new water fill valve.
The water fill valve is an electronically controlled device that opens up allowing hot and cold water to flow in. Once the water level is high enough, the power to the water fill valve is turned off and the water flow stops.When a water fill valve malfunctions, it either doesn't open up enough or not, affecting the water entering the tub. On rare occasions, a water fill valve will not fully close allowing water to continually enter the tub even when the washer is off and unplugged.
Water fill valves are inexpensive and easy to replace. The following are the steps tto replace your washer's water fill valve:
Tools Required
- 1/4-in. nut driver
- Pliers
Materials Required
- Tape
- Washing machine water fill valve
Project step-by-step (11)
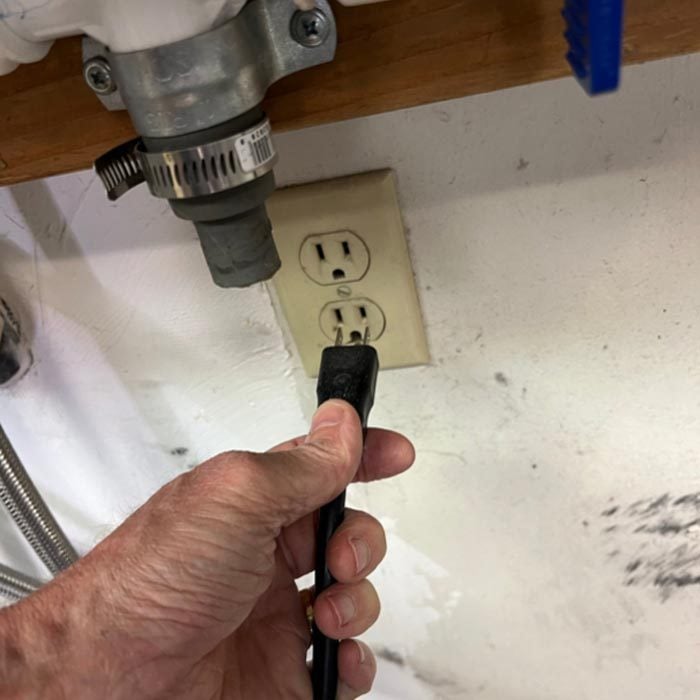
Unplug the washer
- Safety first. Always unplug the washer from the wall outlet before repairing it.
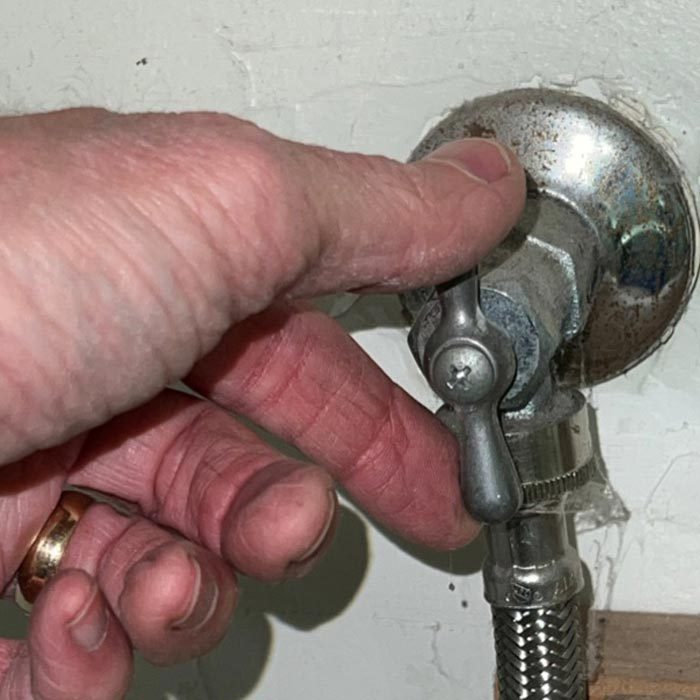
Turn off water valves on the wall
- Turn the hot and cold water shutoff valves on the wall all the way clockwise to shut off water to the washing machine.

Move washer away from the wall
- Move the washer out from the wall to give you room to work.
Tip: Spray glass cleaner under the feet of your washer to make it easier to move.
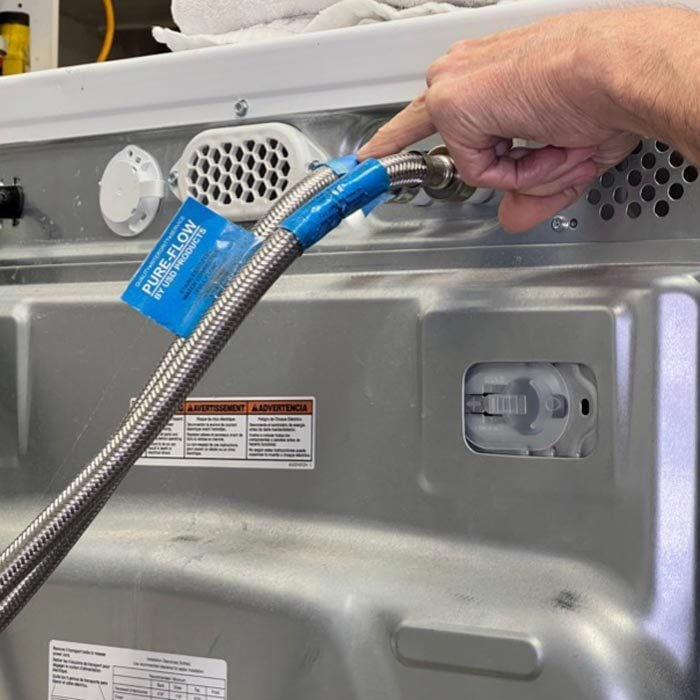
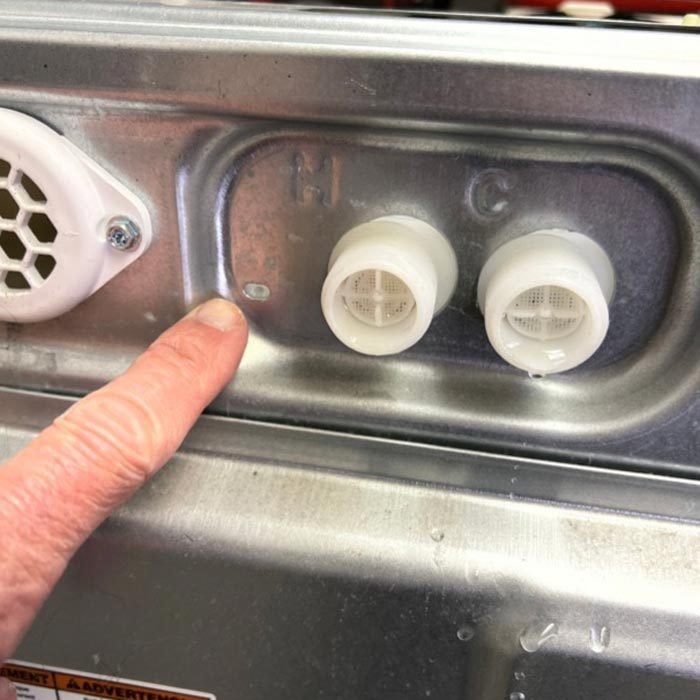
Remove water fill hoses from the back of the washer
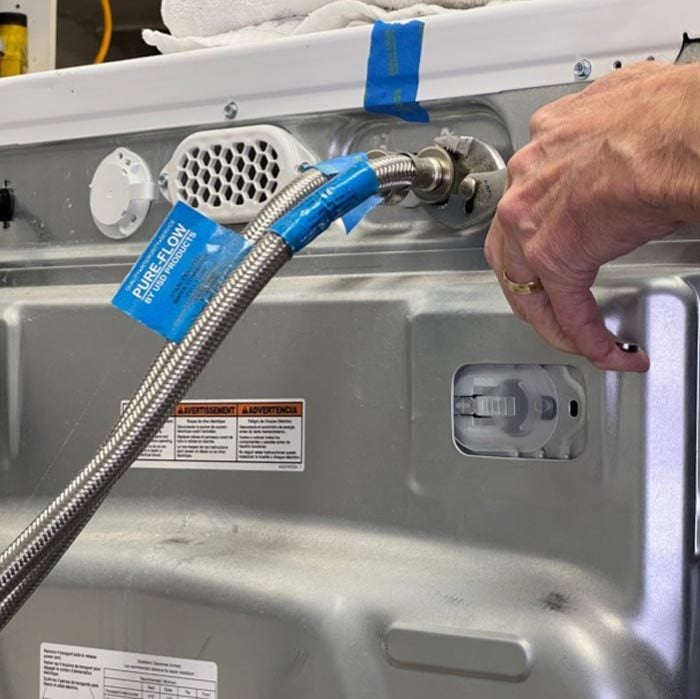
- Mark the hot water fill valve behind the washer with a piece of tape. It will probably have a big “H” stamped into the metal to indicate the hot side. Also, one hose may be warmer than the other;
- Unscrew the hot and cold water fill hoses using pliers, turning counterclockwise.
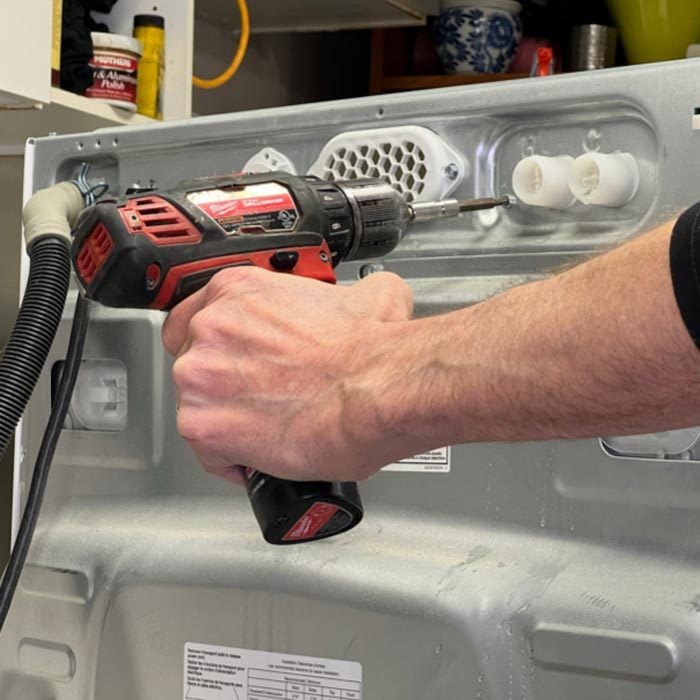
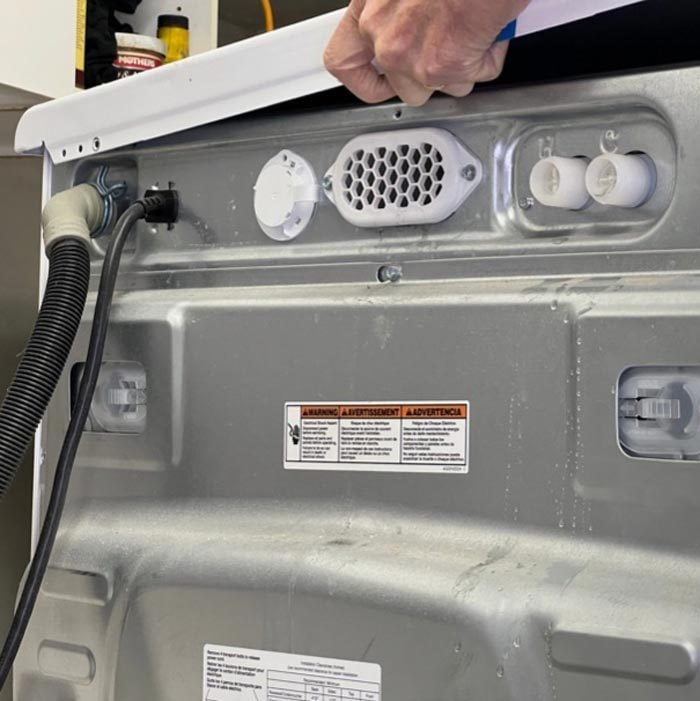
Remove top panel of the washer
- Remove the screws from the back of the top panel and slide the top panel toward the back of the washer one inch;
- Lift the top panel off the washer.
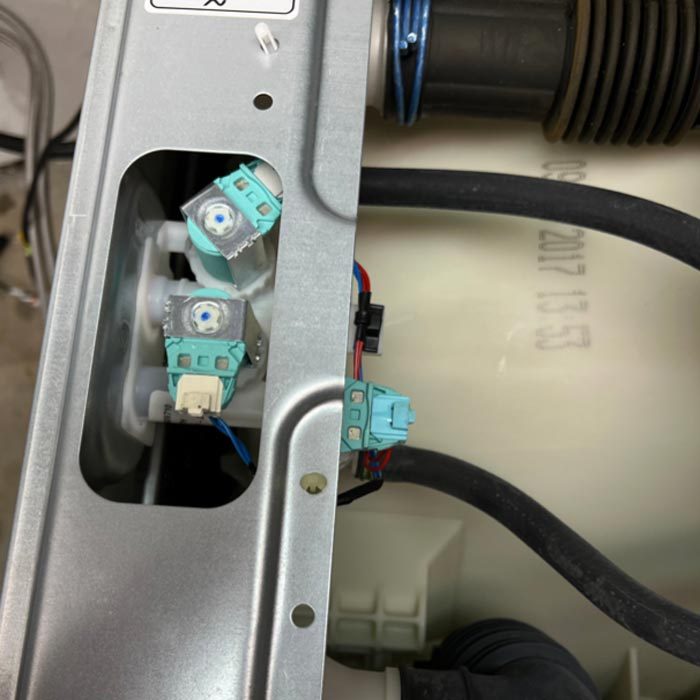
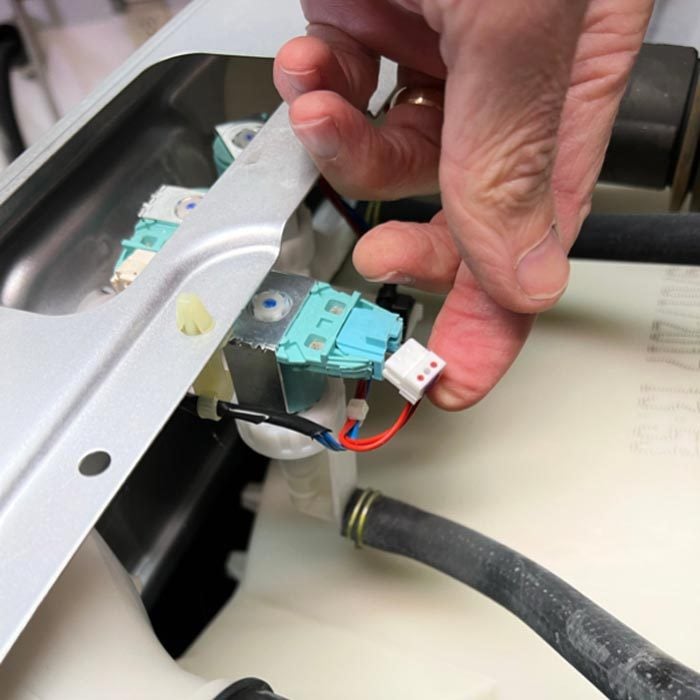
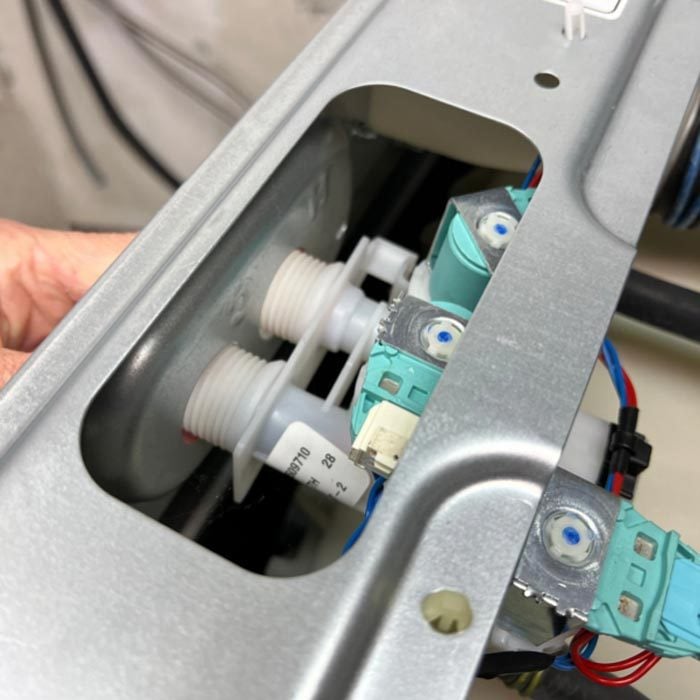
Remove electrical connectors from the fill valves
- Mark the electrical connector that goes to the hot side fill valve with a piece of tape;
- Remove the electrical connectors by wiggling them away from the valve.
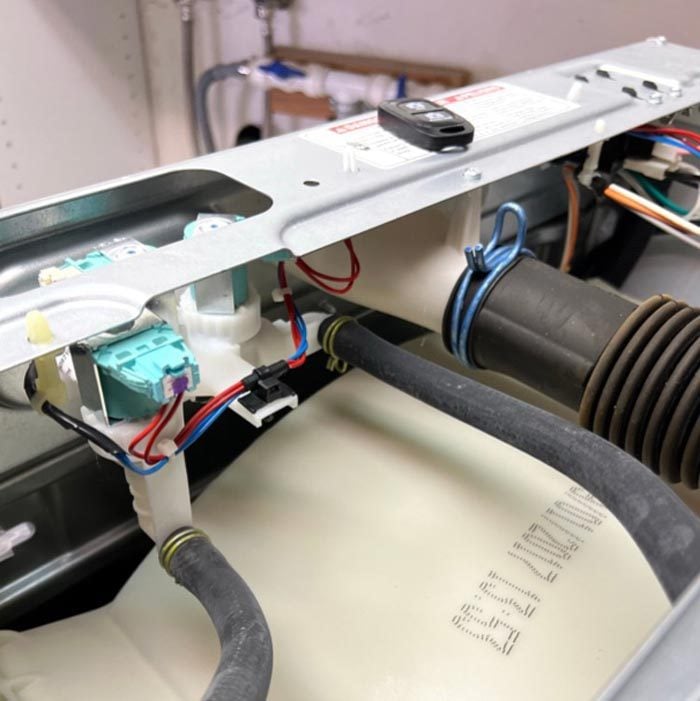
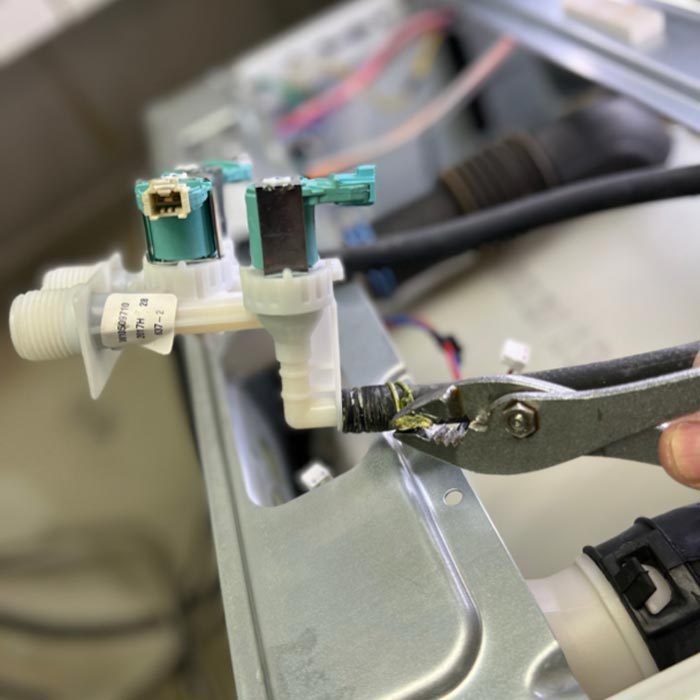
Remove rubber hoses from the back of the fill valves
- Mark the rubber tube that goes to the hot side fill valve with a piece of tape;
- Use pliers to squeeze the hose clamps securing the rubber tubes to the fill valves;
- Wiggle the rubber hoses off the fill valves.
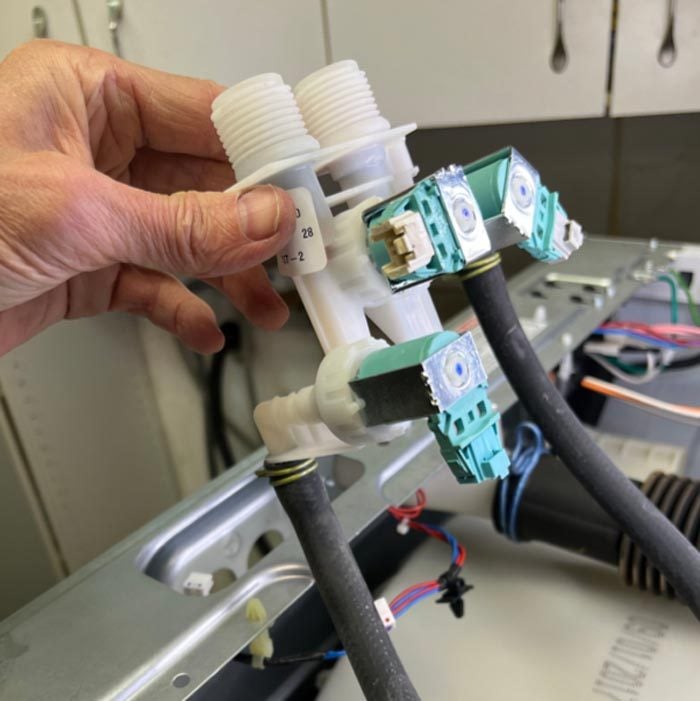
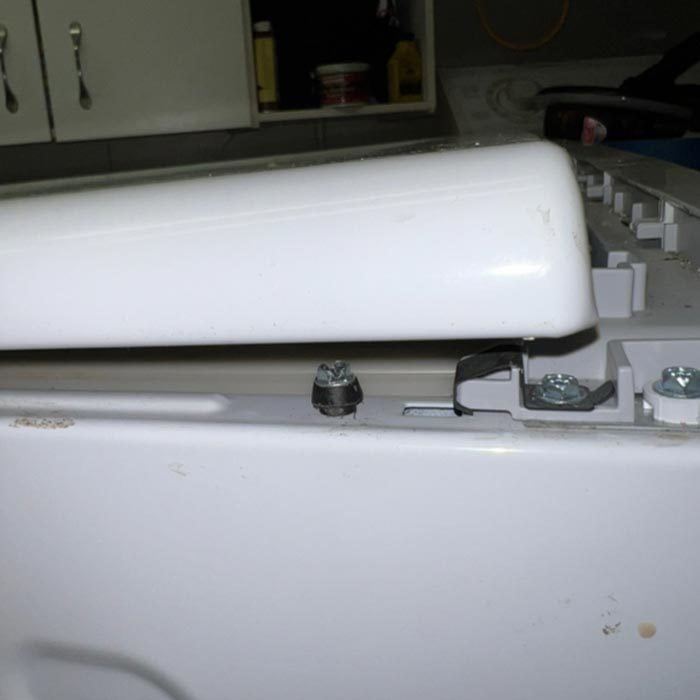
Unscrew the screw holding the fill valve to the washer
- Unscrew the screw or screws securing the fill valve to your washer. The screws can be seen from the back of your washer, near where the hoses attach;
- Push the fill valve to the left by one-quarter inch and wiggle the whole valve out of the washer through the opening on top.
Install a new fill valve
- Push your new fill valve in through the holes in the frame of your washer and slide the new fill valve to your right (as viewed from the back of the washer) to lock it in;
- Refasten the screw or screws to hold the valve to the washer;
- Put the rubber hoses on the new fill valve;
- Use pliers to squeeze the hose clamps back over the ends of the rubber hoses to hold them on the fill valve;
- Wiggle the electrical connectors back on to the fill valve.
Put the top back on
- Fasten the screws to the back of the top panel to secure it;
- Carefully screw the threads of the fill hoses back on to your new fill valve. They should easily screw back on clockwise two full revolutions with very little resistance. If you feel resistance right away, start over and make sure the threads on the hose are going on straight (not at an angle). Once they are hand-tight, use a pliers to turn a little more clockwise making it snug;
- Turn the water shutoff valves on the wall counterclockwise to fully open them.
Testing and adjustments
- Plug in the washer;
- Start a small cold cycle, to test how well it fills;
- Start a small hot cycle, to test how well it fills;
- Check the fill hoses on the back to make sure there’s no leak. If there’s a leak, use pliers to slightly tighten up the connections;
- Push your washer back in place.
Originally Published: April 01, 2022