


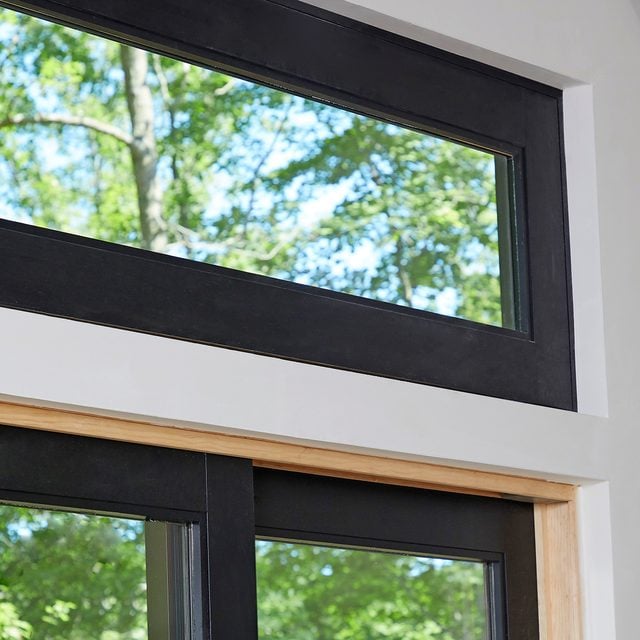
Give your windows trimless style using drywall returns.
Multiple Days
Intermediate
$150 - $400
Introduction
Installing wood trim around windows can be expensive and time consuming. Drywall returns eliminate that time and expense.
Most windows are installed using wood jamb extensions to finish the rough opening; these pieces extend the window jamb to the interior wall. Window trim then covers the jamb extension and provides the finished and trimmed look we all know.
In the Getaway, we used drywall in place of jamb extensions and wood trim. This drywall return method finishes our windows with a modern trimless look. It required a bit more drywall work, but saved us time and money by eliminating wood trim and its finish carpentry.
Tools Required
- Drill/driver - cordless
- drywall mudding tools
- Drywall rasp
- Safety glasses
- Staple gun
- T-square
- Tape measure
- Tin snips
- Utility knife
Materials Required
- 1-1/4-in. drywall screws
- 1/2-in. drywall
- 3/8-in staples
- Corner bead
- Drywall compound
- Drywall sanding paper
- Inside tear-away bead
Watch Trimless Windows: How to Achieve the Look
Project step-by-step (9)
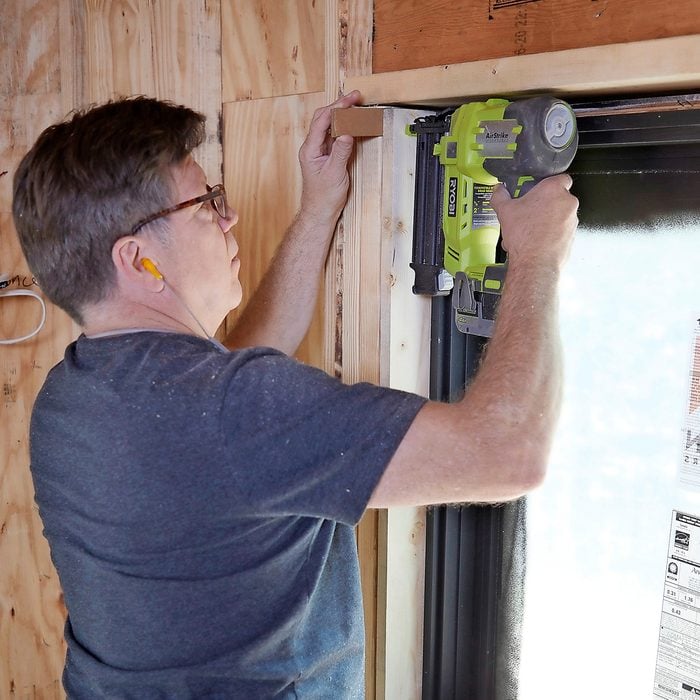
Step 1
Prep the Rough Opening
- Not all windows are perfectly centered in their rough opening. To center them, you may have to shim the sides, top or bottom of the opening. The goal is to achieve an even reveal between the window and the drywall return around the inside perimeter of the opening.
- You can purchase drywall shims or make your own by ripping different thicknesses of plywood.
- Attach the shims to the rough opening using staples or finish nails.
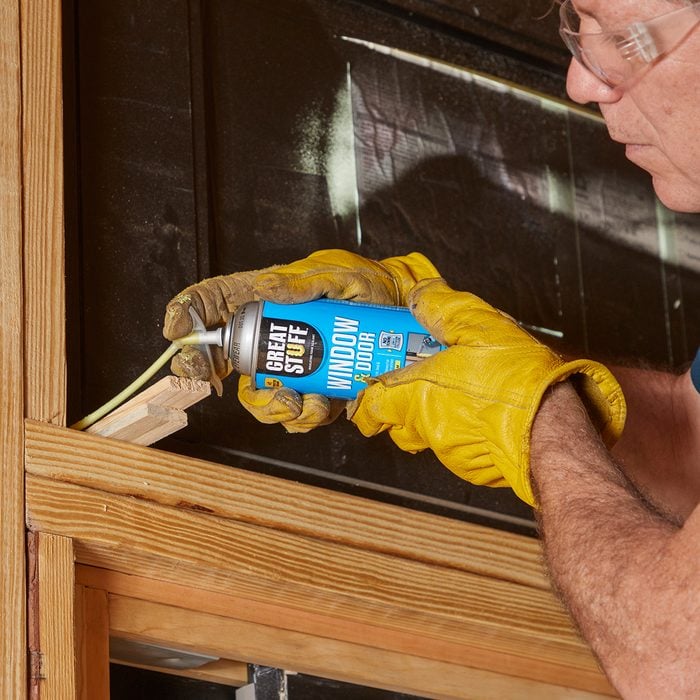
- Always insulate around the window with spray foam or fiberglass insulation.
Step 2
Measuring
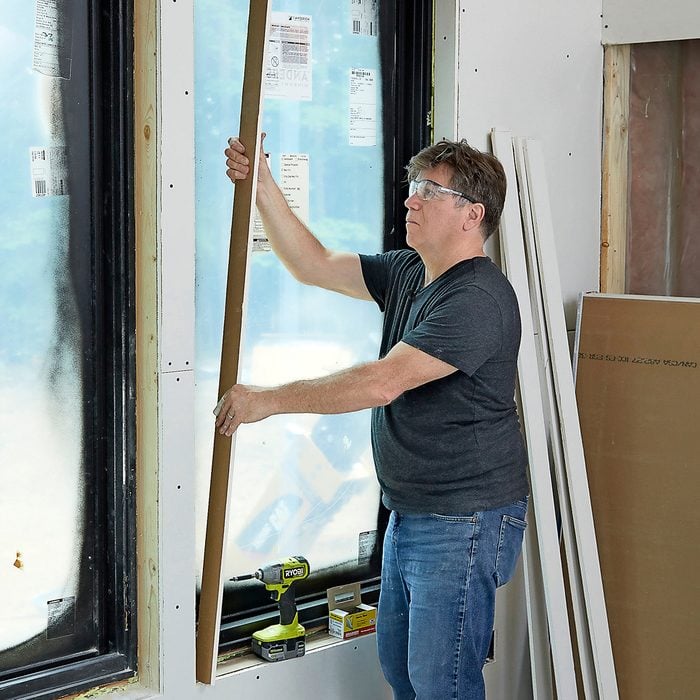
- Measure the depth of the window return from the inside face of the window to the wall’s outer surface. Subtract 1/4-inch. Now, measure the height of the side returns from the top to the bottom of the rough opening.
- Next, measure the length of the top return from left to right and subtract the thickness of both pieces of drywall.
- Transfer all these measurements to the drywall sheet.
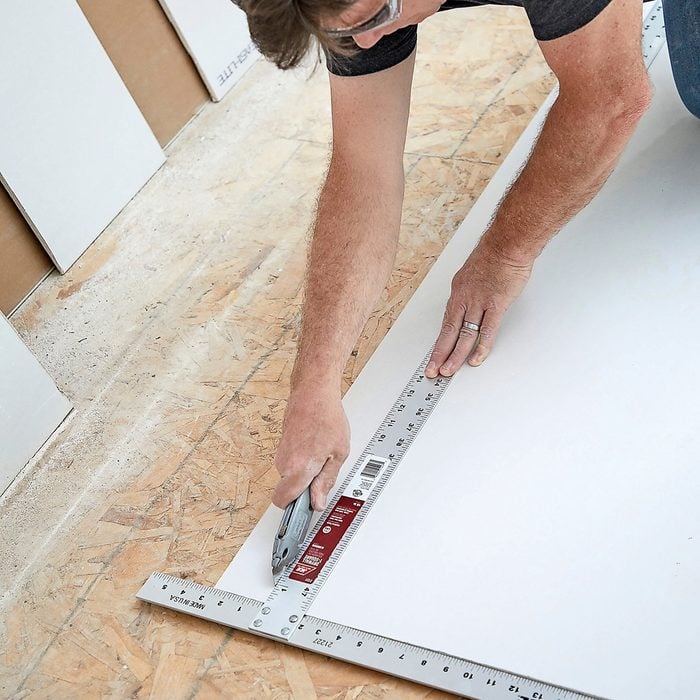
Step 3
Cut the Returns
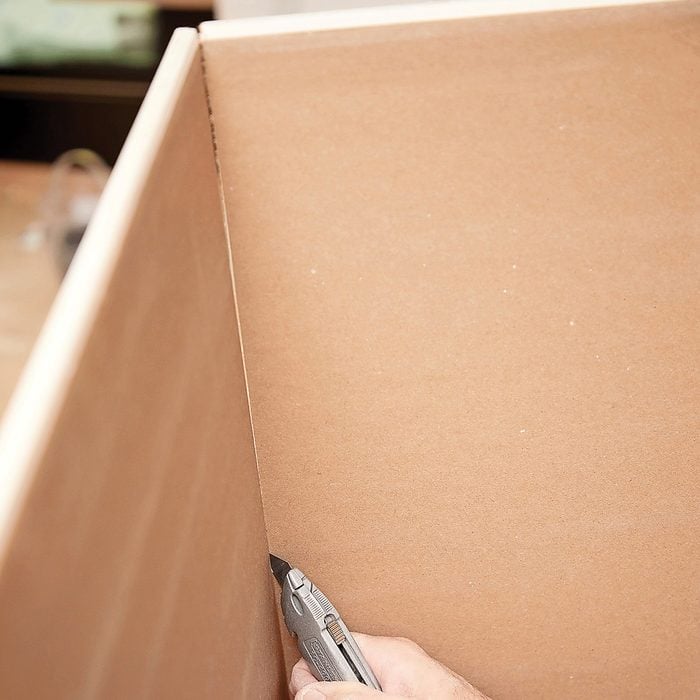
- Score the drywall along your line using a utility knife and straightedge. You need to cut through only the paper on the first pass.
- Let the sheet of drywall overhang your work table past the score line (or place a 2×4 beneath that scored line). Push the board down away from you and the drywall will snap on the line you cut.
- Cut through the backside of the drywall paper along the crease.
Step 4
Attach Returns
- Place the drywall return on the underside of the top window return, keeping it 1/4-in. from the window and flush with the wall. Attach the piece with drywall screws, two screws every 12 inches.
- Use a drywall screw bit or set the clutch on your cordless drill so you don’t drive the screws in too deeply. The screw heads should be below the surface but shouldn’t break through the paper.
Step 5
Cut and Attach Inside Corner Bead
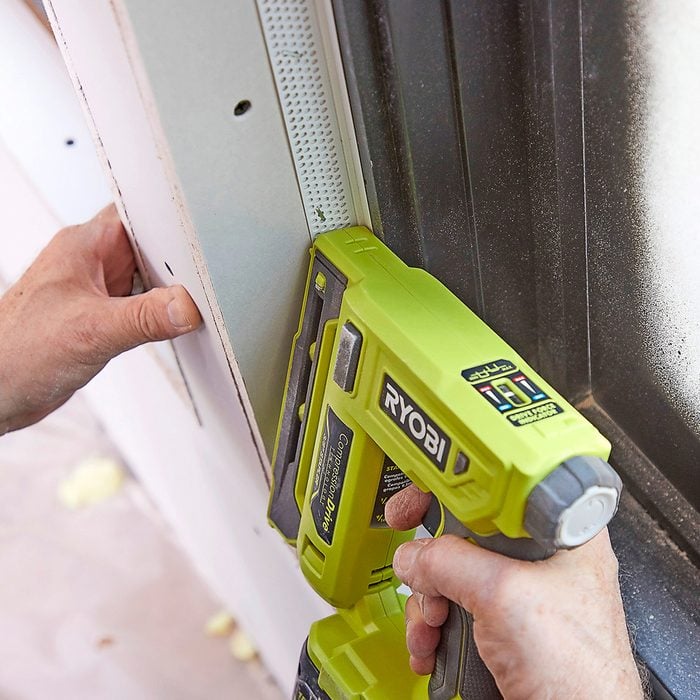
- Cut two of the side tear-away corner beads to length — the same length as the drywall you cut. Dry-fit the pieces and trim to length as needed.
- Cut the top and bottom tear-away corner beads so they butt against the two side beads. Trim back the tear-away strips just enough so they don’t interfere with the side tear-away strips.
- Attach the two side corner beads first, then the top and bottom corner beads. Secure all four corner beads to the drywall with spray adhesive and 3/8-in. staples as shown.
Step 6
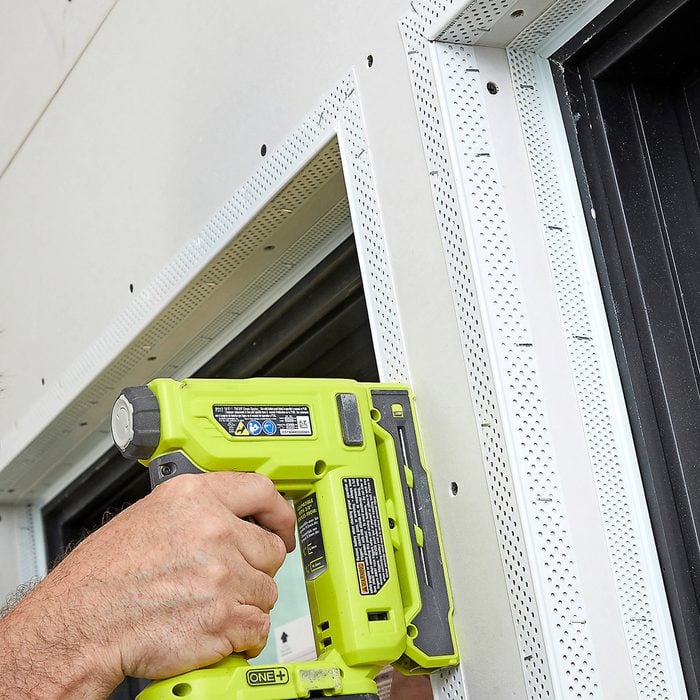
Cut and Attach Outside Corner Bead
- Cutting the outside corner bead is different than cutting the inside bead. It’s similar to making a picture frame with 45-degree angles on all four corners.
- Attach the outside corner beads with spray adhesive and staples.
- If you’re removing trim, fill the gap between the window return and the drywall before attaching the outside corner bead.
Step 7
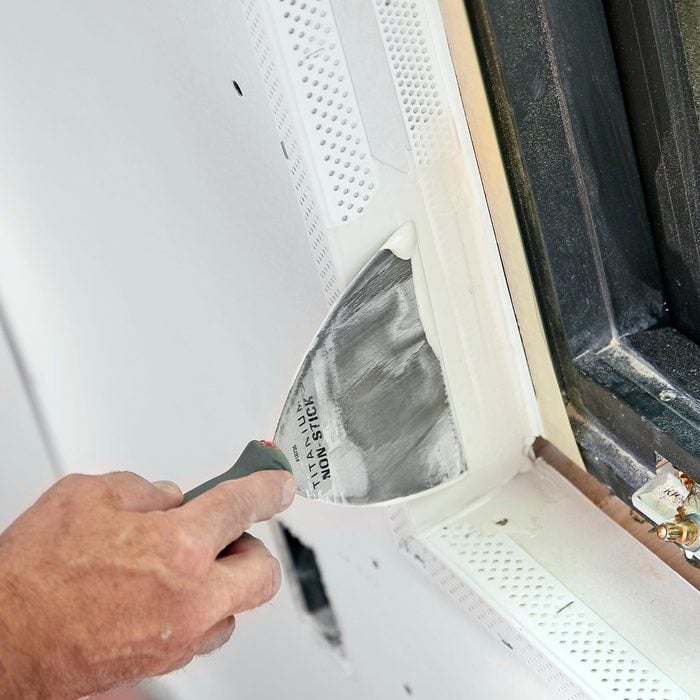
Mudding
- With a nine-inch knife, apply a skim coat of joint compound over the corner bead around the outer edge of the whole window, feathering the joint compound out and away from the window as you go.
- For mudding the returns, start in a corner and work your way around all four returns, using a six-inch knife to apply a skim coat of joint compound.
- After the joint compound dries completely, use a six-inch knife to scrape off any excess around the returns.
- Apply a final coat of joint compound, let dry and sand.
Step 8
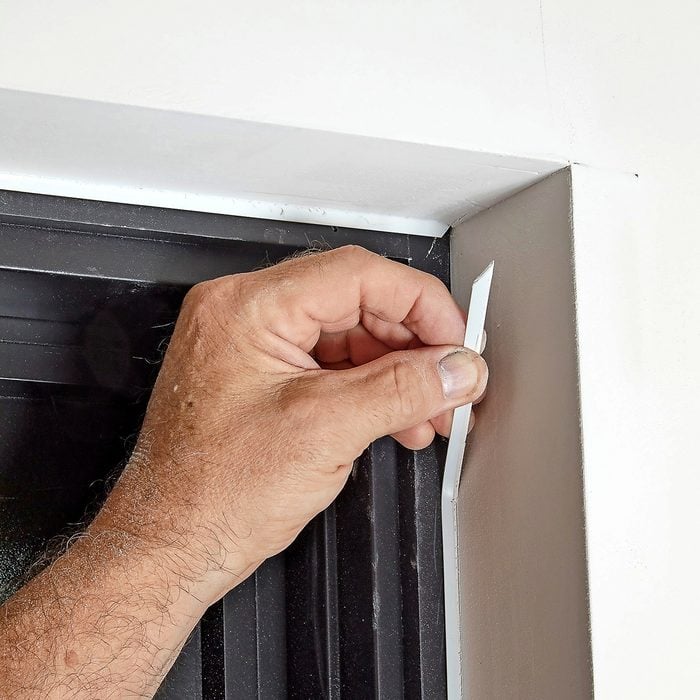
Peel Tear-Away Strip
- Now it’s time to peel the tear-away strip on the inside corner bead, leaving a clean edge and line between the drywall return and the window.
Step 9
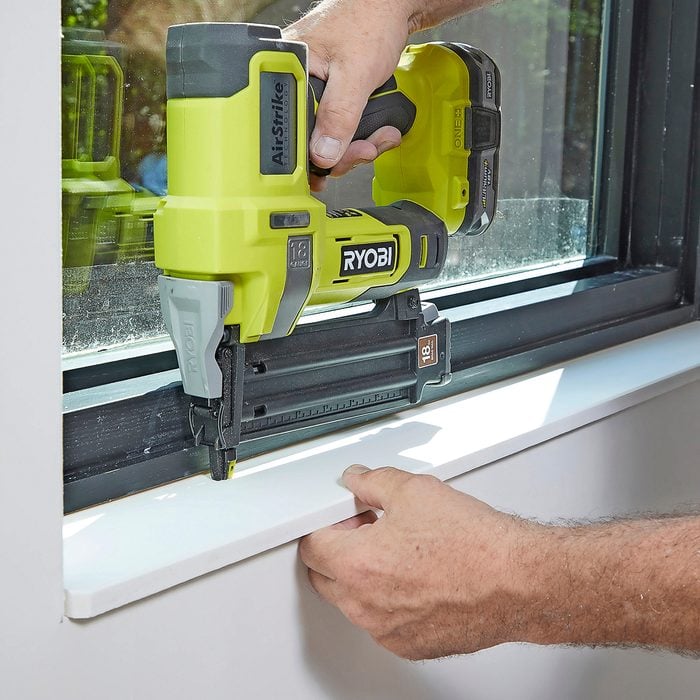
Window Sill
- A window sill finishes off the window opening with a surface that’s more durable and much easier to keep clean than drywall.
- A composite or PVC material works well for this and won’t rot or warp.
Originally Published: July 26, 2021