


There’s an art to removing trim. Learn how to salvage the trim you want, while keeping the collateral damage to a minimum.
Our editors and experts handpick every product we feature. We may earn a commission from your purchases.Learn more.


Updated Nov. 17, 2023
There’s an art to removing trim. Learn how to salvage the trim you want, while keeping the collateral damage to a minimum.
Our editors and experts handpick every product we feature. We may earn a commission from your purchases.Learn more.
There’s an art to removing trim, whether you need to take off a few pieces of baseboard to install a built-in bookcase or remove all the trim in a room for a remodeling project. You have to do it properly to avoid damaging the walls, and the trim if you plan to reuse it. We’ll show you how to do the job and keep the collateral damage as low as possible.
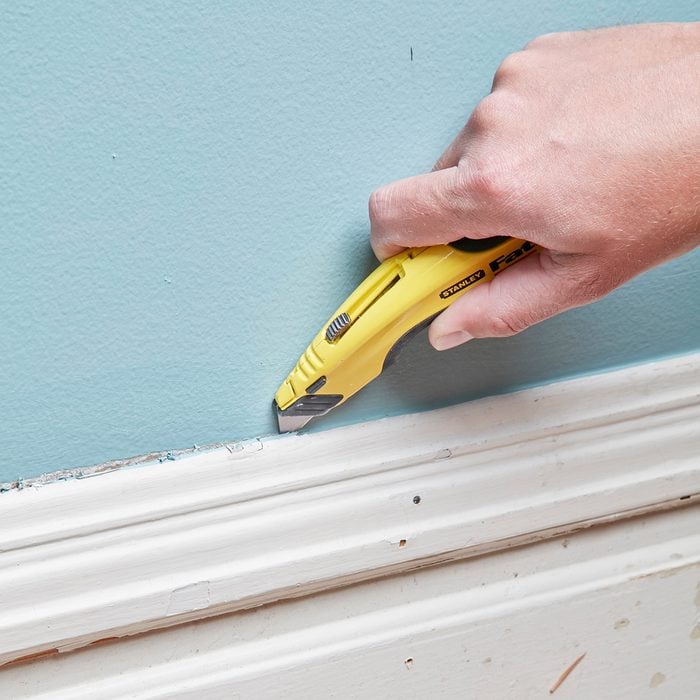
This tip applies mainly to painted trim. It is common for moldings to be stuck to the wall, or for adjacent pieces of trim to be stuck together, either from caulk or years of built-up paint. If you don’t slice through the caulk or paint, the trim will be harder to remove. More importantly, the wall or trim may get damaged. Use a sharp blade in a utility knife to cut along the joint to separate the trim. Be prepared to change blades frequently, because dried paint is hard to cut and tough on blades.
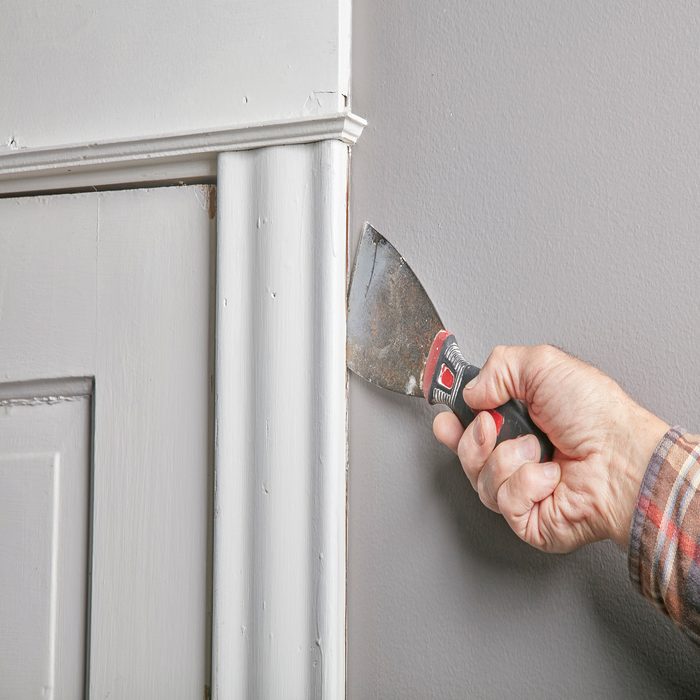
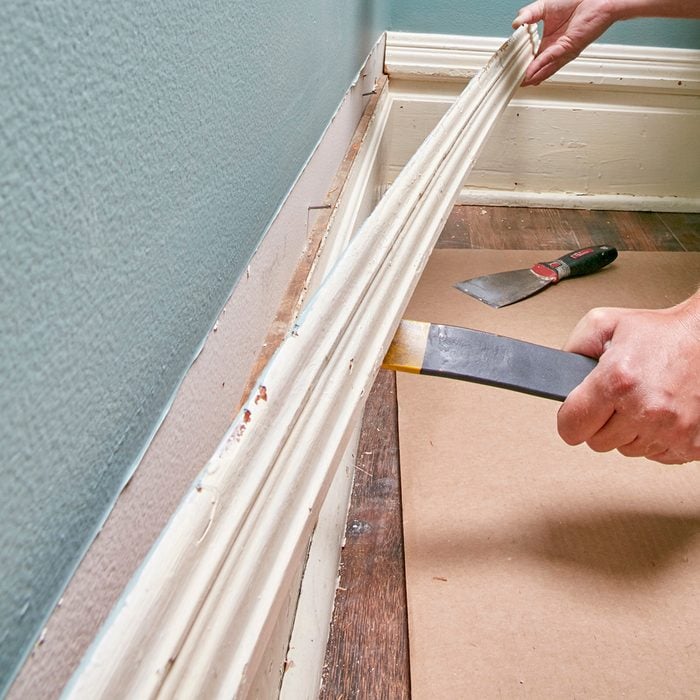
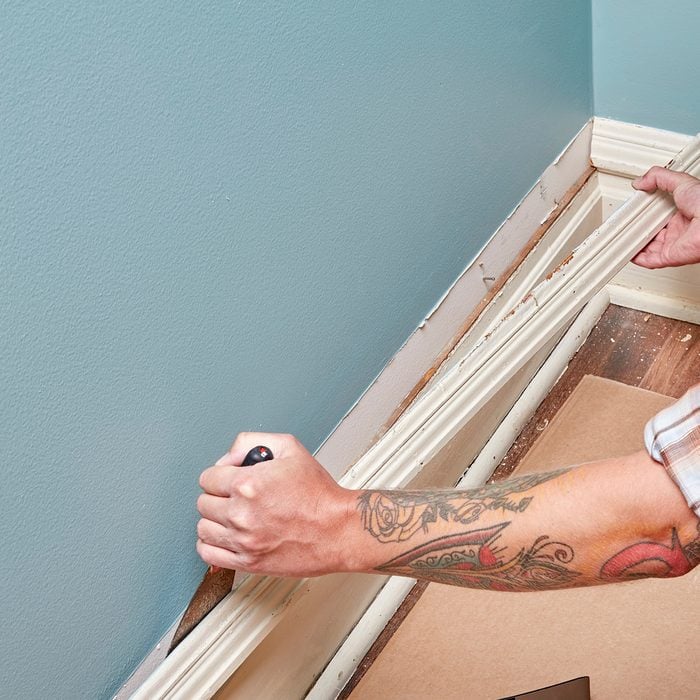
Before you can start using a pry bar to pull trim from a wall, you have to coax the trim loose to create a crack for the pry bar to fit into. The best tool for doing this is a stiff, sharp scraper blade. A painter’s 9-in-1 tool also works well. Don’t be afraid to tap the end of the tool with your hammer to drive it behind the molding. Then wiggle and push until you’ve created a crack big enough for the pry bar.
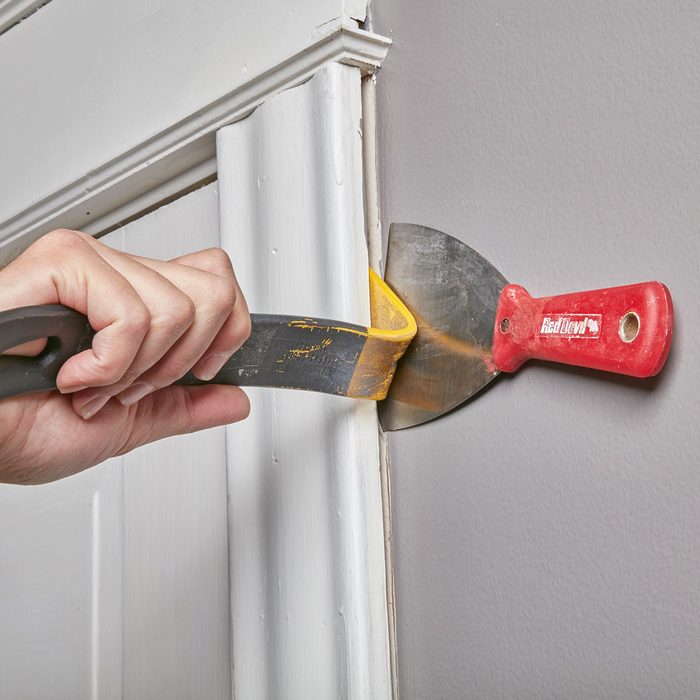
Positioning a wide putty knife or thin piece of plywood between the pry bar and the wall helps spread out the force and reduces the chance that you’ll damage the drywall or plaster.
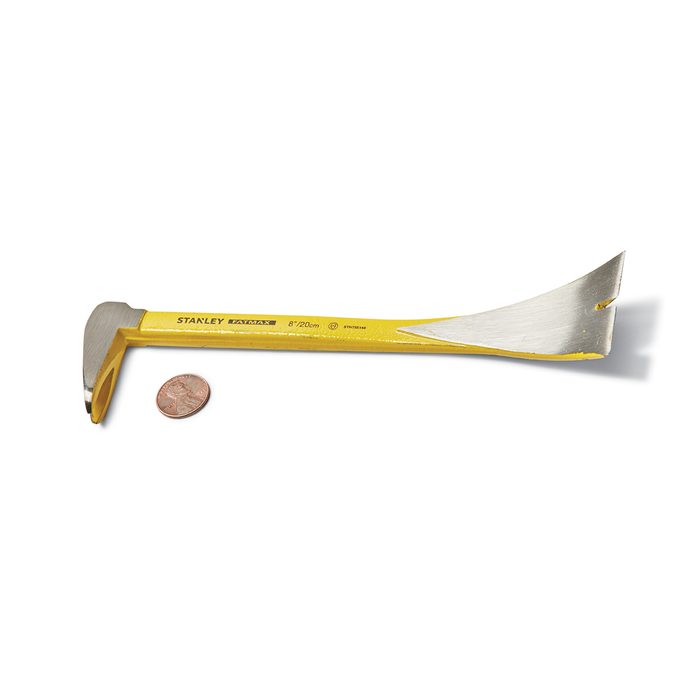
A small molding pry bar with a wide, sharp blade is good for removing smaller trim and for starting to pry off larger pieces of trim. These little pry bars have the advantage of fitting easily into your tool belt. Of course, you’ll probably also need a medium-size pry bar for removing large trim or wide baseboard. The pry bar shown here is made by Stanley and is called a precision molding bar.
It’s easier to remove trim if you start at one end and work your way down. That way you can use leverage on the trim to your advantage, pulling out on the loose end to help loosen nails along the way. Be careful, though. It’s also easy to overdo it and snap trim by bending it out too far.
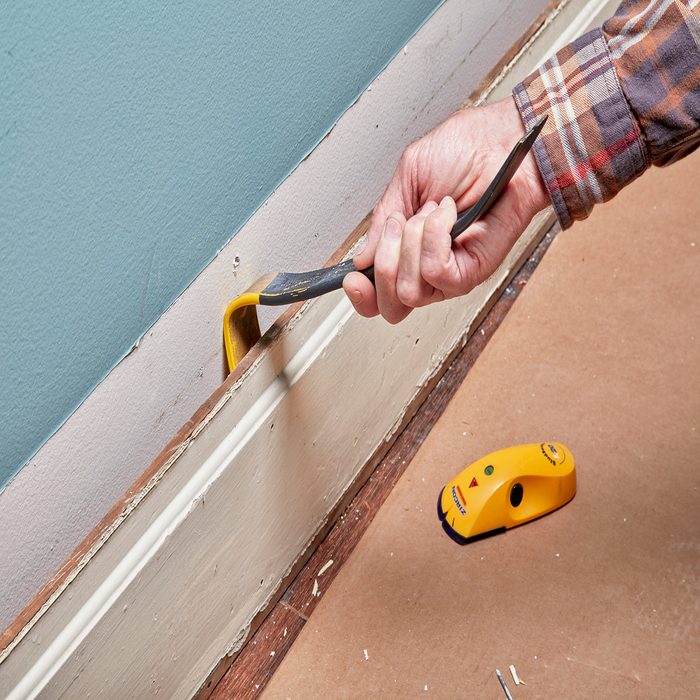
If you pry against the wall where there’s no stud, the pry bar might just go right through the drywall. You can avoid this problem by prying only where studs are located. An easy way to find studs is to look for the nails along the top of the baseboard. These are usually driven into studs, so prying above them should be safe. If you can’t spot any nails through the paint, reach for the stud finder.
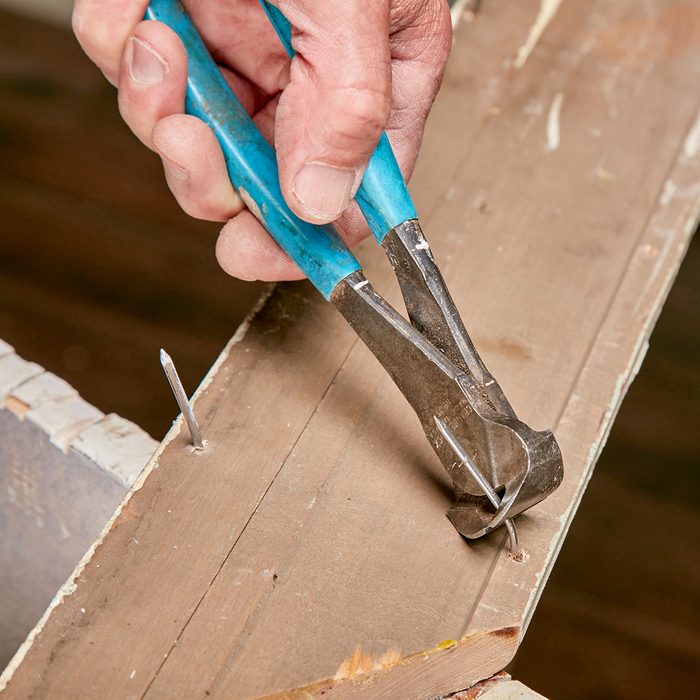
Removing trim nails by pounding them out with a hammer usually causes splintering and damage to the face of the molding. To avoid this, pull the nails from the back of the molding. Grab the nail at the base with end-cutting nippers and roll the nippers along the curved jaw to pull the nail. Don’t squeeze the jaws any more than needed or you’ll cut through the nail. If you don’t have a pair of nippers handy, locking pliers (Vise-Grip is one brand) will also work.
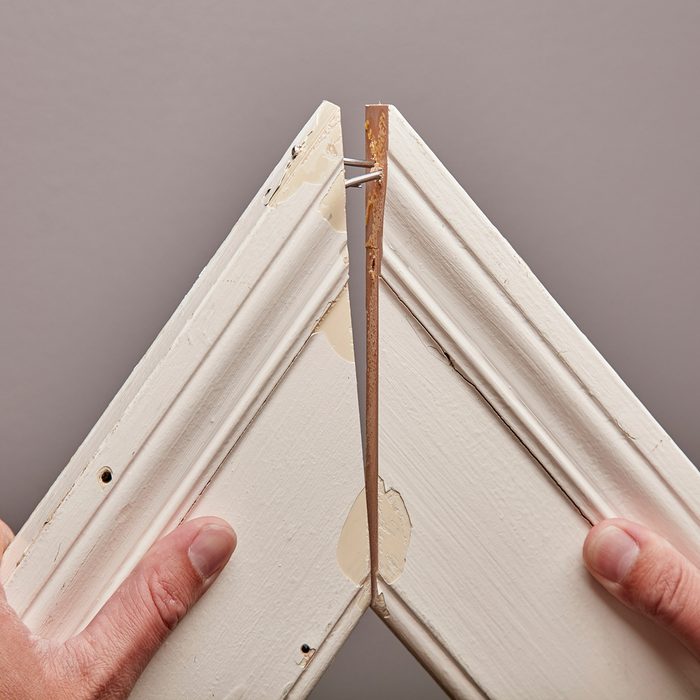
Miters are often pinned together at the point with a pair of finish nails driven in from both sides. If you simply pry off one side of the miter and pull it loose, you’re likely to damage the moldings. Instead, gently pry off both mitered moldings as a unit, then carefully work the joint apart little by little. If you are not having any luck separating the two moldings, cut the nails with a hacksaw blade or an oscillating tool.

If you are planning to reinstall the moldings, make sure to label them. It’s also helpful to bundle all the moldings for a particular window or door, and then label the bundle with the window or door location.