


After receiving contractor bids to tile our kitchen backsplash that didn't fit our budget, my husband and I decided to tackle the project ourselves. With one weekend and a lot of hard work, we transformed a plain, white wall into a farmhouse-style tile backsplash. Though we are very happy with the results, this project came with almost immediate lessons learned, and there are definitely some things we would do differently if we did it all over again. Here's a list of what to do and what not to do when taking on a subway tile backsplash project.
How to Install Subway Tile Backsplash: Dos and Don’ts
1
/
10
DIY Subway Tile
After receiving contractor bids to tile our kitchen backsplash that didn’t fit our budget, my husband and I decided to tackle the project ourselves. With one weekend and a lot of hard work, we transformed a plain, white wall into a farmhouse-style tile backsplash. Though we are very happy with the results, this project came with almost immediate lessons learned, and there are definitely some things we would do differently if we did it all over again. Here’s a list of what to do and what not to do when taking on a subway tile backsplash project.
2
/
10

Do Your Research
If this is your first time working with tile, or a project of this scale, take the time beforehand and do your research. How much time will you need to set aside for this project, and is it realistic for your schedule? Which tile, tools and products will you need, and is it obtainable in your budget? Become well acquainted with each step of the process, so you can limit time troubleshooting later. Search for how-to videos and articles that give a step-by-step guide to tiling a backsplash, and ask questions at the hardware store until you feel confident enough to begin.
3
/
10
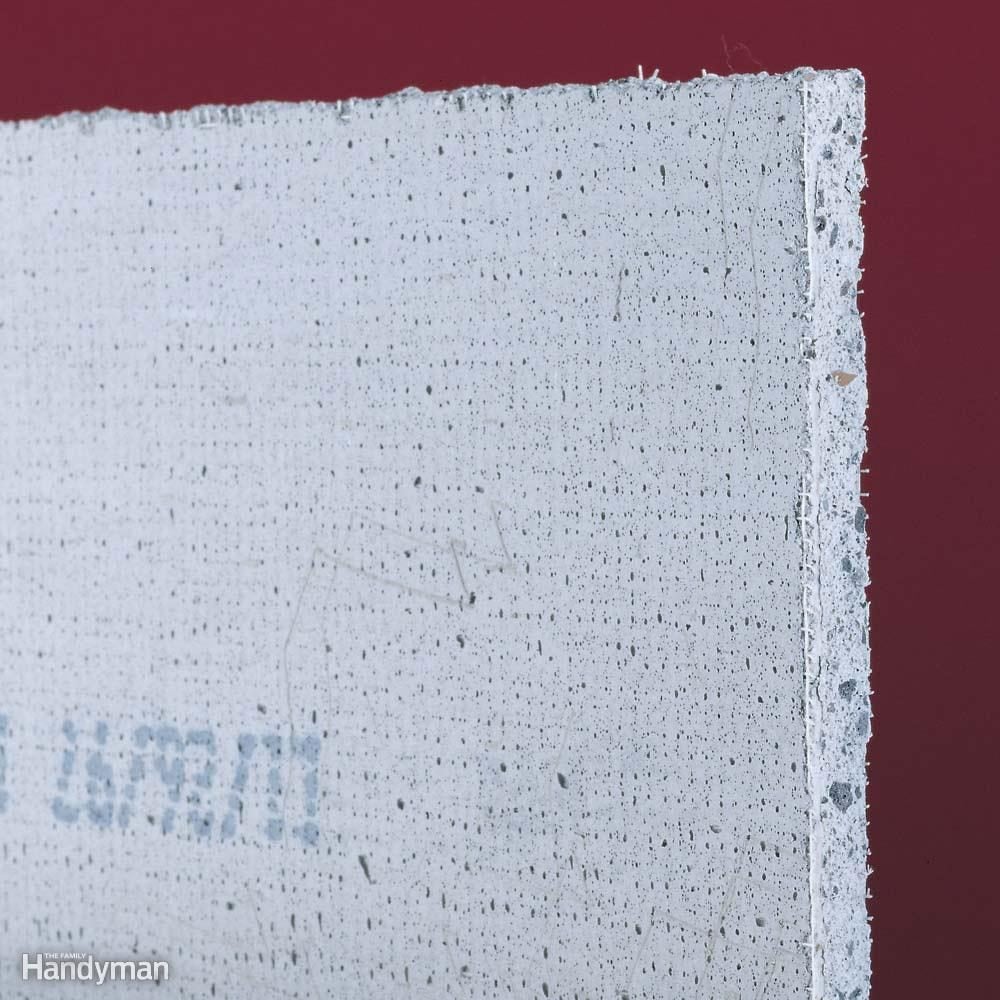
Consider Backer Board
Before you begin tiling, check out the existing surface you’ll be working on. If you are installing a backsplash behind a sink or area with moisture, you’ll need to be sure you’re working on water-resistant drywall or a rock-based board. If not, consider installing a tile backer board first.
4
/
10
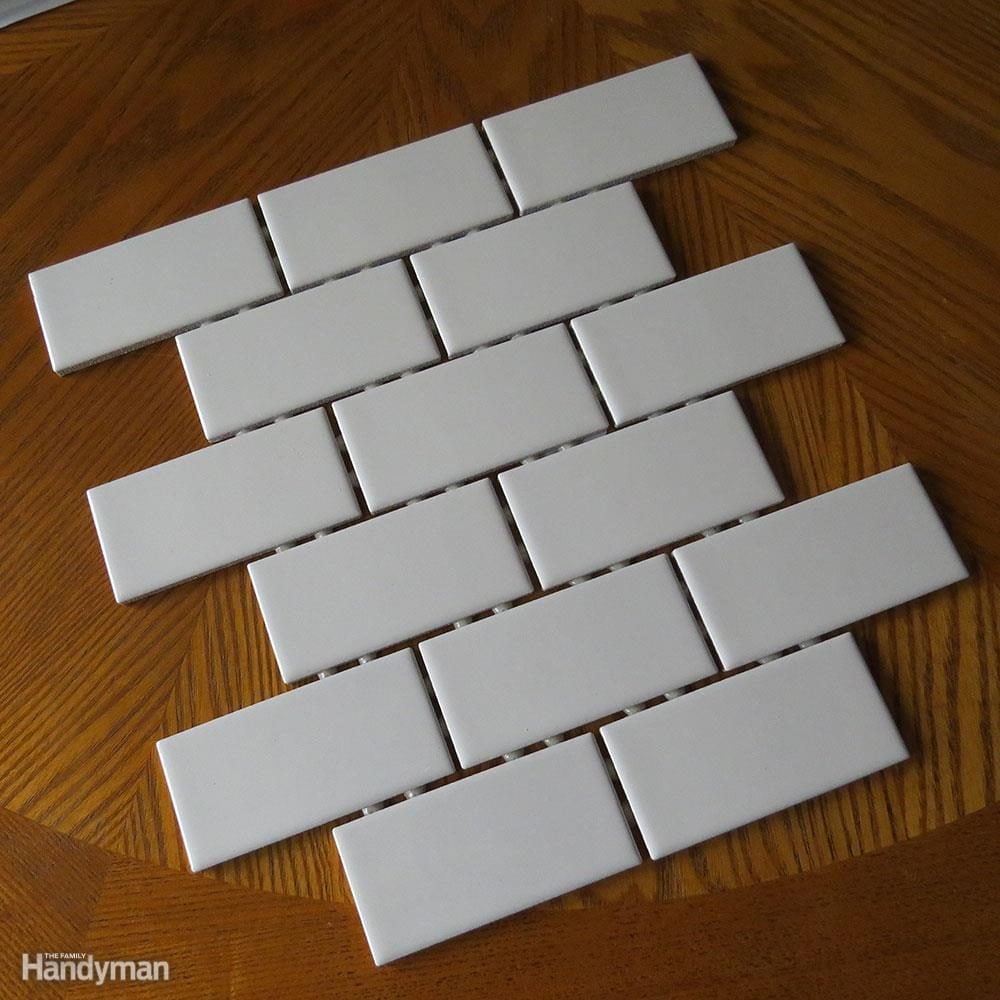
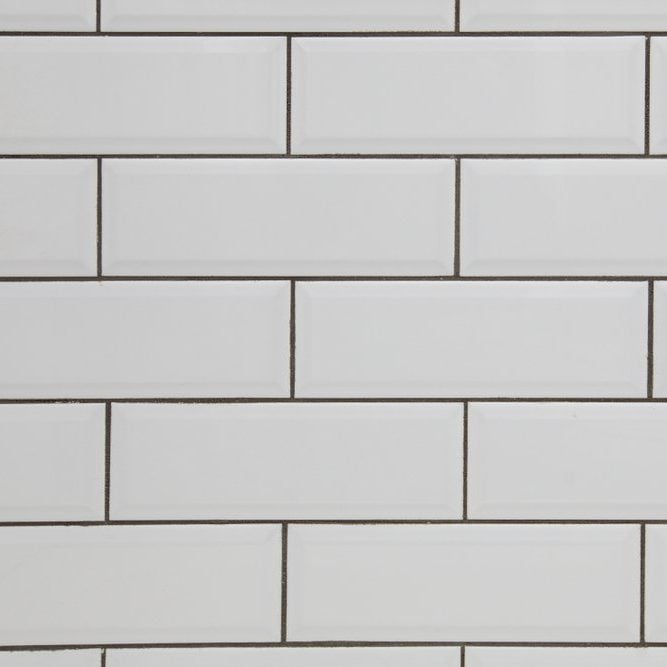
Choose a Mosaic Tile
We love the look of real subway tile, but we were worried that installing each tile separately would leave more opportunity for error. We ended up choosing mosaic sheets of mini-subway tile—and we were really happy we did! Mosaic sheets are easy to separate into different configurations with a box cutter and come pre-spaced, eliminating a lot of time spacing and leveling. The smaller the individual tiles, the easier it is to make cuts and to fit around awkward outlet and cabinet edges. Dean Sorem, our go-to tile expert, shows us his best tips on how to install mosaic tiles.
5
/
10

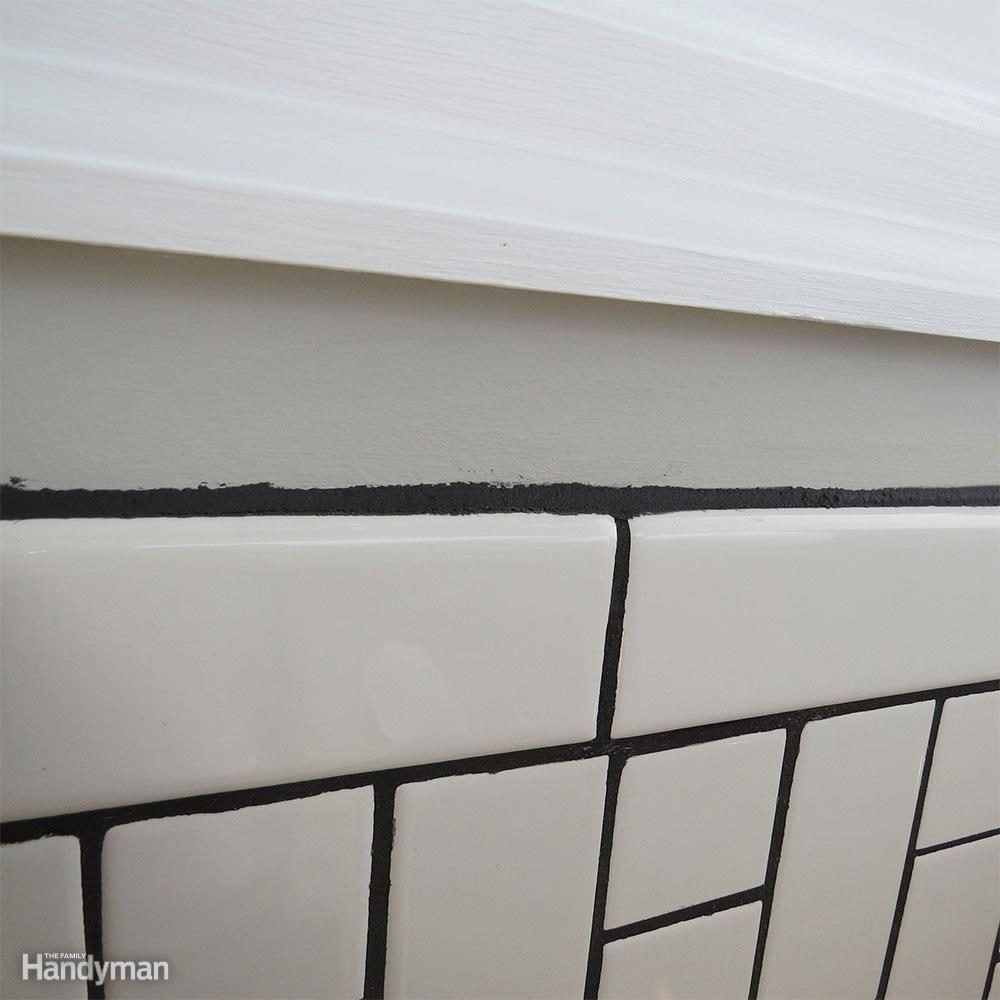
Choose a High-Contrast Grout Color
To match our black kitchen appliances, we chose a near-black grout color that contrasted highly with the white subway tile. In general, this can be a striking and high-end look, but in hindsight I wish we had chosen a lighter color (Here’s how you can change the grout color). Choosing a grout that contrasted so highly with the tile shows every imperfection and uneven line—and as first-time tilers, there were many imperfections!
6
/
10

Rent (or Borrow) a Wet Saw
A friend offered to lend us a wet saw and we accepted, hoping we wouldn’t actually need to use it. It ended up being a lifesaver when we were working around the outlets. Depending on your tile choice, a fairly inexpensive tile cutter and nipper combination will be enough to handle most of the straight cuts. But if you have tile that is larger than 1 in. in diameter, you will likely need to make U-shape notch and corner cuts for outlets and cabinet edges. This is where the wet saw was the only solution, and if you can’t find one to borrow, most hardware stores will rent them.
7
/
10
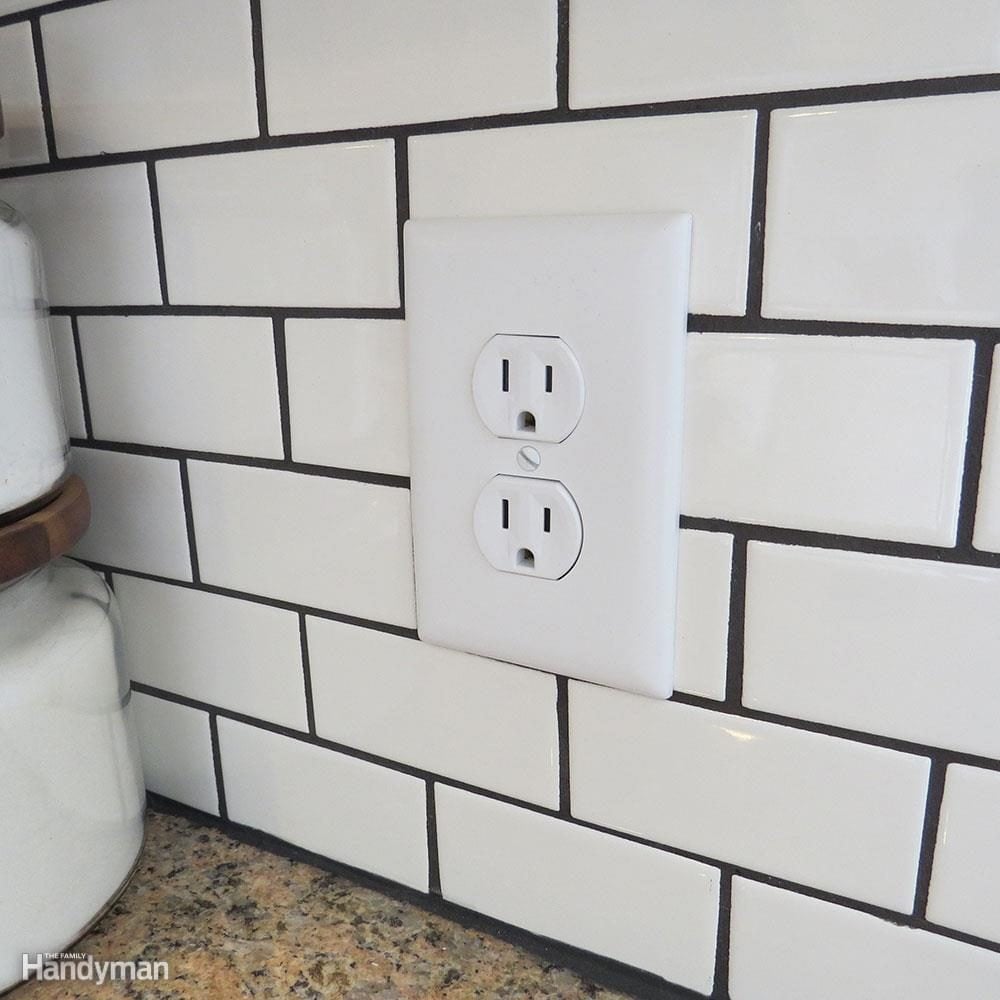
Replace Outlet Covers
Once the hard work of tiling is done, you’ll need to put the finishing touches back in place. Replacing your outlet covers is an inexpensive upgrade, and it can help to hide any ugly tile cuts around those areas. This is also a good time to consider replacing the actual outlet receptacles with tamper-resistant or electronic-friendly USB outlets.
8
/
10
Don’t Assume You’ll Just Fill with Grout
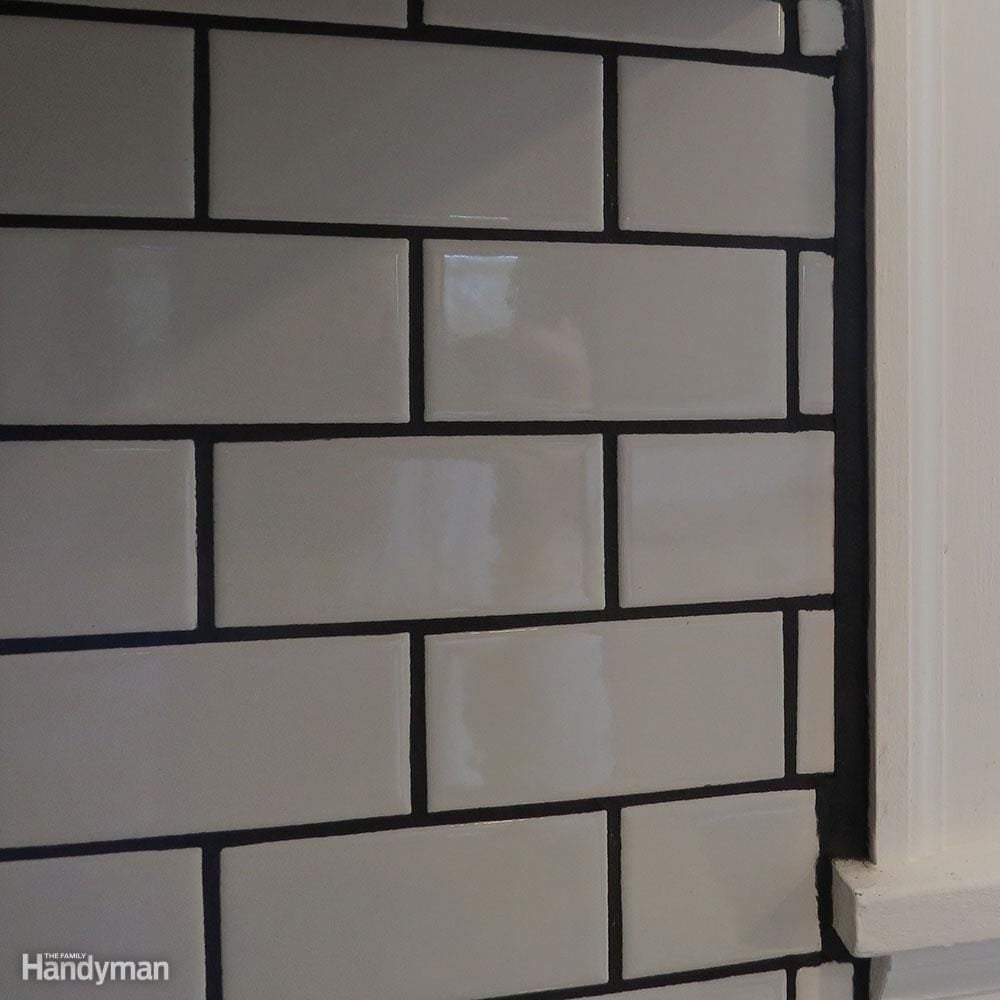
Our kitchen is fairly big, so it didn’t take long for the precision-cut fatigue to set in. Eventually, on edges that butted up to a cabinet or window where tiles needed to be cut to fit, we ended up leaving an uneven gutter and assumed it wasn’t a big deal since we’d be filling the gaps with grout or caulk later. What we underestimated was just how thick some of those gaps were, which resulted in the need for a very thick line of caulk around the entire perimeter. Ideally, this gutter should have had the same spacing as between each tile. It takes more precision when making cuts, but would have saved us a big visual headache later in the process.
9
/
10
Don’t Freehand Caulk Lines
Once the tile and grout are set, you’ll need to edge the perimeters with matching caulk. Being one of the final steps, it’s tempting to rush through this last tedious step, but the result could end up being an eyesore. Use painter’s tape to mark out clean, straight lines and remove it before the caulk sets. Read here for more help with taping and obtaining a professional result.
10
/
10
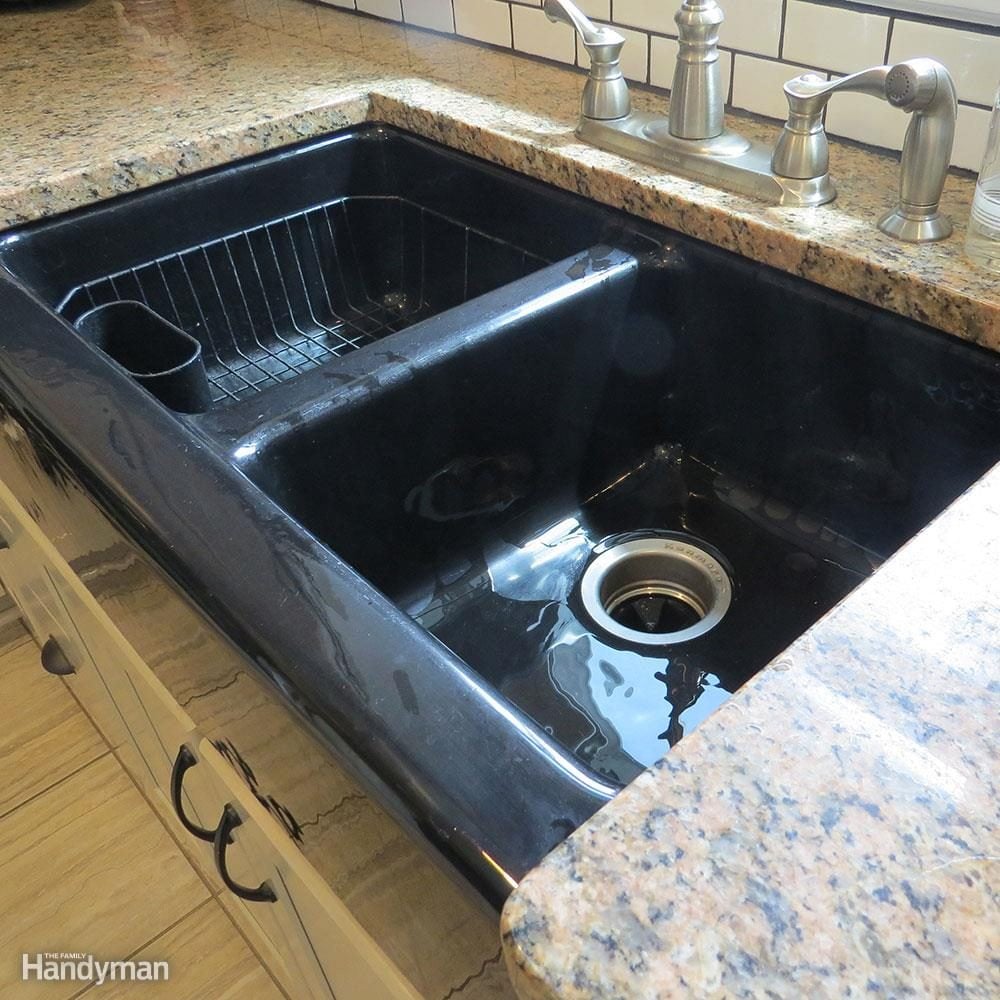
Don’t Dump Down the Kitchen Sink
This might seem obvious, but don’t rinse your buckets in the sink. If you’re working in a kitchen or bathroom, it’s tempting to use the sink that’s right there instead of hauling heavy buckets outside for cleanup. But don’t ruin your sink’s finish or clog your drains for convenience! I’m embarrassed to say that we took the easy way out and poured wash buckets down our kitchen sink, but when it was finally time to clean everything up, I noticed even the smallest traces of grout had scratched our sink’s enamel. Do yourself a favor and cover all surfaces—sinks, countertops and appliances—with a painter’s tarp or contractor’s paper before beginning the messy job of tiling.
Also, find out why you must avoid the ceramic 3D tile trend.