
Modern Tile Installation Tips
Updated: Sep. 26, 2017
New methods, tools and materials
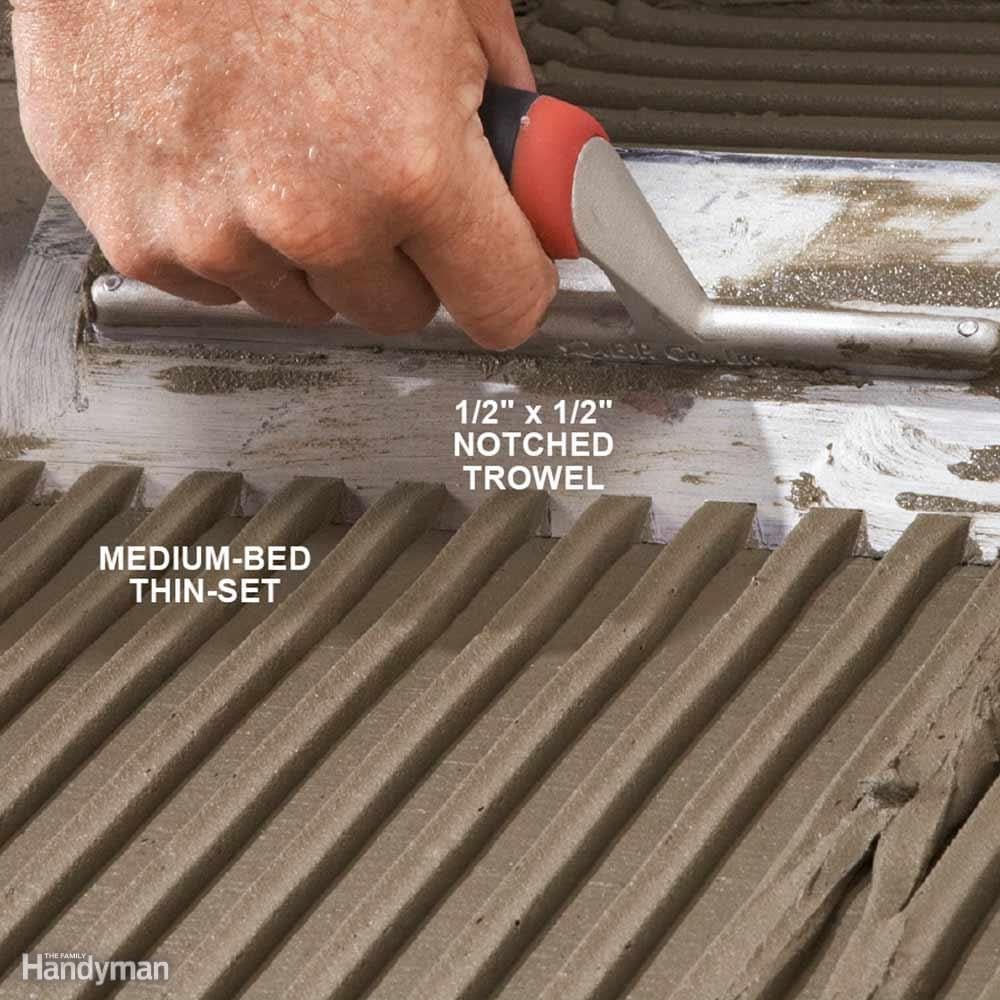
Pick a Large-Notched Trowel for Big Tile
Tiles as large as 2 ft. square have become more popular, and these monsters require a deep layer of thin-set to allow for adjustments. To get the right amount of thin-set, use a 1/2 x 1/2-in. notched trowel for tiles up to 16 in. square, and a 3/4 x 3/4-in. notched trowel for larger tiles. Don't forget: Using large notched trowels means you'll need a lot more thin-set. As a general rule, a 50-lb. bag of thin-set will cover about 40 to 50 sq. ft. using a 1/2 x 1/2-in. notched trowel, and about 30 to 40 sq. ft. using a 3/4 x 3/4-in. notched trowel. When you use large notched trowels like this, look for thin-set labeled “medium bed,” “large tile” or “large format.”
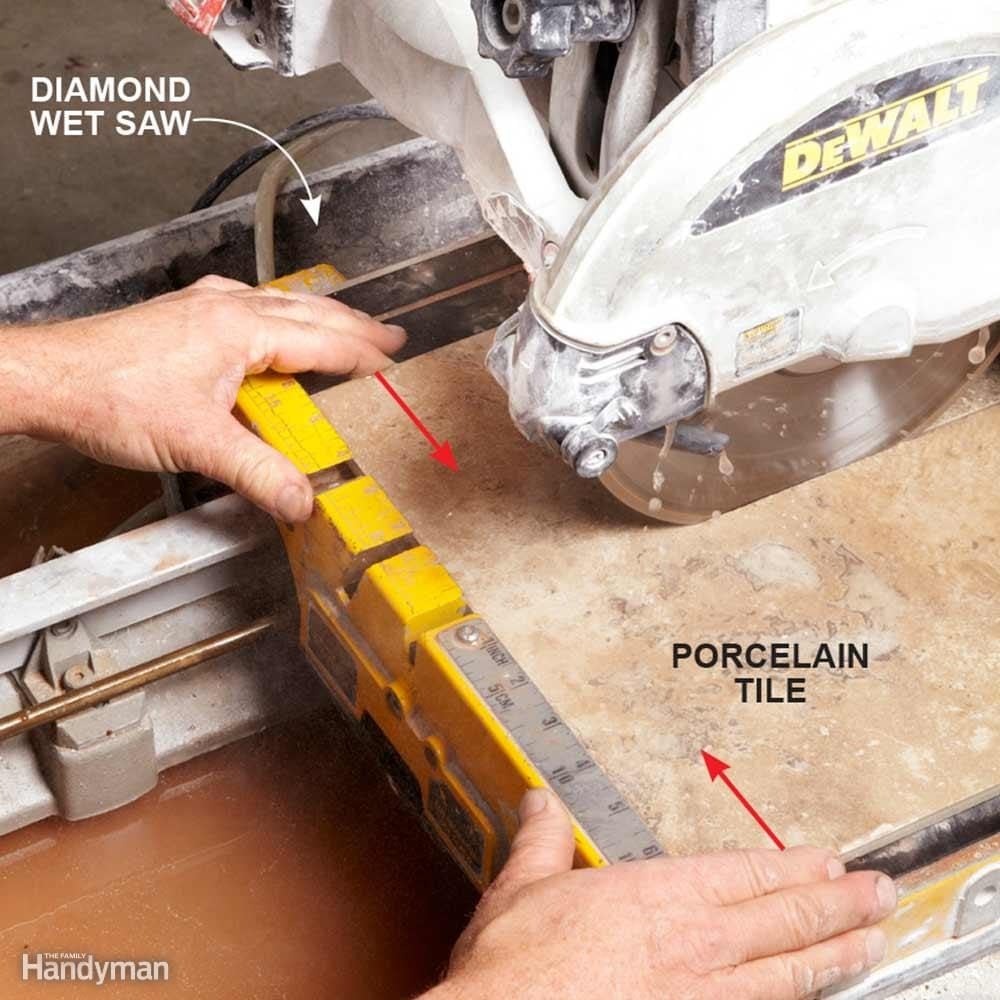
Cut Without Cracking the Tile
You'll need a diamond wet saw to cut large porcelain tiles. It's a good idea to rent a contractor-quality saw for about $60 per day rather than buying a cheapie. But even with a saw like this, tiles larger than about 8 in. square have a tendency to crack before you finish the cut, often ruining the tile. You can help prevent this by pressing the two pieces together as you near completion of the cut. Holding the tile like this stabilizes it and dampens vibration, resulting in a cleaner cut.
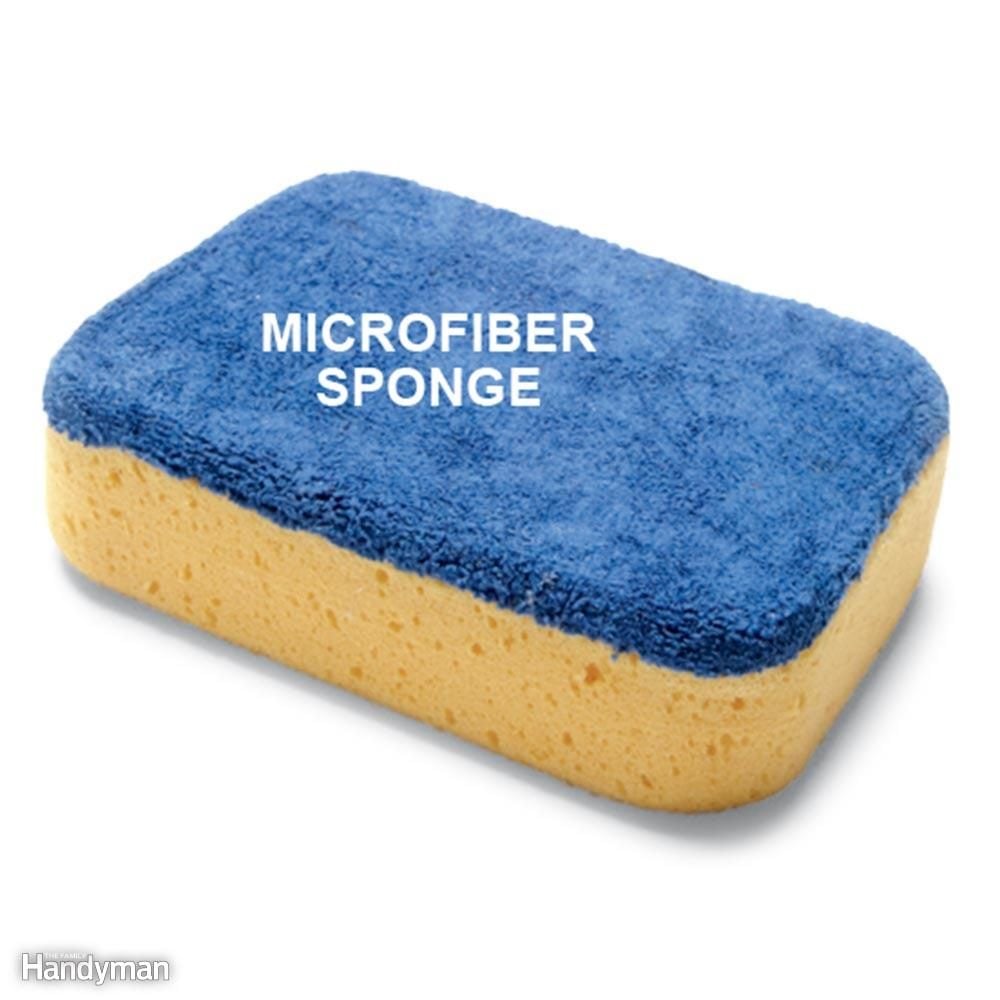
Upgrade Your Grout Sponge
It's hard to get the last bit of grout haze off using a grout sponge. After the grout dries, you usually have to come back and polish off the remaining cloudy layer with a rag. But if you finish your grout cleanup with a microfiber sponge, you'll end up with a job so clean you may not have to do anything more.
Start your cleanup with the plain side of the sponge after the grout firms up. Then when the joints are nicely shaped and most of the grout is off the face of the tile, switch to the microfiber side of the sponge. You'll find microfiber sponges at home centers and tile shops.
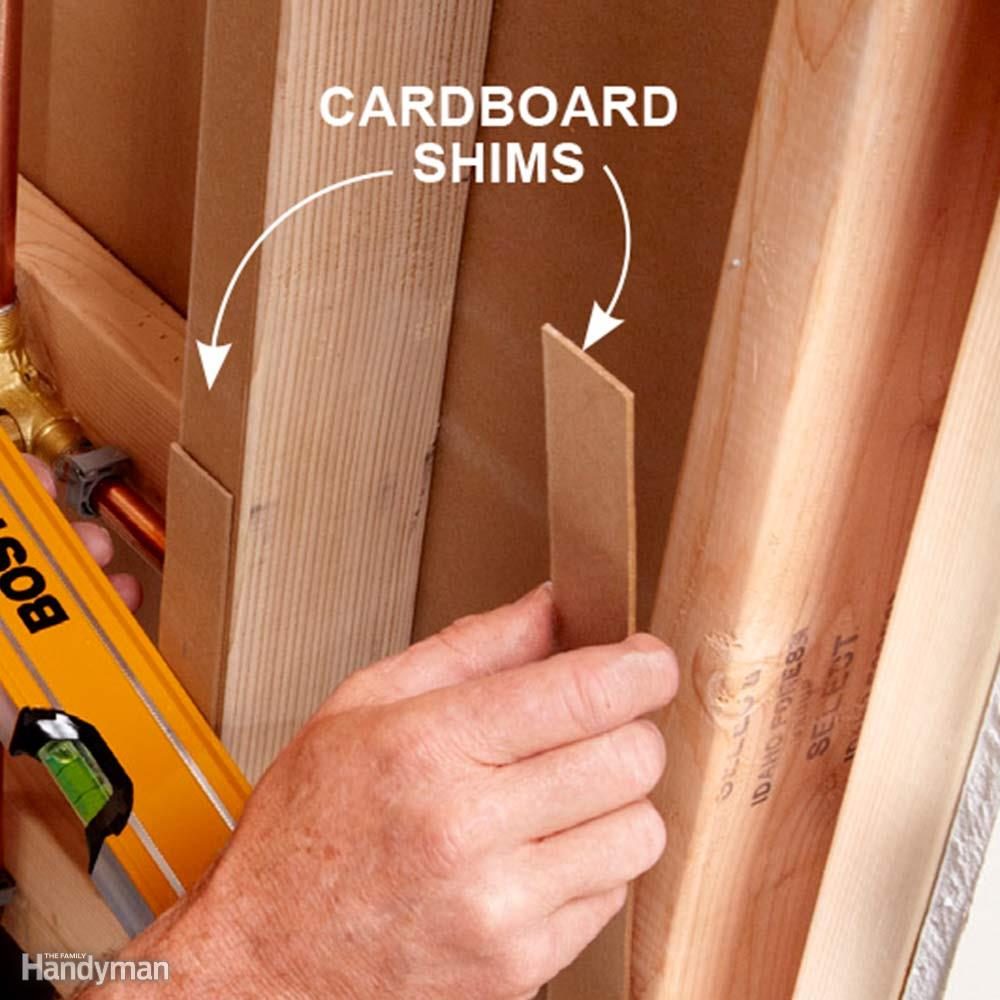
Flatten the Framing
Old-school tile setters made up for wavy walls by installing wire lath and floating a layer of mortar over it. But modern tile backer boards simply follow along the crooked wall, and if you don't fix the wall, you'll have a wavy tile job.
The best solution is to straighten the walls before you install the backer board. Lay a straightedge against the walls to find high and low spots. In most cases, you can fix problems by adding shims to the face of the studs until the faces all line up. But if you have just one protruding stud, it may be quicker to plane it down with a power planer or replace it if you can. You can make your own thin shims from heavy felt paper or thin cardboard. Staple the shims in place.
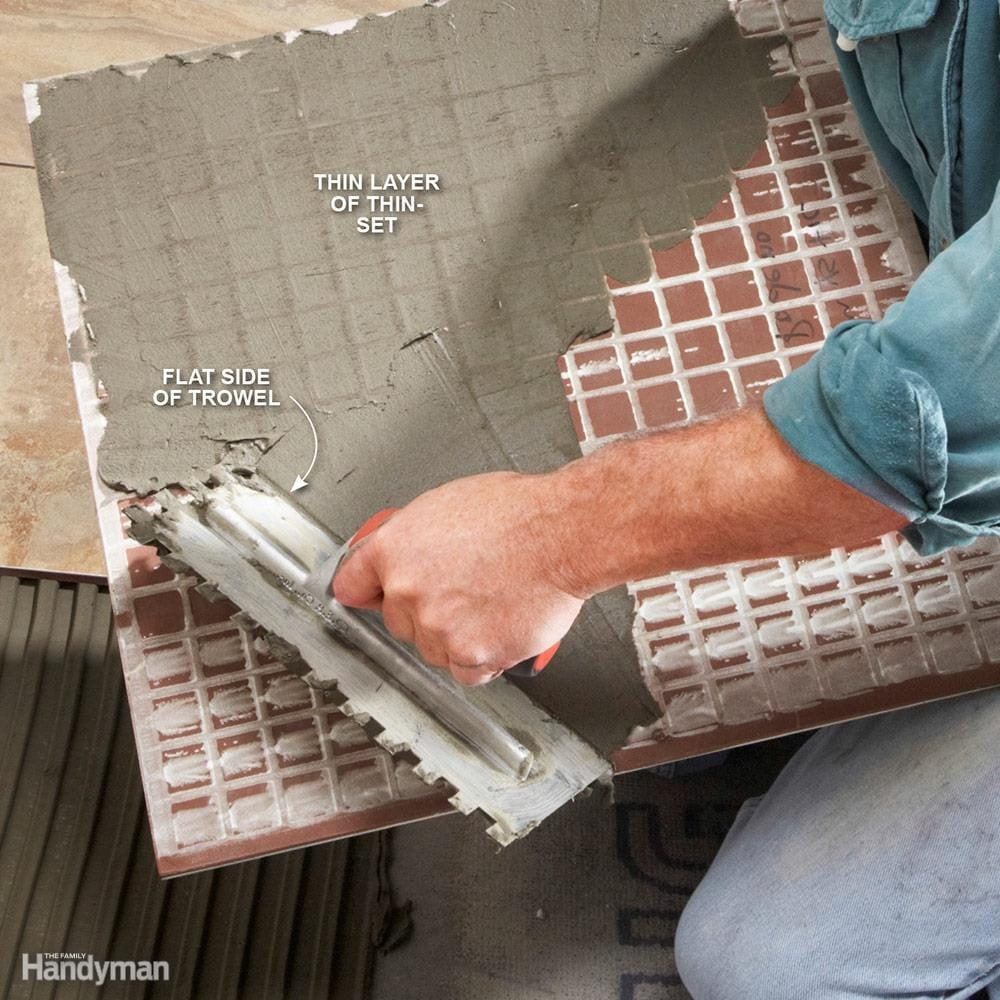
Back-Butter Large Tile
The increased surface area of tiles larger than about 8 x 8 in. makes it critical that you butter the back to ensure a strong bond. It takes only a few extra seconds per tile to spread a thin layer of thin-set on the back of the tile with the flat side of the trowel. Then when you set the tile, this thin layer bonds easily with the layer you've troweled onto the floor or wall and creates a strong connection. It's also a good idea to butter the back of larger transparent glass tiles to provide a consistent color. Otherwise you'll see air bubbles and other imperfections in the thin-set through the transparent glass.
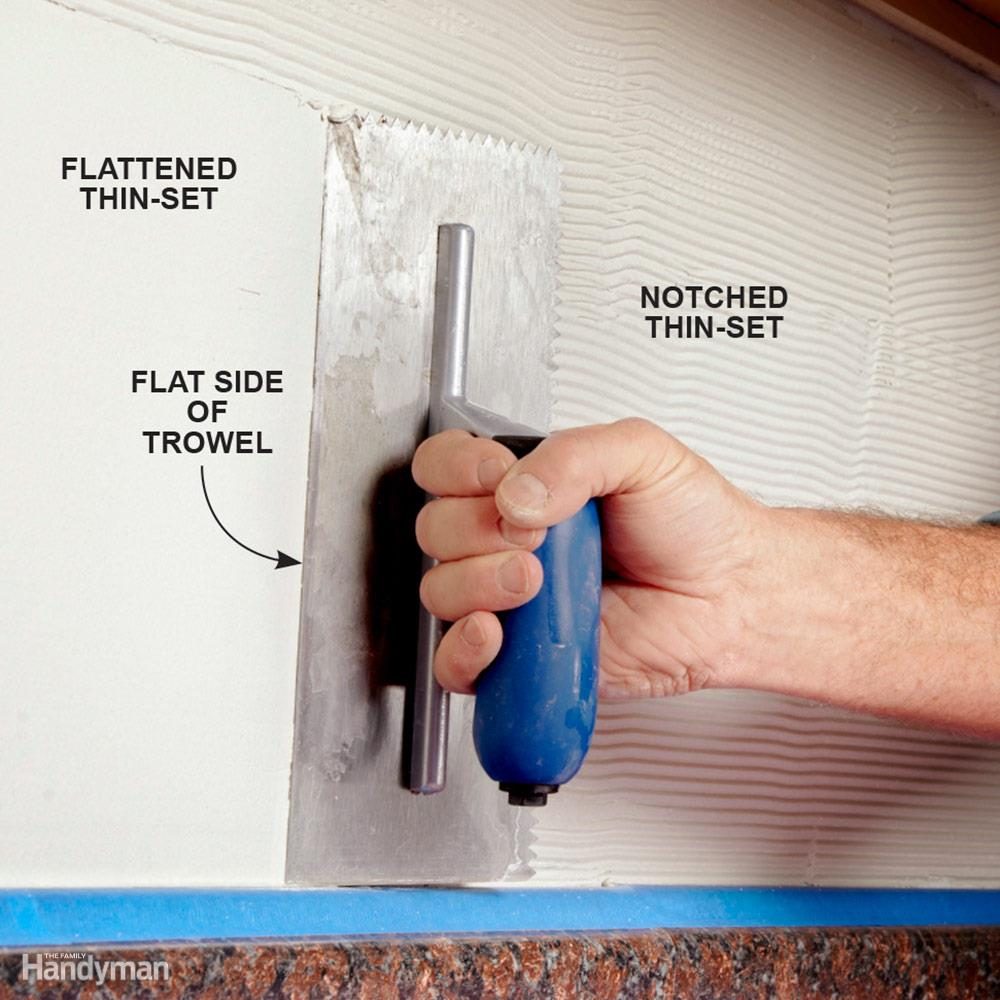
Flatten Thin-Set Before Installing Mosaic Tile

Clean Grout Joints With a Toothbrush
No matter how careful you are, you're bound to end up with some thin-set in the joints between tiles. And if you allow it to harden, it'll interfere with your grout job. A toothbrush works great to clean excess thin-set from grout joints, especially for the skinny joints between mosaic tiles. Let the thin-set get firm, but not hard, before you start the cleanup process. If you try to clean up thin-set too soon, you risk disturbing the tiles.
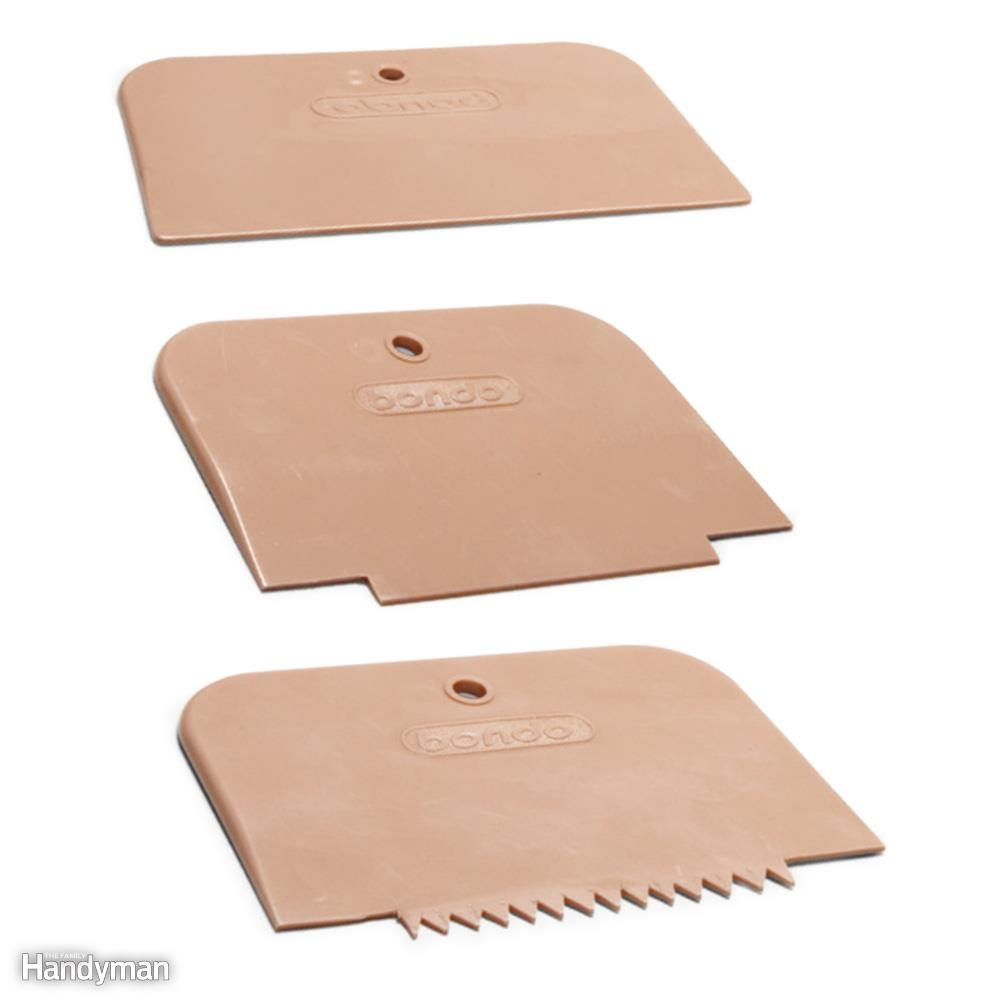
Make a Custom Trowel
Inexpensive auto-body filler spatulas, available at home centers and auto parts stores, are perfect for making custom trowels for special circumstances—for instance, insetting thinner tiles into a field of thicker tiles. After finishing the field tile installation, cut notches on each edge of the spatula with a utility knife to create a mini screed. Cut the notches about 1/16 in. deeper than the thickness of the decorative tile to allow for thin-set. Then use this trowel to add a layer of thin-set to act as a shim when it hardens. After this layer hardens, cut 3/16-in.-deep teeth in the spatula to make a notched trowel and uses it to apply thin-set. Now when you set the decorative tile, it's perfectly flush with the field tile.
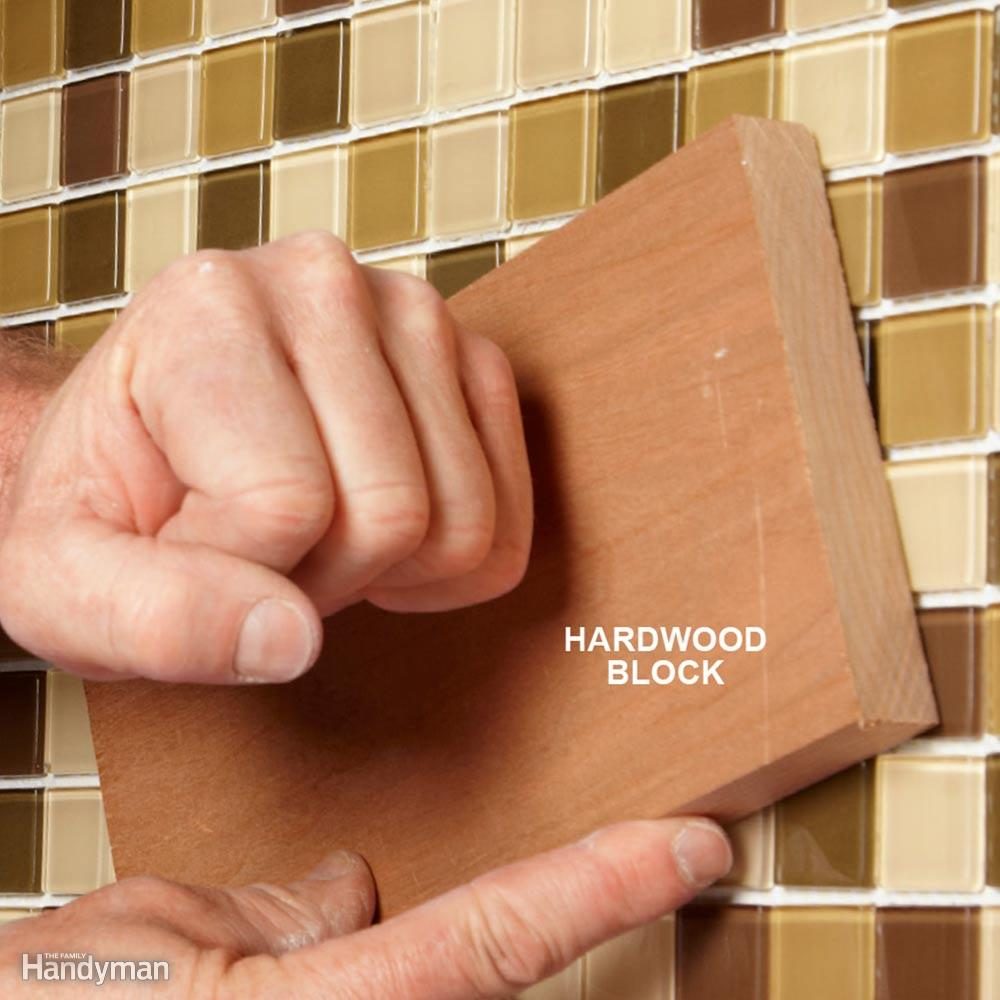
Level Mosaic Tile With a Block
Mosaic tiles are so small and numerous that getting their faces flush using just your fingers is nearly impossible. But tamping them with a flat block of wood creates a perfectly aligned surface in no time. Make a tamping block out of any flat scrap of wood. An 8-in. length of hardwood 1x6 or a 6 x 8-in. rectangle of plywood is perfect. After you set several square feet of mosaic tile, pat the tile into the thin-set with the tamping block. Hold the block in place and bump it with your fist to flatten the mosaic. Repeat the tamping process on each new section of tile you install.
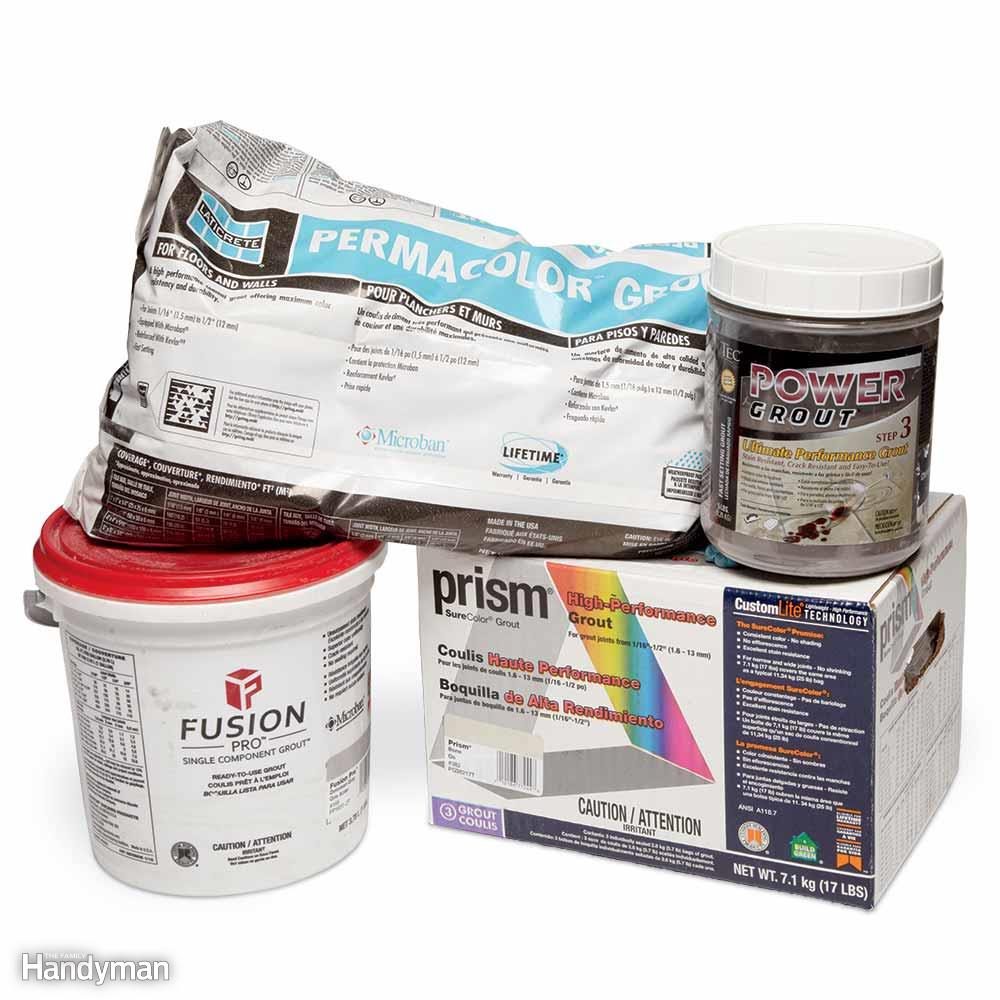
Finish Your Job With Premium Grout
There's been a revolution in grout technology over the past several years, and all of the big-name grout producers have modern grout that's easier to apply, denser, more stain resistant and more colorfast than standard grout. These new grouts also cure faster and are resistant to mold and mildew. You no longer have to mix in latex additives, worry about uneven or blotchy grout joints or decide between sanded and unsanded grout. Premium grouts are more expensive, of course, but considering all the other costs (and all your hard work), they're worth the higher cost.
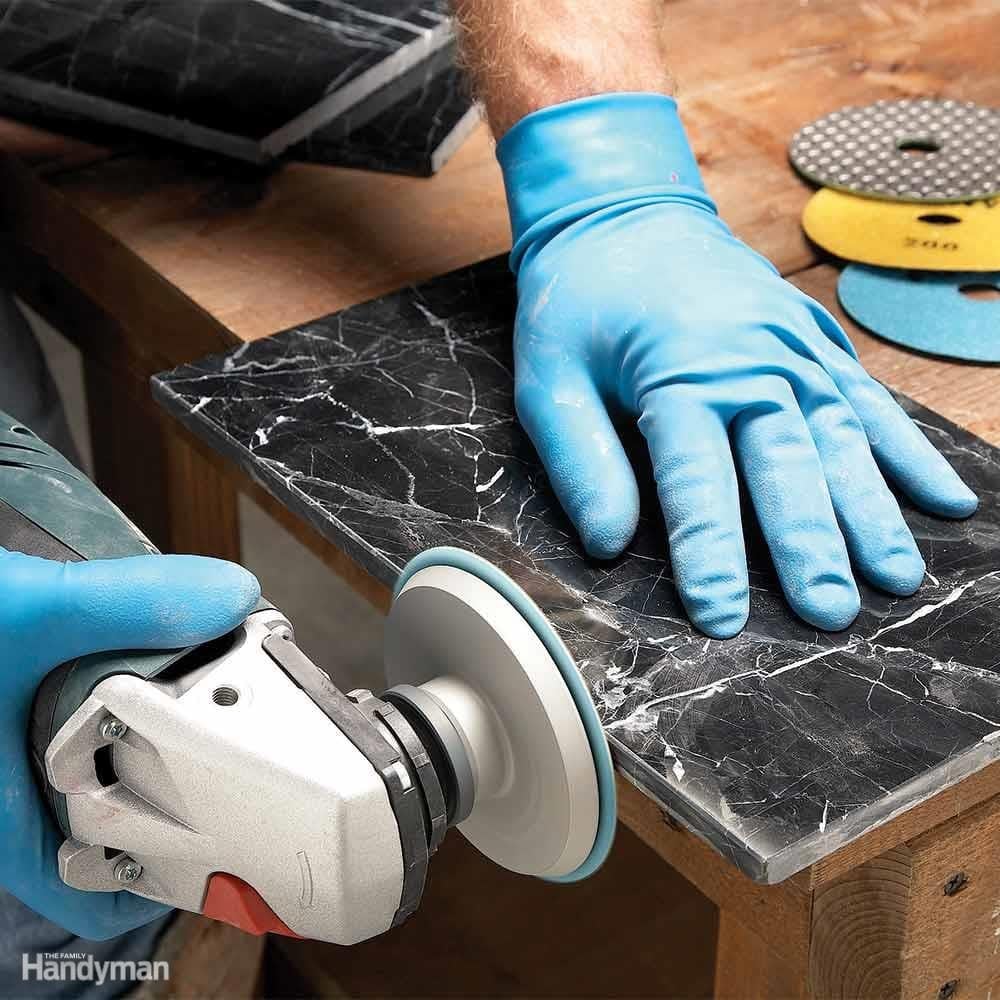
Make Your Own Trim by Polishing Edge Pieces
Save money and get a better-looking tile job by making your own trim pieces for marble, granite and other stone tile jobs. Use the honeycomb-style dry diamond polishing pads with hook-and-loop fasteners. They'll allow you to quickly run through a series of grits from 60 to 800 or higher without wasting a lot of time changing pads. This type of disc requires a variable speed grinder because the maximum allowable rpm is about 4,000.
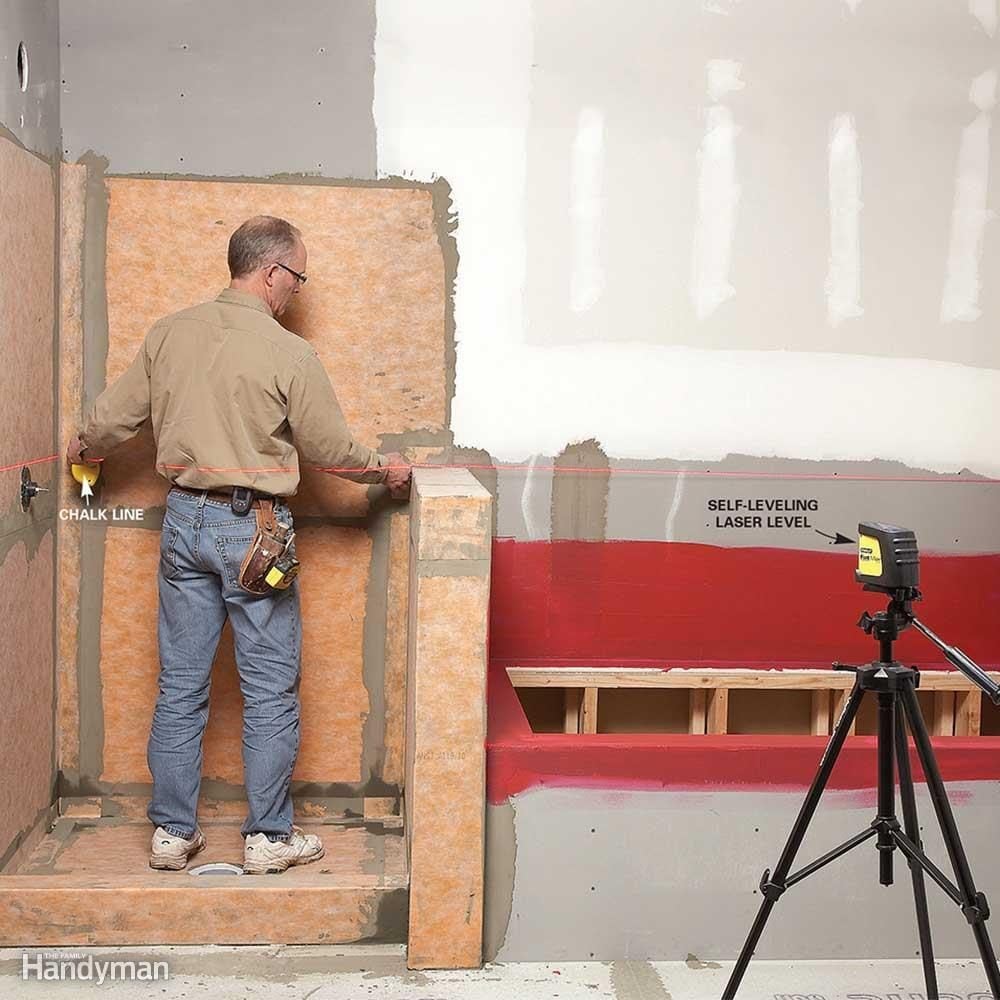
Plan Layouts With a Laser Level
Laser levels save time and increase accuracy. Use a self-leveling laser to help plan the tile layout. Project a level line around the room and measure from it to determine the size of the cut tiles along the edges. Then, after figuring out an ideal layout, use the laser as a guide to chalk layout lines. The laser saves time by eliminating the fussy job of extending level lines around the room with a 4-ft. level.
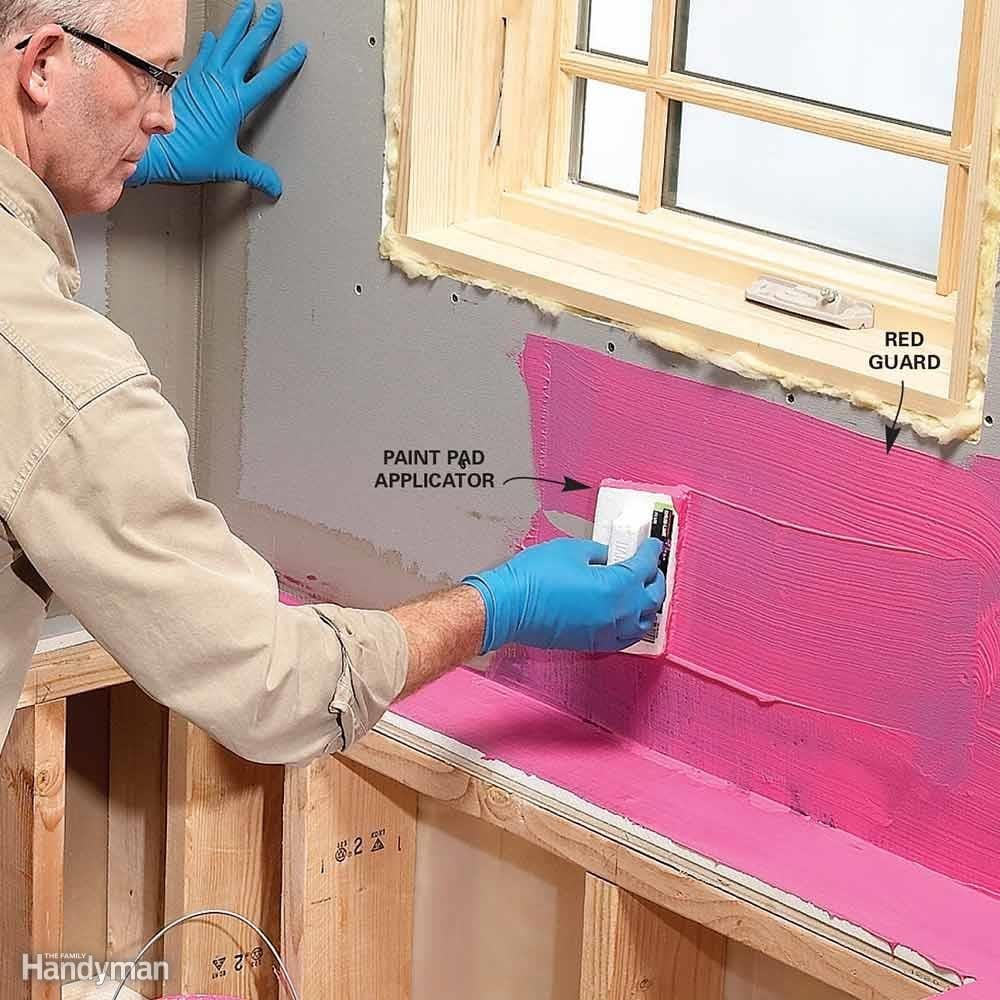
Apply a Waterproof Coating
The only sure way to keep water from reaching the backer board is to waterproof all areas that may be exposed to water. That's easy with the new waterproofing coatings (RedGuard is one brand). If you're in doubt about potential water problems, coat the area with waterproofing. Follow the application instructions on the container. You can apply it with an inexpensive paint pad, which allows you to quickly spread a thick, even layer. You can also use a brush or roller.
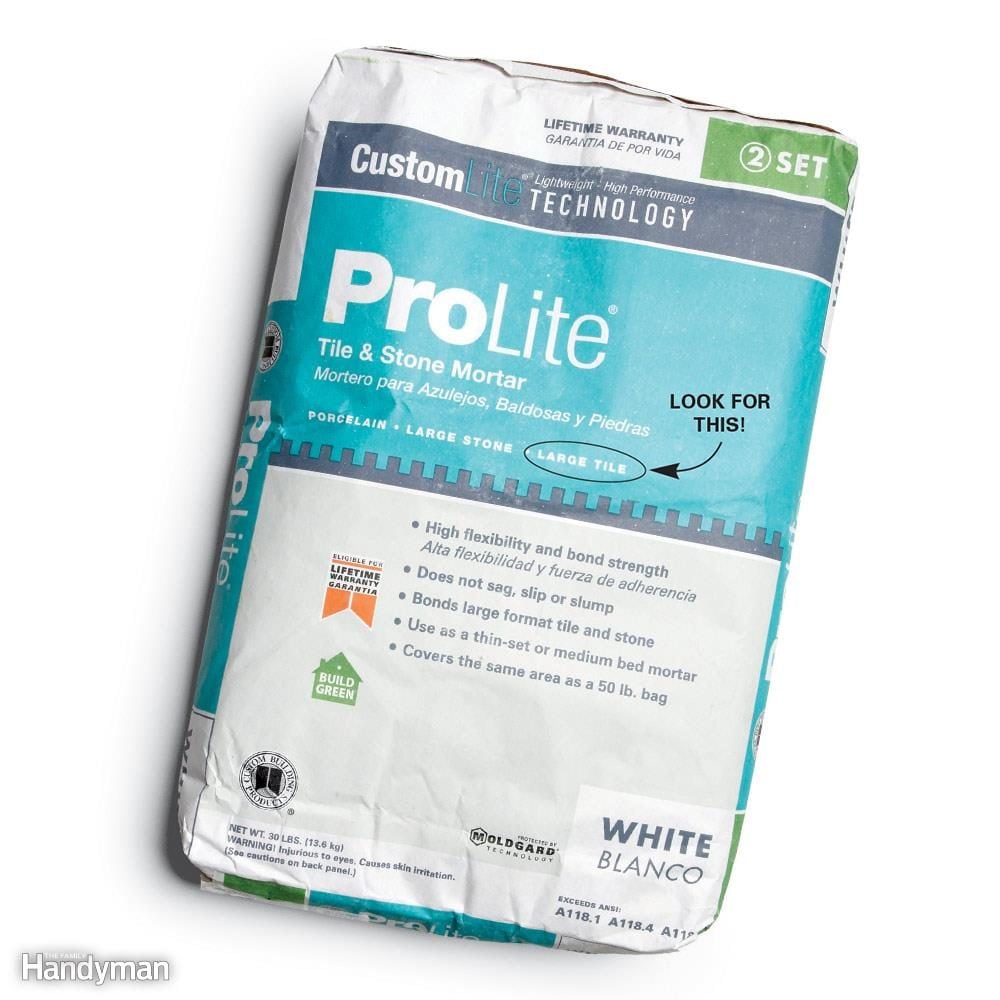
Special Mortar for Big Tiles
Thin-set mortar is the best bedding adhesive for most tile. But if you're setting tiles larger than 12 x 12 in., look for terms like “medium bed,” “large tile” or “large format” on the bag label. Bigger tile requires a thicker bed, and unlike standard thin-set, medium-bed mortar doesn't lose its bonding strength when you lay it on thick. It's also firmer and shrinks less, so tiles stay in position better while the mortar hardens. Medium-bed mortar is available at tile stores and some home centers.
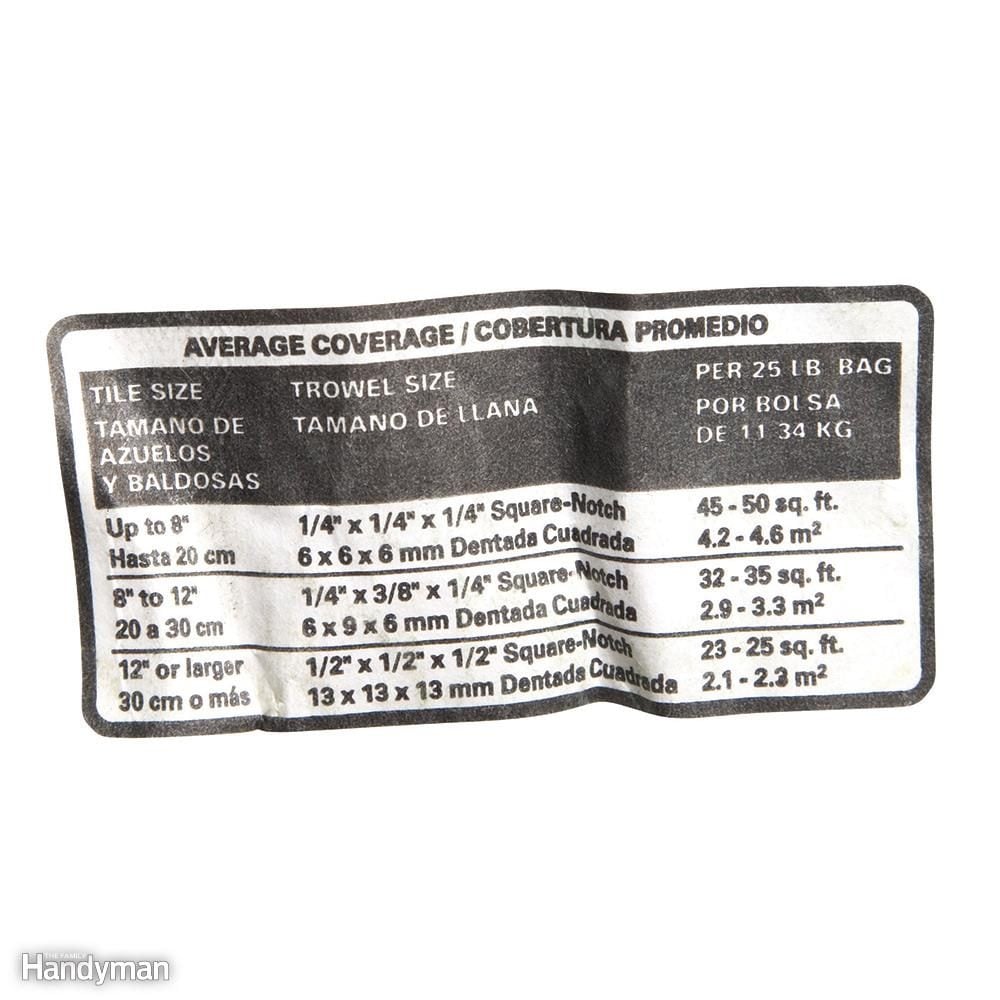
Don't Trust This Chart
Your thin-set probably has a chart like this on the label. Don't rely on it. The recommendations are a good starting point, but they don't guarantee a thin-set bed thick enough to provide full contact with the tile. And without full contact, you don't get full support or adhesion.
As the chart shows, larger tiles require larger trowel notches (to provide a thicker bed). But other factors matter too: the flatness of the wall or floor, or the texture of the tile's back. So the only reliable way to know that the bed is thick enough is to set the first few tiles, then immediately pry them up. If the tile hasn't made full contact, you'll see it. The easiest solution is to use the next notch size. With tiles larger than 12 in., it's a good idea to also “back butter” them with thin-set. Also keep an eye on “squeeze-out” during the job. If you don't see thin-set squeezing out between tiles, pull up a tile to check coverage.
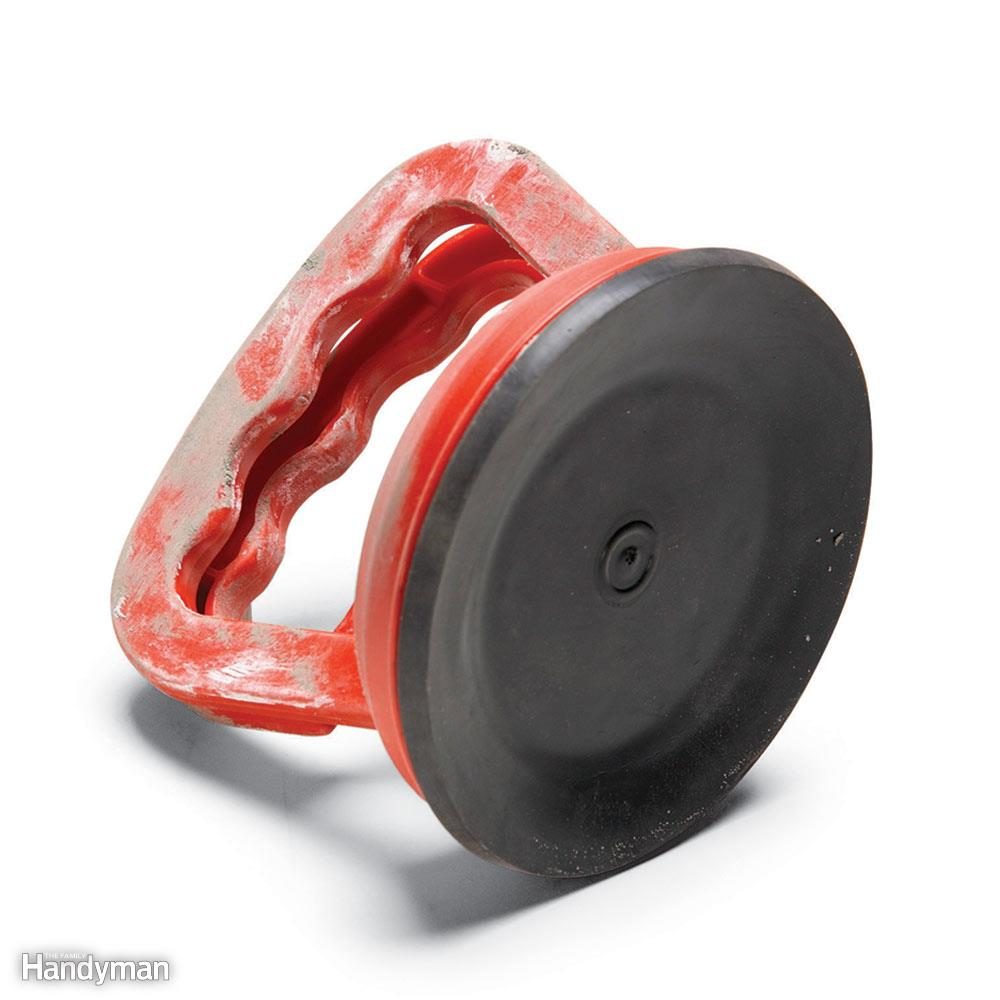
Get a Handle on Tile
A suction cup lets you lift a sunken tile or adjust a crooked one. Some home centers and hardware stores carry them; most don't. To shop online, search for “suction cup handle.” Keep in mind that they only work on smooth-faced tile.
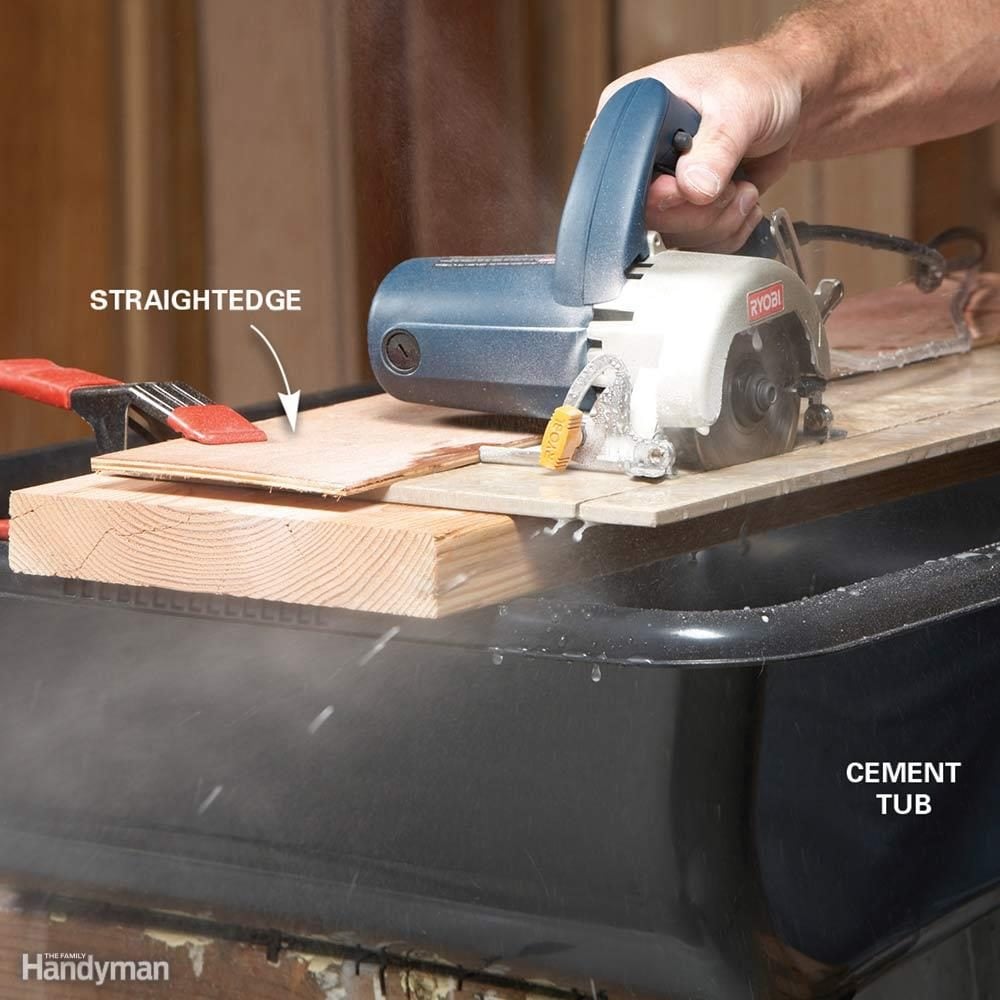
Big Cuts Without a Big Saw
Huge tiles are popular these days, and the best way to cut them is with a big, expensive tile saw. Here's the next best way: a handheld wet saw guided by a straightedge (we used a plywood scrap). The saw shown here gave us perfectly straight cuts in porcelain tile (but with some chipping). Make three shallow passes for the best results. A cement-mixing tub will catch most of the mess.