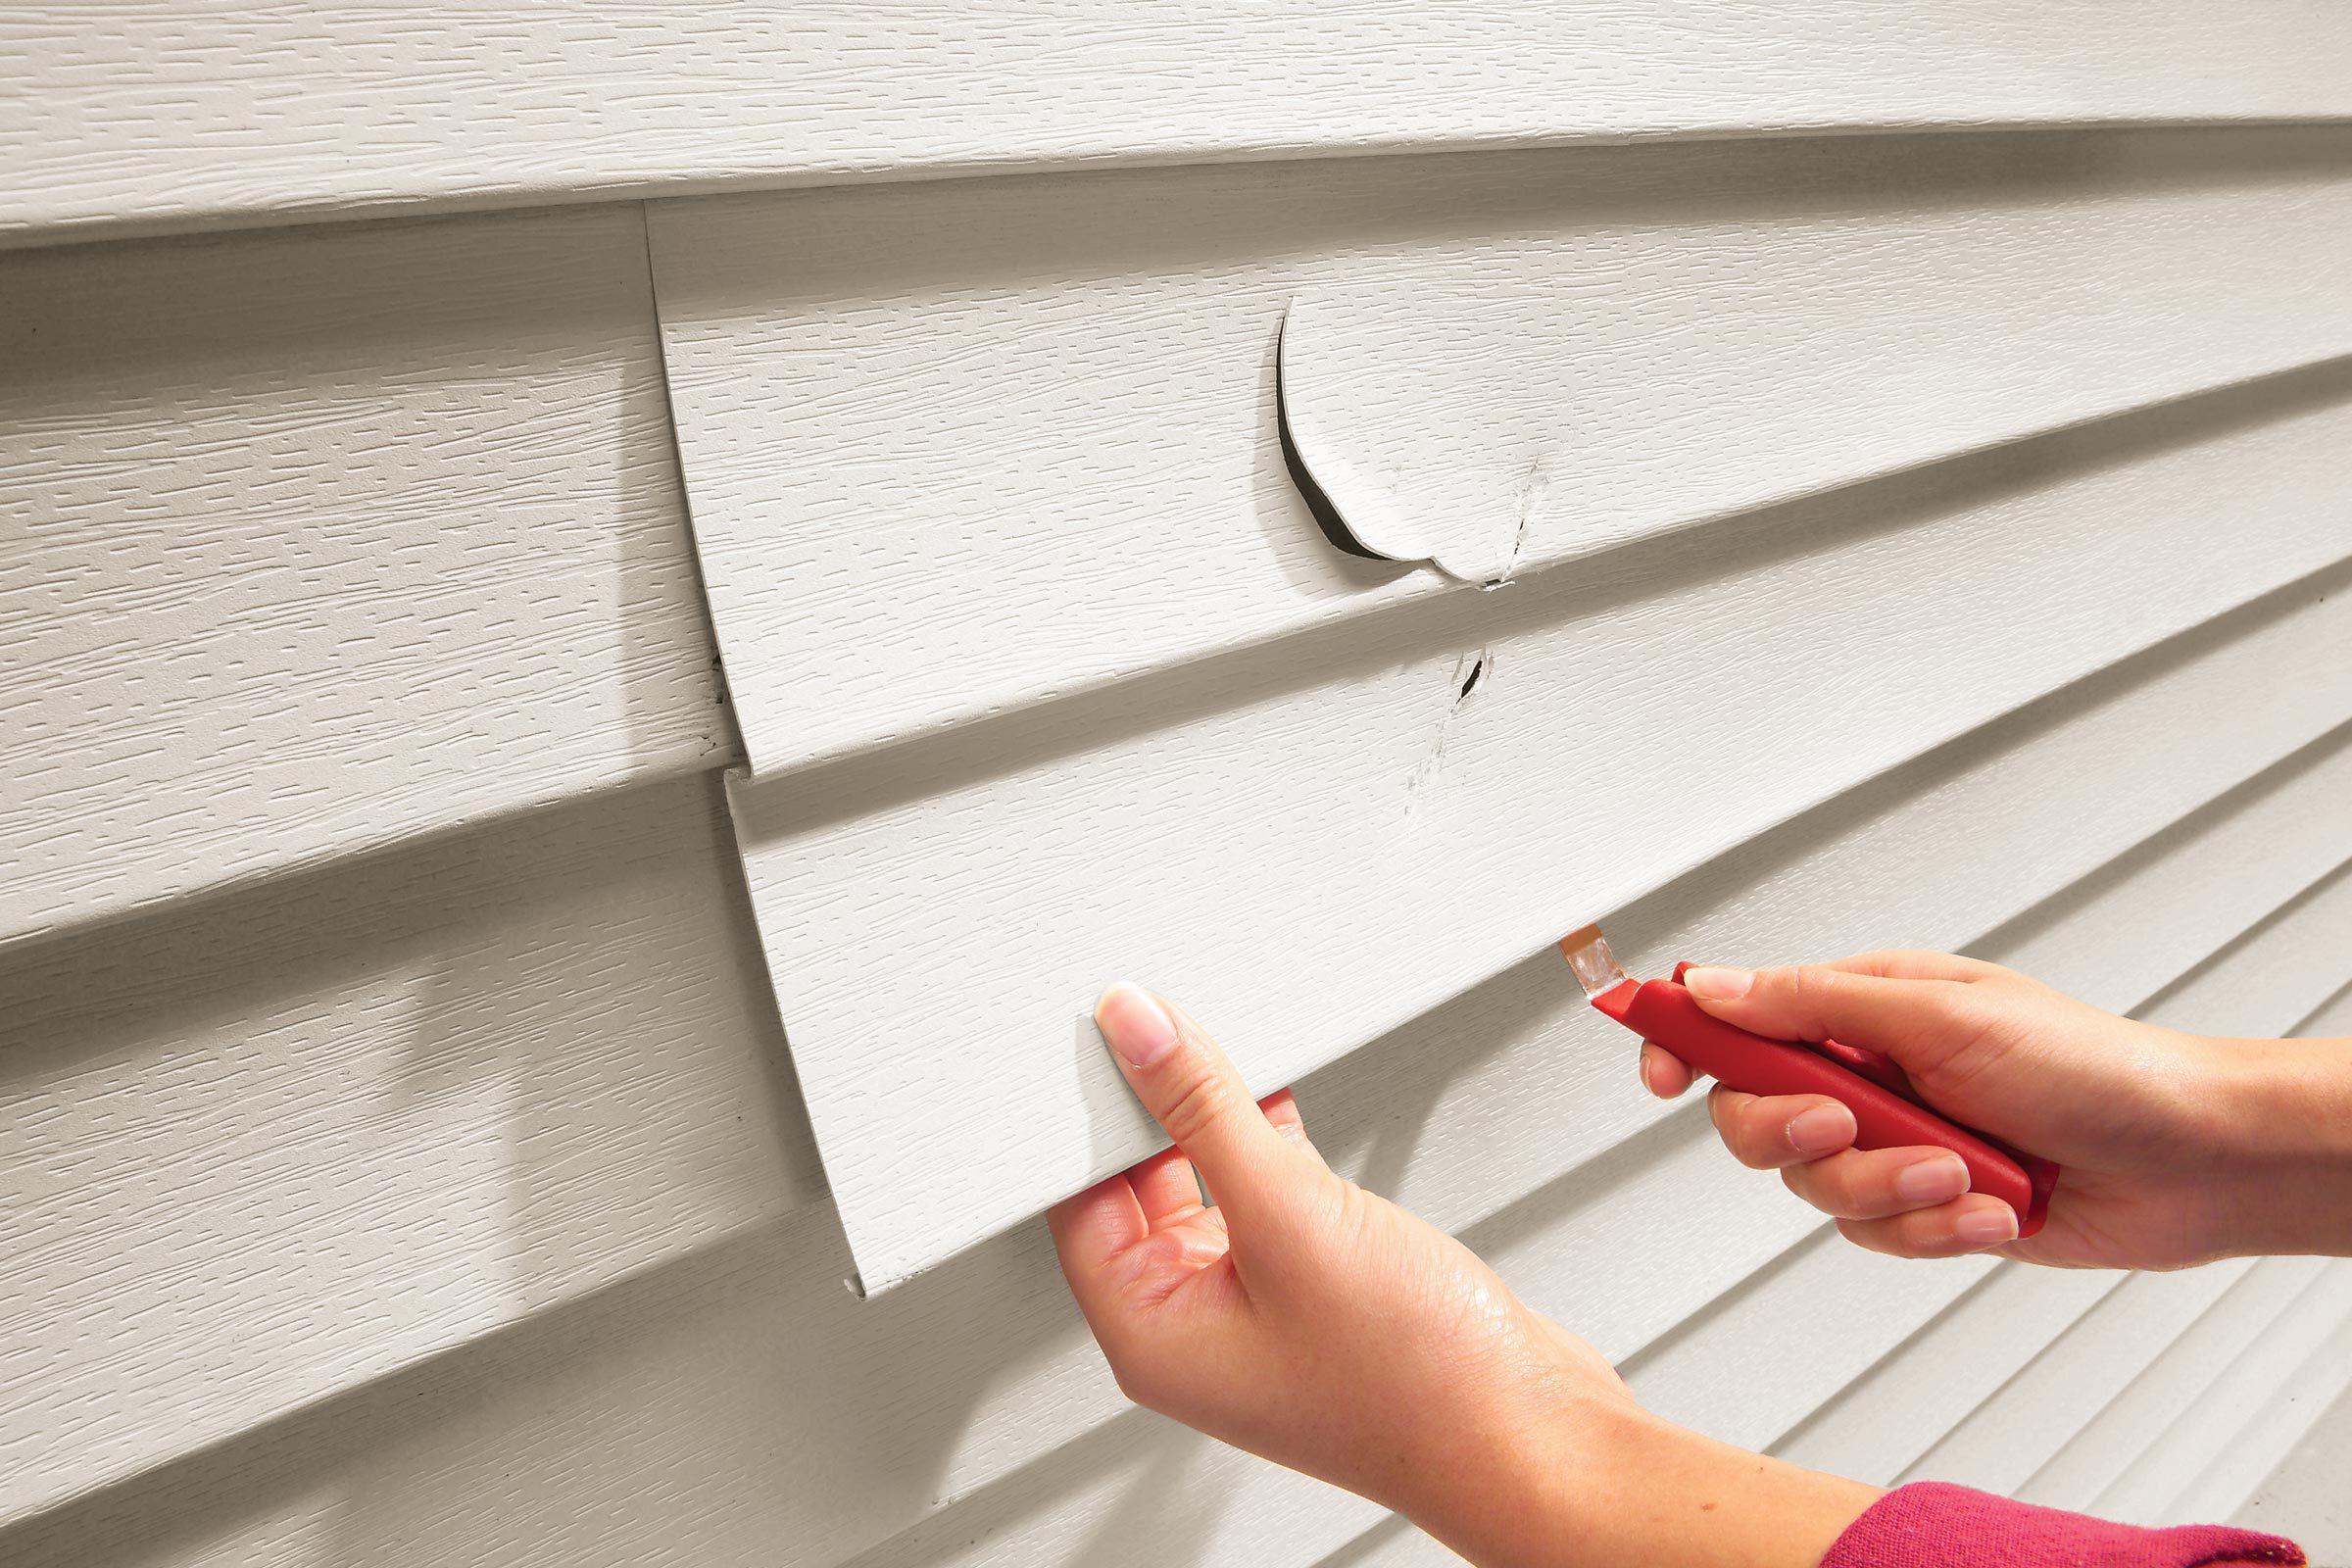
Vinyl siding lasts about 20 years, a little longer if you paint it. Here are some tips on how to remove vinyl siding when it's time for a makeover.

9 Tips for Safely Removing Vinyl Siding

Vinyl is one of the least expensive siding options, and it looks great when it’s new. But nothing looks great forever.
You can repaint vinyl siding with “vinyl-safe” paint to give it extra life. But at some point, you’re bound to decide that it’s time for new siding. If you live in an older home, you could be in for a pleasant surprise when you remove that vinyl. It’s common to find vintage, completely restorable siding under the vinyl.
In one instance, the owner of a historic home in Rock Island, Illinois, pulled off the vinyl to find stucco first, then tooled cobblestone underneath that. The house dated to the 1850s. The owner elected to chip off the stucco to expose the classic cobblestone that would cost a fortune to install today. Other siding materials you might discover are brick, wood clapboard and stucco in restorable condition.
Vinyl is subject to cracks and breaks from high winds, swinging ladders or flying baseballs, so sometimes you just need to remove individual damaged planks.
Tips for Removing Vinyl Siding
You don’t have to be an expert builder to do it. Here are a few tips to help you prepare for the job and get it done expeditiously.
Get Any Necessary Permission or Permits
If you’re replacing all your vinyl siding with something else, you’ll probably need a building permit. If you live in a community with a Homeowner’s Association, you may need permission from them as well.
Be sure to secure whatever permits and permissions are required before you start removing the siding, or you might find yourself with half your home’s siding gone and a work stoppage order in your hand.
Have a Plan for Disposal
Vinyl siding is 100 percent recyclable, so there’s no need for any of it to end up in a landfill. The catch is that you have to arrange for recycling.
You can contact the Vinyl Institute, which maintains a list of PVC/vinyl recyclers in North America. Another way: Post an offer to sell your used siding on Scrapo, an online plastic recycling marketplace.
Watch the Weather
Never work in the rain, which exposes your home’s sheathing to damaging moisture. But rain isn’t the only adverse weather condition to avoid.
Vinyl is brittle and breakable when temperatures fall below freezing, and it’s too hot to handle in the summer sun. An overcast, warm day without wind is best. Long, lightweight vinyl planks are hard to handle in the wind and could easily end up in your neighbor’s yard or the street.
Wear Protective Gloves
Get yourself a good pair of leather or work gloves before you start. The sharp edges of vinyl planks cut easily, especially when cracked and broken. Without gloves, running your hands along the edges of planks is a recipe for trouble.
Use a Zip Tool … or Not
The conventional method to separate vinyl planks for removal calls for a zip tool. It looks like a can opener, but with a flattened hook that slips inside the joint at the bottom of a plank and unlocks it from underneath. Insert the tool in the joint, push down on the handle to force the joint open, then zip it along the length of the plank to disengage.
Though inexpensive and easy to use, you probably won’t need it unless the weather is cold and the planks are stiff, or you’re removing hard-to-bend insulated vinyl planks. For most lightweight planks, just work the joint at one end free with your fingers and make your way to the other end, pulling as you go. (Gloves could make this challenging.) A zip tool helps, but don’t sweat it if you don’t have one.
Get a Cat’s Paw
Vinyl planks have a nailing strip at the top. They’re usually nailed to the sheathing or wall studs with aluminum, stainless steel or galvanized nails.
Instead of gripping the nails with a hammer claw, or trying to work the claw behind the siding, get a cat’s paw pry bar. Its sharp claws force the nail out when you tap the tool with a hammer. This method saves time and won’t damage the siding.
Leave a Nail in the Center
Several nails hold a single vinyl plank. If you start pulling them in order, starting at one end, the plank will begin to fall by the time you reach the other end. Problem is, it then becomes hard to control. And if the nailing strip breaks, the plank may come loose before you’re in a position to catch it.
Avoid this by leaving one nail in the center of the plank. When you pull that nail after all the others are out, the plank will fall straight down into your waiting hand.
Work From the Top Down
If you’re doing a complete siding removal, start at the top of the wall and work down rather than from the bottom up.
Why? Because there may be trim covering the nailing strip on the top plank. Once you remove that and pull the nails, the plank should come loose without disengaging the joint with a zip tool.
Look for Mold and Rot
If you’re removing moldy, discolored old siding, there’s a chance water got behind it. As you’re taking it off, look for deteriorated house wrap, a sure sign of water damage. Tap studs with a hammer to see if any are soft, and pull it back to check for mold on the framing.
Water damage needs to be addressed before you install new siding. If you’re mold-sensitive, wear a respirator.


