


Two affordable chain saw attachments make it possible.
Our editors and experts handpick every product we feature. We may earn a commission from your purchases.Learn more.


Updated May 12, 2023
Two affordable chain saw attachments make it possible.
Our editors and experts handpick every product we feature. We may earn a commission from your purchases.Learn more.
A full day
Intermediate
More than $1000
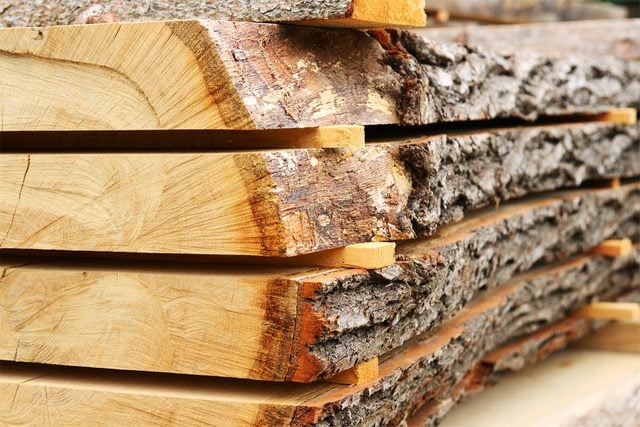
If there’s one thing more satisfying than building something with wood, it’s building something with lumber you milled and dried yourself. You don’t need a giant band saw mill to do that. All you need is a milling attachment for your chain saw. Attachments come in several styles and sizes to suit various saws and sizes of stock.

Chad Beaty is a Master Technician and an in-house chain saw expert at Northern Tool + Equipment.
Northern Tool supplied us with all the equipment. Find your setup at northerntool.com.
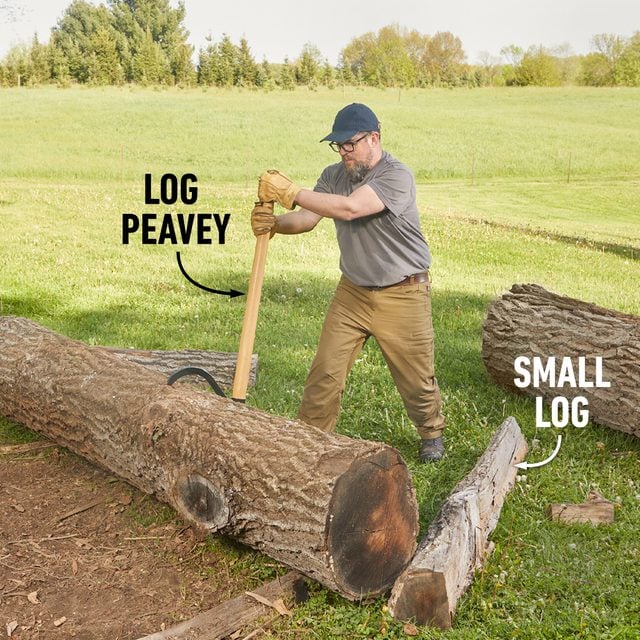
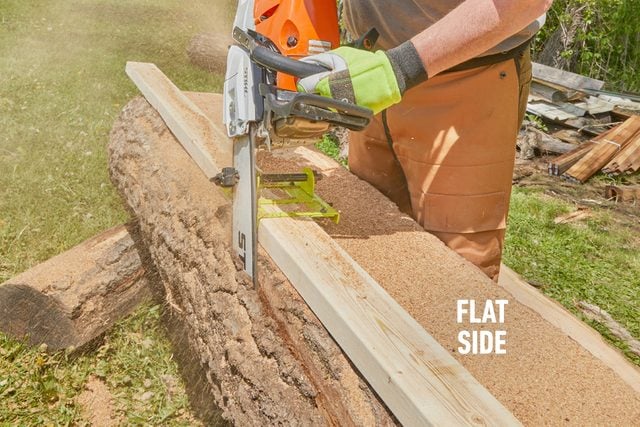
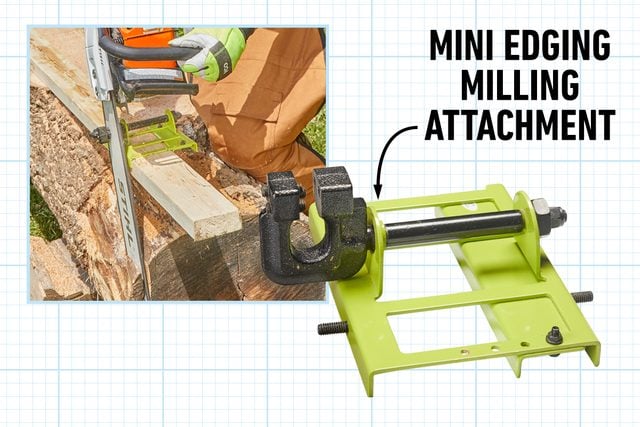
This edging attachment operates with your saw in a vertical position. Roll the log up onto smaller logs so the chain doesn’t dig into the ground. Use a log peavey to roll the big logs onto the smaller ones. Wedge the log into position so it doesn’t shift as you work.
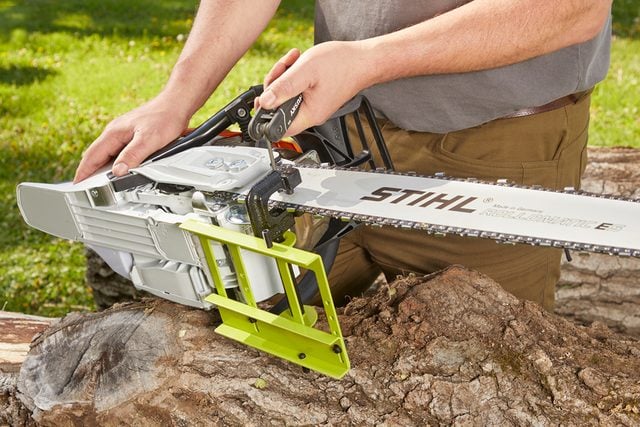
Carefully read the instructions for your specific attachment, then fasten the attachment to the bar of your saw. Three setscrews secure this one to the saw’s bar.
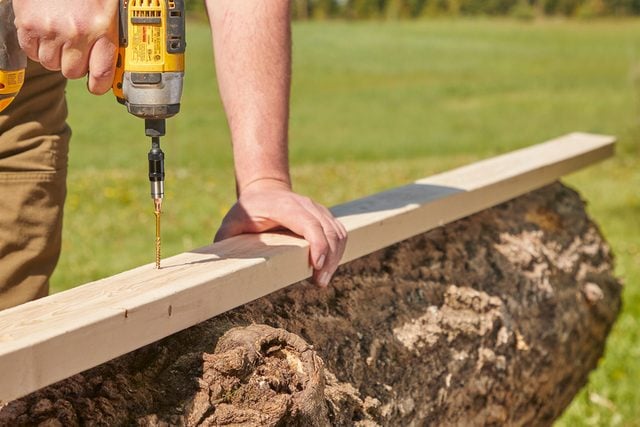
For this attachment, fasten only one 2×4 to the top of the log. “Use the straightest 2×4 you can find for this,” Beaty says. “The 2×4 acts as a guide, so the straighter the 2×4, the straighter your cut will be.”
Start up your saw and begin the first cut. Go slowly and let the saw do the work.
Since you’re working vertically, it’s not necessary to slip shims into the kerf unless the piece you’re cutting off wants to bind. Just make sure that first cut piece will fall safely away from you.

After the first cut is done, move the 2×4 over and slice off another board, or roll the log and cut another flat side perpendicular to the first one. “Proceeding like this, you can use this attachment to make either boards or beams,” Beaty says.
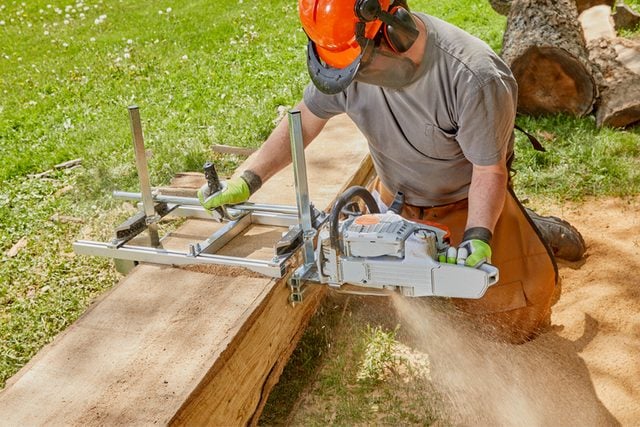
Start by blocking your log to keep it stationary while you’re milling. A few well-placed wedges will do the trick. It’s also helpful to roll the log onto sturdy blocking to make a more comfortable working height.
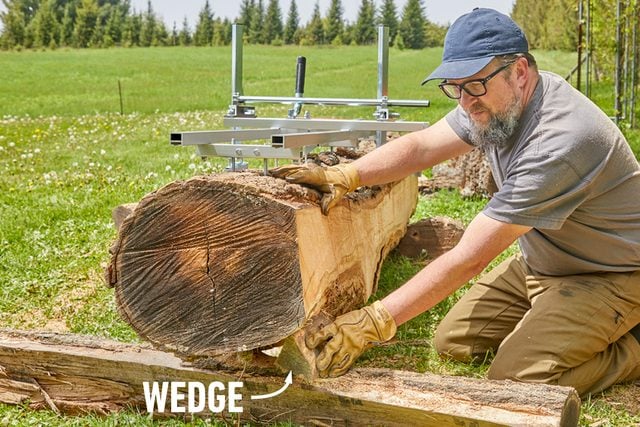
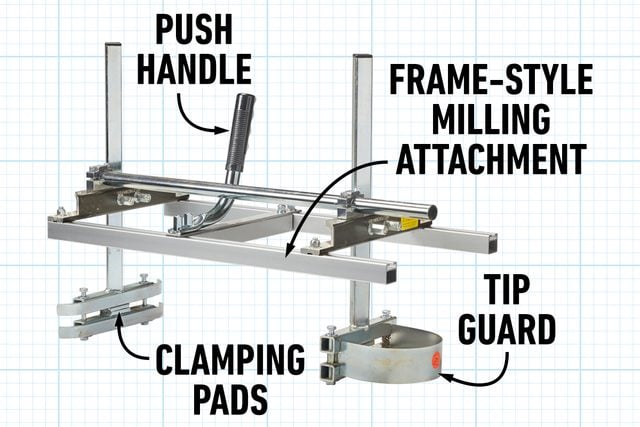
Carefully read the installation instructions for your specific attachment, then bolt it onto your chain saw. You attach this type by tightening steel pads at both ends of the bar. The attachment features a push handle and tip guard.

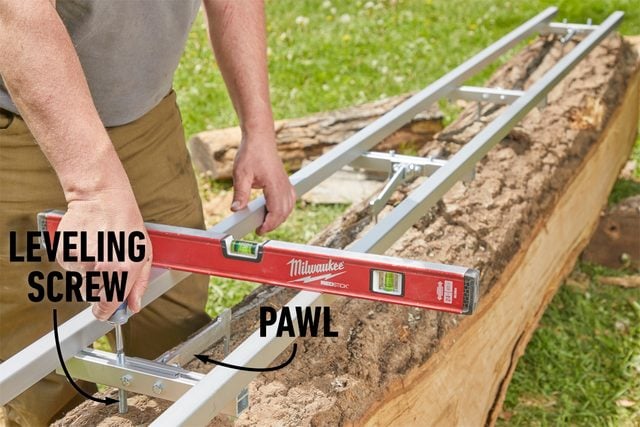
A flat, straight carriage is essential to getting a flat first cut. Here we’re using the EZ Rail system with leveling screws and pawls to hold it in place. Now is the time to get some wedges ready to keep the kerf open while cutting.
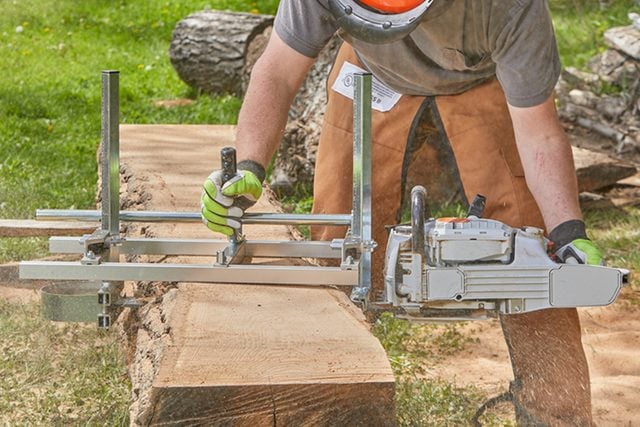
Fire up your saw and start the cut. Go slowly and don’t force it. Let the teeth do the work. As the saw progresses through the cut, slip wedges into the kerf on both sides. This keeps the slab you’re cutting from pinching your chain and bar.
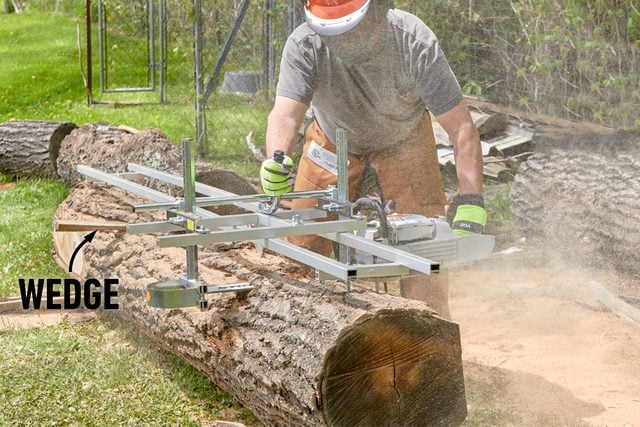
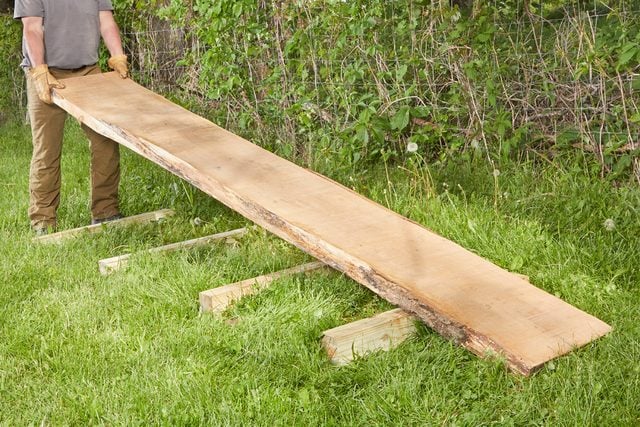
Remove the slab you just cut, as well as the EZ Rail. Now you’ve got a flat surface for the milling attachment to ride on. Continue cutting slabs, using the same techniques for the first pass. “The slabs will be rough, and not dried, so be sure to leave extra thickness for drying and final milling,” Beaty says.
Once you’ve cut your logs, it’s time to exercise patience. The rule of thumb for air-drying lumber is one year of drying for each inch of board thickness. Buy a moisture meter so you can check your lumber’s moisture content.
Kiln-dried lumber is dried to about seven percent moisture content. For air-dried lumber, look to get down to 12 percent or less. At that point, let it acclimate in your house or shop for a couple of weeks before further dimensioning.
Make a base with 4x4s. “The stack doesn’t need to be perfectly level,” Beaty says, “but use mason’s line to ensure that the 4x4s are in the same plane.”
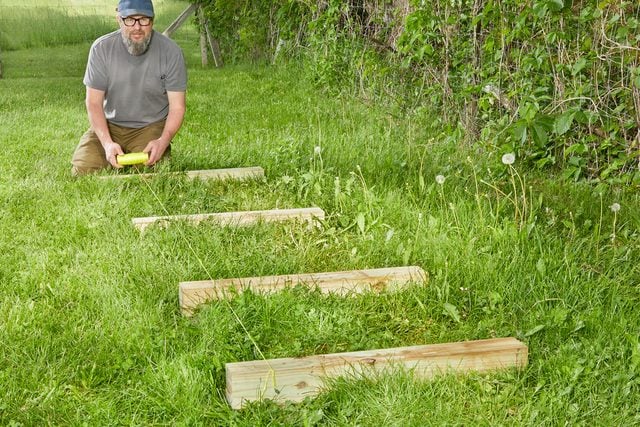
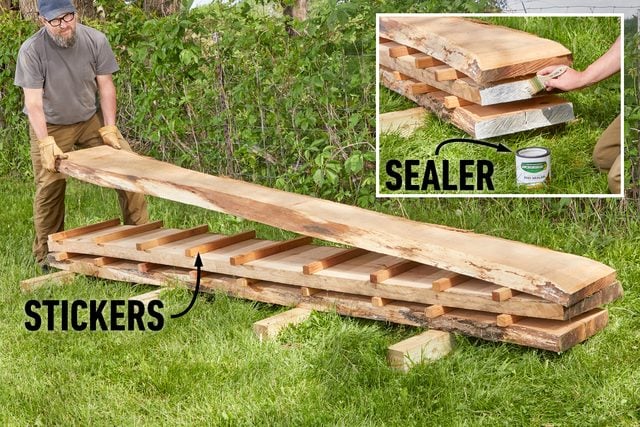
Place the first layer of boards. Set “stickers” on top, spacing them no farther than 12- to 16-inches apart, to help prevent your boards from bowing as they dry. Stickers can be made from any dry lumber. The gap created allows airflow between the boards.
Stack subsequent layers the same way: a layer of boards followed by a layer of stickers. The ends of the boards dry out the fastest. To help keep them from cracking, paint them with Anchorseal to slow the drying.
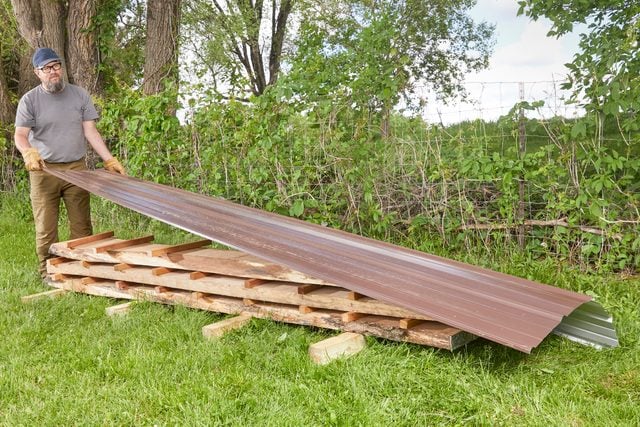
Now you need to put a roof on the stack. A piece of corrugated roofing or other sheet metal works well for this. Curl it down a bit so it sheds water but doesn’t inhibit airflow. Weight the roof with lumber scraps so it doesn’t blow off.
Go with a commercial-quality saw, not a typical residential saw. This means a saw that’s capable of extended running time and an engine with at least 50cc displacement. “If you’re underpowered, you’ll just destroy the saw,” says Beaty.
Beaty also recommends always running two-cycle engines at full throttle. “Part-throttling some two-cycle engines can starve them of the fuel/oil mix they need for good performance,” he says. The saws don’t come cheap. But if you’re milling lumber that you can turn around and sell, you’ll recover the initial cost in no time.
The chain saw bar length depends on the diameter of the logs you’re cutting, but 25- to 30-inches is usually sufficient. This type of cutting, with the grain, is called ripping. Most chains are made with teeth designed for crosscutting — typical chain saw work. To mill lumber, you’ll need a special chain with teeth designed for ripping.

Whether you’re making boards or posts and beams, either of the milling attachment styles shown will do the job. The frame style, however, is more accurate because the frame helps prevent bar deflection, giving you flatter, straighter cuts.
For occasional use — say, to cut just a few posts — you can get by with the inexpensive mini edging attachment. For more frequent use, go with the frame style.
If you’re throwing dust, not chips, your saw’s chain is dull. You’ll need a file with a guide to sharpen a chain.
Count the strokes it takes to get a clean, sharp edge on the first tooth. Follow up by giving each tooth the same number of file strokes. Otherwise, you’ll get an unbalanced chain and a curved cut.
Use brand-specific bar oil to cool and lubricate the chain and bar. “Some folks think used motor oil is OK to use,” Beaty says. “But unlike motor oil, bar oil has tack additives that help keep the oil on the bar instead of splattering all over.”
Clean the bar when you sharpen the chain, and clean the bar’s groove with a special bar groove cleaning tool. “Also, remember to grease the two little holes in the sprocket nose at the end of the bar every time you sharpen the chain,” he says. “This is also a good time to make sure to clean the saw’s air filter.”
Originally Published: July 26, 2022