Wood moves constantly. Remember these tips for how to dry lumber so you don't have to deal with twisted, cracked wood.

Tips for Drying Wood for Woodworking Projects

We all know lumber comes from trees, but trees were not designed for lumber. Man has to take something that naturally grows in a cylindrical shape, dry it out and make it rectangular. It’s a peculiar process that requires patience.
Freshly cut trees must be properly dried. Each time the wood goes from log to lumber, outside to inside or humid to dry, care must be taken to manage that change. If that doesn’t happen, this beautiful biological material may grow or shrink.
Plus, wood moves with changes in humidity throughout the year. Seasoned furniture-makers build drawer faces in cabinet frames tighter in the summer, knowing that these boards will shrink in the fall and winter and leave gaps. The converse is true in the winter, otherwise the drawer will swell and stick in the summer
These tips for how to dry wood will help you keep your woodworking projects crack- and gap-free.
On This Page
Allow Air Movement
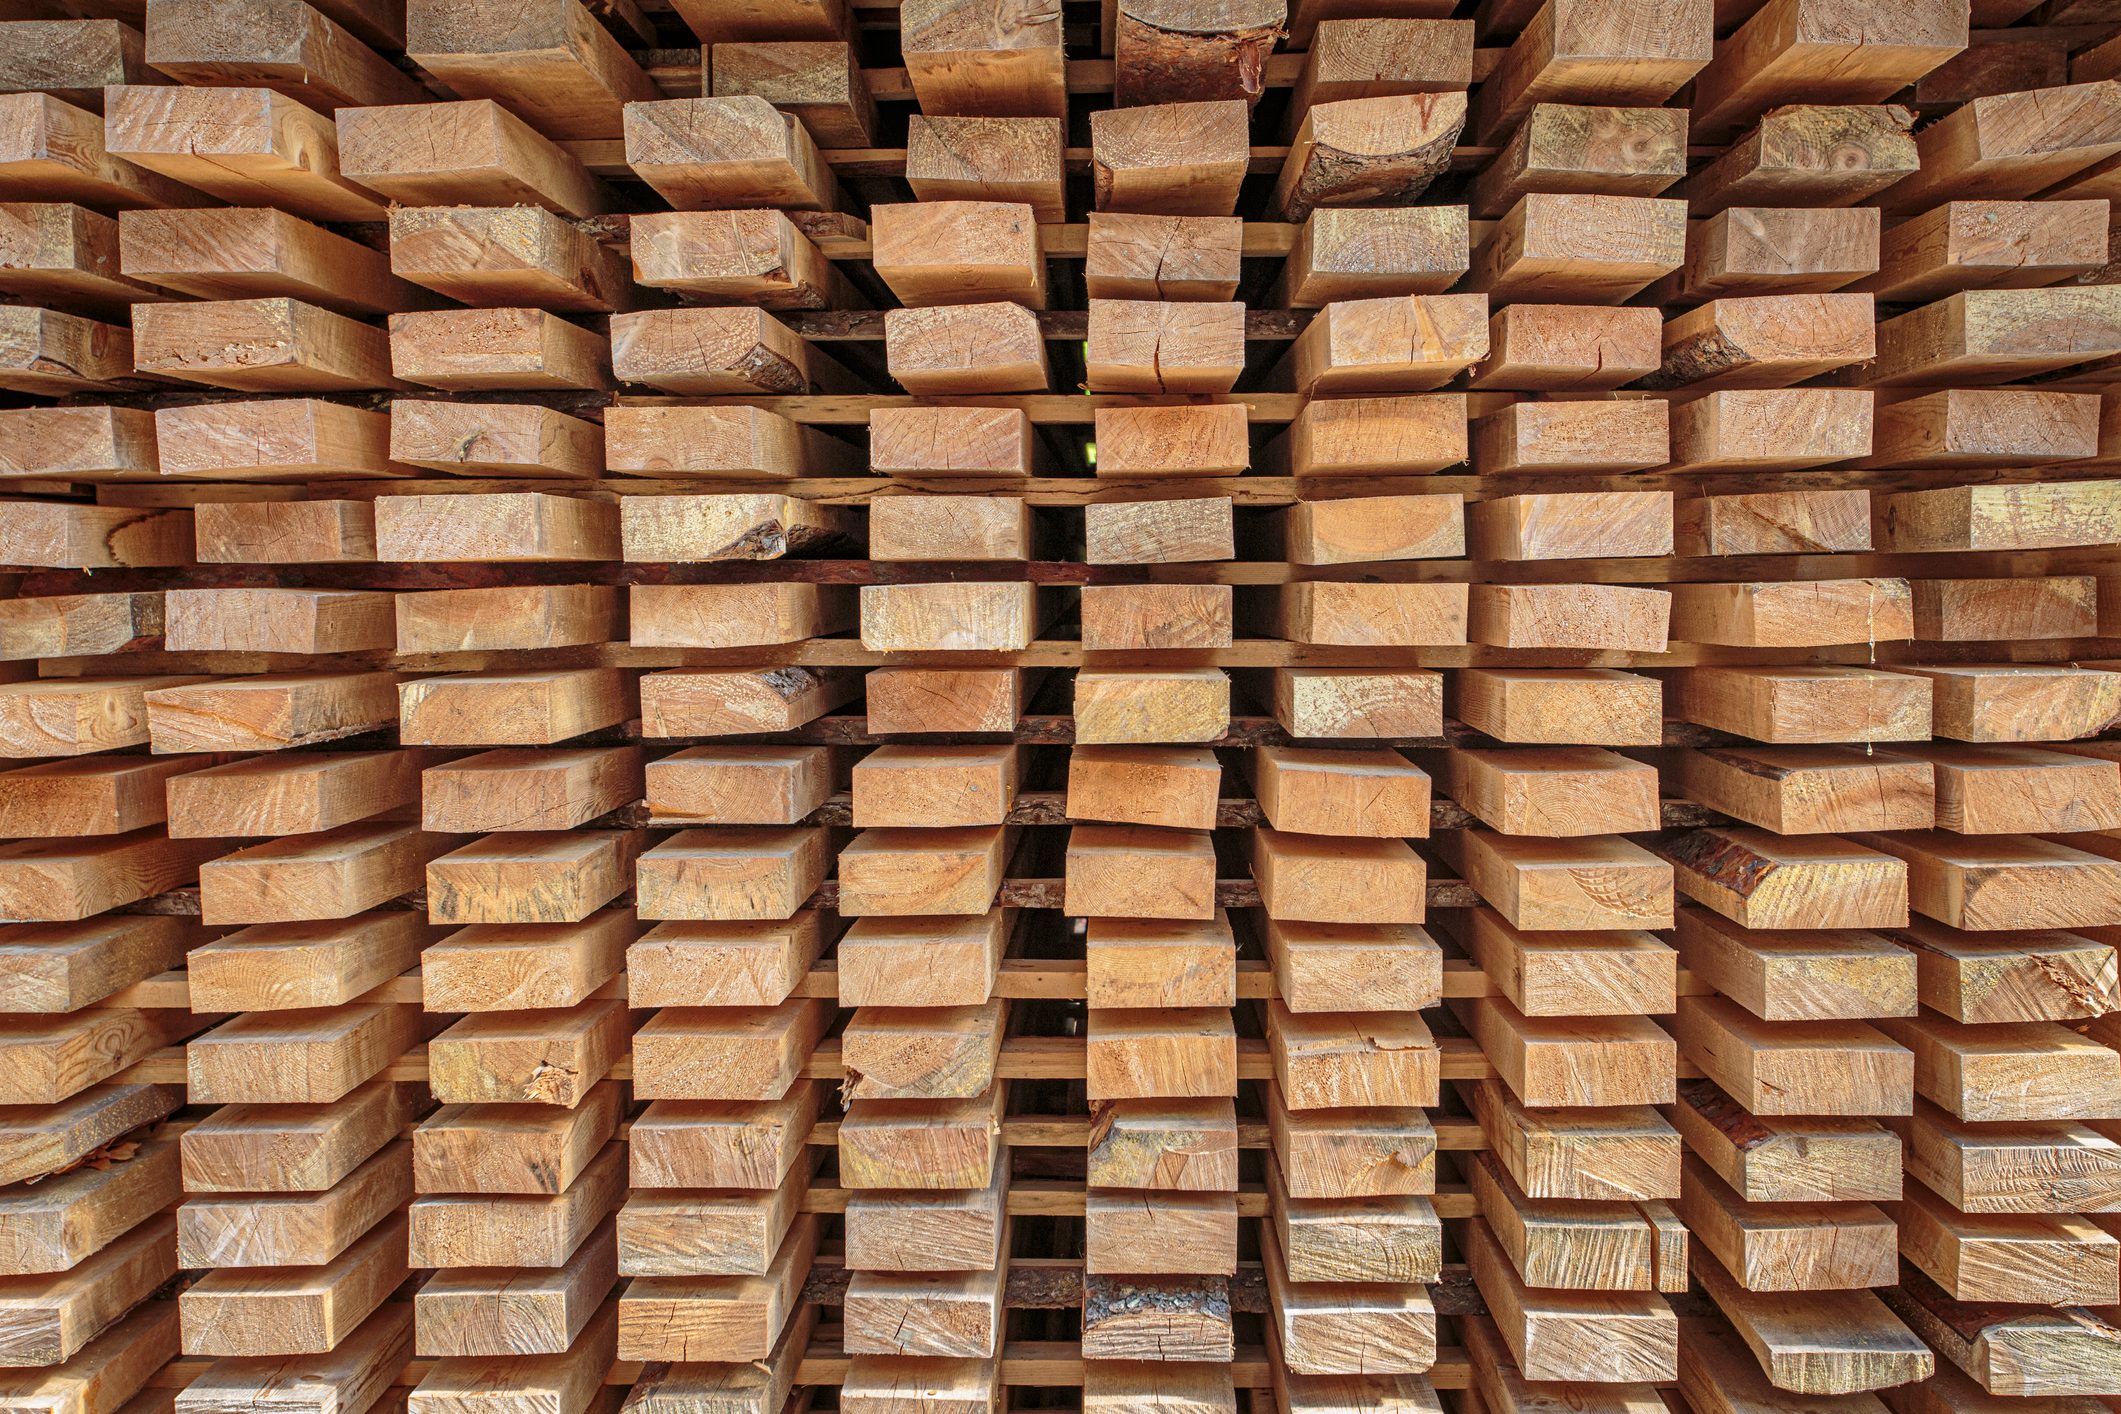
When freshly cut, wood stacked without air space around the logs can develop mold and mildew, resulting in stains or decay. So sawyers utilize a method called “stacking and stickering.” This process creates an alternate stack of dry 1-in. x 1-in. “stickers” lengthwise every 16 inches or so between layers of wet wood.
Each set of stickers is set above the previous layer, ensuring the wood dries flat and smooth. I always sticker wood if I need to store it longer than a couple of days, even it’s technically dry. While it won’t develop mold, any plank of wood where moisture is only allowed to escape from one face can warp or cup, making furniture joinery difficult.
Use a Moisture Meter
Wood from the lumberyard is usually kiln dried. But how dry is it? It depends on how it was stored, and for how long, before you bought it.
While most lumberyards dry wood to eight to 10 percent moisture content (MC), wood stored indoors tends to remain dry. Lumberyards with exterior storage can have lumber with a wider range of MC. It’s best to measure the moisture content with a moisture meter like the mini-LIGNO E/D, with has pins that stick in the face or ends of the lumber.
In the Midwest, we have wild fluctuations in humidity, but I aim for seven to nine percent moisture once the boards are in my shop for a week. The ends of boards dry quickly; to get an accurate reading from the end of a board, you’ll need to cut about three inches off to expose the inside.
Pinless moisture meters like the Lignomat Scanner SD are simply waved across the top of the lumber to get a moisture reading, but require inputting the wood species to ensure accuracy.
Air-Drying
In general, air-drying wood cut fresh from a tree takes one year for every inch of thickness before it’s ready to mill for lumber.
Wood cells are linear, like a bundle of straws, letting moisture out the ends before the moisture in the center transpires through the face or edge of a board. As the lumber dries, it also shrinks and often warps, cups or bows depending on what part of the tree the lumber comes from. And considerable twisting can happen around knots.
Of course, each species of wood is different. Some are more stable than others. Beech has a reputation for wild warping, whereas walnut tends to be stable. Date the wood with permanent marker so you know how long your boards have been drying.
Build a Solar Kiln
Trees recently milled into lumber are 100 percent wet. A solar kiln is a great option to accelerate the drying process. Creating a south-facing enclosed shed with a clear plastic roof that heats up to 130 F or more will speed drying along.
One must be careful to not dry the wood too fast, or it will warp and crack. Inside the kiln, fans and vents manage the moisture properly and keep the space inside the kiln (AKA the volume) from heating too much. The state of Oregon published a thorough overview on its web site.
Seal the Ends of Wet Wood
Wood loses its moisture most quickly out of the end of a board, so ends dry out, shrink and crack faster than the middle of the plank. Applying Rockler’s Green Wood End Sealer seals the end grain, making moisture transpire more slowly than if left un-sealed. I’ve also used wood glue, thinned with water, or even leftover latex paint in a pinch.
Chop Ends to Check for Hidden Cracks
End cracks occur on almost every piece of lumber, some worse than others. Sometimes cracks are visible and obvious, while others are imperceptible to the naked eye.
After wood is dry and ready for joinery, there’s a great trick to finding these invisible cracks. When processing the lumber to length, chop a one-inch block off the end of the board and gently drop it on the shop floor. If it breaks, there was a hidden crack! Repeat until the dropped piece doesn’t break. Then measure and cut the other end of the board to appropriate length.
A Note About Construction Lumber
It’s happened to everyone: wandering the aisles at the home store and finding a stack of beautiful, perfect 2x10s or 2x12s. Straight-grained, knot-free pine would make a great bookshelf, but don’t build it right away.
Framing lumber is usually only kiln dried to 14 or 16 percent moisture, so significant shrinking and cracking is still to come. It’s best to take this wood and bring it into your shop for a week or longer so the wood can achieve a MC appropriate for furniture.


