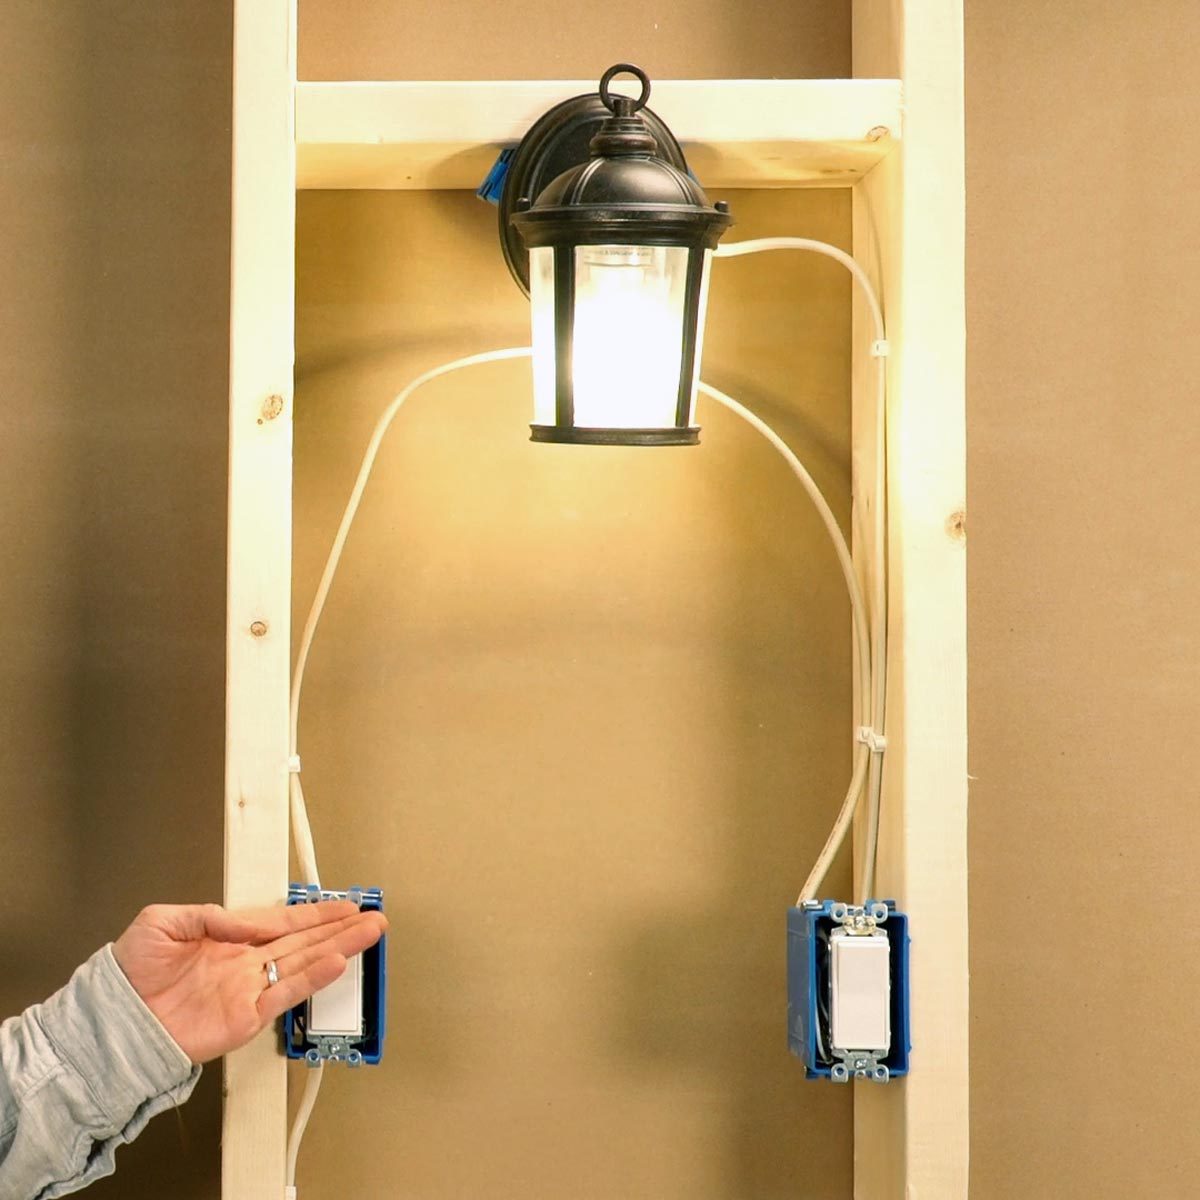
Stop walking across a dark room to turn on the light. Install a 3-way switch and control lights from two locations.
A full day
Intermediate
$100 - $150
Introduction
Our step-by-step guide with wiring diagrams and complete instructions will help you get a 3-way switch wired in a single day.Watch How To Wire a 3-Way Light Switch
Tools Required
- 4-in-1 screwdriver
- Non-contact voltage tester
- Utility knife
- Wire strippers
Materials Required
- 14-2 nonmetallic-sheathed cable (Type NM-B)
- 14-3 nonmetallic-sheathed cable (Type NM-B)
- 6-in. copper pigtails
- Electrical tape
- Light fixture
- Three-way switches (2)
- Wire nuts
A light switch is the simplest of electrical devices. Flip the switch, electricity flows. Flip it again, electricity stops. Lights on, lights off.
That’s great for a small room with one entrance. Other times, we need to turn on the light, walk across the room and turn it off on the way out the other side. Or flip a switch at the bottom of the stairs, and then again at the top. The next person, coming from either direction, must be able to turn the light on again.
That’s where 3-way switches come in.
Unlike single-pole switches, which control lights from one location, 3-ways work in pairs. You must have two of them — and only two. (For more than two locations, add 4-way switches.)
If this sounds confusing, it can be. When I was an electrical apprentice, I could not wrap my head around it. That is, until my foreperson sent me to see why a 3-way switch wasn’t working. That was a day! Now I’m a pro, but a handy DIYer can handle this task, too.
Below, I’ll show you the most common way to wire a 3-way switch. It’s what most electricians use today, because it’s easy and saves money.
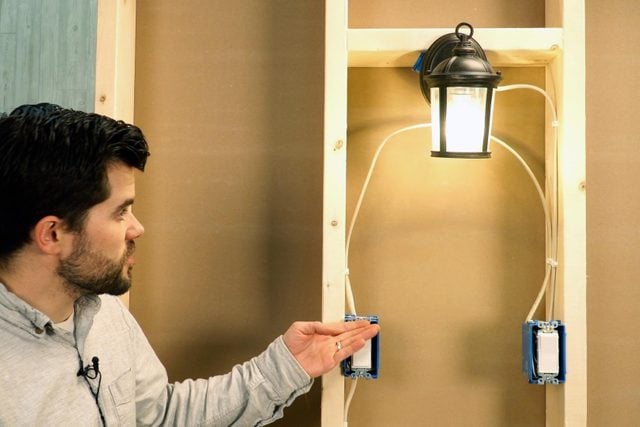
Here’s how it works: Power comes into the first switch from the power source. Two wires called “travelers” connect the first switch to the second one. Then power leaves the second switch to go to the light. No matter which switch you flip, the light responds.
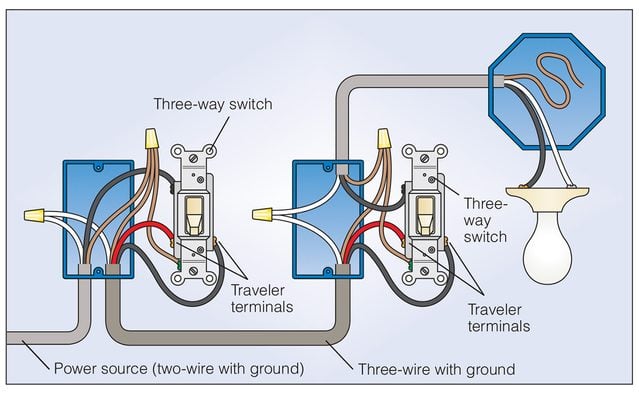
You may find other configurations in your home. Hire a pro to diagnose anything you’re unsure about, but here’s how to wire a 3-way switch with power coming to the switch first.
Project step-by-step (7)
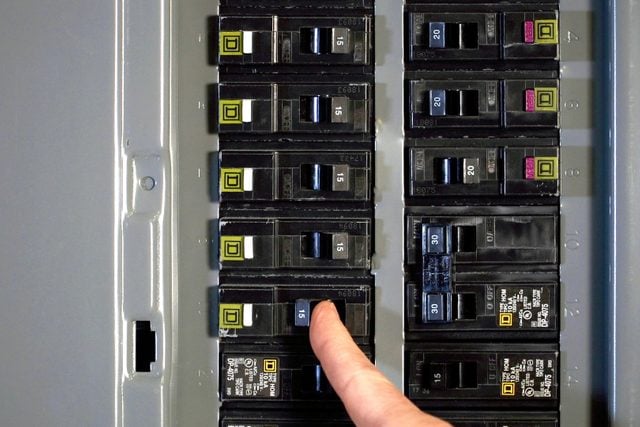
Turn off the breaker
- Test your non-contact voltage tester on a known live circuit to ensure it works.
- Locate the breaker(s) that controls your lights or the existing switch and turn them off.
- Use your tester to verify the power is off.
Pull cable to boxes and light
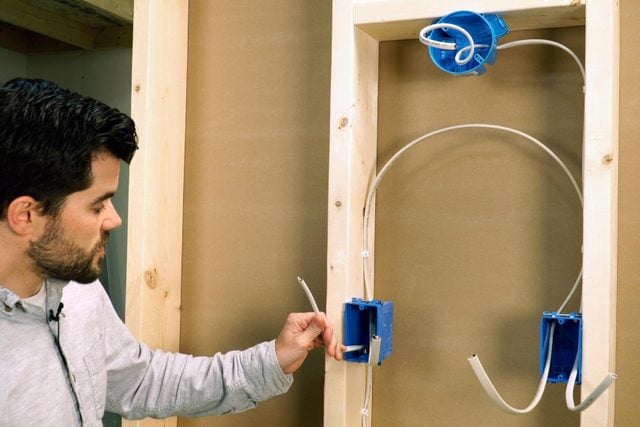
- Run a 14-2 NM-B cable (white, black, bare copper) from your power supply to the first switch location.
- If you’re adding a 3-way setup to an existing situation, this cable should be present already.
- Run a 14-3 NM-B cable (white, black, red, bare copper) from your first switch to the second switch.
- Run a 14-2 NM-B cable from the second switch to the light fixture.
Safety note: This project assumes a 15-amp breaker for your lighting circuits. If you see that your breaker is 20 amps, you will need to use 12-2 and 12-3 NM-B cable.
Prep the wires
- Carefully cut away a few inches of the cable sheathing with a utility knife.
- Strip 3/4-in. of insulation off each conductor with your strippers.
- Cut a few 6-in. lengths of bare copper wire to use as grounding pigtails.
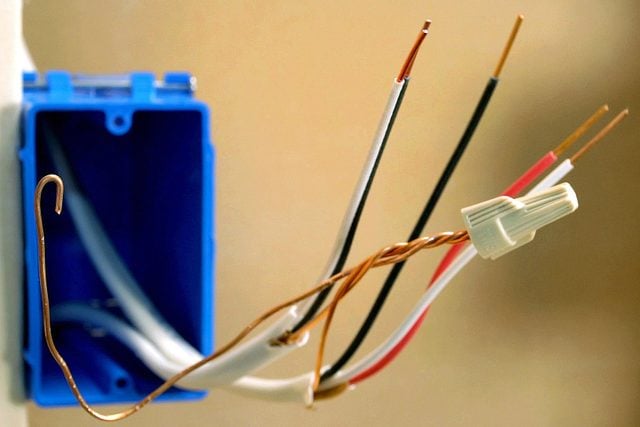
Wire the first switch
- Splice the two bare grounds from the cables to a 6-in. copper pigtail.
- Make a hook in the end of the pigtail and wrap clockwise around the green screw. Tighten.
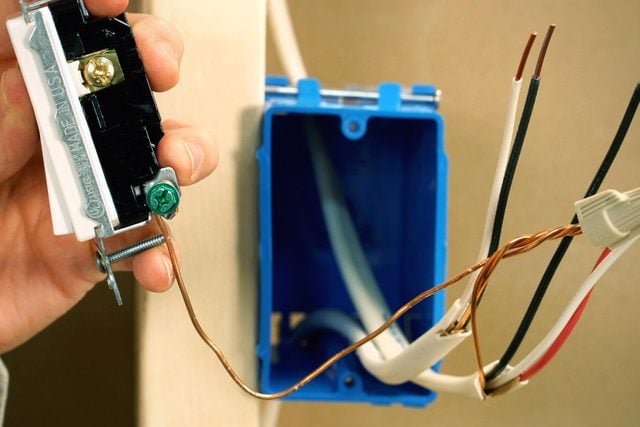
- Splice the two neutrals (white wires) together. Do not attach them to the switch.
- Secure the black wire from the 14-2 power supply cable to the black (common) screw on the 3-way. (Make a hook like before.) Newer 3-way switches are labeled as ‘Common’ on the back of the switch, next to the Common terminal screw.
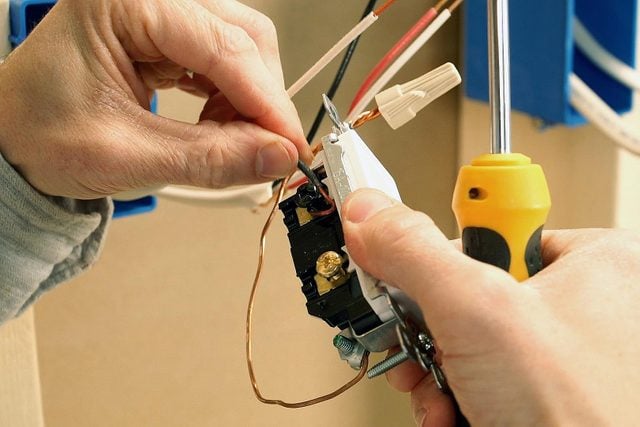
- Secure the traveler wires (black and red) from the 14-3 cable to the brass screws. It doesn’t matter which one goes where.
- Wrap electrical tape around the switch to cover the exposed terminals and secure the switch into the box.
Wire the second switch
- Splice the two bare grounds to a 6-in. copper pigtail and attach to the green screw.
- Splice the two neutrals together. Do not attach to the switch.
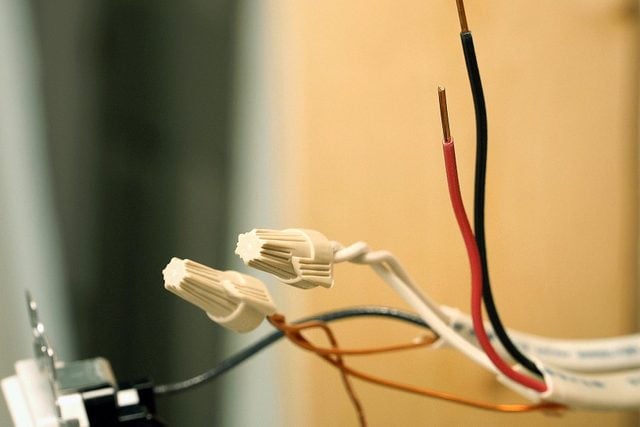
- Secure the black wire from the 14-2 cable going to the light to the black (common) screw.
- Secure the black and red traveler wires from the 14-3 cable to either of the brass traveler screws. (Again, it doesn’t matter which.)
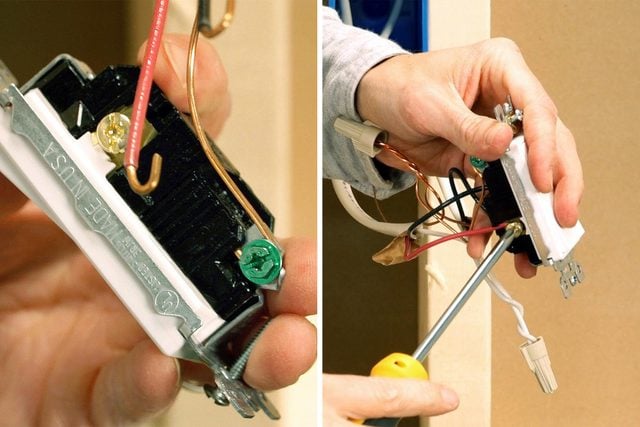
- Wrap the switch with tape and attach it to the box.
Wire the light
- Make connections to the light fixture, starting with the bare copper ground wire.
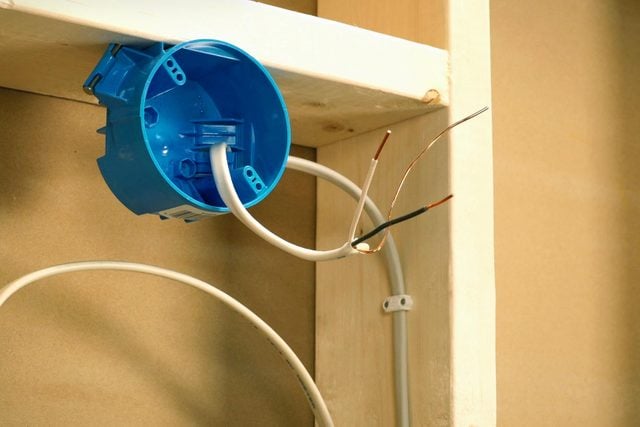
- Connect the bare copper wire to the green ground screw on the light fixture.
- Splice the white neutral from the cable to the white neutral on the light fixture.
- Splice the black wire from the cable to the black wire on the lamp light fixture.
- Attach the light fixture to the box.
Finish
- Check that switches are secure to the boxes and add faceplates.
- Turn on the breaker.
- Test your lights by flipping on and off at each location.
- If something’s not working, turn off the breaker before checking it out!
- Double-check that you have travelers on the brass screws and power on the black/common.
- Turn on the breaker, and turn on your lights!
Frequently Asked Questions
What does a 3-way switch do?
It allows you to control a light or group of lights from two locations.
Where should I use a 3-way switch?
Anywhere you have two access points for the same room or space, like the top and bottom of stairs, your kitchen or garage, or the back porch.
What’s the difference between a 3-way switch and a single-pole switch?
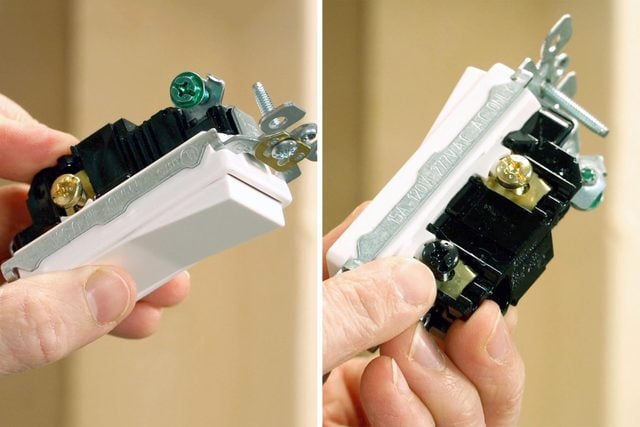
A single-pole switch controls a light or lights from a single location. One wire comes in from the power source, and one wire goes out to the light(s). A 3-way switch adds two terminals for travelers, which connect two 3-way switches together.
Can I use a 3-way switch as a regular switch?
Yes. Just use the common terminal and one of the traveler terminals for the incoming and outgoing power, and leave the other traveler terminal empty. This is a needlessly expensive setup, but there’s nothing wrong with it if you have an extra.


