How To Winterize a Pressure Washer

Updated: Jun. 14, 2023
Own a pressure washer that needs to be put to bed for winter? Follow this detailed guide on how to winterize a pressure washer quickly and easily.
20 to 30 minutes
Beginner
$40-$80
Introduction
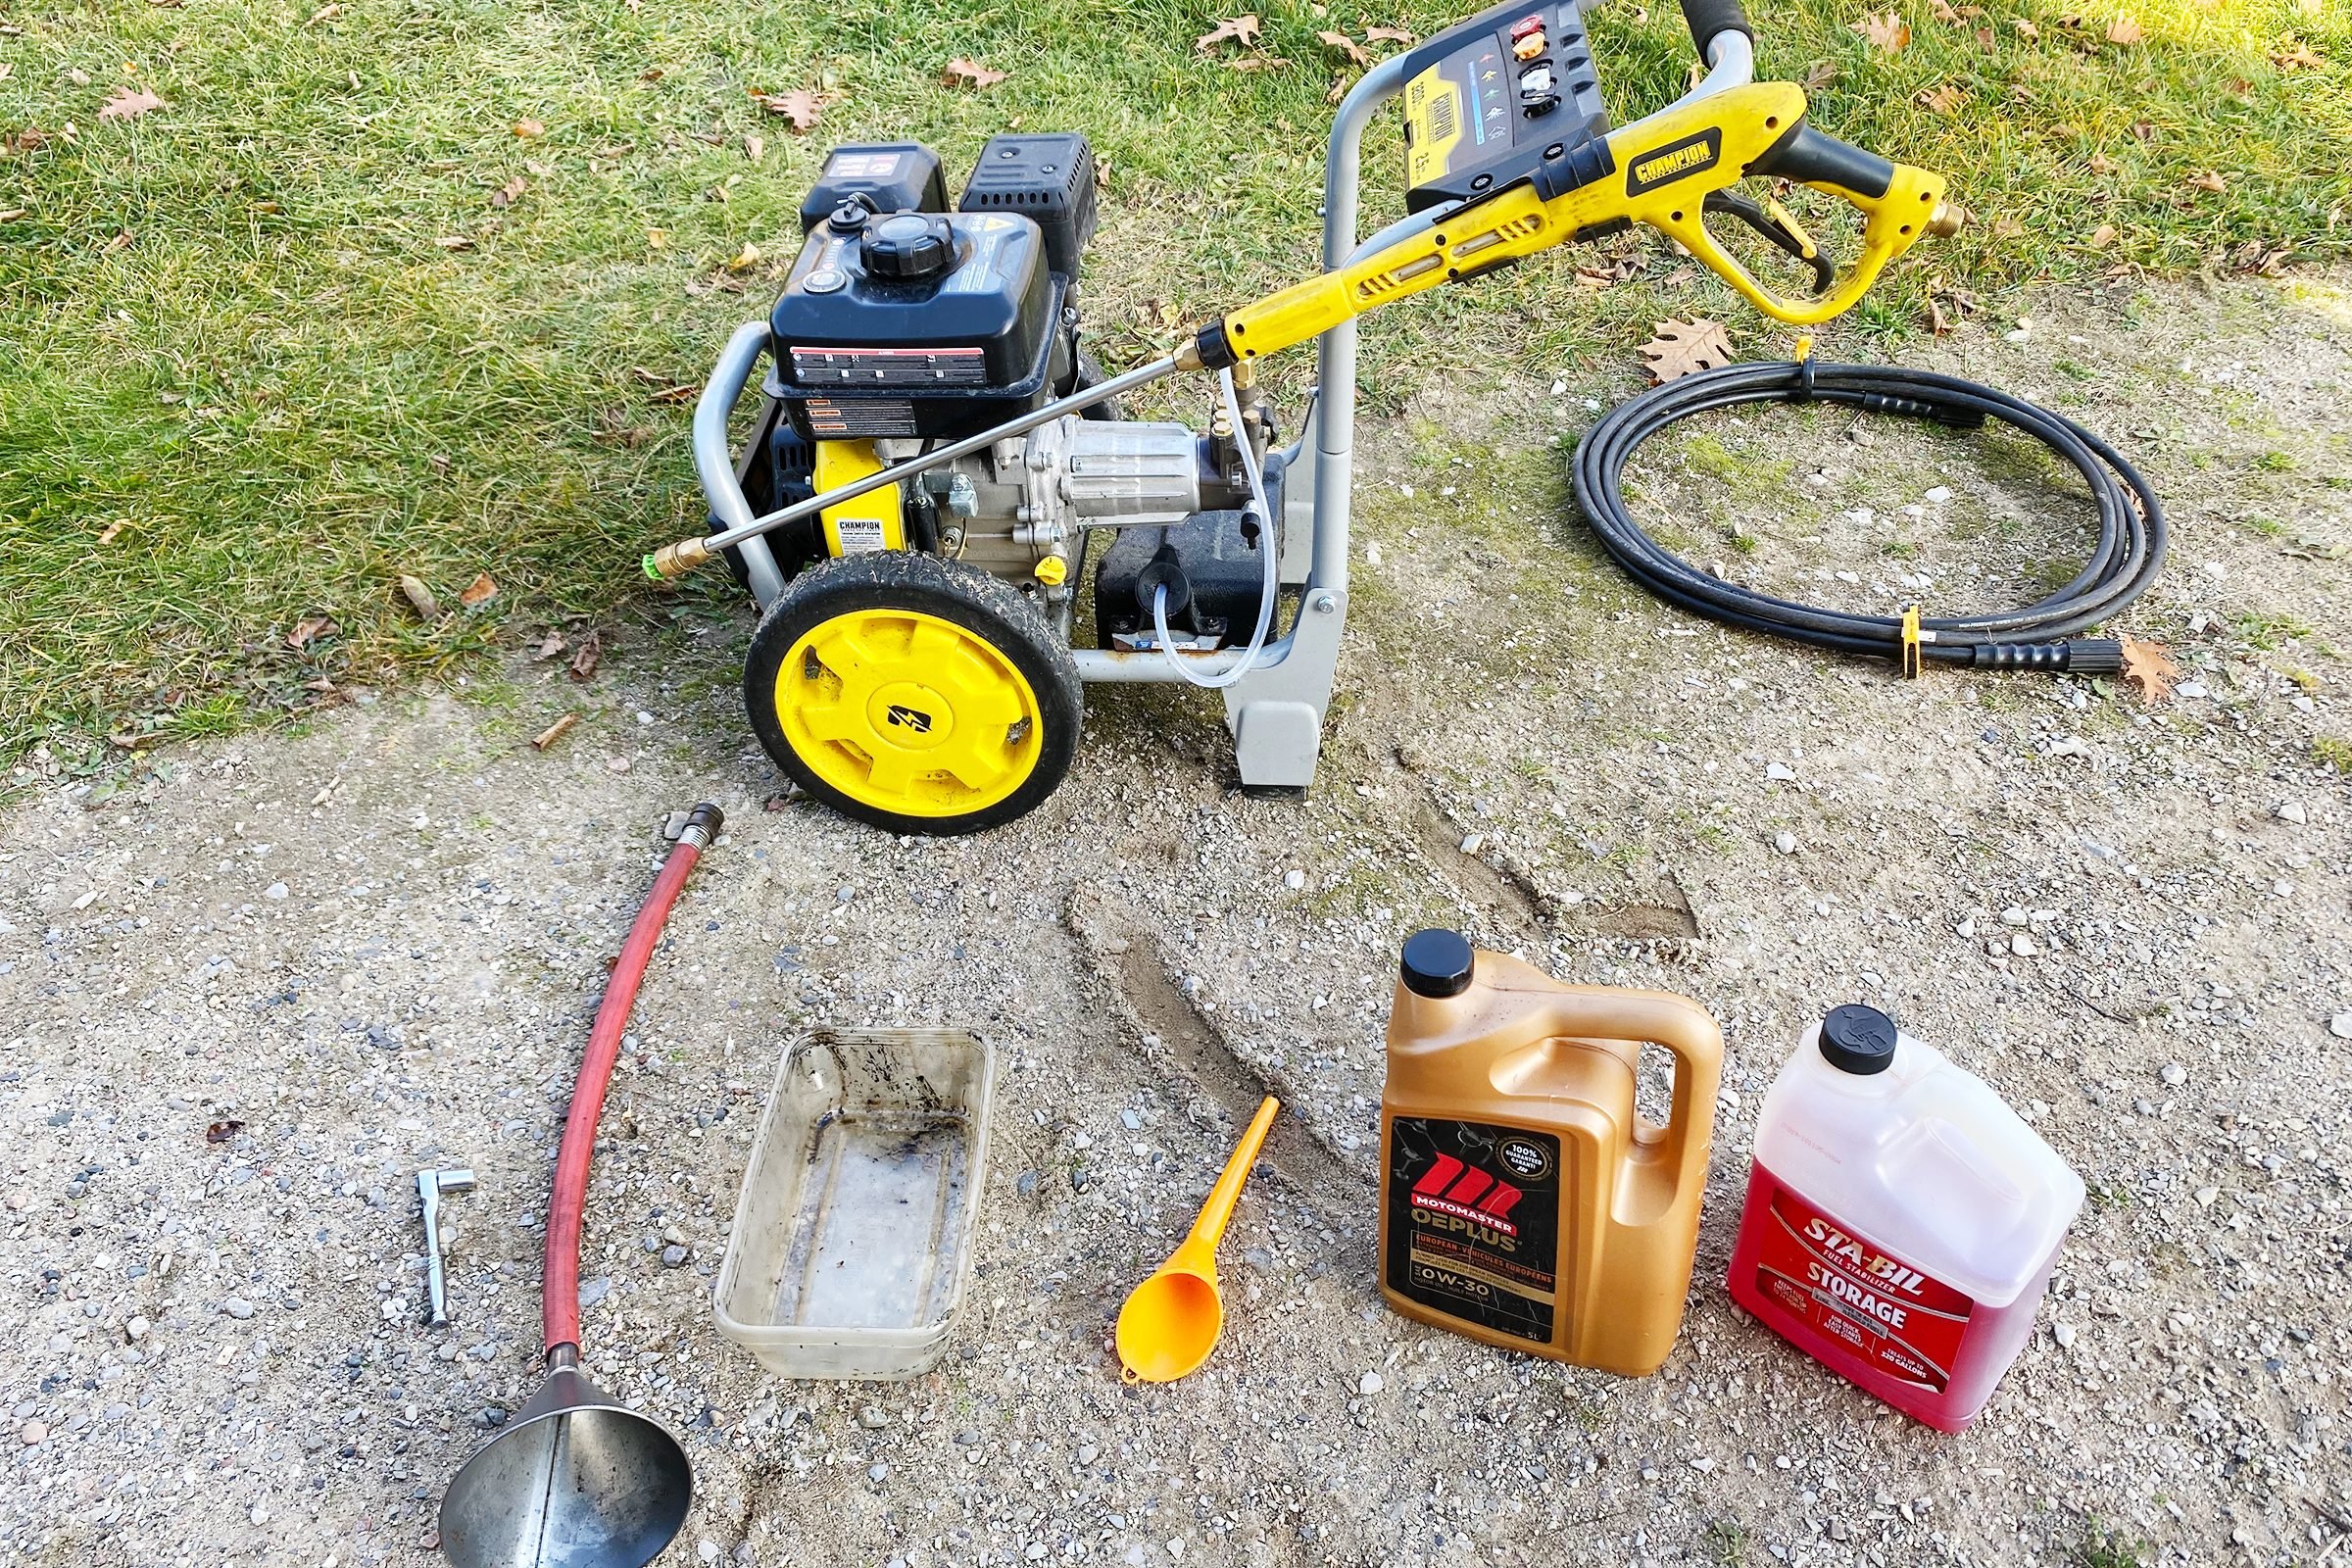
Make sure your pressure washer is ready for spring by winterizing it.Tools Required
- Empty oil jug
- Gas can
- Large funnel
- Medium-sized plastic food container
- Medium-sized slanted oil funnel
- Siphon pump
- Small clean shallow plastic container
- Socket wrench with socket matching your drain plug bolt
- Two-foot length of garden hose with standard hose threads on one end and no fitting on the other
Materials Required
- Bottle of fuel stabilizer
- Bottle of plumbing antifreeze
- Fresh jug of SAE 0w-30 synthetic motor oil or whichever oil your pressure washer owner's manual recommends
Pressure Washer Winterization
Like most outdoor power equipment, pressure washers occasionally need some TLC, especially when summer’s over and you’re putting it away for the winter.
Forgetting to properly winterize it could mean it won’t start or run well in the spring, and you’ll be spending time troubleshooting your pressure washer rather than using your pressure washer. Avoid these problems by treating your pressure washer right as you prepare to store it for long, cold months ahead.
Both electric and gas-powered pressure washers need winterizing, but the process is simpler with an electric unit. The photos in this article show me winterizing my gas-powered machine.
The usual approach to winterizing a pressure washer, blowing out water with an air compressor, is slow and troublesome. The method I’ll describe here is much faster and easier. All told, it will probably take no more than 20 to 30 minutes — maybe considerably less if you don’t need an oil change and there’s no gas in your machine.
Project step-by-step (7)
Shut Off Fuel Valve and Drain the Gas
Note: If you own an electric or battery-powered pressure washer, skip to Step 5.
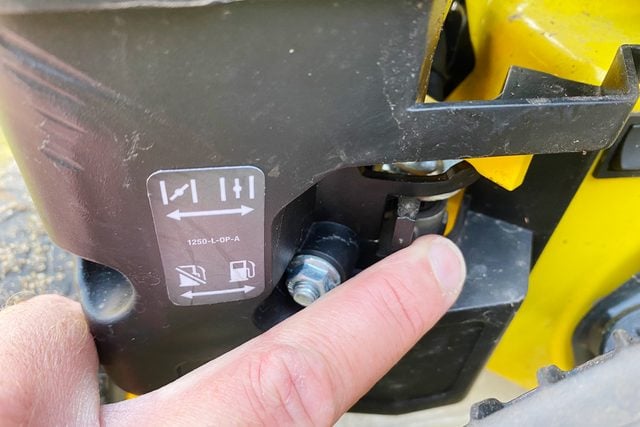
- Locate the fuel shutoff valve, most likely on the side of the engine. It may have a small image of a gas pump next to it, or the word “fuel” written nearby. Turn it off.
- If your pressure washer lacks a fuel shut-off valve, use a hand-operated siphon to drain the gas from the fuel tank into a gas can.
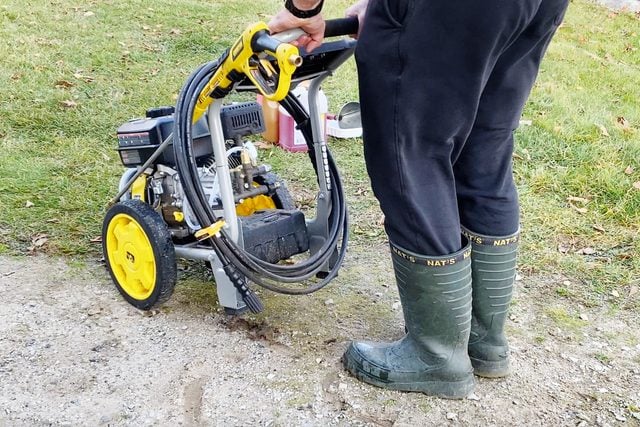
- Move your pressure washer outside if you haven’t already, then start it up.
- Run it until the remaining gas in the carburetor and fuel lines is used up and the machine shuts off. This will probably take one minute or so.
Add Fuel Stabilizer
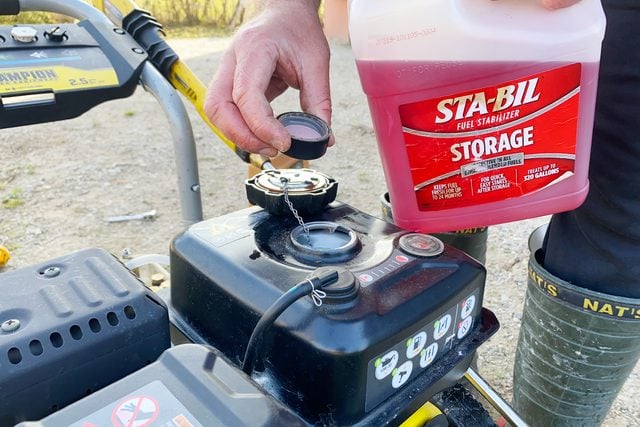
- Top off your gas tank after shutting off the fuel valve and running it dry.
- Add fuel stabilizer to the tank, one ounce per two gallons of gas. This works out to roughly a tablespoon of stabilizer for most pressure washers. I like to use the stabilizer bottle cap to dispense it.
- Add stabilizer in this same ratio to your gas can if your washer doesn’t have a fuel shutoff valve and you had to siphon the gas.
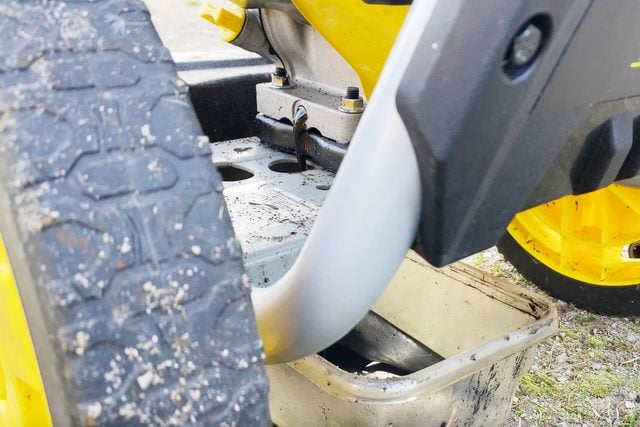
Drain the Oil
Note: Skip this step and the next if you’ve recently changed your oil.
- Locate the oil drain plug near the bottom of the engine.
- Position your plastic container beneath the drain plug
- Use a socket wrench to loosen and remove the drain plug, placing it to one side.
- Allow 10 minutes for the oil to drain into the pan.
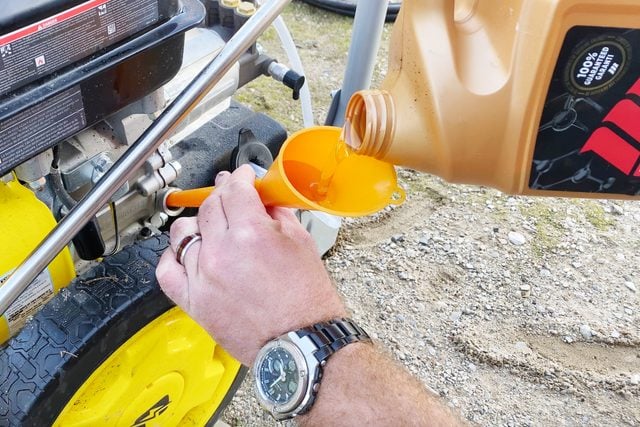
Add Fresh Oil
- Locate and open the oil fill-up port.
- Place your slanted funnel in the port opening.
- Pour the SAE 0w-30 synthetic motor oil (or whichever type your owner’s manual specifies) into the port through the funnel. Add it a little at a time.
- Periodically stop pouring, remove the funnel and check the oil level with the dipstick on the underside of the oil cap.
- Replace the oil cap when you’ve reached the correct level on the dipstick.
Prepare a Hose and Funnel
- Disconnect the spray nozzle hose from the water outlet if you haven’t already.
- Stick your large non-oil funnel firmly into the hose that doesn’t have a fitting.
- Connect the threaded end of your short length of hose to the water inlet. (My hose has a quick-release fitting.)
- Rest the funnel on the handle area of your pressure washer if possible. The job’s easier with your hands free.

Add Plumbing Antifreeze
- Pour some plumbing antifreeze down the funnel. Fill it about halfway to the top, then stop.
- Position your non-oily shallow plastic container directly under the water outlet where the spray nozzle attaches.
- Pull the cord several times to cycle the engine. The antifreeze should start to disappear down the funnel and into the hose.
- Continue cycling the engine until the funnel and hose are empty and you see undiluted antifreeze squirting out of the water outlet into your plastic container. Your pressure washer is now protected against internal freezing.

Store for the Winter
- Disconnect the hose/funnel assembly from the pressure washer, draining the excess antifreeze into the shallow container.
- Pour the antifreeze from the container back into its bottle.
- Coil the spray nozzle hose around the handle of your pressure washer neatly.
- Put the pressure washer away with your other winterized outdoor equipment until spring.