


Here is how to replace a ceiling light fixture in an hour or two.
1 - 2 hours
Intermediate
$100 to $500
Introduction
We'll show you how to replace a light fixture in a ceiling to instantly transform the look and feel of any room.Watch How to Replace a Light Fixture
Tools Required
- Flat screwdriver
- Philips Screwdriver
- Stepladder
- Voltage tester
- Wire strippers
Materials Required
- Grounding pigtail
- Light fixture
- Wire nuts
Over time, light fixtures can become outdated and require replacement to improve energy efficiency and provide adequate lighting for your space. But before you start shopping for new fixtures, let’s review a few things to consider.
First, you’ll want to determine what size light fixture would fit the ceiling space and how much light you need in the room. Also, consider whether the ceiling is flat or sloped and whether the existing electric box is compatible with the new light fixture. It’s also a good idea to check if the ceiling needs any drywall or paint repair work beforehand. You’ll avoid any inconvenience in the long run by taking the time to do this prep work.
When selecting the perfect ceiling light, the options are limitless. I quickly found a fixture that perfectly fit above my kitchen table. Since I was replacing the outdated golden hardware in the house with brushed silver, I chose the same color for the ceiling fixture. It’s incredible how small changes can completely transform a room within a few hours. Additionally, by increasing the height of the new ceiling fixture by a few inches, this small room felt more modern and spacious.
Tip: If your old light fixture is still in good condition, donate it to a nonprofit like Habitat for Humanity instead of throwing it away.
Do you need an electrician to change a light fixture?
Any DIYer can replace a light fixture, but you may require assistance from a second person in order to hold a heavy fixture while it is being removed or installed. If you come across aluminum wiring, uncover charred or melted wiring or insulation, or are uncomfortable on ladders, it is best to leave the job to an experienced professional.
Project step-by-step (8)
Step 2
Remove the ceiling light fixture
- Remove the nut or screws securing the canopy (the decorative plate that rests against the ceiling to conceal the electrical wires) to the ceiling.
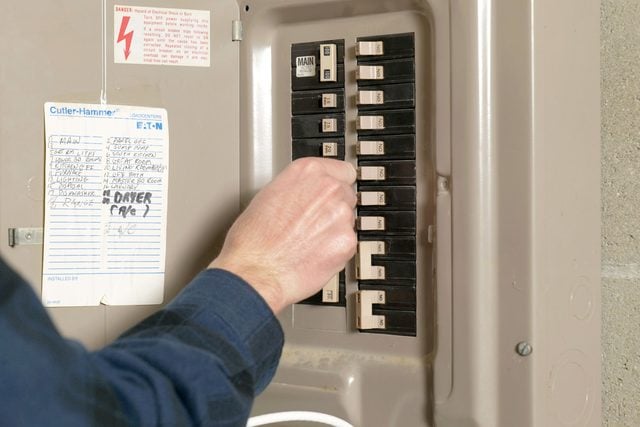
- Verify with a non-contact voltage detector that none of the wires in the box are connected to any source of current.
- Lower the fixture by removing the screws securing the crossbar to the electrical box.
- Take off the wire nuts that connect the hot and neutral wires, as well as any screws holding the ground wire in place. Note the number of wires in each connection and where they are in the box.
- With the fixture now removed, visually inspect and check all the wires in the box to make sure they aren’t damaged and all their insulation is intact.
When I removed the old light fixture, I found gold paint on the ceiling so I had to pause the installation process to paint that part of the ceiling.

Step 3
Mounting bracket for light fixture
It is possible that the mounting bracket (also known as a mounting strap or crossbar) supplied with your fixture will not fit your ceiling electrical box. So, I recommend picking up a couple of other styles of mounting brackets when purchasing your new light fixture, especially if you have an older home. To attach the mounting strap:
- Mount the mounting bracket to the electrical box with machine screws.
- Screw the threaded pipe stem (that will connect to the light fixture) through the mounting bracket.
- Lock the threaded pipe in this position by tightening the locknut against the mounting bracket.

Step 4
Assemble the light fixture on the ground
Your light fixture is likely held to the junction box with screws or a threaded stem. The key to an easy installation is assembling and adjusting the parts before you crawl up the ladder. To do this:
- Start by threading the wires through the pipe stem on the light fixture, if present. The length of the light fixture can be adjusted by adding or removing pipes.
- If the light fixture is equipped with a chain, adjust it to the length you prefer.
- Install the sloped ceiling adapter at the end of the pipe if you are installing the light on a sloped ceiling.
- Pull the wires through the pipes and trim any excess wire if necessary. Remember that the wires must be long enough to pass through the threaded stem in the box, as well as a few inches for the connections.
- Slide the canopy and decorative nut over the threaded pipe and wires. Make sure the canopy is facing down or else you will have to take down the fixture to flip it.
- Leave off all glass globes, shades, and canopies to limit the fixture’s weight and to avoid breaking them if they bump against you or the ladder.
Note: Not all light fixtures are the same, so check your light fixture’s manual to ensure you’ve assembled everything correctly.

Step 5
Connect the wires
Depending on the type, size, and shape of your light fixture, you may be able to install the fixture before wiring the connections. However, for some fixtures, you may need to support the fixture while completing the connections, and then attach it to the ceiling, which may prove challenging.
Before you drag the light fixture up the ladder, ensure that 3/4-in. of insulation is stripped from the ends of the electrical wires in the box and on the fixture.
Connect the ground wires first. Add a grounding pigtail (or a 6-inch piece of bare copper wire) to the green ground screw on the fixture bracket. If using a bare wire, make a hook on one end and wrap it clockwise around the screw. Tighten the screw. Connect the pigtail, the ground wire from the fixture and the ground wire from the electrical box together using a wire nut.
Connect the neutral wire from the light fixture to the neutral white wire(s) in the box. If your fixture is wired with a lamp-style cord that doesn’t have white and black wires, the neutral wire will have writing, squared corners, ribs or indentations on the insulation. The black, smooth or unmarked wire is the hot wire. Connect it to the colored (usually black or red) hot wire in the box.

Step 6
Close the box
Carefully fold the connections into the ceiling box and slide the canopy over the protruding threaded stem. Secure it with the decorative nut to complete the installation. If it doesn’t fit tight to the ceiling, readjust the screws or threaded stem.

Step 7
Install the shades and test it
Install the glass shades and light bulbs, turn on the power, and turn on the light switch to verify that your work has been completed.

Step 8
FAQs
Can you hang any light fixtures on a sloped ceiling?
No, not all light fixtures will fit correctly to sloped or slanted ceilings. Make sure the light fixture you want to hang comes with a slope ceiling adapter to mount the fixture properly.
How to cut light fixture mounting screws that are too long?
Use a wire stripper with built-in bolt cutters by threading the screw into the correct size threaded hole until you get the length you need and squeeze the handle. Or a hacksaw will cut the screw as well.
How to make wires fit into the electrical box?
When the wires in the box are too short, making wire connections is aggravating. Instead, pick up a few stab-in connectors. In tight spaces, they’re much easier to use than twist-on nuts. Push a “pigtail” (a new piece of wire) into the connector, then push the connector onto the old wire. Now, you’ve got plenty of length to connect to the fixture’s wires. Make sure the wire you use for the pigtail is the same gauge as the existing wire.
Originally Published: April 05, 2024