Softy illuminated warm summer nights on the patio are just a few steps away. Here's how to hang string lights outside your home.
15-30 minutes
Beginner
$40-$60
Introduction
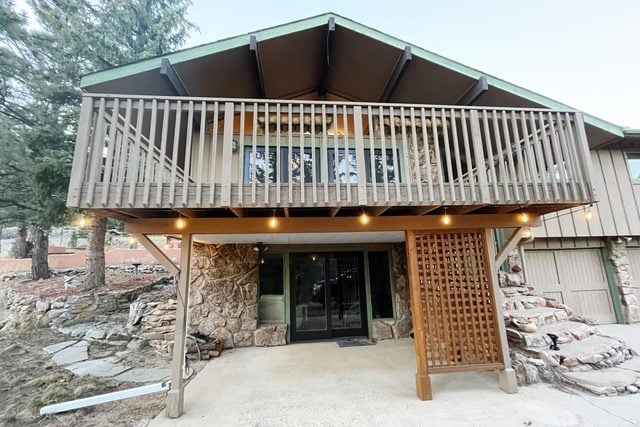
String lights let you add a warm and inviting ambiance to patios and decks, while still respecting wildlife and your neighbor's appreciation for dark skies.
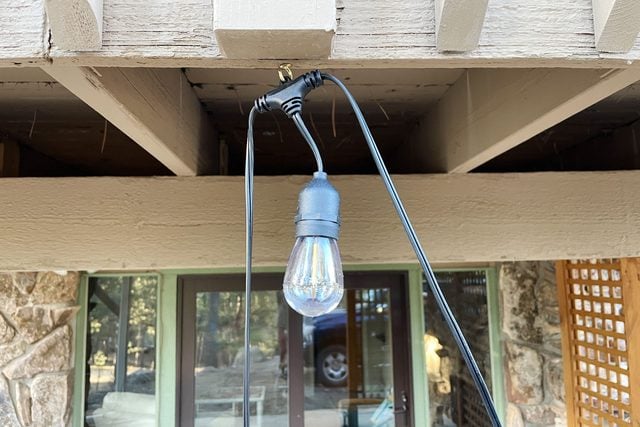
They come in many shapes and sizes. We chose Edison-style LED bulbs with three-foot spacing. This particular string is 48 feet long, the perfect length to cover the bottom edge of our deck and illuminate the first-floor patio.
We also installed them so they can be taken down quickly for storage, while leaving the hardware in place. Let's see how!
Watch How To Hang Outdoor String Lights
Tools Required
- Standard drill with a 1/8-inch drill bit
- Stepladder tall enough to reach the eaves of your roof
- Y cup driver bit
Materials Required
- 1/4-inch stainless steel or other coated metal cup hooks (at least one hook per six feet)
- Extension cord suitable for outdoor use
- String lights
- Zip ties (optional and/or dependent on string light model)
Project step-by-step (6)
Step 1
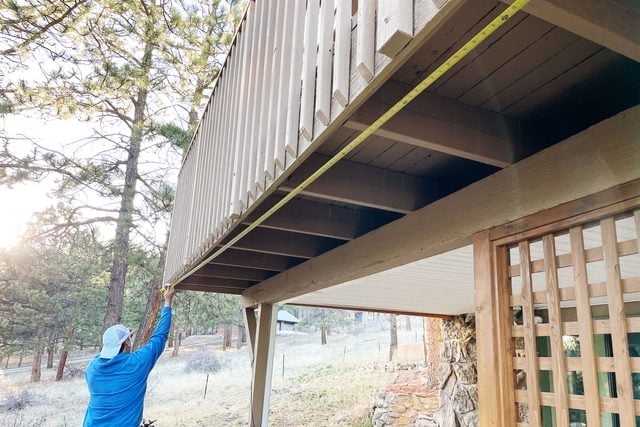
Plan and Measure
- Decide what end you want the male plug to be on, so it reaches a wall socket or extension cord.
- Make sure there are no obstructions that might interfere with the installation.
- Choose where to place your hardware. In this case, we decided to start in the center and work our way toward the ends. If this makes sense in your case, measure the installation area to accurately locate the center.
- Find the center of the string lights by laying them on the ground and folding the string in half until both sides are equal.
Step 2
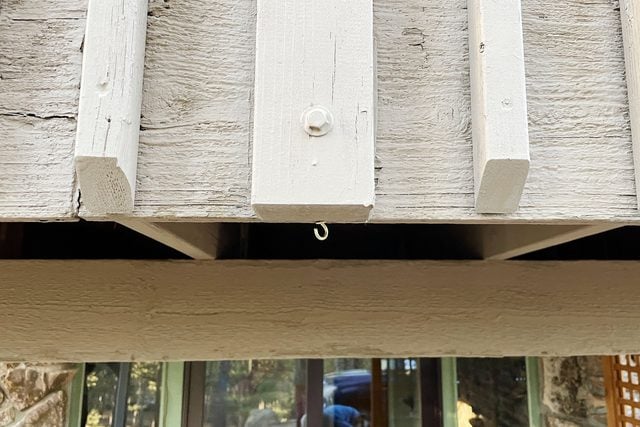
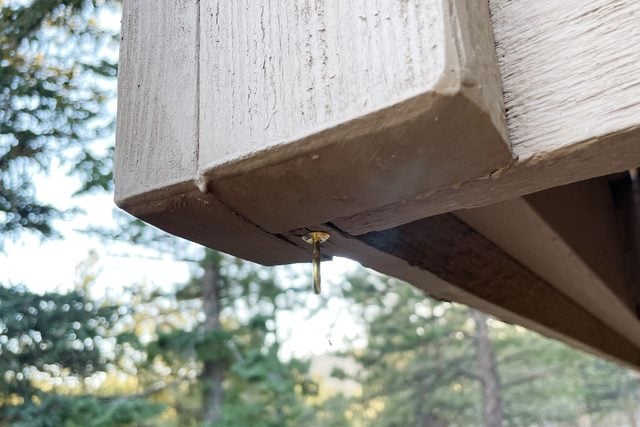
Install the First Cup Hook
- Use your drill and a 1/8-in. drill bit to make a 1/8-in. hole starter hole where you want the first cup hook.
- Use the Y cup driver bit to screw the cup hook into the wood until the stop is flush.
- If you’re installing the hooks in a surface other than wood, you’ll need appropriate hardware and tools.
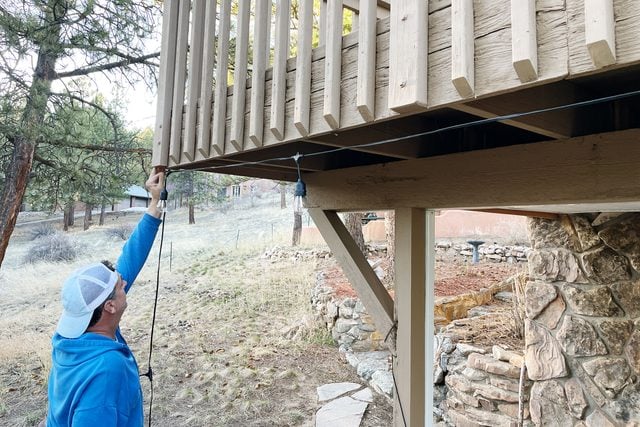
- Secure the center of the string light wire to the first cup hook. Our lights had hang-loops at each bulb. If your lights don’t, secure with zip ties.
Step 3
Install the Corner Cup Hooks
- Go to the first corner and pull the string lights decently taut to locate the corner cup hook installation site.
- Make a starter hole.
- Screw in the cup hook with the Y cup driver bit.
- Repeat this step for the opposite corner.
Step 4
Install Additional Support Hooks
- Decide how many additional cup hooks you want between the center and corner hooks.
- We installed one additional hook between each center and end, which left us approximately six feet between hooks. That was more than enough for our installation. If you’re installing them in a windy location, or want them more permanently affixed, add more cup hooks for maximum durability.
- Once you’re finished adding all your hooks, hang the string lights from them.
Step 5
Install the End Cup Hooks
- Locate the placement of the end cup hooks on both sides. As in Step 2, pull the string lights taut enough to locate the cup hook placement.
- As before, for each end, make a starter hole, screw in the cup hook with the Y cup driver bit and hang the string lights.
- Once you’ve installed the ends, install the supporter hooks as you did in Step 3 and hang the lights from them.
Step 6
Light It Up
- Once you’ve installed all the support hardware you’re happy with the appearance, go ahead and plug in the lights.
- Enjoy the soft, cozy glow from your new string lights.