


Extend the life of your engine and preserve the value of your vehicle by learning how to clean the engine bay.
Introduction
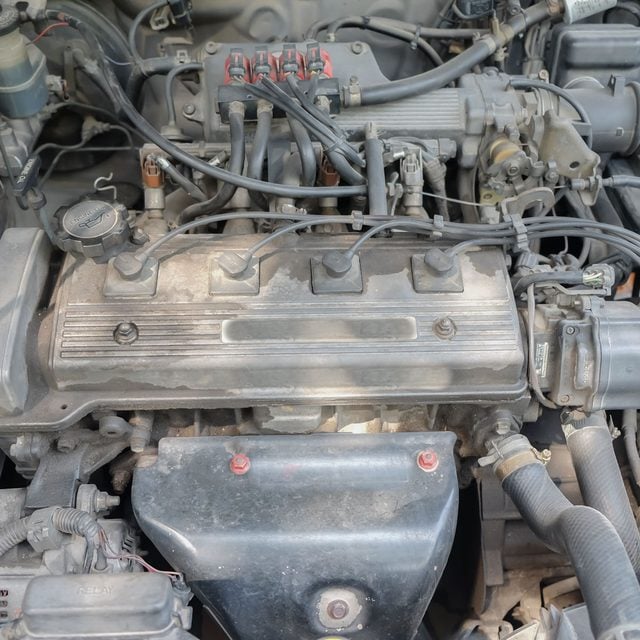
The engine bay protects your car's engine, so it's important to keep it well maintained. Here is our guide for how to clean an engine bay.
Tools Required
- Assortment of stiff fiber-bristled brushes
- Blower or compressor (optional)
- Drip pans (if working at home)
- Dust mask
- Garden hose (if working at home)
- Garden watering wand (if working at home)
- Microfiber cloths
- Rubber gloves
- Safety glasses
- Screwdrivers
- Shop vacuum (if working at home)
- Spray bottles
- Wire brush
- Wrenches
Materials Required
- Absorbent pads (if working at home)
- Degreaser
- Electrical tape
- Plastic bags
- Zip ties
Project step-by-step (12)
Step 1
Choosing a Location
The grime from a vehicle’s engine bay is laced with materials considered toxic to the environment. These materials, both wet and dry, should not be allowed to enter the storm sewer system. So, if you choose to clean your engine bay at home, we’ll explain how to collect and manage these substances, which can be disposed of at a hazardous waste collection site.
If you don’t want to clean your engine bay at home, you can go to a self-serve car wash. The law requires these facilities to recapture, clean and reuse water in a closed system that filters and collects the hazardous substances for safe disposal. One caveat—if you clean your engine bay at a self-serve car wash, be very careful with the water pressure, which is much higher than that from your garden hose.
Step 2
Let the Engine Cool
Start with a cool engine. Although it does not have to be cold, spraying water on hot parts can potentially cause damage through warping and cracking. Furthermore, hot parts can melt the plastic you’ll use to protect electrical parts or burn your hands as you work. Lifting the hood can speed the cooling process.
If you’re at home, this is a good time to gather your tools and materials. If you’re at a self-serve car wash bay, you could wash and dry the exterior of the car to keep yourself busy while you wait for the engine to cool.
And whether at home or the car wash, now’s a find time to dilute the degreaser according to the directions on the label and pour it into a spray bottle. Here are a few problems that can occur if water enters the engine of your car.
Step 3
Tighten Caps and Covers
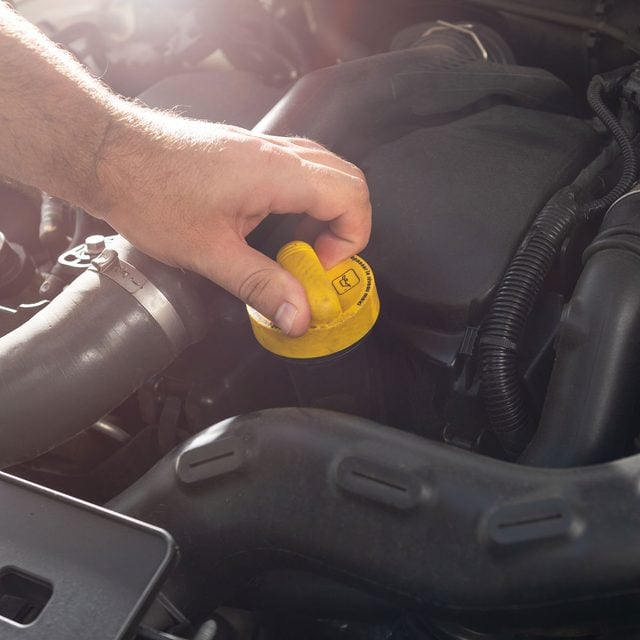
Check all caps, covers and dipsticks, making sure they are soundly seated or sealed. You do not want water and grime leaking into these openings.
Step 4
Protect the Electrical Systems and Filters
Disconnect the battery terminals and remove the battery, if possible. Note that in most newer vehicles, you will lose your radio, seat positions and other electronic information if the battery is disconnected without backup power.
Use plastic and electrical tape or zip ties to securely cover the electrical parts under the hood. The alternator, fuse box, distributor cap, spark plugs and coil packs can all be damaged from water penetration. Also, cover exposed filters that could be damaged.
Step 5

Gear Up
Because of the hazardous nature of the grime you will remove, protect your eyes and mouth from flying debris with safety glasses and a dust mask. Rubber gloves protect your hands from harsh cleaners and staining.
If you are working at home, position a drip tray under the engine and absorbent pads to the downhill side of the tray. (Of course, choosing to work in a self-serve car-wash bay eliminates the need for capturing the contaminated substances.)
Step 6
Dry Clean
Start the cleaning process by removing as much dry material as possible. Vacuum up all loose grime and then use brushes to get into cracks and crevices and to loosen buildup. Fiber brushes are suited to plastic and synthetic surfaces, while a wire brush is best for metal surfaces. Follow up with the vacuum to collect all the loosened dirt. If you’re at home, pull out the drip tray and vacuum any material that it has collected.
Step 7
Spray Down the Engine Bay
Use warm water in a spray bottle to moisten all exposed surfaces in the engine bay. This step helps the degreaser work evenly and prevents it from drying on the engine, which can cause spotting. Using a spray bottle for this step allows more control of the application and minimizes the amount of water that needs to be recaptured. The warm water helps prevent parts that may still be hot from warping and cracking.
Step 8
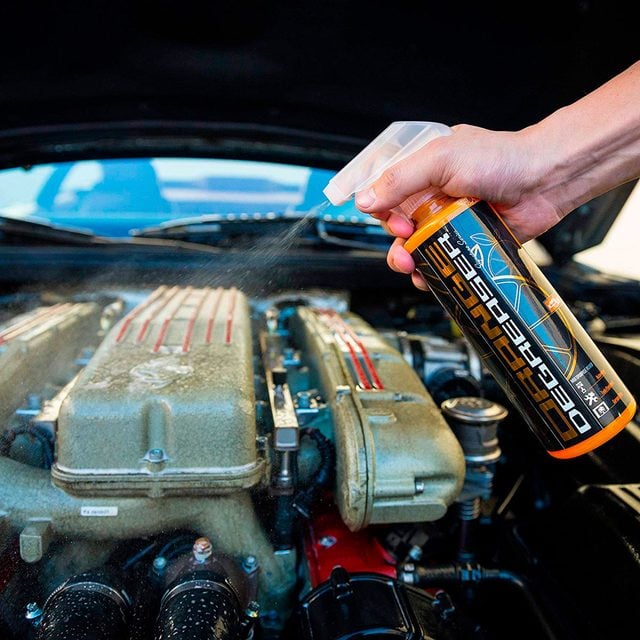
Degrease
Apply degreaser, with the spray bottle, to every exposed surface in the engine bay, giving more attention to areas where grime has built up. Allow 10 minutes for the degreaser to work.
Meanwhile, empty your shop vacuum and convert it from dry operation to wet operation. You can now use it to collect your contaminated liquid. If you’re at home, use it to empty the drip tray as it fills up, too.
Step 9
Rinse and Collect
Use a low-pressure spray to rinse the engine bay. This shouldn’t be a problem at home, but self-serve car wash water guns have high water-pressure capabilities. You must be careful when using them and never pull the trigger to engage high pressure when cleaning your engine bay.
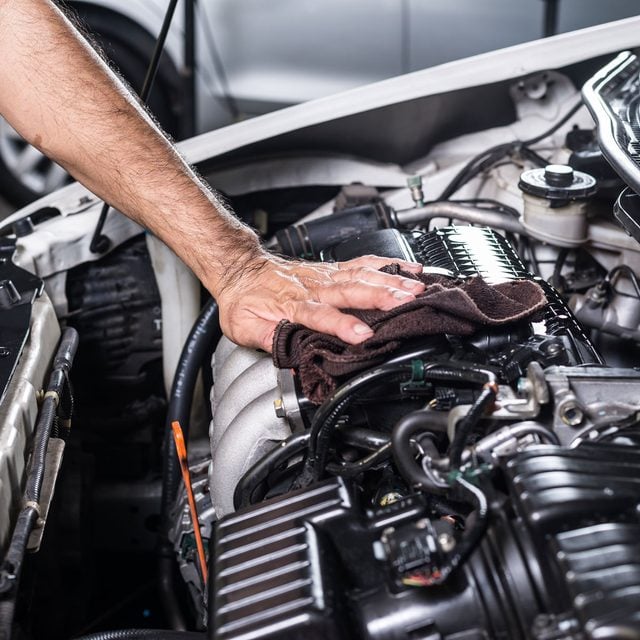
At home, use the absorbent pads and the shop vacuum to control runoff. After rinsing, use the shop vacuum to collect pooling water from cavities and crevices in the engine bay. Wipe out the entire bay with a cloth and re-clean any places that were missed with the degreaser or those that need extra attention. Rinse these areas again with water from the spray bottle and wipe with the cloth.
Collect the captured water, vacuuming up excess water around the pads and the water from the drip tray. Seal the used pads in plastic garbage bags for disposal.
Do you love a perfectly clean vehicle? Learn some DIY car detailing tips and tricks in this video.
Step 10
Dry Completely
Use a leaf blower to help dry the engine bay, then allow the engine to sit with the hood up for an hour or so, if possible, to completely dry.
Step 11
Hand Clean Electrical Parts
Remove the protective plastic covering the electrical parts and hand clean them with brushes and cloths, using as little moisture as possible. Once these parts are clean and the entire engine bay is dry, reinstall the battery.
Step 12
Run the Car
Start the engine and allow it to come up to operating temperature. This should clear any remaining moisture. As a final step, if you’ve been working at home, transport the bag of soiled pads and the basin of contaminated water to a hazardous waste collection facility.
Check out these additional tips and tricks for cleaning your car’s engine.
Originally Published: February 03, 2020