
How to Properly Clean a License Plate

Updated: Mar. 13, 2024
No vehicle looks its best with a dirty license plate. Follow these key cleaning tips and you'll have your license plate looking like new in no time.
Introduction
Vehicles get dirty all over, but license plates pick up more than their fair share of grime. Bugs, road spray and plain old dirt build up thanks to the flat, non-streamlined, light-colored surface of a license plate. Learn to clean your vehicle's plates properly and you'll enjoy a neater-looking vehicle.
Tools Required
- Rag
- Screwdriver or wrench
- Sponge
Materials Required
- Anti-seize compound or petroleum jelly
- Automotive wax
- Bug solvent
- Soapy warm water
- Sticker solvent
Project step-by-step (5)
Step 1
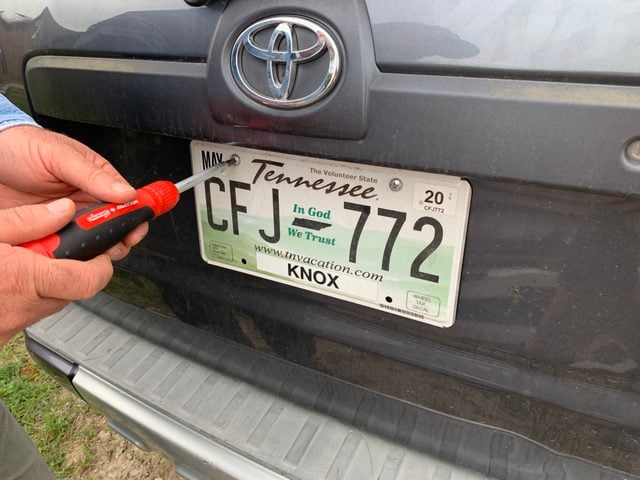
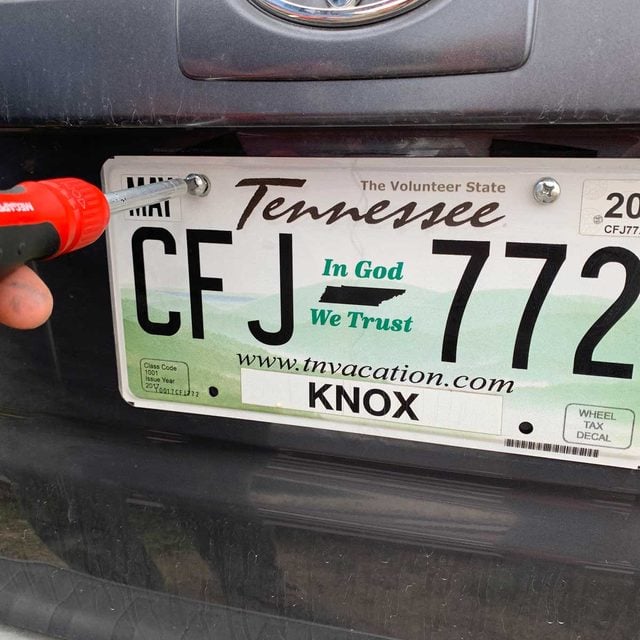
Remove License Plates
- Start by removing the screws or bolts that fasten your license plates to the vehicle.
- This could be easy or difficult depending on how rusty the bolts or screws are. There are usually two fasteners on each plate, one at each top corner.
- Front plates get dirtier than rear ones, but not all jurisdictions require front license plates. Remove both plates for cleaning if you have two.
- Remove the plates from plastic frames if there are any.
- Consider leaving the license plates in place if the fasteners are rusted or the heads are stripped. Removal is not essential.
Step 2
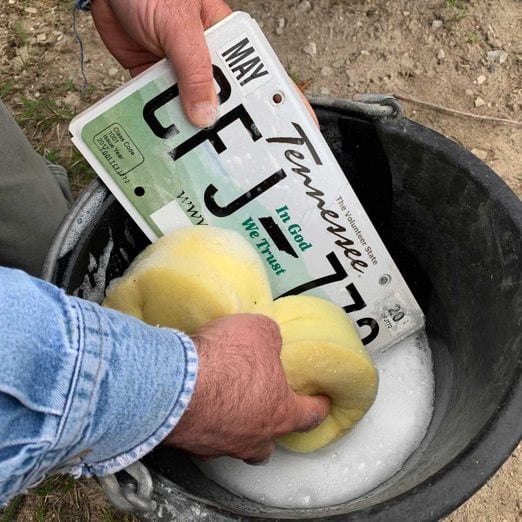
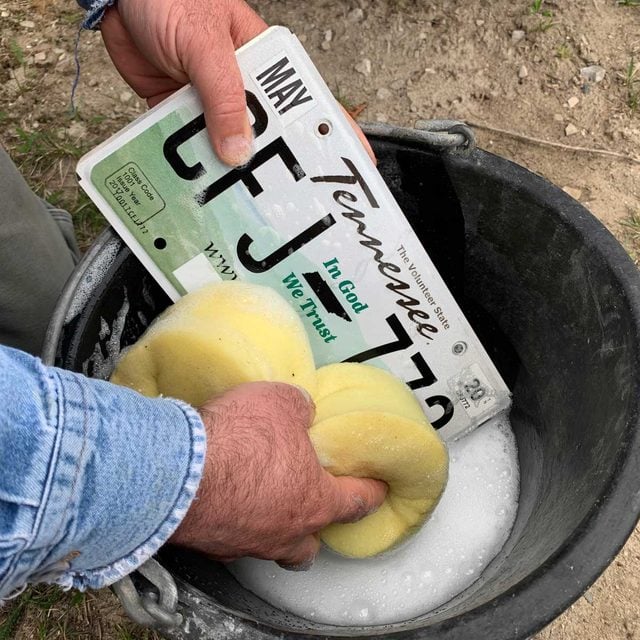
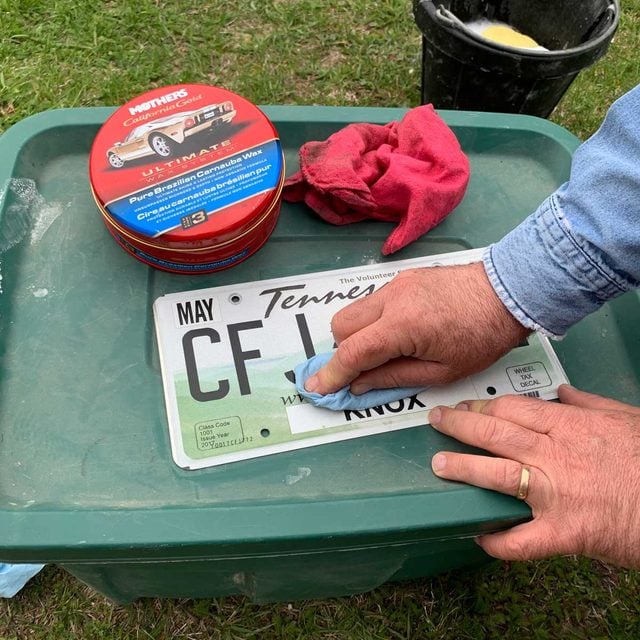
Clean the Plates
- Place the license plates in a bucket of warm, soapy water then scrub the front and back faces with a sponge.
- If soaking in water for 10 minutes, followed by scrubbing, does not remove bug splatters, consider trying an automotive bug solvent.
- Use a sticker solvent to remove the residue left behind by any old stickers you’re peeling off.
- Be careful not to damage any current registration stickers on the plate.
Step 3
Inspect and Clean the Frame
- If your license plate has a frame, inspect it for damage. If it’s in bad shape, get a new frame or go frameless.
- License plates don’t need a frame; it’s just aesthetic.
- Scrub the frame in your bucket of soapy water.
- Thoroughly dry the plates and frames with a rag.
Step 4
Wax Your Plates
Waxing the plates before reinstallation, not after, keeps stray wax from discoloring any nearby plastic frames or hardware.
- Apply automotive wax to the front and back of your license plates, let dry, then buff.
- Wax makes it easier to remove future bug splatters and reduces UV damage and corrosion.
Step 5
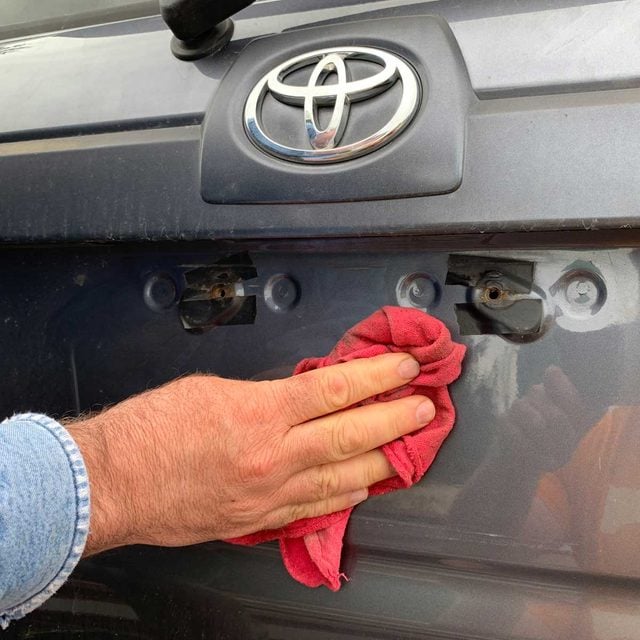
Reinstall Your Plates
- Inspect the bolts or screws that held the plates on before, then replace the fasteners if they’re rusty or the heads are stripping out.
- Clean the area where the plate will cover the vehicle.
- Apply some petroleum jelly or anti-seize compound to the threads of the bolts before reinstallation.
- This prevents corrosion and makes it easier to remove the bolts or screws later.
- Replace and tighten the mounting bolts, and you’re done.
Originally Published: May 22, 2020