


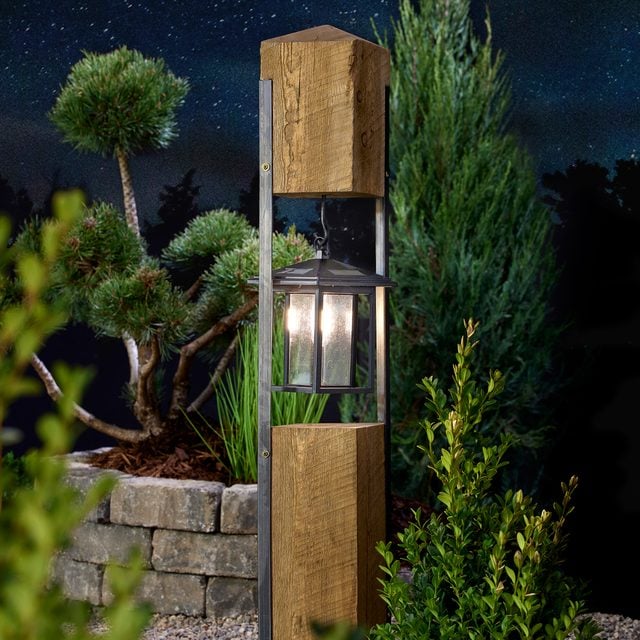
Bollard posts are short, stout posts used around buildings or as roadway dividers. They resemble tree trunks, which are also known as “boles.” This idea presented design possibilities for both woodworking and lighting, which combine in these decorative path lights.
A full day
Beginner
$100 - $200
Introduction
These bollard style path lights look stylish and fun, and they're easy to build. Here's how.

Watch How to Build 4 Different Styles of Path Lights
Project step-by-step (14)
Step 1
Chunky Lantern
I used a cedar 6×6 for the most bollard-like of my path lights. A 6×6 post seemed just the right size between a too-lean 4×4 and a too-large 8×8. The key is to find a solar lantern with its solar grids angled and off to the side. Many solar lanterns have one square solar grid flat in the center, and the top of this post would block it.
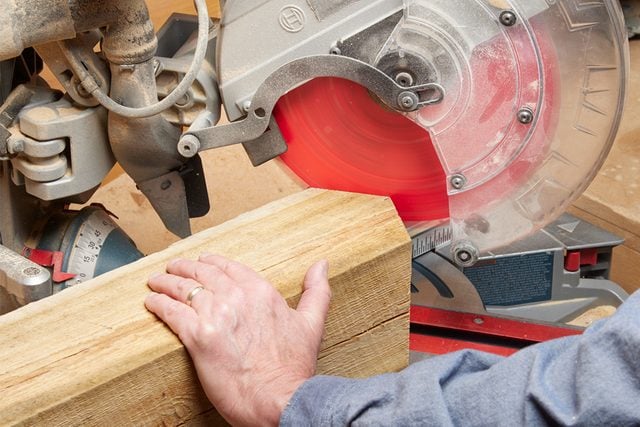
Bevel the top
To make my lantern post mimic the solar lantern light, I beveled the top of the 6×6 on my miter saw. I found the center of the post on each side and drew matching angles from that center point. Mine was a 30-degree angle, cut four times. I sanded off imperfections with an orbital sander.
Step 2
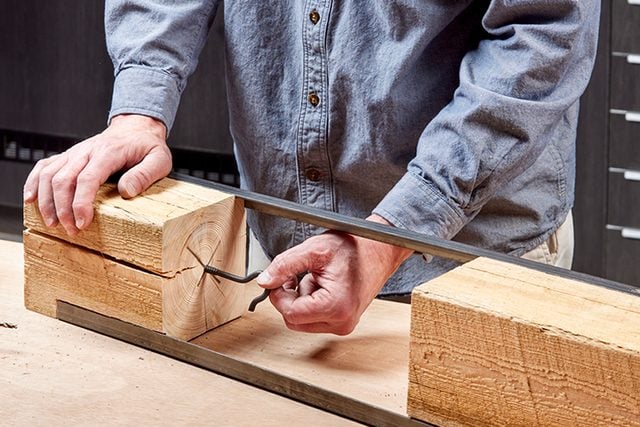
Rout the corners
I bought 3/4-in. angle iron to secure the post top to the base. I routed a rabbet to attach that angle iron flush with the post, but you could surface-mount it. My post was 45-in. tall, including the 12-in. gap for the lantern.
I determined my angle iron should be 30-in. long, with 12-in. connected to the base and 6-in. to the top. That determined the full length of my rabbet cut. Do this router work before you cut your top and base sections to length.

Step 3
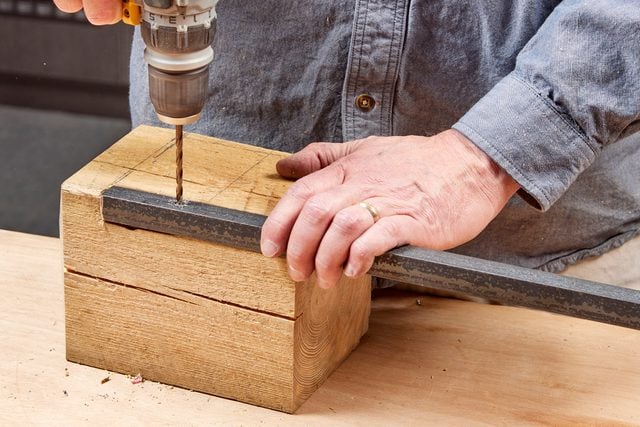
Drill holes in angle iron
With a bit designed to bore metal, you can easily drill the six or eight holes you need to secure the angle iron to the post. It’s even easier if you have a drill press table, but I just used my drill/driver on low speed. Cut your post top and base to the length you want, then clamp the angle iron to the post before drilling.
Step 4
Assemble the bollard
I attached the angle iron with washerhead construction screws. You can use almost any exterior-rated screws here. I like the look of washer-head screws and the strength of GRK structural screws; they’re an easy replacement for meaty lag screws.
After assembly, I decided I wanted the post a bit darker. So I disassembled it and brushed on a darker semitransparent waterproofing stain.
Step 5
Umbrella Light
I worked on a few versions of this umbrella light (long curved legs, stout 2×4 uprights, etc.), but I ended up making relatively short 1×2 cedar arms and capping them with a simple cedar square with a light in the middle. These lights are quick to build and uniquely stylish. And the low lumen solar lamp casts a subtle, pleasing light on your path.
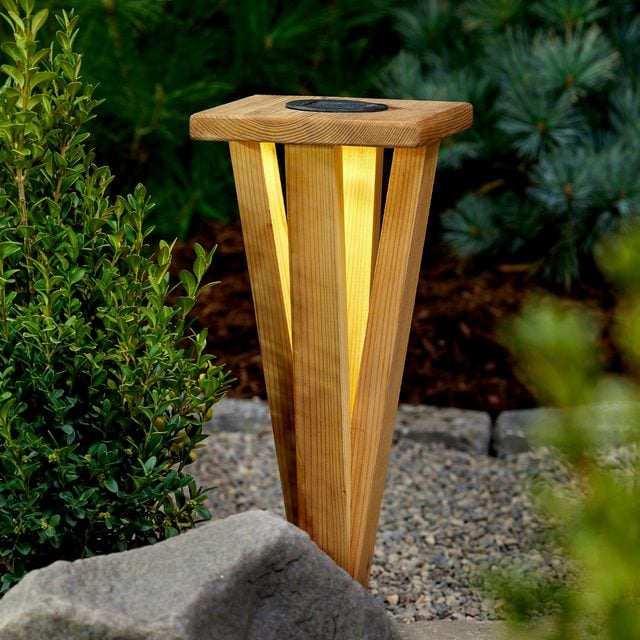
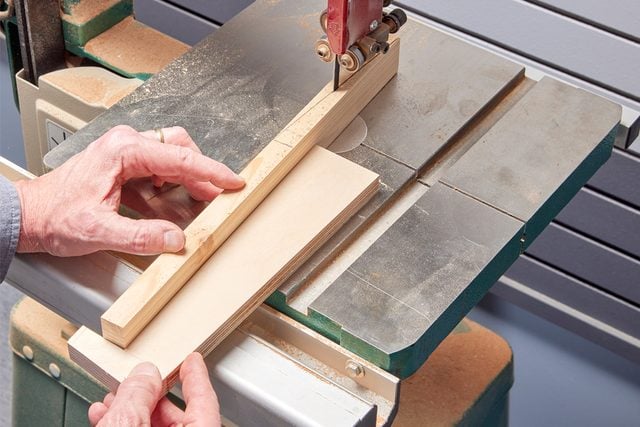
Cut the bevel in 1×2 cedar
I kept my umbrella lights short and narrow so they would look like a row of footlights along the path. Starting seven icnhes from the bottom of each 16-in. cedar arm, using a band saw, I cut a five-degree bevel. You could also cut them with a circular saw: Just clamp the 1×2 to the edge of a 1×6 to give the saw something stable to ride on.
Step 6
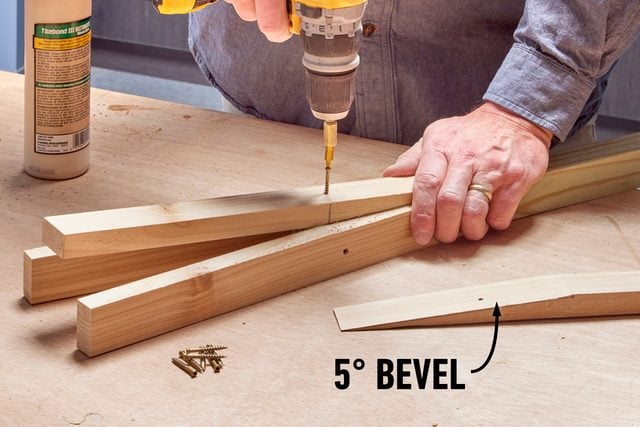
Glue and screw arms to post
I connected the four umbrella arms to a treated 2×2. I took a treated 2×4 and ripped it to size on my table saw, then I crosscut it to 24 inches. This gave a few inches of surface for gluing and screwing the umbrella arms, and the rest would be buried to hold the bollard upright. My short lights didn’t need much below-ground support, and I can easily relocate them.
Step 7
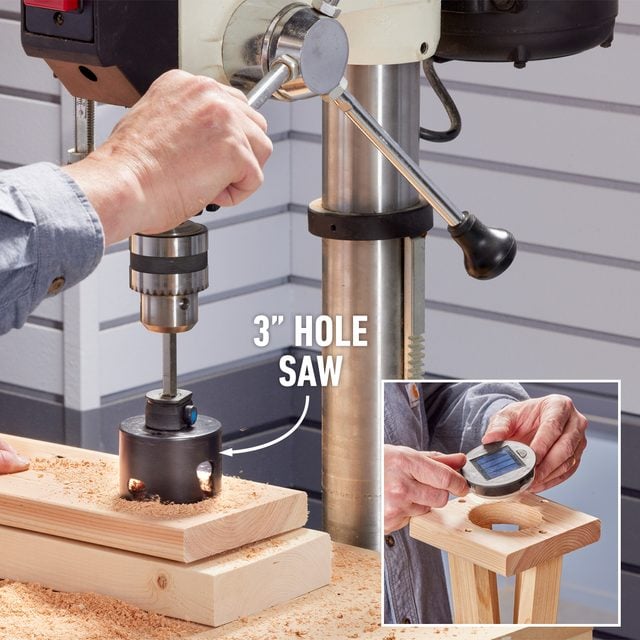
Cut a circle in umbrella top
Small solar light discs that can drop into a 3-in. cutout are readily available. Before sizing my cedar to fit on top, I drilled that 3-in. hole so I had material to clamp to my bench. Then I cut the square on the miter saw and rounded the edges with an orbital sander.
I gave the tops of the umbrella arms a slight bevel so the square sat flush. Then I added a clear exterior finish and set the post in the ground.
Step 8
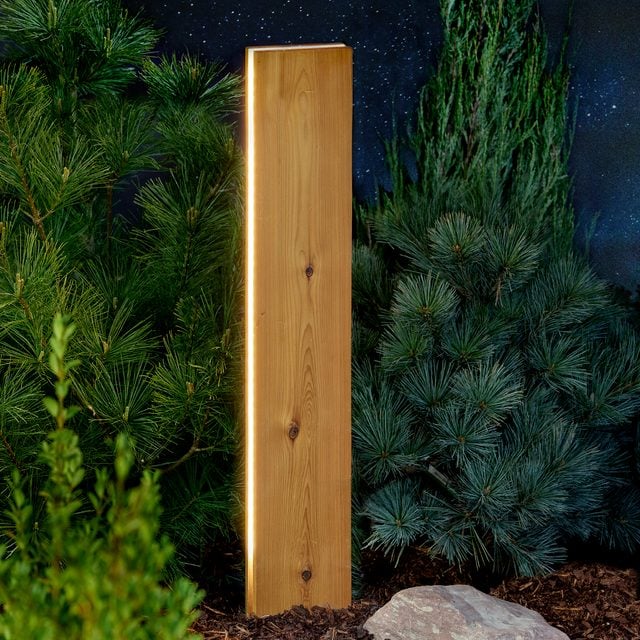
Valance Post
It’s not all about cedar for outdoor projects. For this bollard light, you can choose a wood with interesting grain, like teak.
I had a few eucalyptus boards in my home shop, and I like the unique tone and the way this wood cuts and sands. With this style of lighting, you can make the posts tall for path use or short for mounting to a porch wall. We’ve found the best solar camping lights for you.
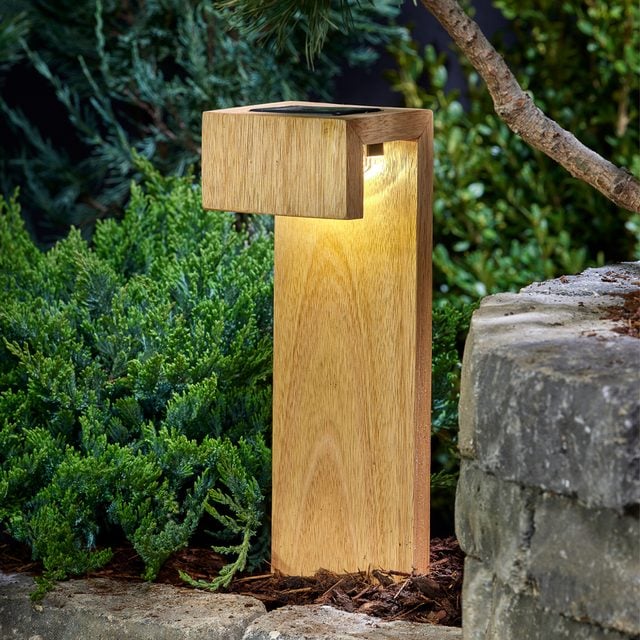
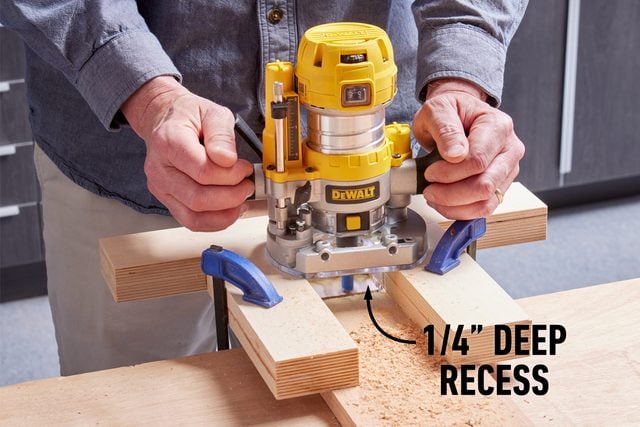
Cut the recess and the hole
This simple L-shaped post has a small solar light on top that shines down the face of a long board.
Before cutting my eucalyptus board to length, I clamped it to my workbench to cut a rectangle opening and an adjoining recess for the solar light pack. I placed the light upside down on the board, then traced an outline for the rectangular hole and the recessed part. I used a plunge router to clear the recess and a jigsaw to open the hole.
Step 9
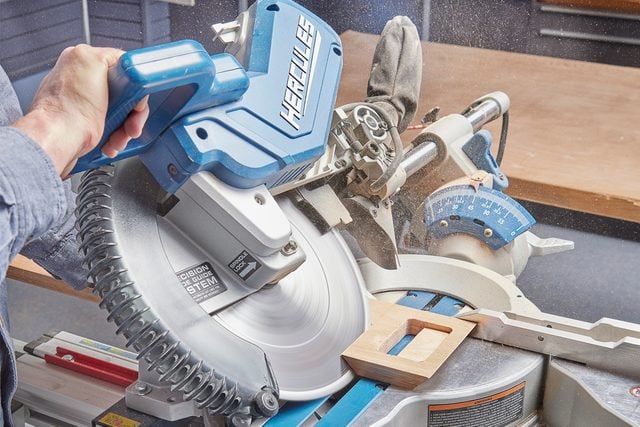
Cut the miter
The top that holds the solar light measures 4- x 5-in. Each end has a miter, and they’re cut in opposite directions. Once you cut that small top, cut the long upright to length; mine is 32 inches tall. I added a short piece of wood to drop down the front, mostly just to hide the plastic solar light.
Step 10
Join the pieces
I glued these miter cuts together and added nails. To secure this bollard in the ground, I used the same galvanized pipe method that I used for the Hidden-LED Sandwich bollard below.

Step 11
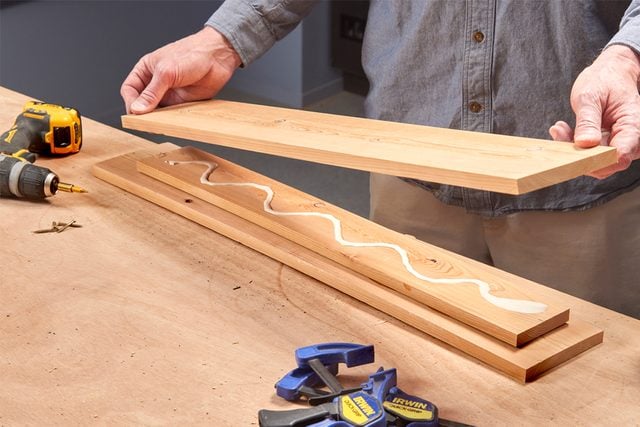
Hidden-LED Sandwich
It’s just a wooden sandwich made to glow with LED light strips. This one is so easy and striking you should make it with kids so they can see the simplicity and power of DIY. If you’re making several of these, go with low-voltage power. We used adhesive LED light strips that had individual solar arrays.
Make the sandwich
I started with three 1×6 cedar boards, each 30 inches long. Then I ripped one of those to 3-1/2-in. wide and cut six inches off the length. To make the sandwich, I glued that narrow piece in the center of the wider boards, then added a few exterior trim screws.
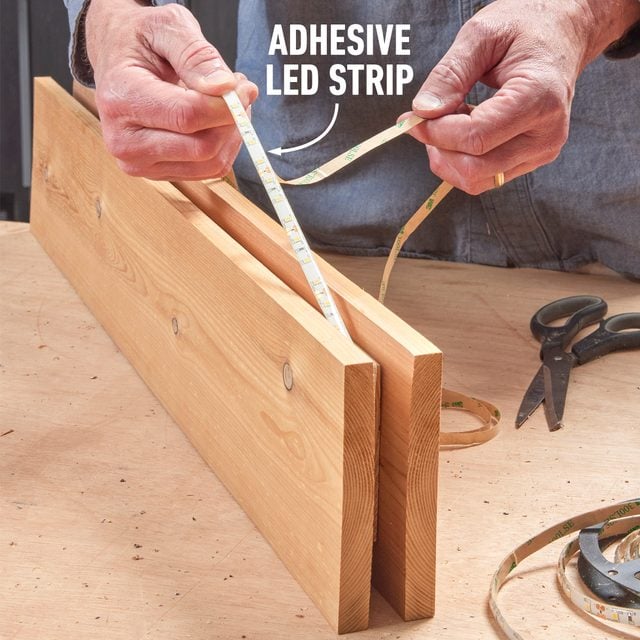
Step 12
Wrap the lights
When you shop for outdoor rated LED lights, look for ones rated IP65. IP stands for “ingress protection,” and the “65” is a code indicating they’ll keep out dust particles and water spray. Buy strips you can cut to length, not silicone-coated tubelike strips. My strip lights had 3M adhesive backing — super easy.
Step 13
Attach the post
To hold these light sandwiches upright, I took a length of galvanized steel pipe, connected a 90-degree street elbow (one male threaded end and one female threaded end), then attached that to a pipe flange screwed to the bottom side of the wood. The pipe, flange and bottom couple of inches of the post get buried.

Step 14
Low-Voltage Power Guide
The solar lights I used for these bollard lights are great for their simplicity and low cost. But they’re not perfect. I’m not sure of their durability, and they’re inconsistent during long stretches of cloudy days.
A low-voltage lighting setup provides more reliable lighting, but at a cost of time and money. The components you need depend on the number of lights you’ll connect and their combined wattage.
Start Here
Buy a larger transformer you’ll initially need so you can add lights later as your landscape (and imagination) expands. If you’re installing 400 watts of lights, buy a 600-watt transformer.
When lighting a path, decide whether you want to light only the path or the path and the features around it. The broader the field you want to light, the higher the light pole you’ll need. Path lights with 20-watt halogen bulb at a 24-in. height should be spaced every 10 feet.
Consider seasonal factors when planning your landscape low voltage lighting installation. Install lights where they won’t be easily damaged by plows or shovels.
For safety’s sake, before you dig for your low-voltage lighting, call 811 to have your utility companies mark the locations of underground wires and pipes. The service is usually free, and you’ll avoid dangerous and costly surprises.
Connect the wires with weatherproof wire connectors. These have a shield on the bottom and sealant inside to make them weatherproof. If your lights have press-on connections, cut them off, strip off 1/2-in. of insulation and install weatherproof connectors.