


Our expert, Jerome Worm, has been using a miter saw every day for 30 years. He explains how to get the most out of your miter saw and shared tips on how to cut small pieces, reduce tear-outs and, most important, how to do it all safely.
How to Make Safer, Better Cuts on a Miter Saw
1
/
10
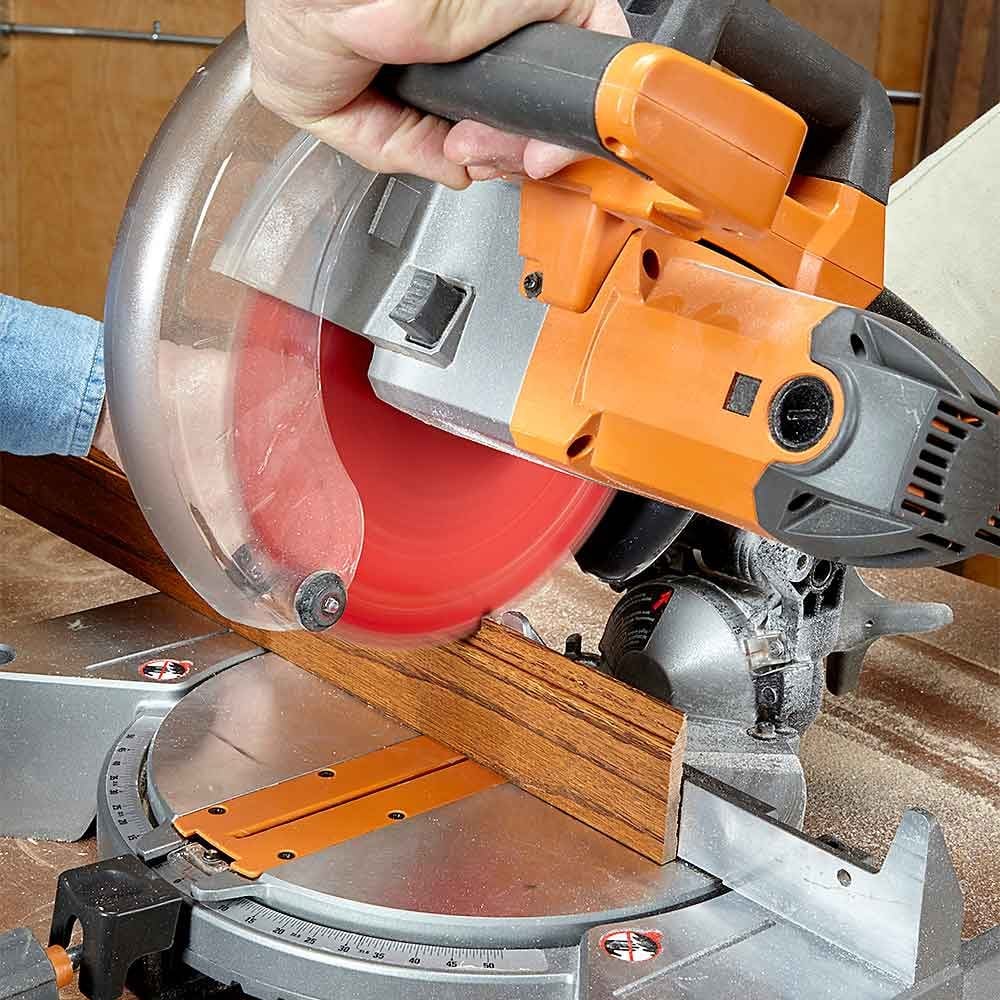
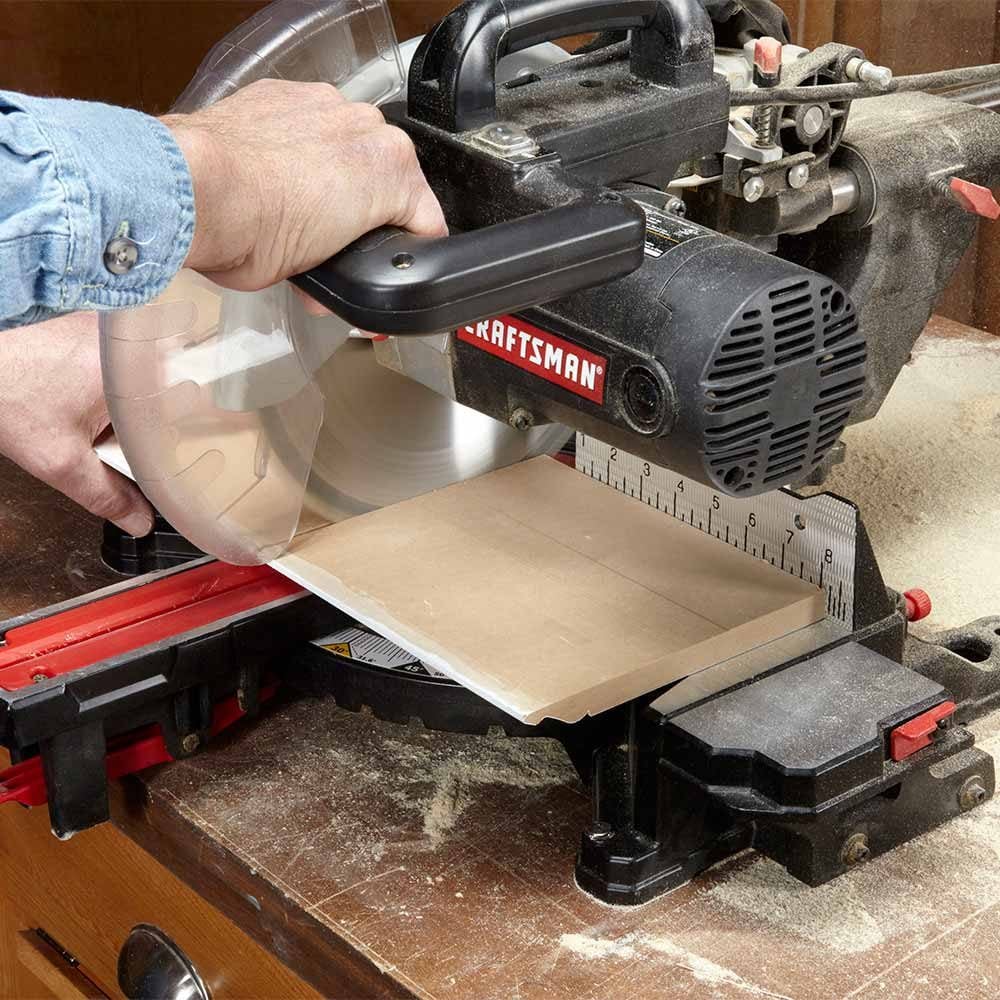
Clean, Safe Miter Saw Cuts
Dropping the miter saw blade into the workpiece too fast is dangerous and will likely result in a rough cut or splintered wood. This is especially true when you’re cutting thin, narrow pieces. Give the motor a few extra milliseconds to reach full speed, then lower the blade slowly as you cut.
2
/
10
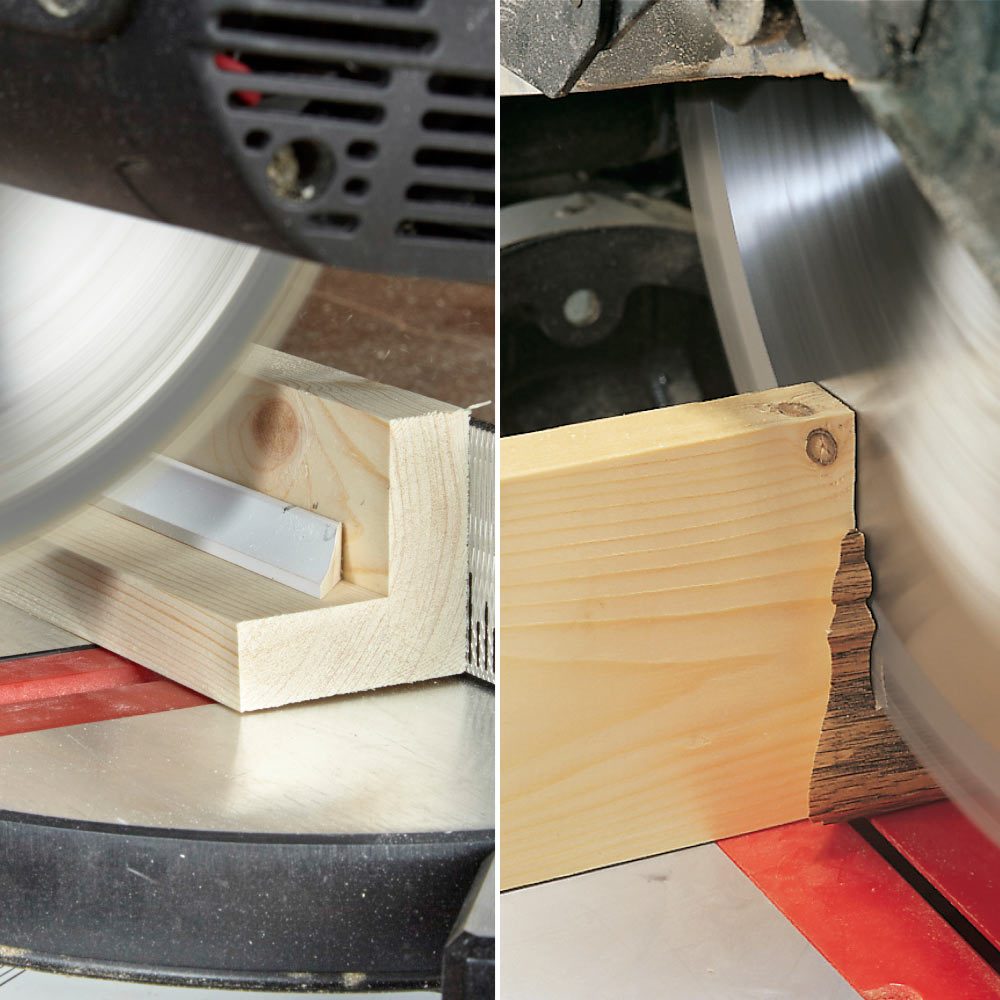
Use a Sacrificial Fence
To avoid launching small pieces across the room, use a sacrificial fence. Build a two-piece fence for tiny material like this cove molding (left). Or just use a scrap board to back up small cutoffs (right). Hold the saw down at the end of the cut and let the blade come to a complete stop.
3
/
10
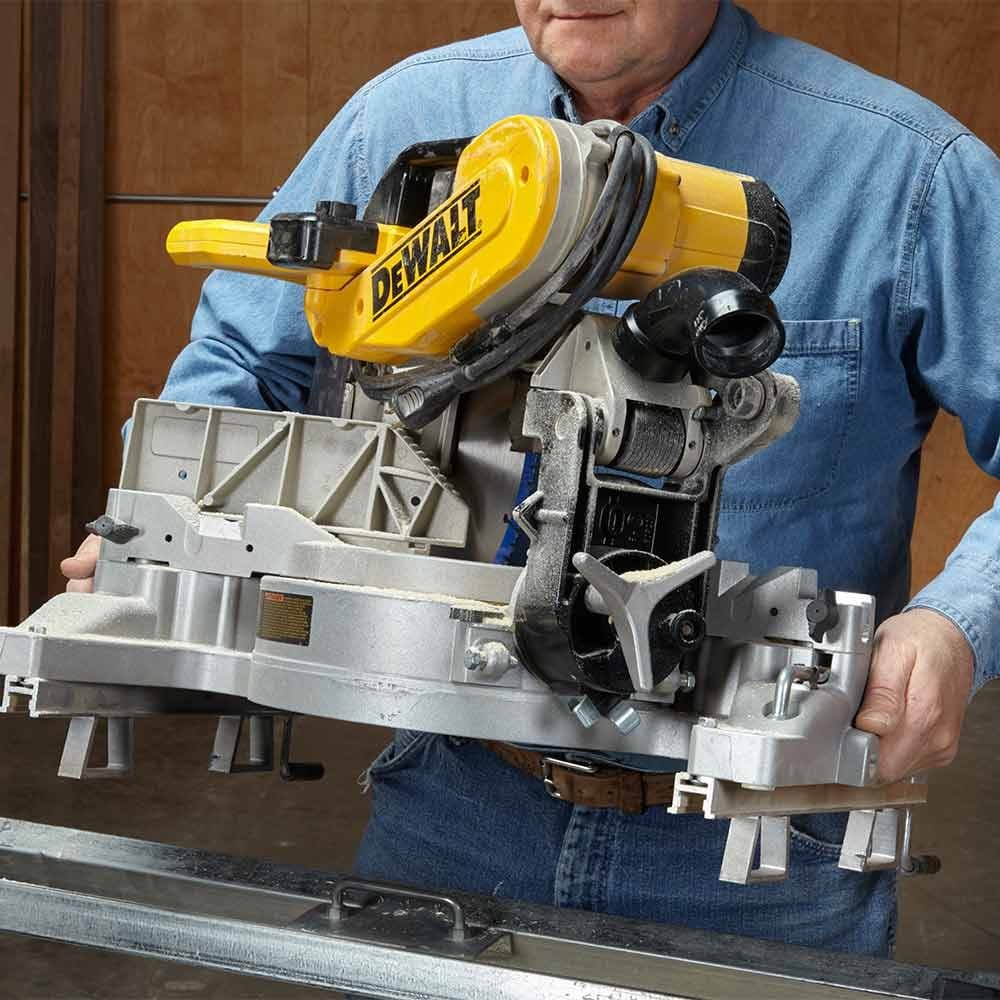
Carry a Miter Saw by the Base
Miter saws are heavy and awkward to carry. Some saws have handles near the top so you can lug them like a suitcase, but get into the habit of carrying them by the base instead. It’s easier on your back and won’t beat up the side of your leg. It’s also easier to get through door openings without banging up the trim.
4
/
10
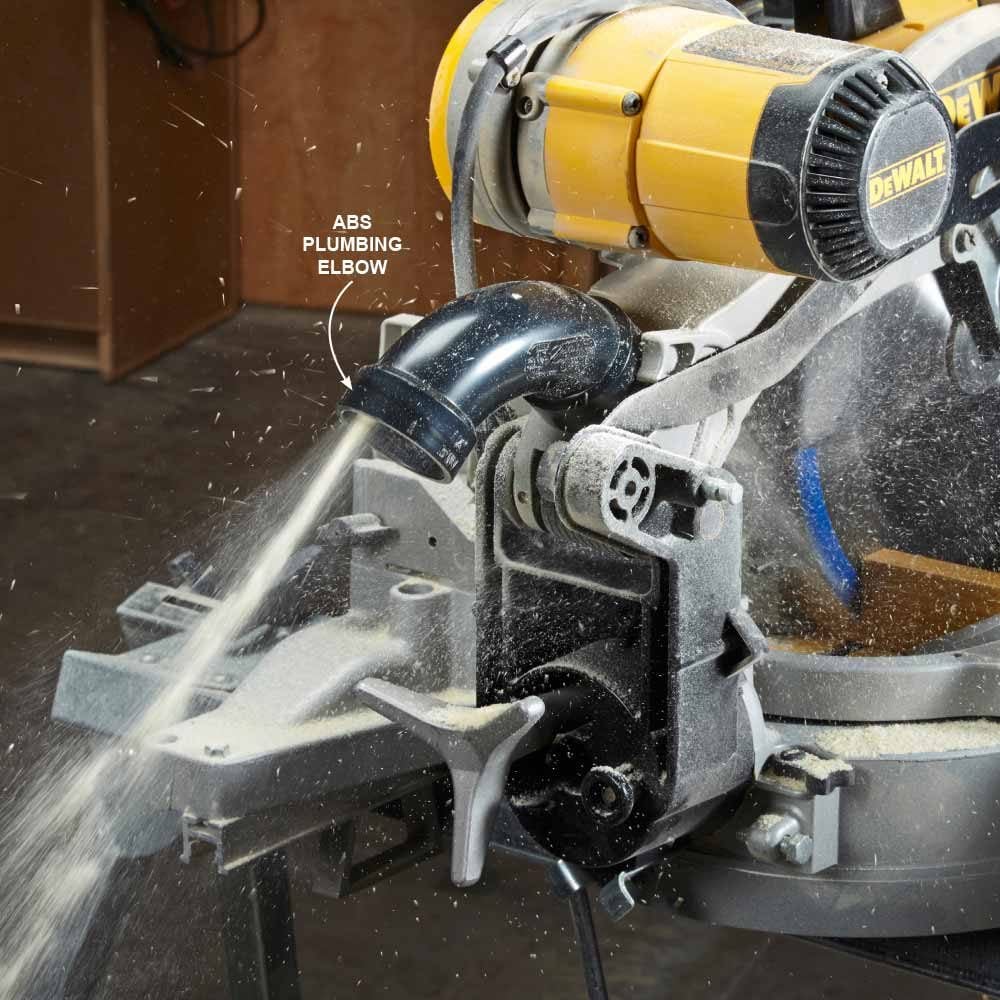
Send Miter Saw Dust Down
Controlling dust created by a miter saw is notoriously difficult. The collection bags do little, and even if you hook up a vacuum, dust is still going to fly. Our expert replaced his bag with an ABS plumbing elbow that fit snugly onto the dust chute. It doesn’t control all the dust, but it sends a good portion of it to the floor instead of all over. Dust chutes vary in size, so measure yours before heading to the hardware store. The only surefire way to completely avoid dust indoors is to do your cutting outside.
5
/
10
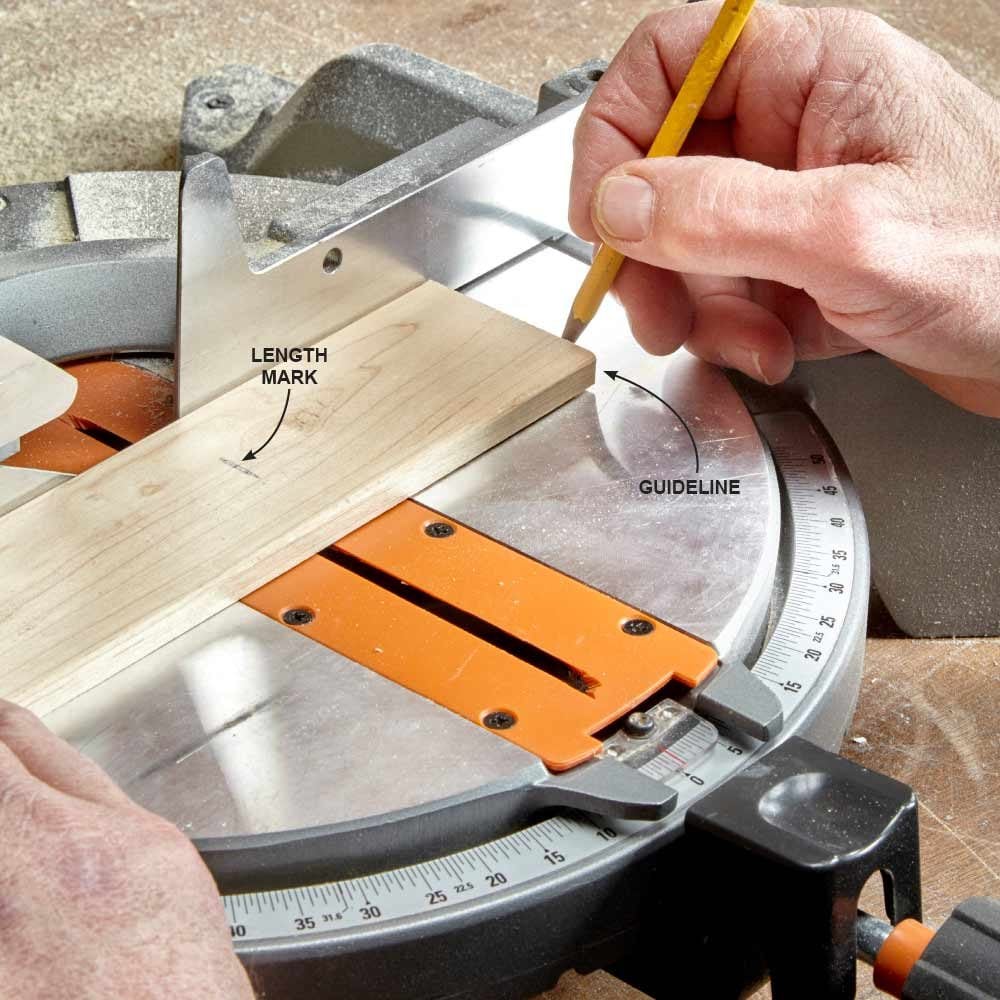
Mark a Guideline on a Miter Saw Base
Here’s a fast way to cut a bunch of parts to the same length: Position the first one and then mark the location of the end on the saw base with a pencil. Now you have a guideline for the rest of your parts. This method may not be as accurate as a stop block, but sometimes perfection is unnecessary. The pencil mark easily rubs off when you’re done.
6
/
10

Always Wear Hearing Protection
If you asked our pro why he never wore hearing protection when he was younger, he would probably give you a blank stare unless he’s wearing his hearing aids. Miter saws are loud and will damage your ears unless you protect them. Our pro would be the first to tell you that hearing loss is no joke!
7
/
10
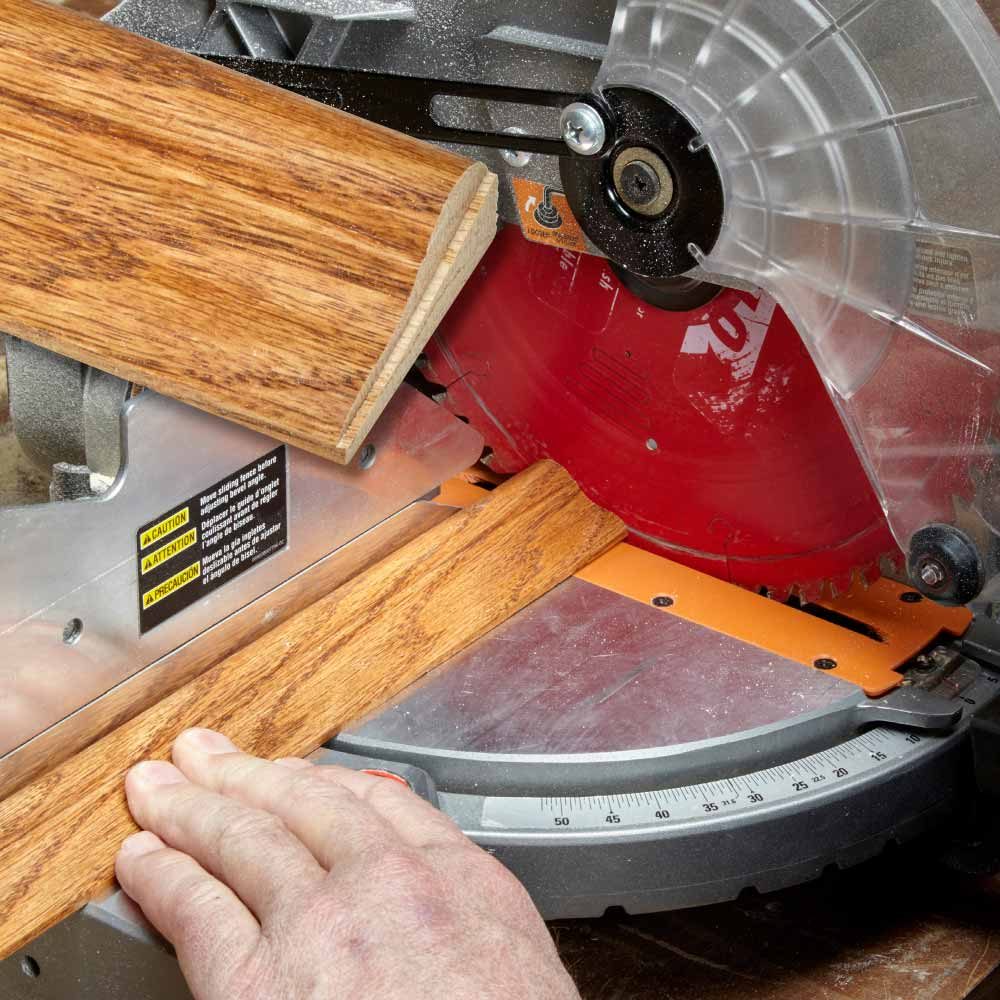
Make Micro-Adjustments
Here’s a tip when you need to shave off just a tiny bit: Lower the blade while it’s not spinning, and push the material tight up against the body of the blade. Get a firm grip on the material and raise the blade. Next, fire up the saw and lower the blade again. Because the teeth of the blade are slightly wider than the body, you’ll end up shaving off just a hair.
8
/
10
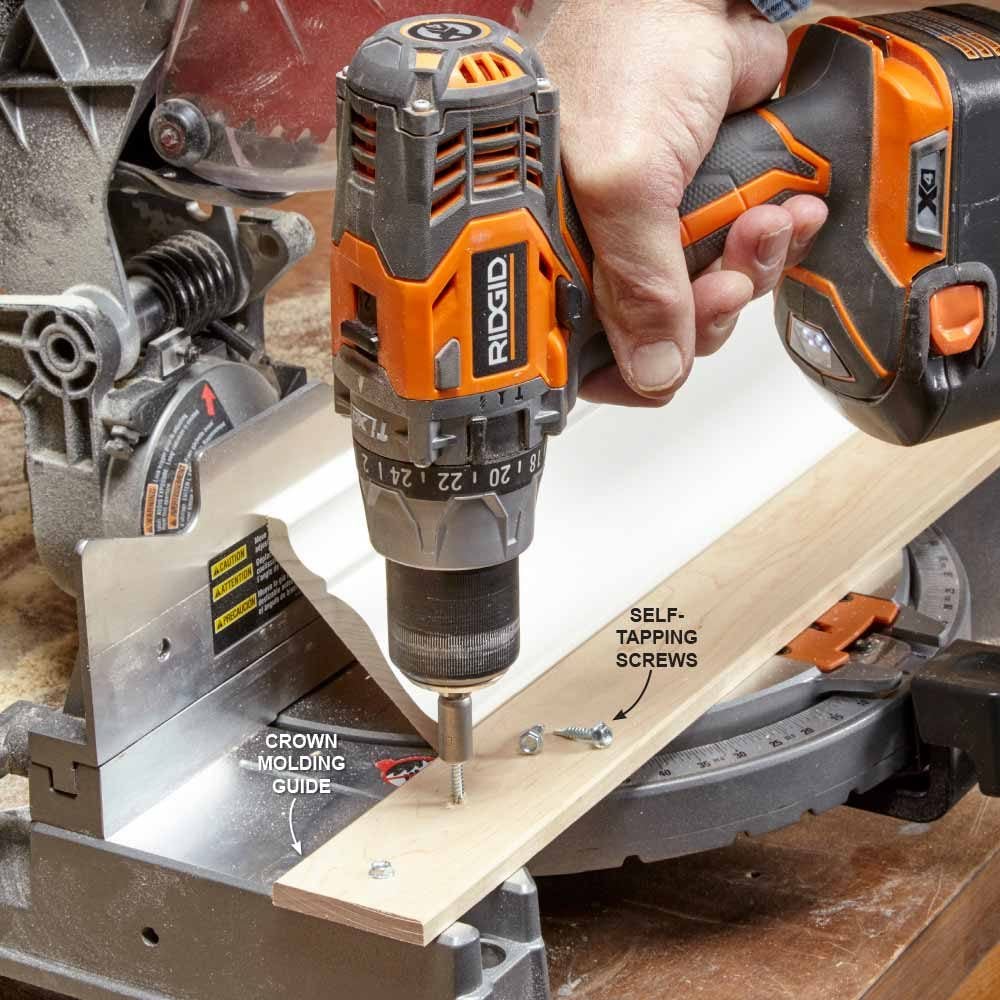
Screw Guides Onto the Miter Saw Base
Clamping down a temporary guide makes cutting crown molding a lot easier, but sometimes the clamps are difficult to install because of the irregular shape of most miter saw bases. Clamps can also get in the way when you’re changing the angle of a cut. Don’t be afraid to screw down a guide right into the base of your saw. A small hole is not going to affect the way the saw performs. Self-tapping screws work great in bases made of aluminum: Just make sure you position the stop so it doesn’t interfere when you’re changing angles. Install a couple screws on each side if the guide will get cut in half, and save your guides so you can use the same screw holes next time.
9
/
10
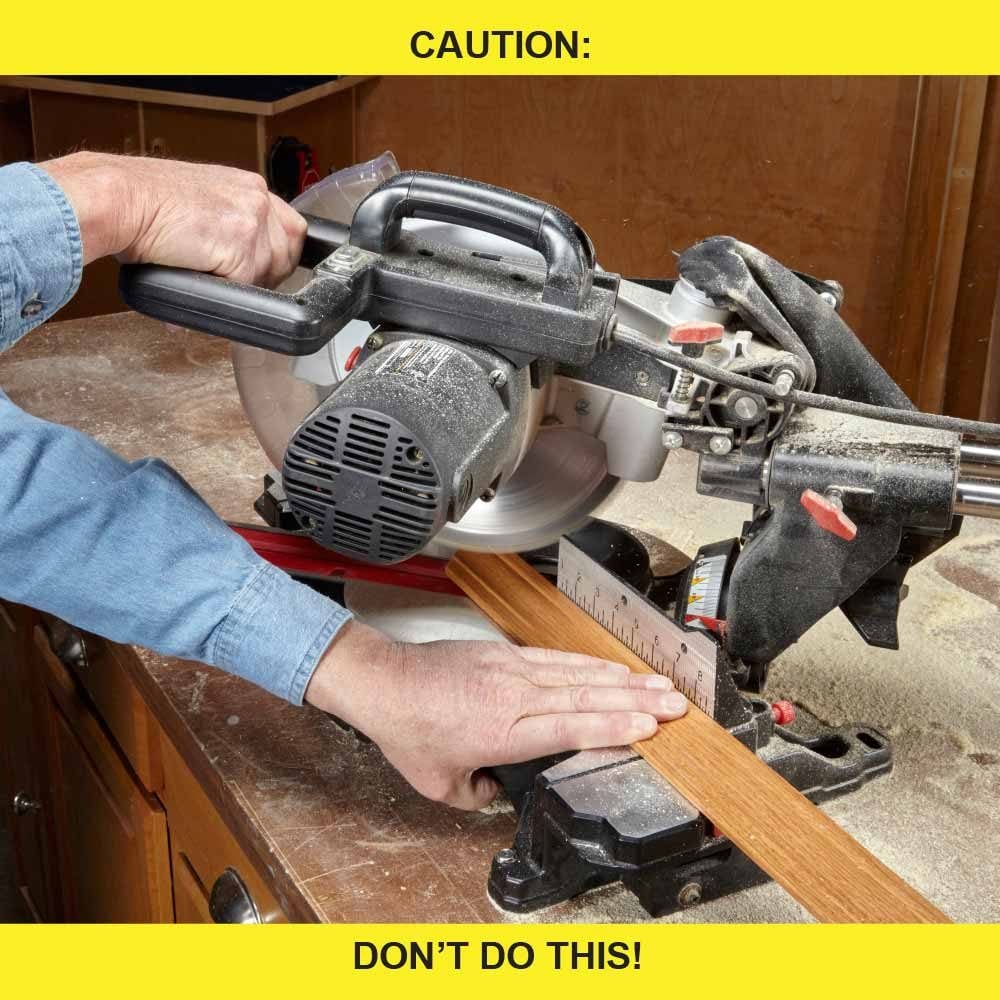
Never Cross Your Arms
Sorry, lefties, but most miter saws are designed for right-handed users, meaning the saw is operated with the right hand and the material held down with the left. But sometimes the material will have to be held down on the right side of the blade. On those occasions, it’s tempting to still use your right hand to operate the saw, but doing so will cause your left hand to cross in front of the path of the blade—that’s bad. It will feel weird, but in this situation, use your left hand to operate the saw and your right to secure the material. Our expert knows carpenters who have ignored this advice and have the scars on their arms to prove it.
10
/
10
Cut Wide Boards With the Best Side Down
Splinters and tear-outs occur where the blade breaks through the wood. That’s the bottom side when plunge-cutting narrow boards, so it’s best to cut narrow boards with the “show” side face up. But when you’re cutting wider material on a sliding saw, you’ll pull the blade toward you, lower the blade and then push it forward as you cut. In that process, splintering will occur on the top of the board, so cut with the board face down.