


A miter saw is a versatile tool that offers fast, accurate cuts. Learn how to use yours safely so you can tackle your next project.
An hour or less
Beginner
Free
Introduction
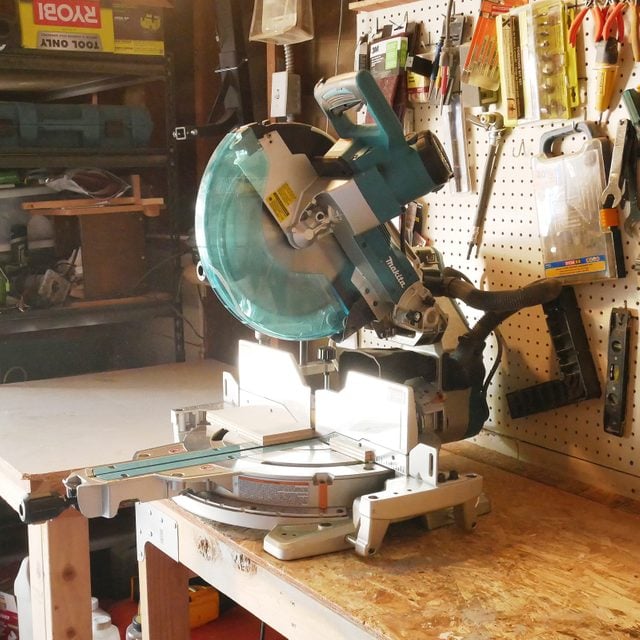
A power miter saw is an indispensable workhorse for even the casual DIYer. Its ability to make quick and precise cuts with ease makes it my favorite tool in the shop.
Miter saws are great for crosscuts (perpendicular to the grain, generally shorter cuts), as well as mitered and beveled angles.Watch How To Use a Miter Saw
Tools Required
- Dust safety mask
- Hearing protection
- Measuring tape
- Miter saw
- Optional Speed square
- Pencil
- Safety glasses
Materials Required
- Scrap piece of wood (I use pine)
Project step-by-step (8)
Step 1
Learn miter saw safety
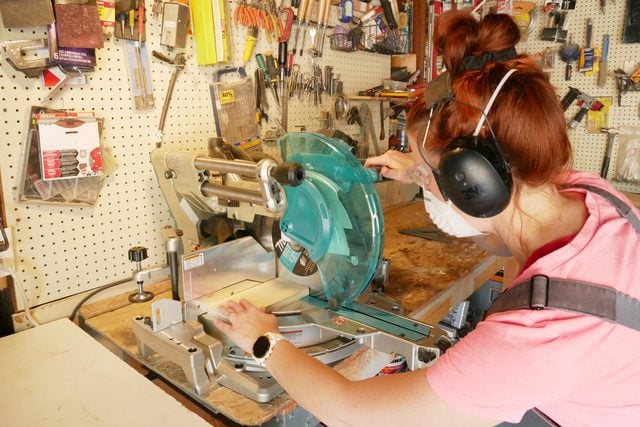
The control you have with a miter saw makes it one of the safer cutting tools to use. Always take proper precautions to ensure safety as you work.
- Unplug the saw when not in use or you’re changing the blade.
- Keep your fingers at least six inches from the path of the blade. Some saws have lines to indicate the danger zone.
- Wear safety glasses, a dust mask and hearing protection when operating the saw.
- Avoid wearing loose clothing or hanging jewelry, and tie back long hair.

- Don’t reach under the blade while it’s spinning.
- Let the blade come to a complete stop at the end of each cut before lifting it.
- Make sure you place your saw on a steady, sturdy surface that won’t shift.
Step 2
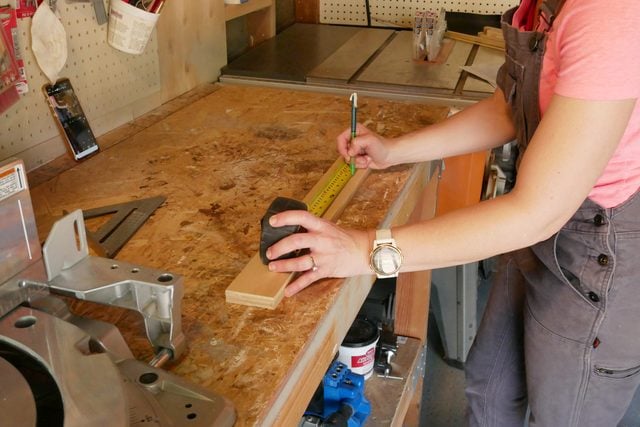
Measure and mark
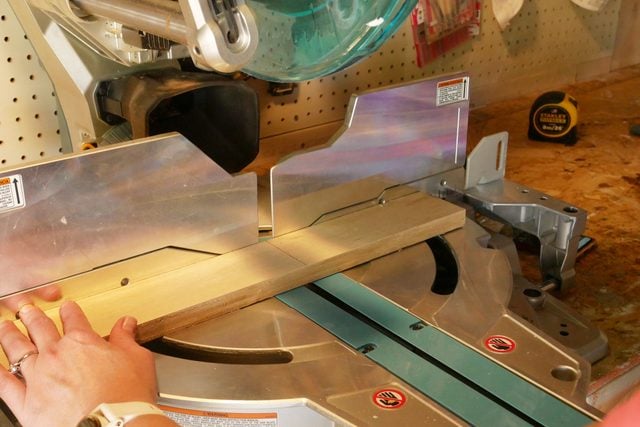
- Hook the end of your tape measure on the end of your scrap piece of wood and mark eight inches.
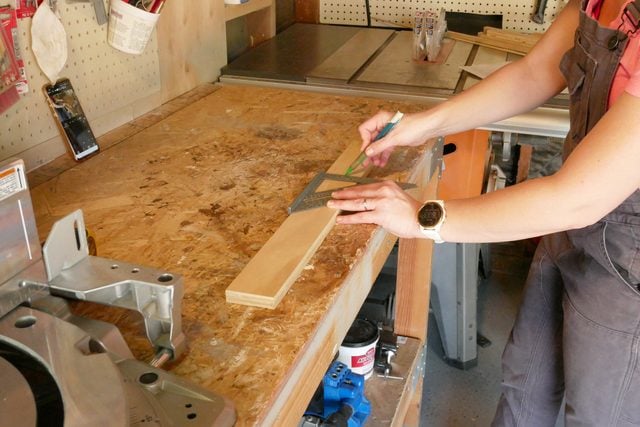
- Place your speed square (aka rafter square) at the mark and draw a straight line across the wood.
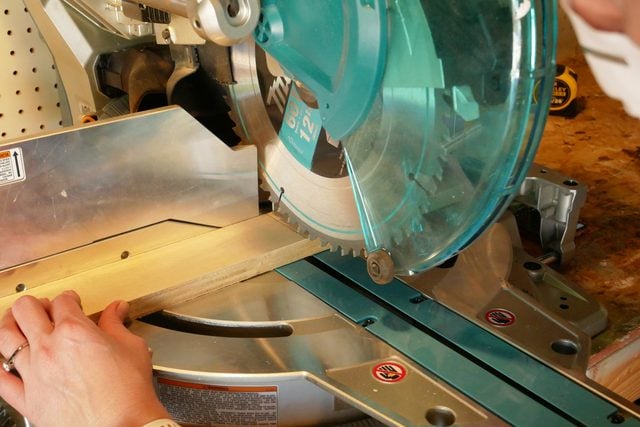
- With the miter saw turned off, hold your wood against the saw fence.
- Line up your blade to the waste side (usually to the right) of the line you’ve marked. Or match your laser with the line with the blade guard slightly raised.
Step 3
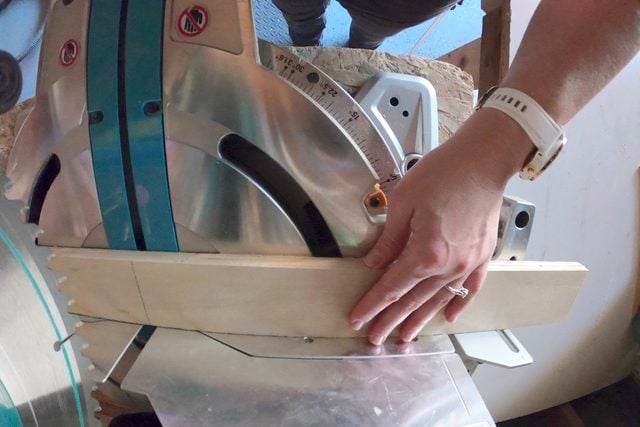
Make your first cut
- Ensure the proper safety gear is in place.
- Hold the wood firmly against the fence with your hands at least six inches away from the path of the blade.
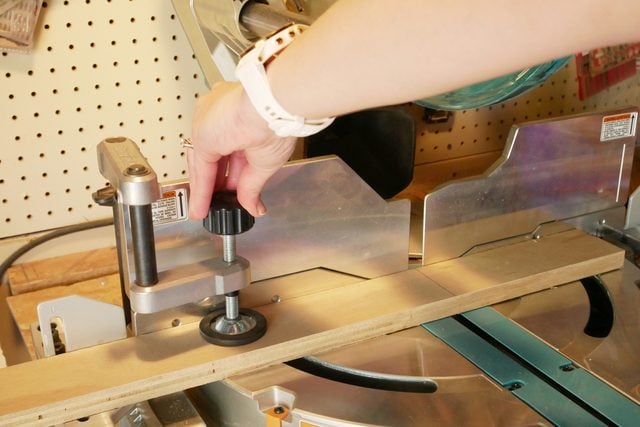
- Tighten your saw’s hold-down clamp, if desired, for greater stability.
- Hold the safety release and press the trigger to start the blade’s rotation.
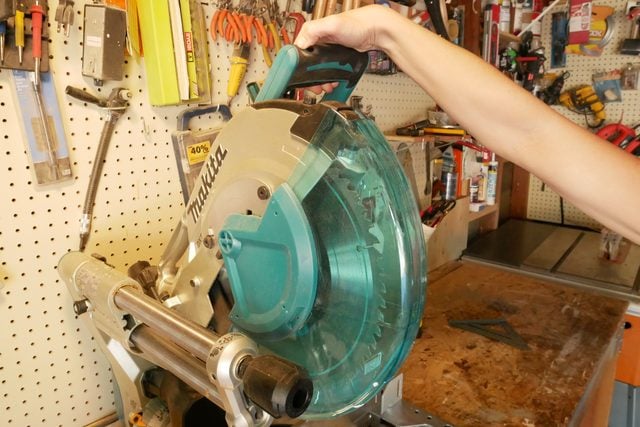
- Slowly lower the spinning blade into the wood until the cut is complete.
- Release the trigger and hold the saw carriage in place until it finishes spinning.
- Raise the blade from the wood.
Step 4
Try repeat matching cuts
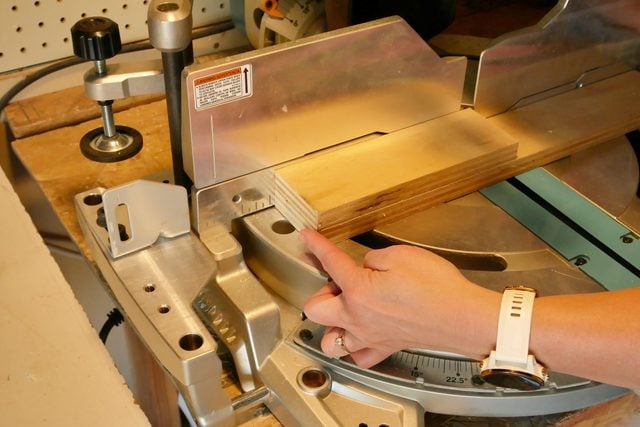
- Make multiple cuts, matching measurements exactly with stop blocks. Alternatively, use your first cut as a pattern block.
- Place your first cut piece on top of your next cut, flush with the end.
-
- Adjust the wood until you can lower the blade exactly along the end cut of your first cut.
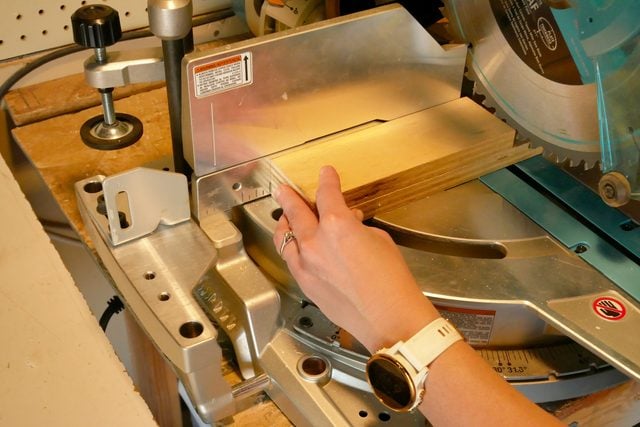
- Set your first cut aside and make your second cut as before, holding the wood firmly in place.
-
- Repeat for each new cut, using your first pattern piece as the template.
Step 5
Try miter cuts
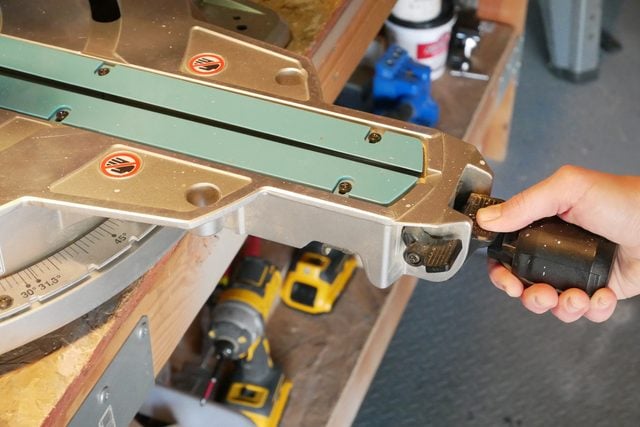
- Set saw to your desired angle by loosening the angle knob and moving the saw table.
- Lock the angle knob in place.
- Place wood firmly against the fence. Make your cut with the blade’s angle pointed away from the hand holding the wood in place.

- Let saw come to a complete stop before raising the blade.
Step 6
How to cut bigger boards with your miter saw
- Make a cut beyond the diameter of your blade by making the first cut, then flipping the board over and lining up the blade with your first cut. Then make a second cut that meets up with the first one.
- To support longer wood pieces, if your miter saw has wings, extend them. Otherwise, place 2x4s under the wood to be cut. I’ve also found a small can of paint is just the right support height.

Step 7
Clean your workspace
I like to do this after every use. Miter saws throw a ton of sawdust in the air, and it will easily cover your shop in just one session of cuts. A clean workspace allows for greater accuracy in your projects, and it’s much more motivating to work in a tidy environment.
- Keep a shop vacuum nearby to quickly clear your workbench, as well as the saw itself.
- If you’re cutting wood with a lot of sap, clean your blade after use to keep it in good shape.
- Soak it in blade-cleaning solution, or even concentrated laundry detergent, for around 20 minutes
- Scrub with a brass-bristle brush.
Step 8
Miter saw tips and tricks
Now that you’ve made a few test cuts, you should be feeling more confident using your miter saw. Practice truly does add to ease-of-use, so continue to let this shop darling be your number one cutter. Soon, you’ll be graduating to complicated cuts, like crown molding and beyond.
Here are some tips to keep in mind as you experiment with this tool:
- Cut the very end of the wood piece before measuring and marking your cut line. Hook your tape measure on that newly cut end, and measure and mark the length to be cut. This way, you’ll have a flat, smooth surface for joining on both ends after your cut.
- If you have multiple cut pieces for your project, label them in pencil right on the wood after you cut, so you don’t waste time figuring out which piece is for what when you go to build. The writing will disappear easily with a light sanding.
- Some wood will have knots and cracks. Try to measure around them, cutting from the areas clear of defects. Avoid cutting on a knot, because the center will often fall out, leaving you with a hole!
- I like to cut my angled cuts a bit longer than necessary, then shave off bit-by-bit with the miter saw for an exact fit. Too long can be cut down, but you can’t grow the wood back!
Originally Published: October 17, 2017