


We asked carpentry pros who have spent years sawing through 2x4's and pounding nails to pass along some of the best tips they've learned on the job site.
8 Carpentry Tips and Advice From Actual Professionals

Updated Jun. 09, 2023
1
/
8
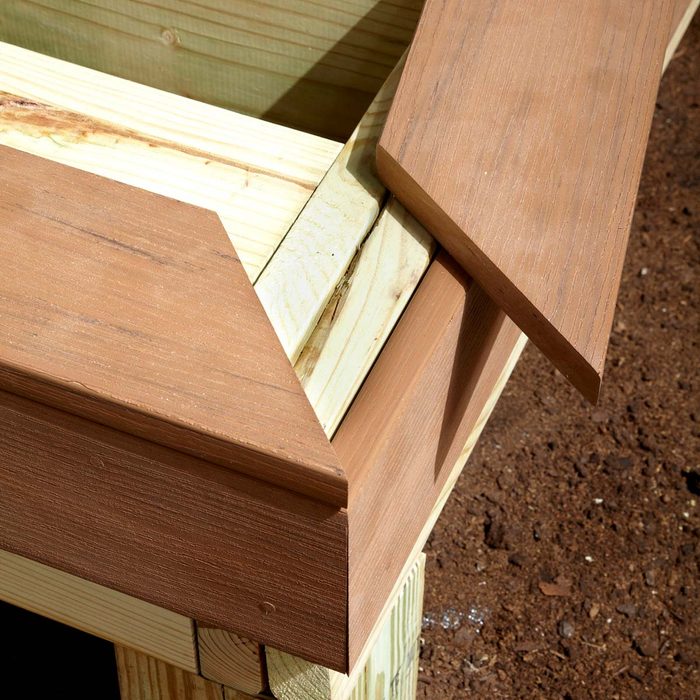
Practice On Test Pieces for the Perfect Miter
Fine-tuning a miter for a perfect fit is often a trial-and-error process. Practice on smaller test pieces and work on eliminating imperfections until you get your miter saw set to exactly the right angle, then cut the actual parts.
2
/
8
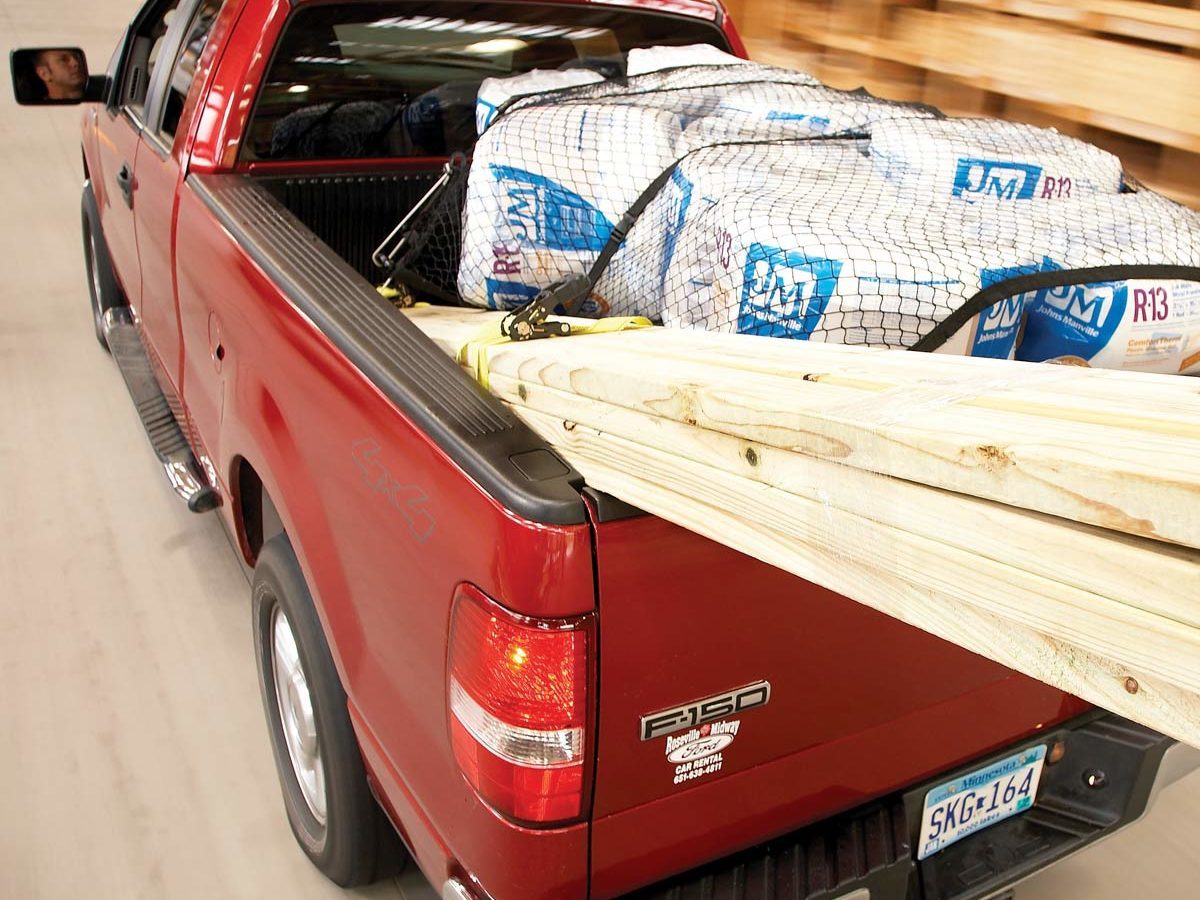
Use This Formula to Order Framing Materials
You don’t need a math degree to estimate framing materials for walls. Here’s a formula that works every time, no matter how many doors, windows or corners your walls have:
- One stud per linear foot of wall.
- Five linear feet of plate material (bottoms, tops and ties) per linear foot of wall.
It’ll look like too much lumber when it arrives, but you’ll need the extra stuff for corners, blocking, braces, and frames for windows and doors. Set aside any crooked material for short pieces.
3
/
8

Buy a Trim Gun
Many carpenters likely haven’t hand-nailed a piece of interior trim in 25 years. Why? Because air-powered trim guns make the results so much faster, better and neater. No splits, no pre-drilling, no knocking the piece out of place as you hammer, and only small, barely noticeable holes to fill. If you’re going to buy just one size, the most versatile choice is one that shoots 5/8- to 2-inch 18-gauge brads.
4
/
8
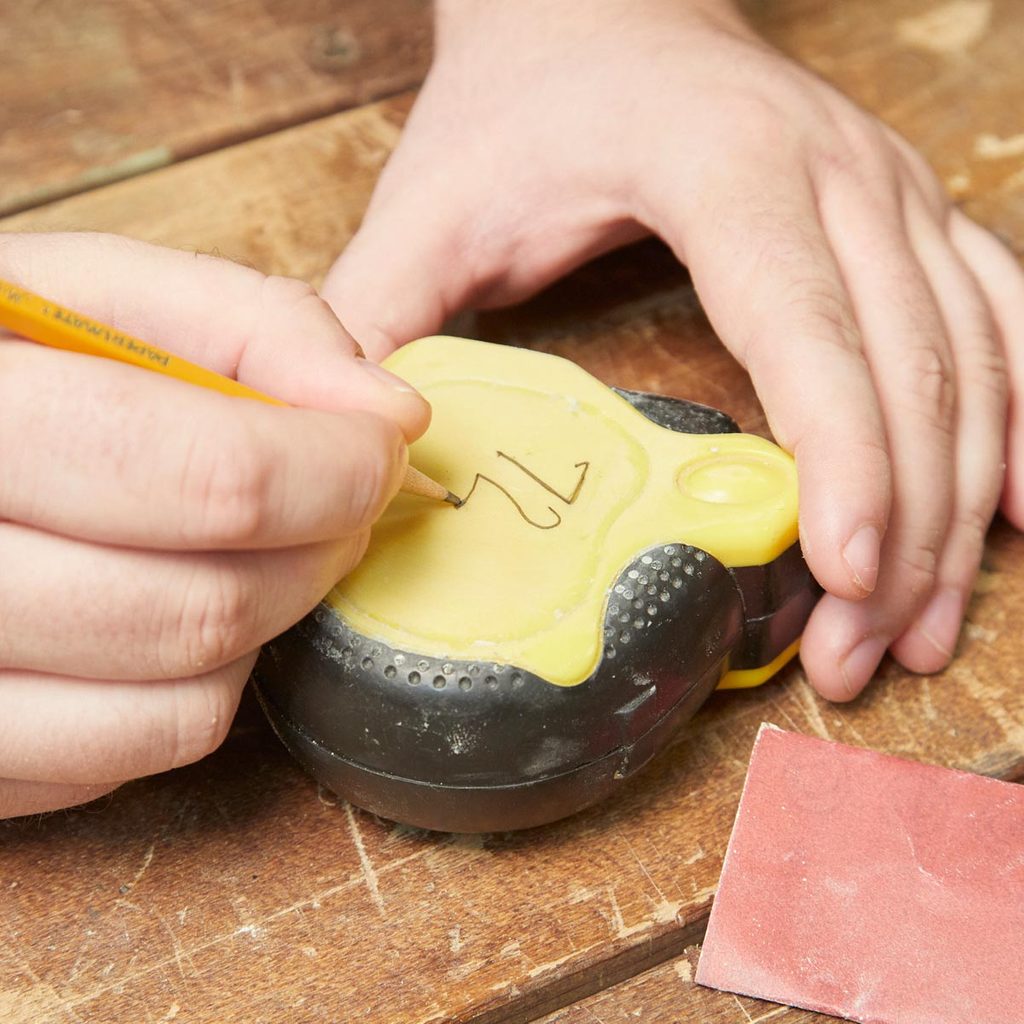
Write Measurements Down
Stick masking tape to your tape measure or sand down the side for a convenient “notepad” perfect for jotting down shapes and numbers. That way you won’t forget your measurement on the way to the saw.
5
/
8
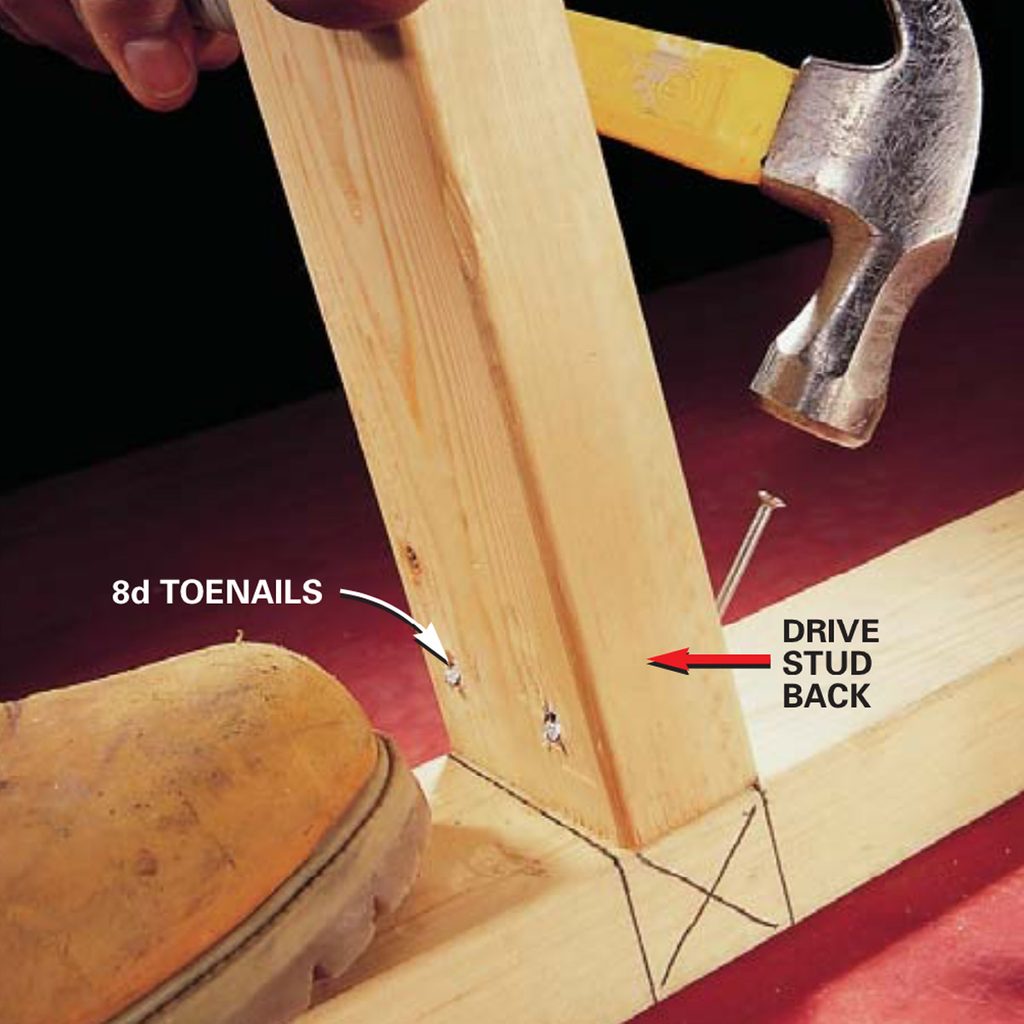
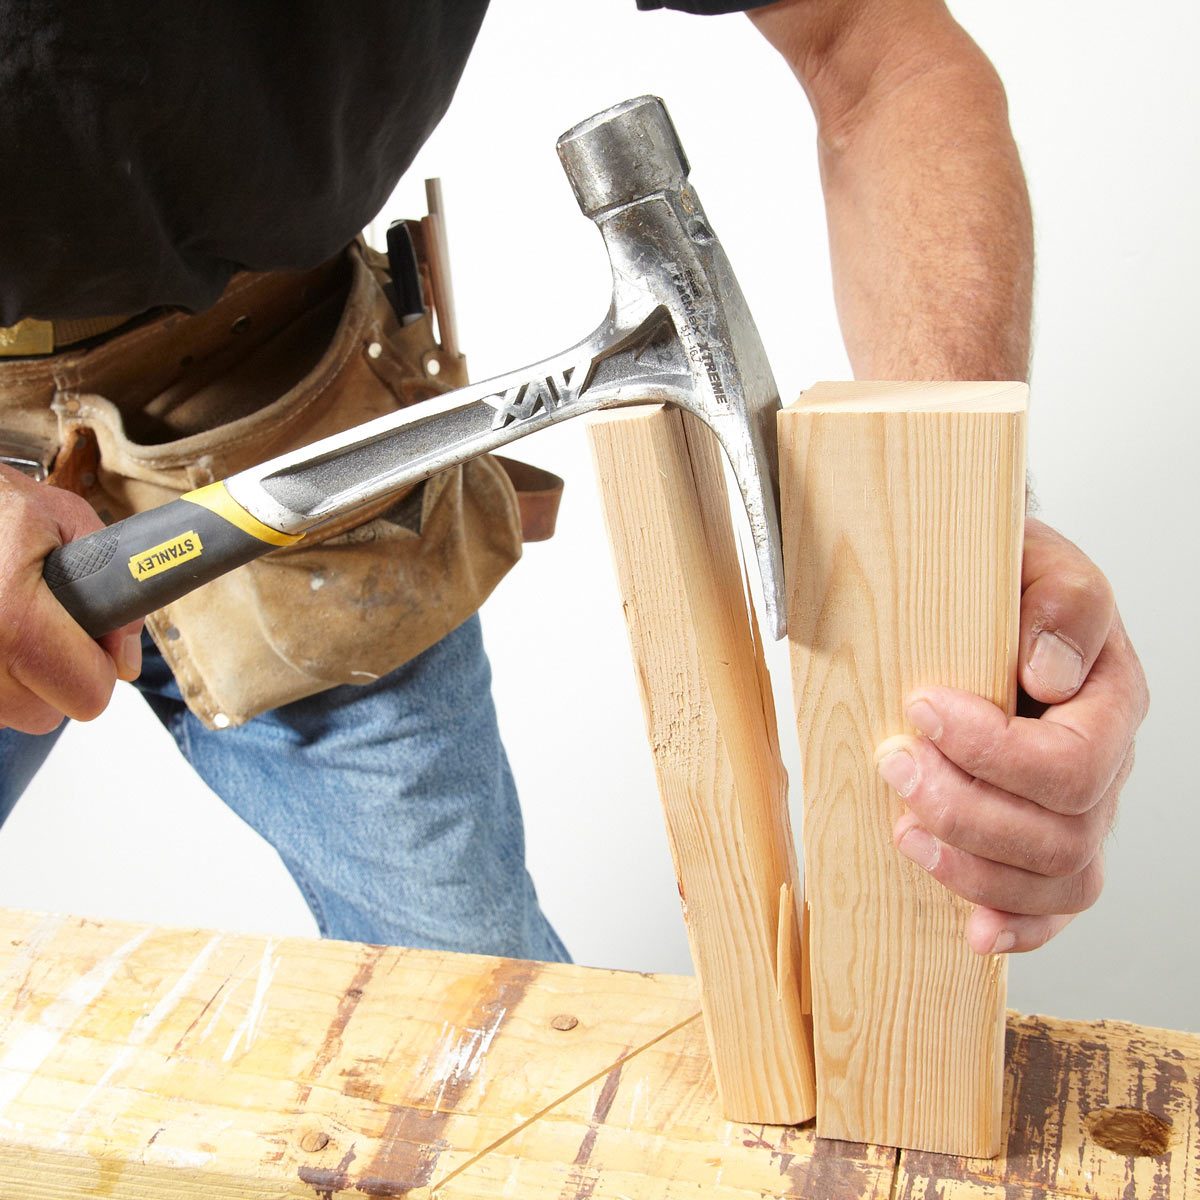
Use the Toenail Trick to Position Lumber
Travis Larson, a longtime woodworker, carpenter, and former Family Handyman editor, learned a handy trick on one of his first days in the field.
“On my first job as a framing carpenter, I was beating on a stud to try to coax it into position,” said Larson. “The stud just bounced back. A veteran framing carpenter walked over and drove a big nail at an angle through the edge of the stud. The last two hammer blows moved the stud into position, where it stayed. Now I use the toenail trick whenever I need to adjust stubborn lumber.”
6
/
8
Mark, Don’t Measure
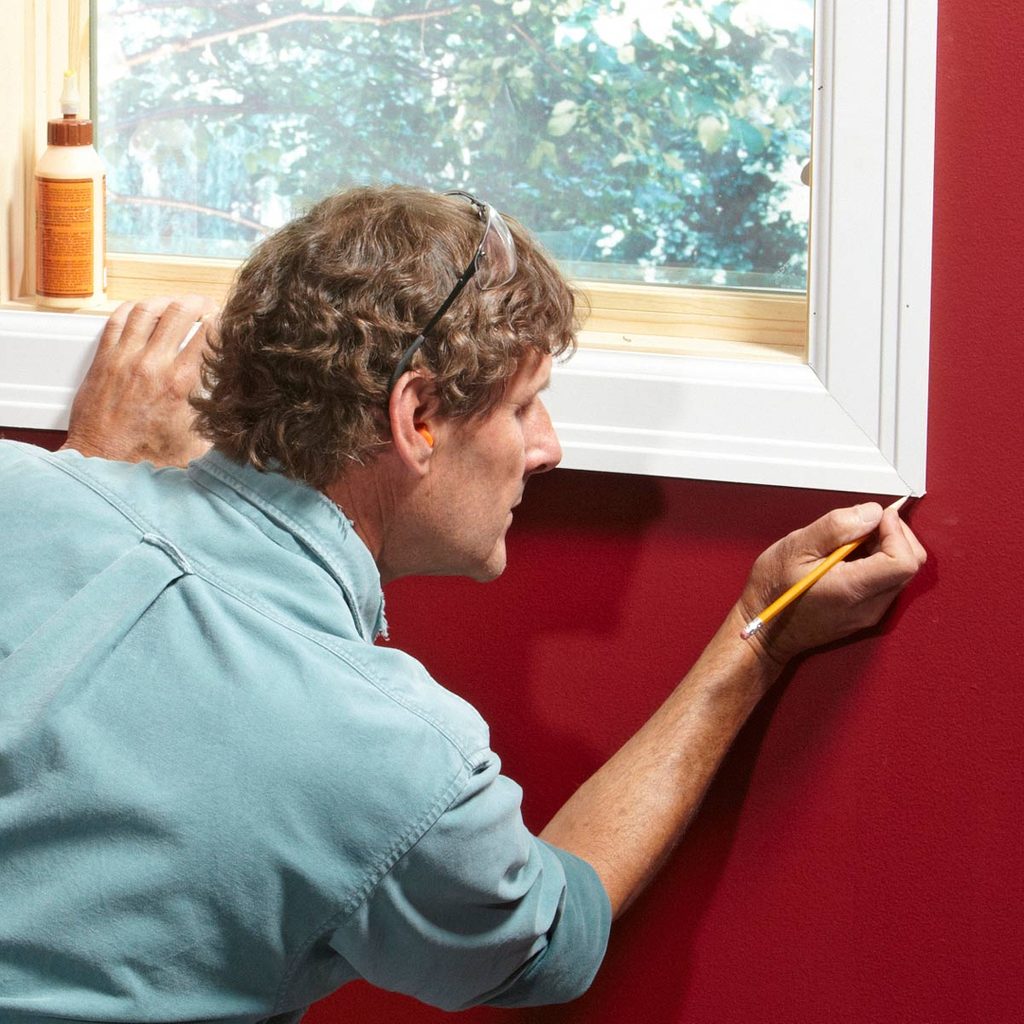
Holding trim in place and marking it is always more accurate than measuring, often faster and it eliminates mistakes. This is good advice for other types of carpentry work too, like installing siding, laying shingles, and even framing.
7
/
8

Use Nippers to Pull Nails
Keep a pair of ‘nippers’ in your pouch whenever you’re doing trim carpentry or removing trim from a wall. When you pull trim from the wall, use them for pulling the nails through the back of the trim.
8
/
8
Carry A Multi-Purpose Hammer
Whether you’re doing rough construction or fine finish work, the best all-around hammer is a smooth-faced 20-oz. with a straight claw. You can use the claw to drive under walls for easier lifting, embed it in framing, and even to do extremely crude chiseling. But best of all, it’s a better shape for pulling nails than the curved claw style.
Originally Published: May 29, 2020