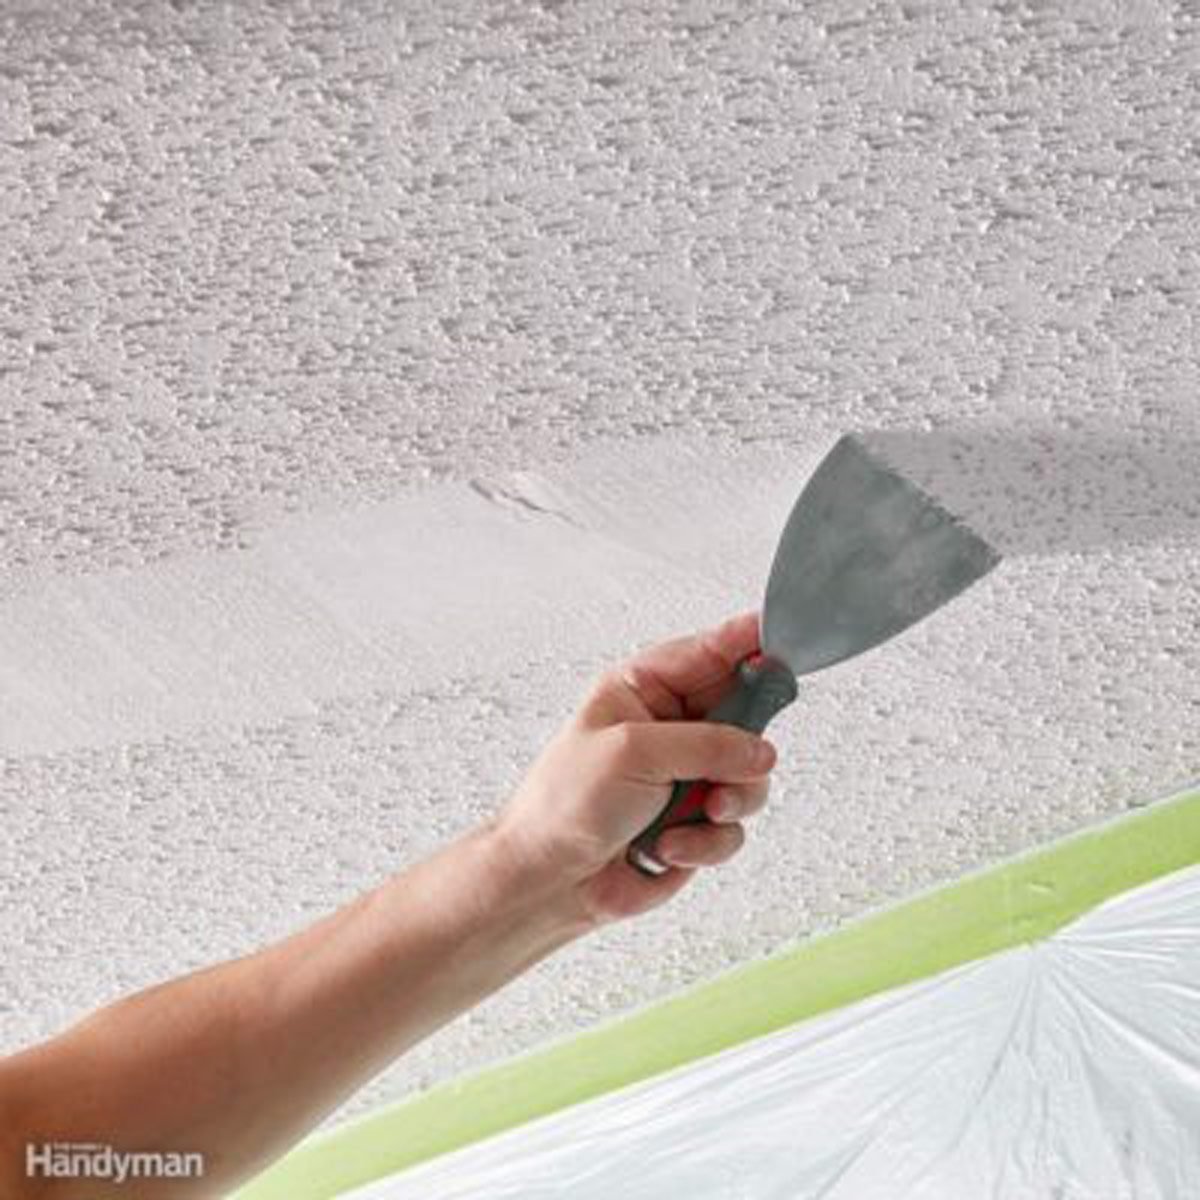
Popcorn ceiling removal is fairly easy, but it does require specific tools. Here's what you need.

The Best Tools for Popcorn Ceiling Removal

Textured ‘popcorn’ ceilings have long been out of style, yet many older homes still have them. Whether you’ve just moved into a home that has popcorn textured ceilings or you’re sick of looking at the one you’ve lived with for years, removing the texture is fairly easy so long as the plaster or drywall underneath is in good shape. Ceiling texture removal is messy, so be sure to assemble the right tools to keep the process as stress-free as possible.
Sometimes ceilings are painted before the texture goes on. Other times paint is mixed with the texture. And often, existing texture has been painted over. In the last two cases, removal can be difficult or next to impossible. Another layer of drywall to bury the existing one or just applying a fresh coat of paint over the texture and living with it might be better solutions.
If you do decide to move forward with popcorn ceiling texture removal, you’ll want to begin with a scrape test. In an inconspicuous spot (a closet if possible), moisten the surface by misting it with water and let it sit for 15 minutes to soak in. Then use a putty knife held at a low angle to see how easily the texture scrapes away. You’ll know right away if paint is keeping water from penetrating and loosening the texture. If you can’t easily scrape away the texture, there isn’t an easy way to strip the texture from the ceiling in the room. Think carefully about continuing. It may be that hours of tough work will be in your future.
Note: If your home was built before 1979, the texture might contain asbestos, which can do serious damage to your lungs. So before removing texture, it must be tested (you’ll find lots of labs and instructions online). You can remove texture that contains asbestos yourself as long as you carefully follow safe procedures. For all of these reasons—mess, time, skill level, asbestos—covering a ceiling is often easier than removing texture. Another option to consider is covering your popcorn ceiling with drywall instead of removing it. Here’s how.
You’ll then want to prep for the big mess by covering the floors and walls with plastic drop cloths. Be sure to use plastic over canvas in order to avoid water soaking through. Once you’ve completed the popcorn ceiling removal, be sure to leave the plastic drop cloths in place to catch any additional debris falling from repairing and sanding the ceiling later. A great option is this C&S Pretaped Drop Cloth. Since one edge of the plastic sheeting already has tape attached, you simply need to peel and stick the plastic right along the top of your walls. The sheet then drapes down your walls and covers your furniture and floor.
Want more ways to cover a hideous ceiling? Check out these tips.
Keep yourself safe by wearing a dust mask or respirator, as well as safety glasses.
If you’re a DIYer, safety gear should already be in your possession!
Next, you’re going to want to wet the ceiling with a pump sprayer. This will make for easier scraping and much less dust during the removal process. If you already have a garden pump sprayer, that’s the perfect tool to mist the ceiling gently. Just be sure to let it soak for about 15 minutes before scraping.
You’ll then want to use the floor scraper to gently scrape away the popcorn texture. Work in small sections, only spraying and scraping a small area at a time. Be mindful not to damage the drywall! If you do damage it, here are a few tips for patching drywall and drywall repairs.
To remove residual popcorn material and ensure you get into the corners, you’ll want to put down the scraper and pick up a flexible putty knife.
You can also use a mud pan, specifically the kind for holding joint compound, to catch the wet popcorn so it doesn’t all land on the plastic-covered floor. It does create a slippery mess.
Once you’re done scraping, you’ll likely have some dings and gouges to fix, so use a sander to get it nice and smooth.
For quick and easy popcorn ceiling removal, here are 11 tips you’ll want to check out.
Disclosure: This post is brought to you by The Family Handyman editors, who aim to highlight products and services you might find interesting. If you buy them, we get a small share of the revenue from the sale from our commerce partners. We frequently receive products free of charge from manufacturers to test. This does not drive our decision as to whether or not a product is featured or recommended. We welcome your feedback. Have something you think we should know about? Contact us, here.


