


What Goes Into Pouring a Strong Foundation?

Updated: Nov. 09, 2022
Consider the benefits of pouring a foundation instead of a slab.
Pouring a basement or walkout basement gives dedicated room for the water heater and furnace. It also increases the living area on the main floor and will allow even more living space when the basement is finished.
We don’t suggest pouring your own foundation. It’s expensive, time consuming and can be dangerous for DIYers. This is one project that you should hire a professional to do.
While it takes a crew of skilled professionals to build a foundation, the process is fascinating. And it can be helpful to understand the process when hiring and working with contractors. We documented the important steps of this crucial phase of construction.
On This Page
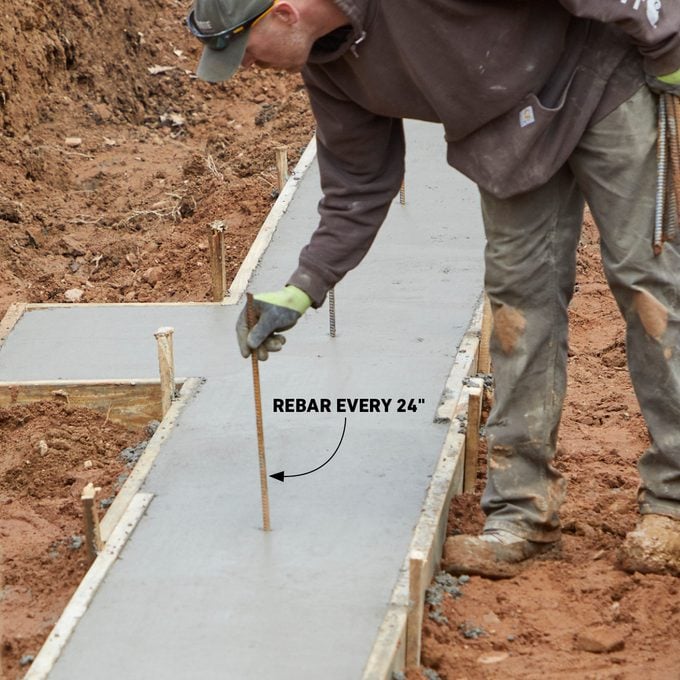
The Footings are Poured
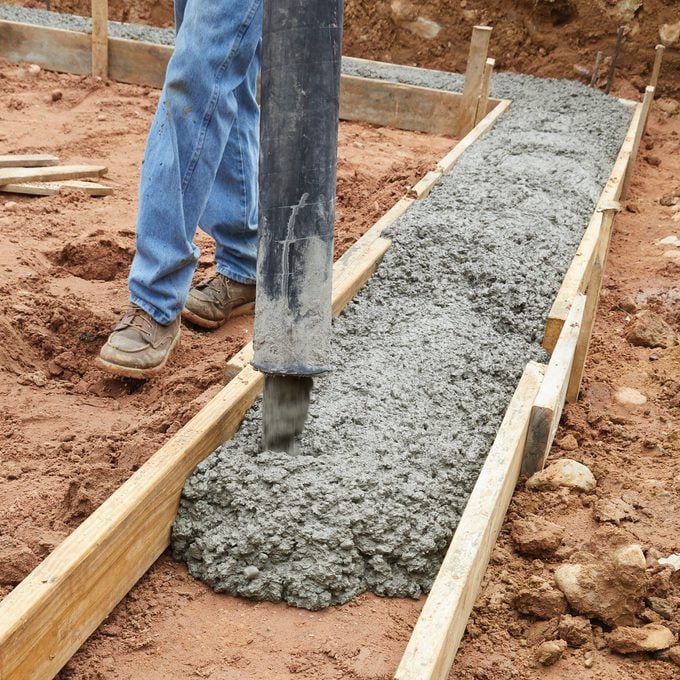
- Footings support the basement foundation and the entire house.
- Our crew piped concrete into forms, then placed rebar every 24 inches to strengthen the bond between the footings and the foundation.
The Formwork Is Set

- When the footings have set, plywood panels forming the walls of the basement foundation are placed on the footings.
- Snap ties hold the two opposing form halves together.
- We placed No. 4 rebar horizontally throughout the forms.
- Pro tip: As an added level of insurance, we used 20 percent more rebar than required by code.
The Foundation Is Poured
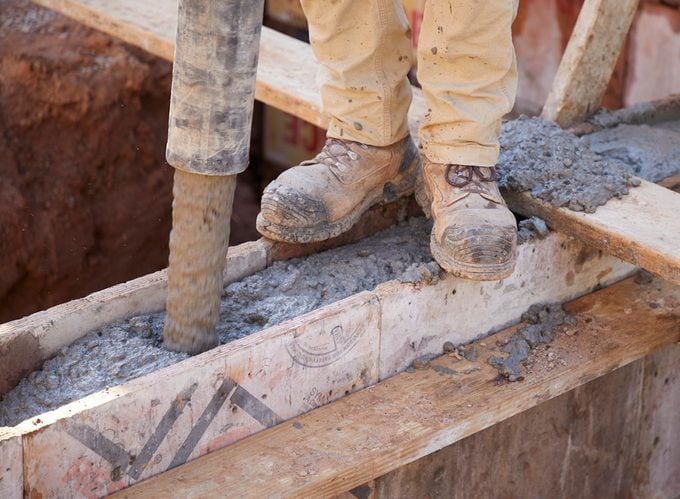
- The crew then fed concrete into the foundation forms through a long hose.
- We chose a high-strength 5,000-psi (pounds per square inch) mix and added steel fiber reinforcement. The fiber added only $5 per yard to our cost.
- In addition to the extra rebar, fiber-reinforced concrete has the stiffness and strength to withstand cracking from normal shrinkage and expansion during our freeze/thaw cycles.
The Formwork Is Stripped
- After the concrete has set, the formwork is stripped off. The crew takes off the top row first, then the bottom.
- The remnants of the snap ties can be seen on the concrete wall.
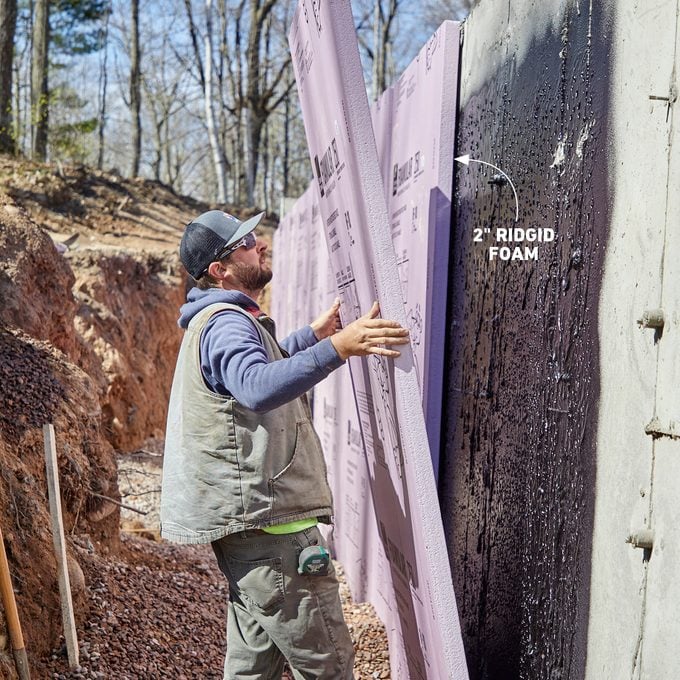
Waterproofing and Insulation
- The foundation receives two layers of protection.
- First, to protect against moisture intrusion, an elastomeric rubber waterproofing membrane is sprayed on the exterior of the foundation.
- Next, two-inch Owens Corning rigid insulation is attached to the foundation, providing an important addition to the complete insulation plan with an R-value of 10.
Lay the Drain Tile
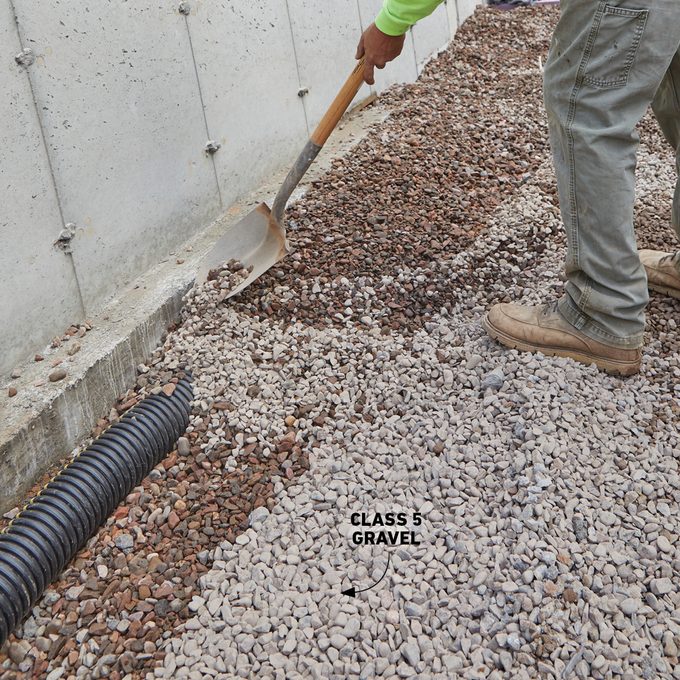
- For extra protection from water intrusion in our basement, we put in drain tile. This perforated plastic piping is laid around the foundation to direct water away.
- First, we laid Class 5 gravel along the perimeter of the footings. Then we set the drain tile on the gravel. Water will now flow toward the septic drain field and away from the basement.
Originally Published: July 14, 2021