
Easy Garage Storage Solutions
Updated: Jan. 08, 2024
Four quick and simple DIY storage projects.
Our editors and experts handpick every product we feature. We may earn a commission from your purchases.
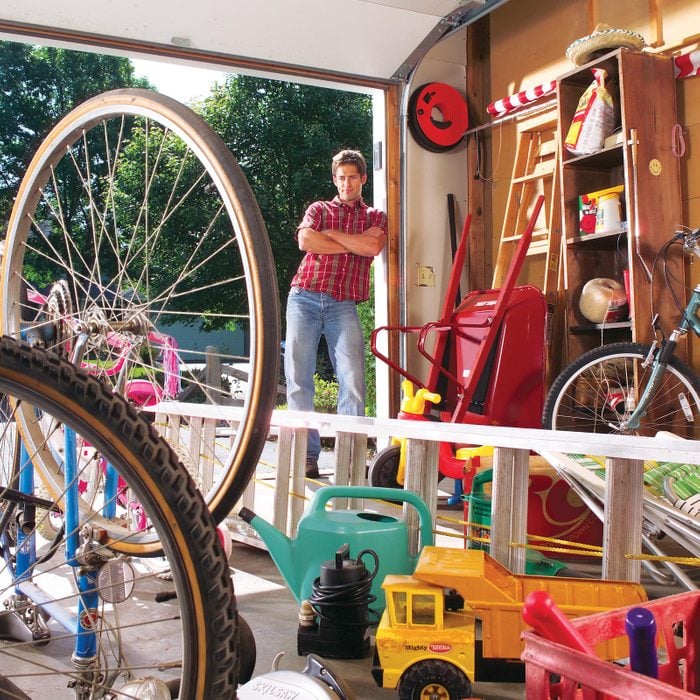
Here are four simple DIY projects that can help you organize your garage. All of these projects take no more than a couple of hours to complete, and you will be amazed at the amount of extra space you will gain in your garage.

Garage Ceiling Shelves
Tuck medium and lightweight stuff onto these DIY garage ceiling storage shelves. The shelves are designed to fit into that unused space above the garage doors (you need 16 inches of clearance to fit a shelf and standard 12-1/2 inch high plastic bins). However, you can adjust the shelf height and put them anywhere. The only limitation is weight. We designed this 4 x 6-foot shelf to hold about 160 lbs., a load that typical ceiling framing can safely support. It’s best to save the shelf for “deep storage,” using labeled bins with lids, because you’ll need a stepladder to reach stuff.
First, find which way the joists run, then plan to hang one shelf support from three adjacent joists. Our joists are 24-inches apart; if yours are spaced at 16-inches, skip one intermediate joist. We built ours to hold plastic bins, but if you put loose stuff up there, add 1×4 sides to keep things from falling off. Assemble the 2x4s as shown , using five-inch corner braces and 1/4-inch x 1-inch hex head lag screws (drill pilot holes first).
Now attach the corner braces on both ends of a shelf support to the center of a joist/truss by drilling pilot holes and using 1/4-inch x 2-inch hex head lag screws. The only challenge is finding the center of joists through a drywall ceiling (if your ceiling is finished) to attach the shelf supports. Tap a small nail through the drywall until you locate both edges of the joist. Measure to find the center of the adjacent joists, and measure to keep the three supports in alignment with one another. Finish the shelf unit by attaching a 3/8-inch x 4-foot x 6-foot plywood floor. You should also check out how to DIY garage cabinets to make more space for storage.
Editor’s Tip: Organizing a garage isn’t a one-size-fits-all project, so we’ve compiled some of our best garage storage ideas. Check out these tips to find ways to make your garage more organized and better to use.

DIY Garage Hoist
Hanging bikes by one or both wheels on bicycle storage hooks is the quickest and cheapest way to get them off the floor and out of the way. But the hooks won’t always work if you you have a tall garage ceiling or your bike, or e-bike, is too heavy to lift easily . Then the best solution is a convenient garage pulley system that allows you to quickly and easily raise the bike out of the way. We couldn’t design a system much cheaper or better than a purchased system like the Leisure Sports 1-Bike Hoist.
It can lift up to 75 lbs. with its quality mechanical system of pulleys and hooks, and its dual safety design (locking mechanism and rope tie-down cleat) keeps the bike secure. Attach the garage bike storage pulley system brackets to a ceiling joist with wood screws. Position the hooks the same distance apart as the distance from the handlebar to the seat rear. Choose a location that’s convenient yet doesn’t interfere with vehicles or people since the bike will hang down about four feet from the ceiling. If the joists aren’t spaced just right, lag-screw 2x4s to them and then screw the brackets to the 2x4s.

DIY Ladder Storage
It’s always most convenient to hang an extension ladder on brackets across a wall. But unfortunately, that wipes out all other garage organization potential for that wall. To save that valuable wall space, we designed a pair of 2×4 suspended brackets so a ladder can be stored flat along the ceiling. Simply slide one end of the ladder into one bracket, then lift and slide the other end into the other bracket.
Most people will need to stand on something solid to reach the second bracket. The 2×4 bracket sides are 16-inches long with five-inch corner braces lag-screwed (like the shelf unit) into the top for attachment to the ceiling joist. The bracket base is a 1/2-inch x 24-inch threaded steel rod that extends through 5/8-inch drilled holes on the bracket sides. It’s held in place with flat/lock washers and a nut on each side of both 2×4 uprights. A 3/4-inch x 18-inch long piece of PVC conduit pipe surrounds the rod for smooth rolling action when you slide the ladder in and out.
For extra security, wrap a Bungee cord around the ladder and one bracket.

Wheelbarrow Wall Mount
Wheelbarrows are fairly heavy and awkward. The trick to storing them is to get them up off the floor but not so high that you can’t lift them down easily. We’ve designed simple DIY wheelbarrow racks in the past, but it’s tough to beat the nifty wheelbarrow holder bracket we found on Amazon. With this bracket, you simply set the front lip of the wheelbarrow into the lower bracket and swing the backup and into a latching upper bracket.
To get the wheelbarrow down, just unlatch the upper bracket and swing it down. Keep in mind that the metal legs will stick out and can cause a nasty bump or bruise. Hang your wheelbarrow along a little traveled wall or cover the legs with something soft. Push the wheelbarrow next to a wall stud and mark its height. Attach the lower bracket to the stud with wood screws, one inch below the mark. Next, push the wheelbarrow up so the front lip drops into the lower bracket, then raise the handles to the wall. Mark the upper bracket location, then attach the bracket to the stud.