
Appliance Repairs You Don’t Need to Call a Pro For
Updated: Aug. 25, 2023
Before you pick up the phone and fork over a bunch of cash to fix your appliances, check out these super-simple repairs you can actually do yourself.
| dryer problems |
Simple Fixes for Common Top Appliance Repair Problems
At least a quarter of all appliance repair calls are resolved with no-brainer solutions like pushing a button or flipping a circuit breaker. Learn what to look for and how to avoid these expensive lessons. Learn all of the simple fixes for common appliance problems.
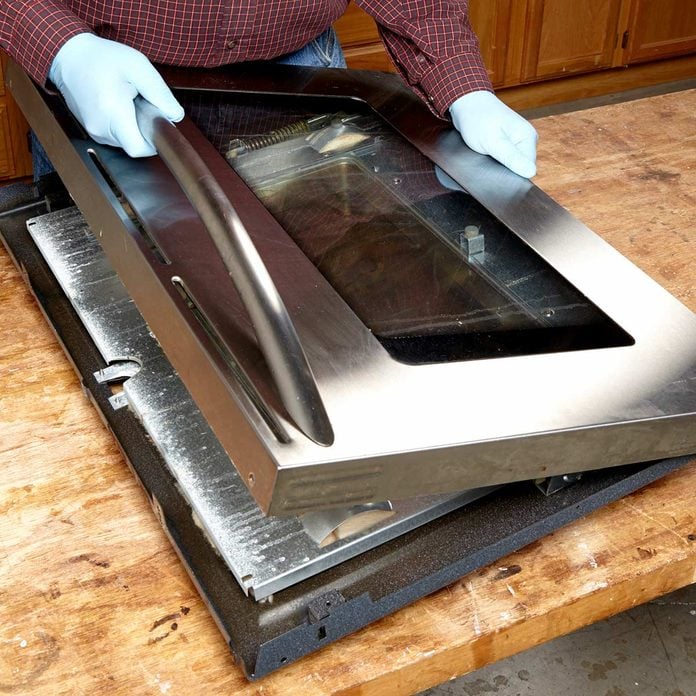
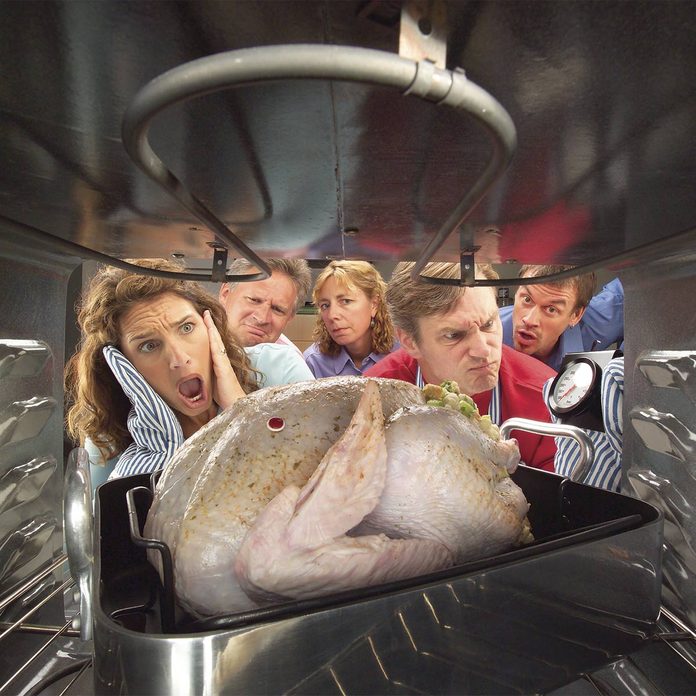
Clouded Glass Oven Door
Cleaning between the glass panels of an oven door looks impossible, but all you really need to do is disassemble the door. It’s really simple, and you’ll be so glad you did it.
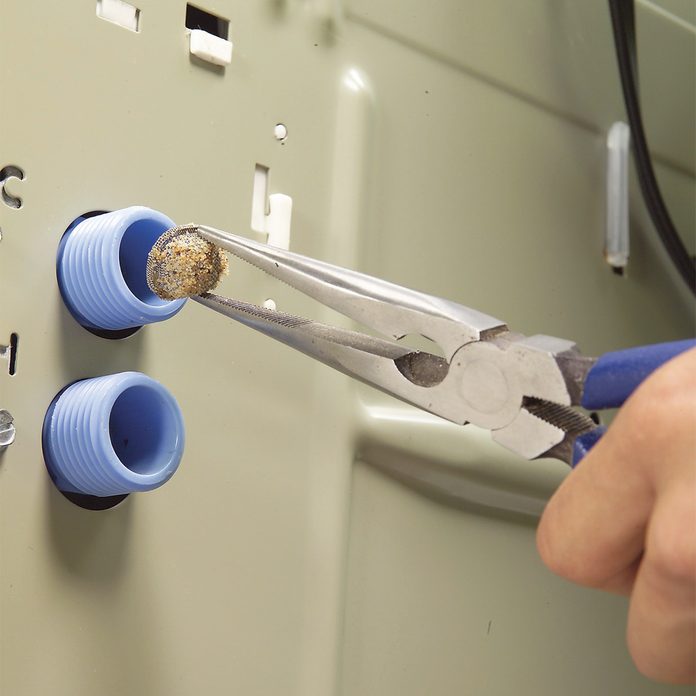
Slow-Filling Washer
A washing machine that takes forever to fill may have an inlet screen clogged with mineral deposits and tiny particles of debris. The fix is simple, and we’ll show you how to do it yourself.
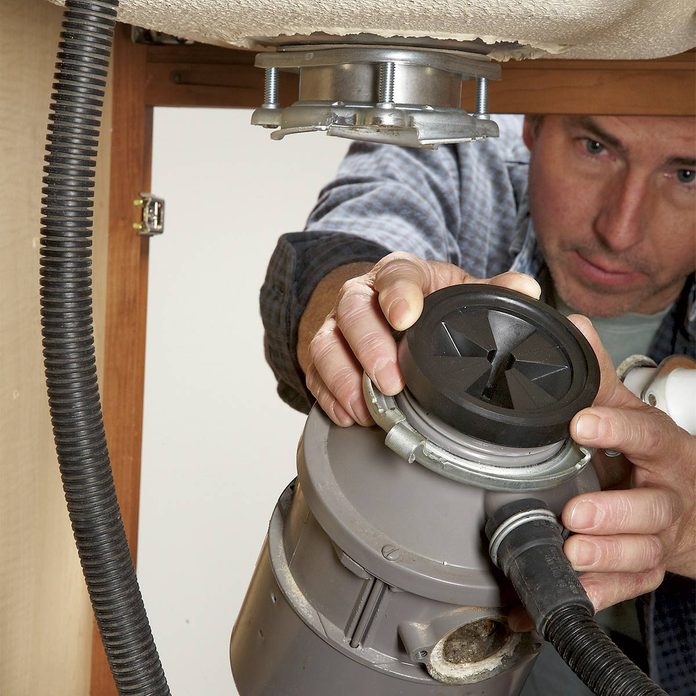
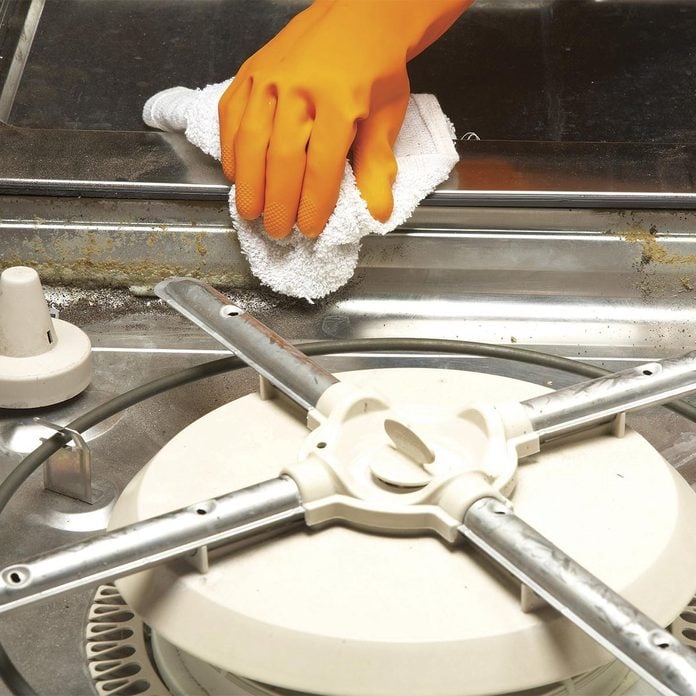
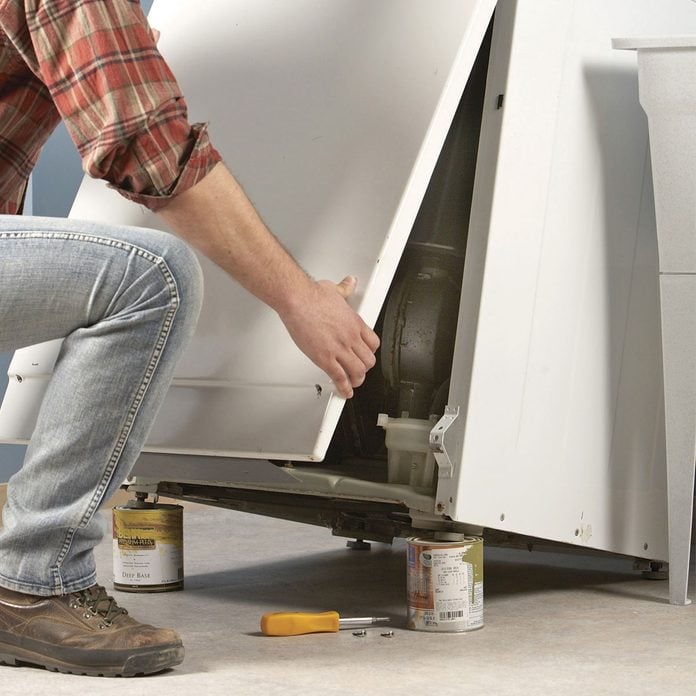
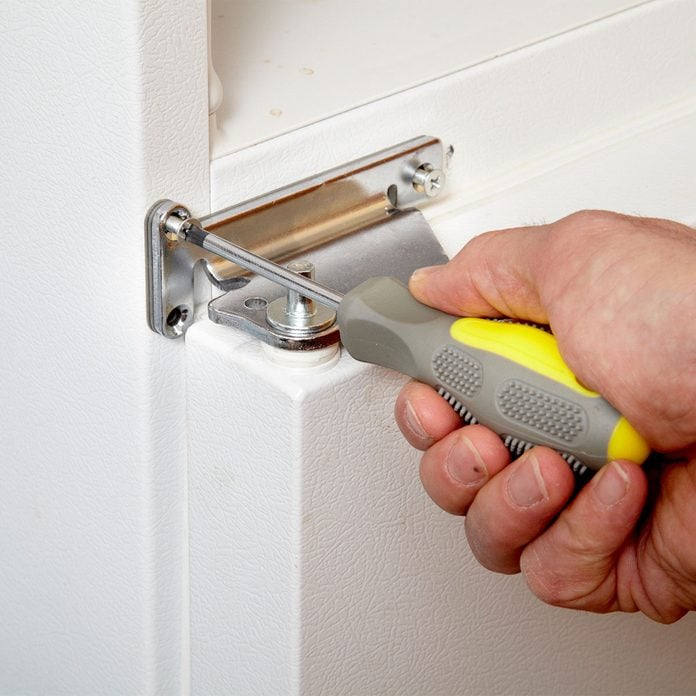
Garbage Disposal Splash Guard
Got a garbage disposer that spits, um, garbage at you? Forget about replacing the entire unit. You can install a new splash guard (about $10 at a home center) in about 20 minutes. You don’t need any special tools. Plus: Did you know you can do these 100 car repairs yourself, without going to the shop?
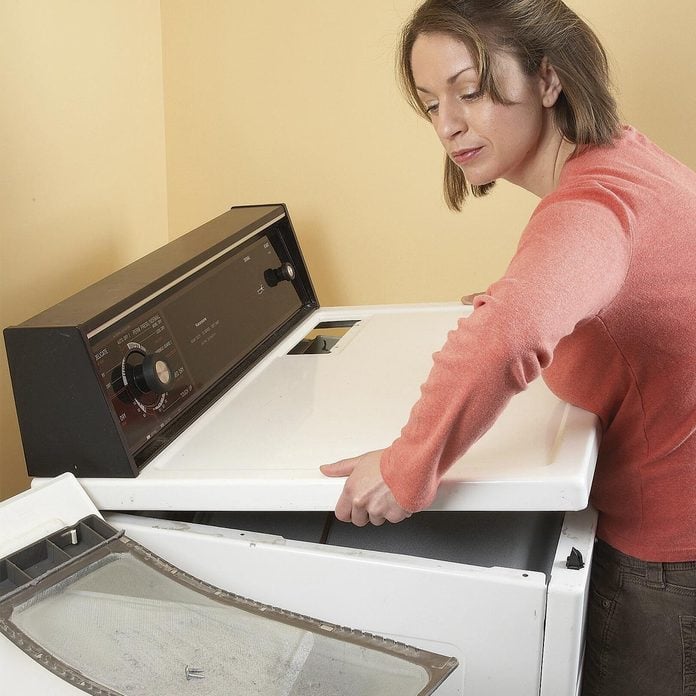
Dryer Lint Buildup
Built-up lint inside dryer cabinets causes more than 15,000 fires every year. Dryer lint escapes through tiny gaps around the edges of the dryer drum and falls into the cabinet, especially when the exhaust vent or vent cap is clogged and airflow is restricted. The lint can get ignited by electric heating elements, gas burners or even a spark from the motor, and the flames then travel through the lint-lined exhaust vent. To make sure this doesn’t happen in your house, check the exhaust vent and the inside of the cabinet frequently.
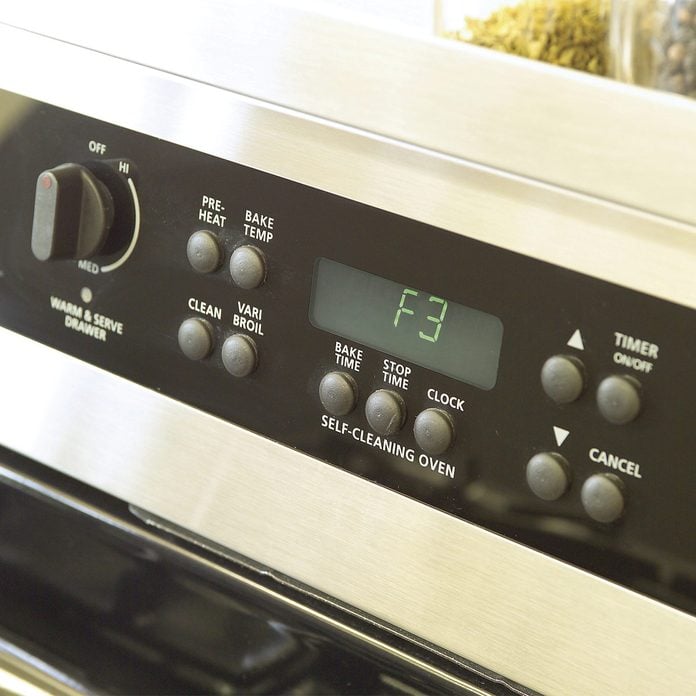
Diagnosing Appliance Fault Codes
When the display panel on your appliance flashes strange numbers, grab your owner’s manual. It may be flashing a fault code that’ll help diagnose a problem. By the way, here’s all you need to know about who makes your appliances.
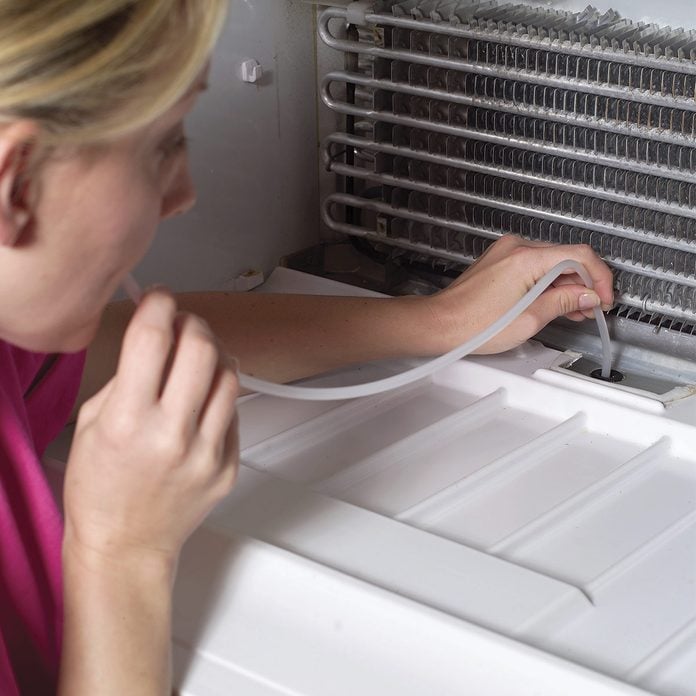
Leaking Refrigerator
Simple fixes for the four most common refrigerator problems: an ice-maker breakdown, water leaking onto the floor, a cooling failure and too much noise. Chances are, you can solve the problem yourself, save some money and avoid the expense and inconvenience of a service appointment. The following article will walk you through the simplest solutions to the most common fridge malfunctions.
Smelly Dishwasher
Stop bad dishwasher odors by cleaning food scraps from the tub and running a dishwasher cleaner through a cycle. Learn how to fix a smelly dishwasher or follow these simple steps for dishwasher repair and maintenance.

Broken Electric Burner
You can solve most electric range burner problems yourself and avoid the expensive service call. It’s quick and easy to replace a burner or bad burner socket.
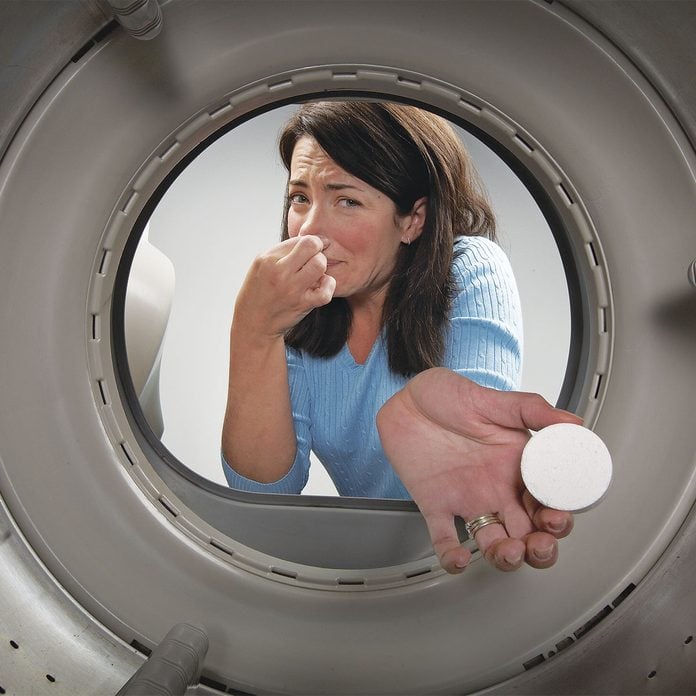
Smelly Washing Machine
Stop bad odors in your clothes washer by running a cycle with a special mold-killing tablet and by leaving the door open to promote drying. Learn how to fix a smelly washing machine.

Refrigerator Doesn’t Stay Cold
We’ll show you how to replace your refrigerator door gasket in three easy steps. A new gasket will help your refrigerator run more efficiently, which will save you money. So replacing a worn out gasket will pay for itself over time.
Gas and Electric Oven and Dryer Problems
Step-by-step solutions for an oven that won’t heat and a clothes dryer that won’t heat. Most fixes take less than an hour and save the expense of a service call. We show solutions for both electric and gas ovens and dryers.
Washing Machine Won’t Drain
Washing machine not draining? If the washer won’t drain, either something is stuck in the washing machine drain hose or pump, or the pump is broken. Both fixes are simple if you’re even just a little bit handy with tools.
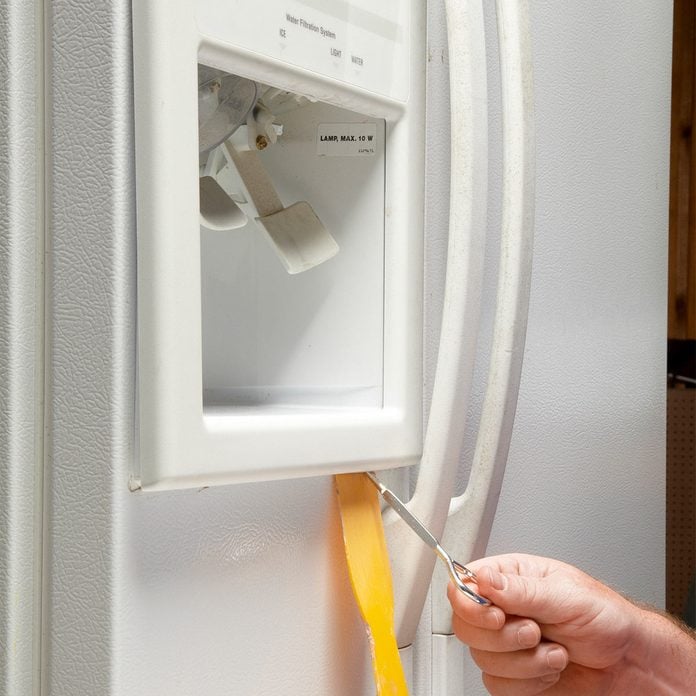
Broken Water Dispenser
So the kids were really thirsty and jammed their glass into the water dispenser on the refrigerator door. Now the paddle is hanging by a wire, and you’re seeing a $300 repair bill. No way!
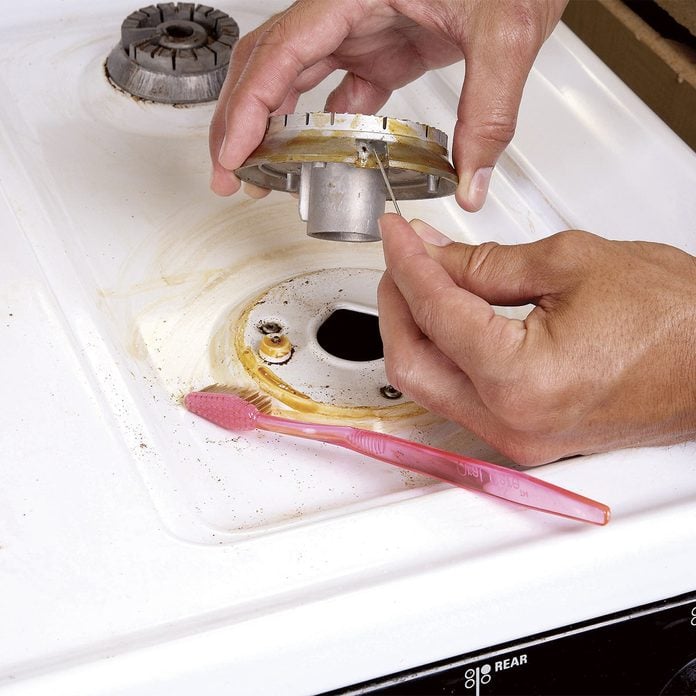
Gas Burner Won’t Light
If a burner on your gas range doesn’t light, it’s likely that you can fix the problem. Before you undertake more-complex repairs, check for simple solutions. Be sure the gas range is plugged in and getting power. The oven light should come on when you open the door. Also check that the gas valve is open—it may have been turned off by accident.
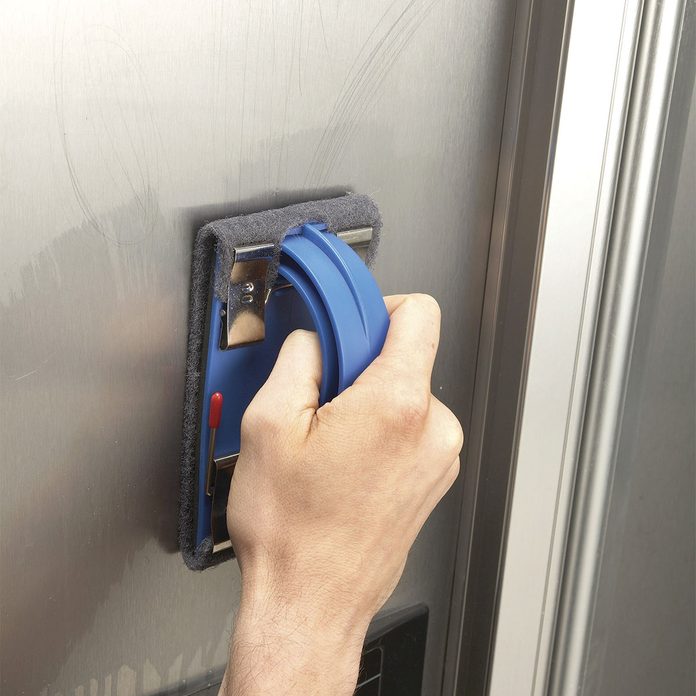
Scratched Stainless Steel Appliances
Buff out ugly scratches in your shiny stainless steel appliances, using fine sandpaper and rubbing compound.
Reverse a Fridge Door
Door handles can easily be reversed on almost any refrigerator door by removing a few screws and bolts—but keep track of the parts and the assembly order.
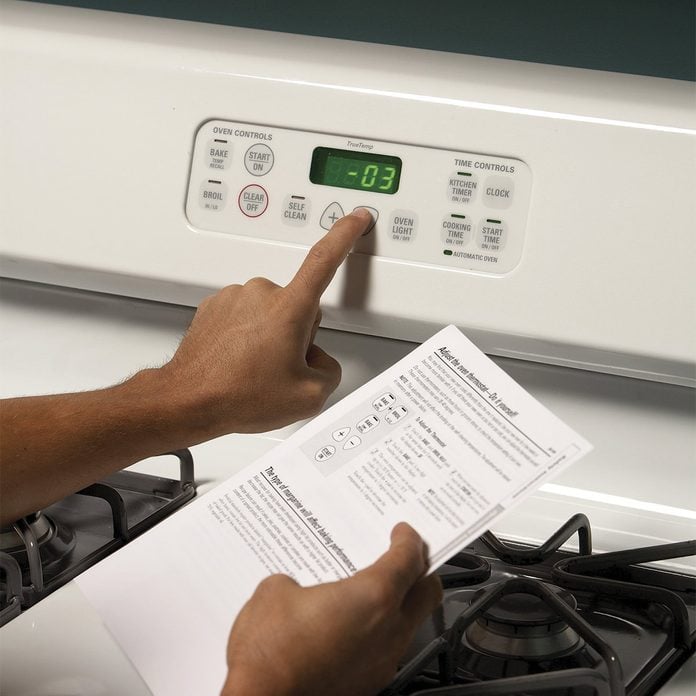
How to Adjust Oven Temperatures
If your oven cooking times are off, recalibrate your oven temperature to match an accurate oven thermometer. The procedure is in your oven’s instruction manual.
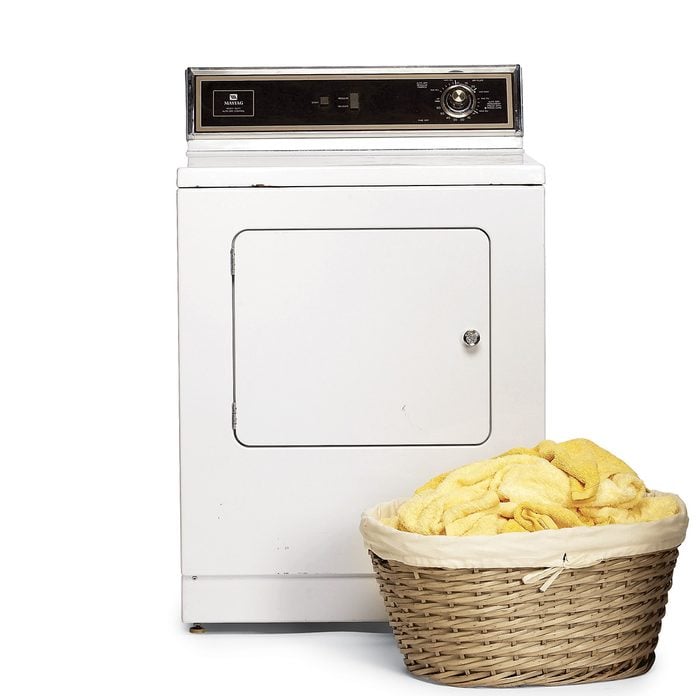
Clothes Dryer Problems
Most dryer problems can be fixed in an hour with a few basic tools and a continuity tester or multimeter—and you can do the work yourself with these simple instructions.
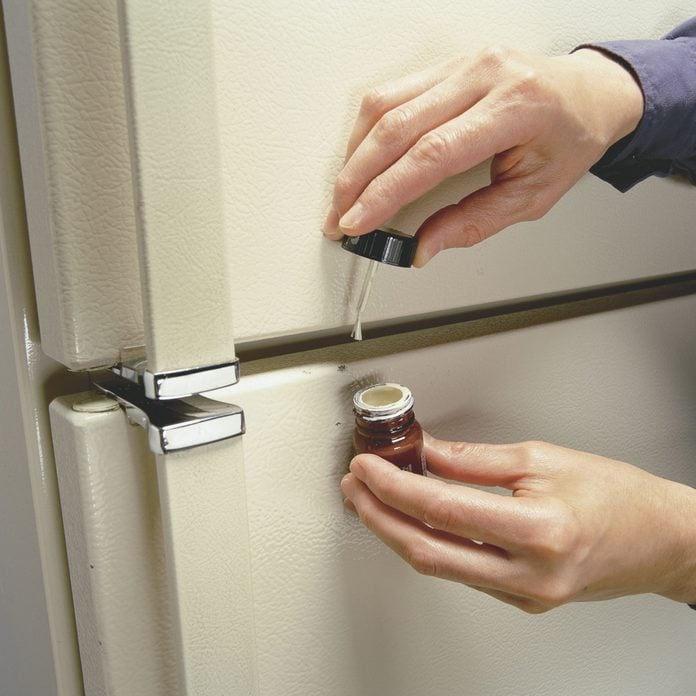
Chipped Porcelain
Tiny chips and dings on expensive porcelain fixtures and appliances are distressing-but fixable. With a few careful dabs of touch-up glaze and a little sanding and buffing you can make those ugly blemishes vanish.

Ice Maker Stopped Working
If your ice maker stops working—or even starts producing gray ice—there’s no need to call the top appliance repair service. First, do some ice maker troubleshooting.