How to Set Up a Tent Correctly
Updated: Apr. 30, 2024
Snap-together poles, sleek designs and built-in fasteners make modern tents quick to assemble.
An hour or less
Beginner
Free
Introduction
If you're new to tent camping or rusty on vacationing in the great outdoors, don't just grab a new tent and hit the road. Take time for a test run at home so you can set up your tent smoothly. This way you avoid problems if you're pitching it after sundown or in bad weather.
Make sure your tent comes with everything you need. Study your tent's setup to consider extra gear that might be helpful, such as a small rug for shoes, a lantern that can hang from a ceiling loop or a flashlight that can fit into side pockets.
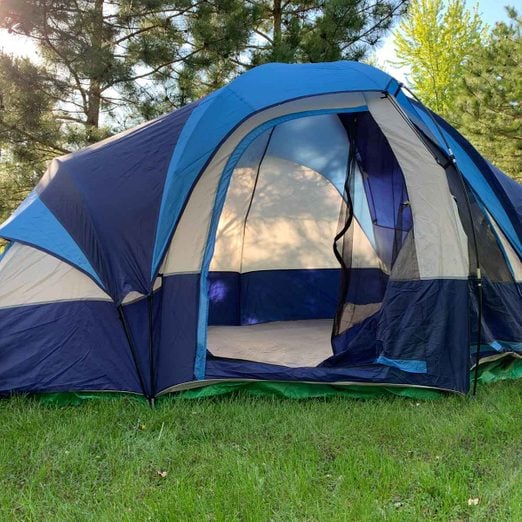
Whether you need a tent that's light and compact for backpacking or sturdy and spacious enough for your family to stand upright while car camping, here are the basic steps to setting up your tent. For reference, we used a two-room tent designed for four adults or two adults and three young children. Setting up with a partner is easiest, but not necessary.
Tools Required
- Rubber mallet (optional)
Materials Required
- Stakes
- Tarp or footprint
- Tent
Project step-by-step (6)
Lay the Base
- Gather your tent, poles, rainfly and footprint or tarp.
- Choose a spot to set up your tent — as clear, level and flat as possible.
- Your campground campsite may have a designated tent pad.
- Remove any sticks, pine cones, stones or debris on the ground where you will set up your tent.
- Decide which way you want to orient your tent.
- Take advantage of natural windbreaks and shade, for a peaceful night and to avoid waking to the hot sun beating down on your tent. Consider wind direction, too, to ensure it doesn’t blow right into the door.
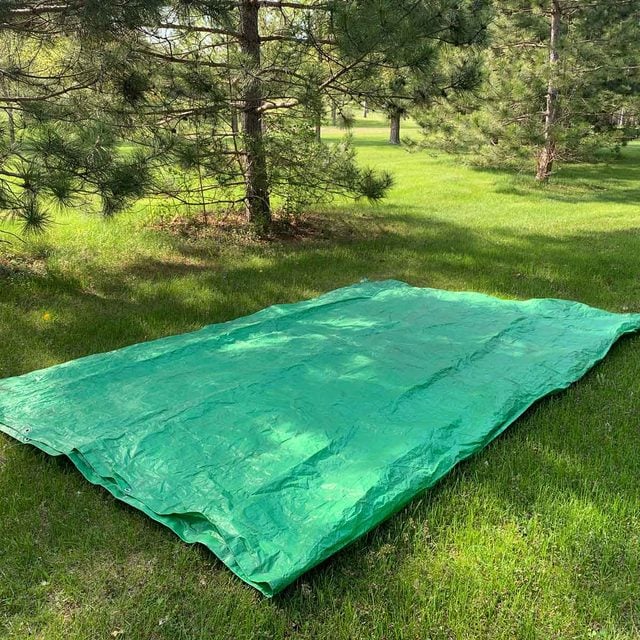
- Lay down the footprint or tarp.
- It may be wider or longer than your tent, but excess material can be folded under after setup.
Spread Out and Stake Your Tent
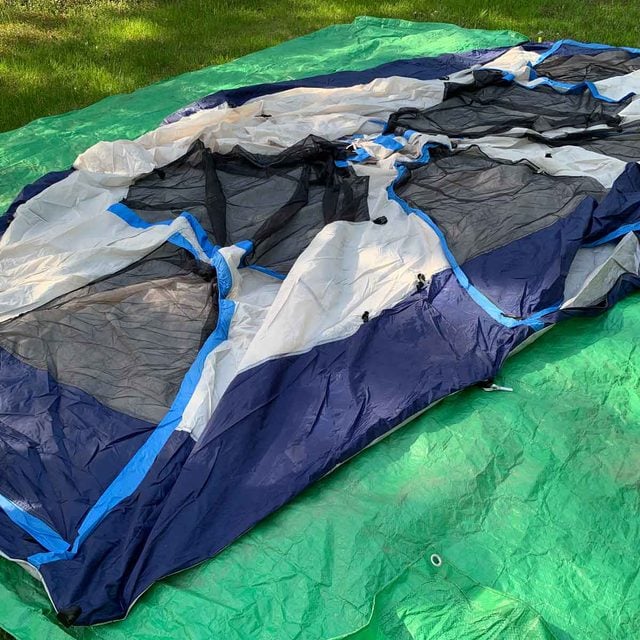
- With two people, stretch the tent base across the footprint or tarp.
- Pull the tent tight and stake two opposite corners, to firm up the floor of your tent.
- Drive stakes straight into the ground, hook facing out, and pound it completely down.
- If the stakes don’t push into the soil easily, use a rubber mallet, the sole of your boot, the flat side of a log or the dull edge of a camping hatchet.
- Pull out the remaining corners and stake them, as well.
Pro tip: Pack a few extra stakes in case one breaks or you lose some.
Add the Poles
- Unfold pole segments, which are typically connected by a bungee cord and easy to click together.
- Insert the longest (or main) poles into the sleeves on the outside of the tent.
- Typically these will cross at the tent’s peak, though tent styles vary.
- Slide them carefully so nothing snags.
- Repeat with any additional poles.
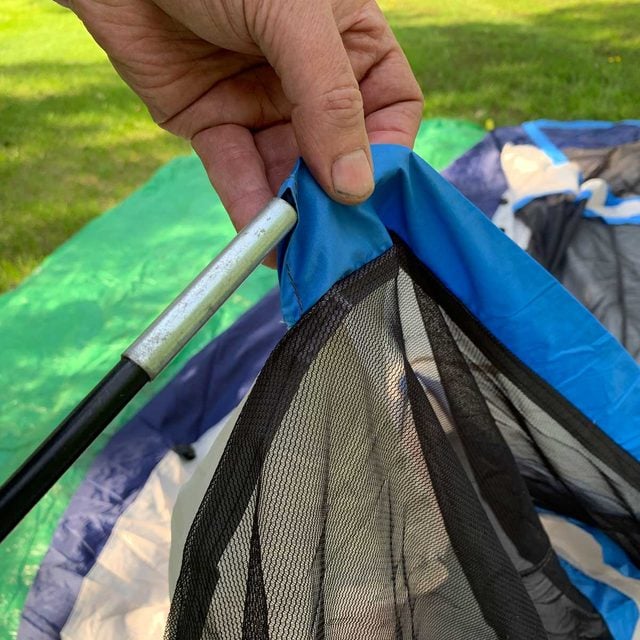
Raise the Tent
- Begin elevating the tent by slowly raising one of the main tent poles. Each end of the pole should fit onto a fastener or pocket along the exterior of your tent, near the ground.
- Repeat with the cross pole, then the additional support poles until the tent is fully popped up and accessible.
- Check for any additional fasteners or clips alongside the poles that secure it to the outside of your tent.
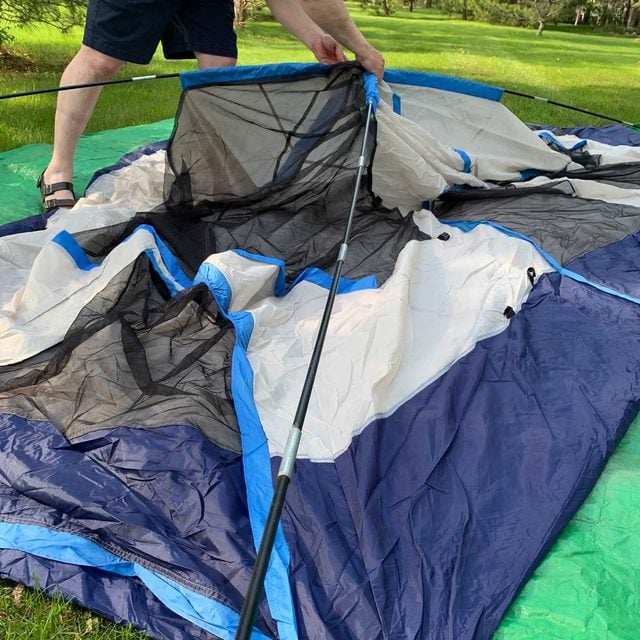
Add the Rainfly
- Drape the rainfly across the top of your tent.
- Like an umbrella, it helps divert rainwater from the ceiling of your tent and keep you dry even during lengthy showers or storms.
- If your fly also requires a pole, insert that first.
- Look for fasteners on the outside of the tent to hold the fly in place. They may be along or at the base of the main support poles.
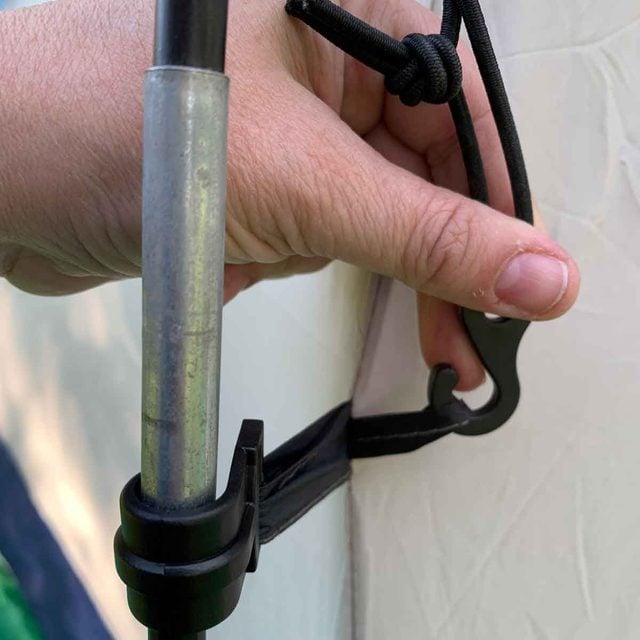
Add Final Stakes and Supports
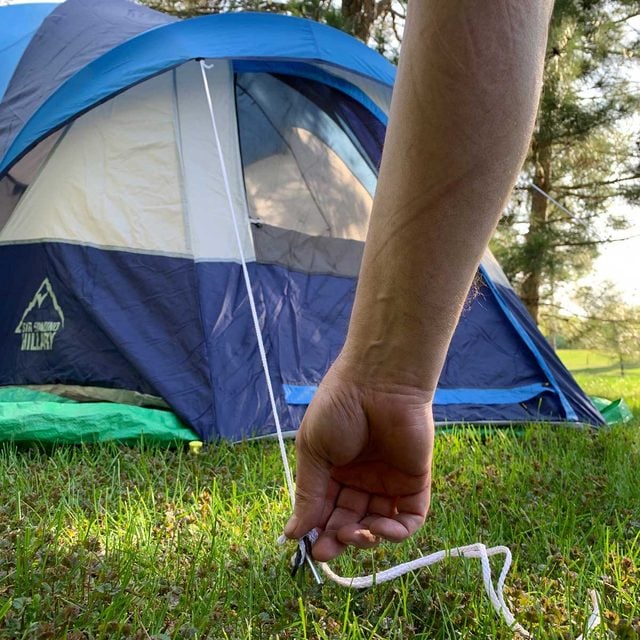
- Stake any remaining edges of your tent. Secure any ropes that may need staking to help keep the tent or rainfly taut.
- Consider campsite traffic flow when deciding exactly where to stake your fly, to avoid trips and falls.
