


How to Recess Hinges on a Door

Updated: Jul. 26, 2022
Learn how to mortise door hinges using a router.

An hour or less
Beginner
Varies
Introduction
Not all new doors come with hinges attached. Before you hang your new door, you may need to recess the hinge into the side of the door. Here is a simple step-by-step way to recess door hinges using a router.Tools Required
- Adjustable plunge router
- Door hinge template
- Hearing and eye protection
- Measuring tape
- Mortise bearing bit
- Quick-Grip clamps
- Self-centering drill bit
Materials Required
- Hinges
- New door
Project step-by-step (4)
Step 1
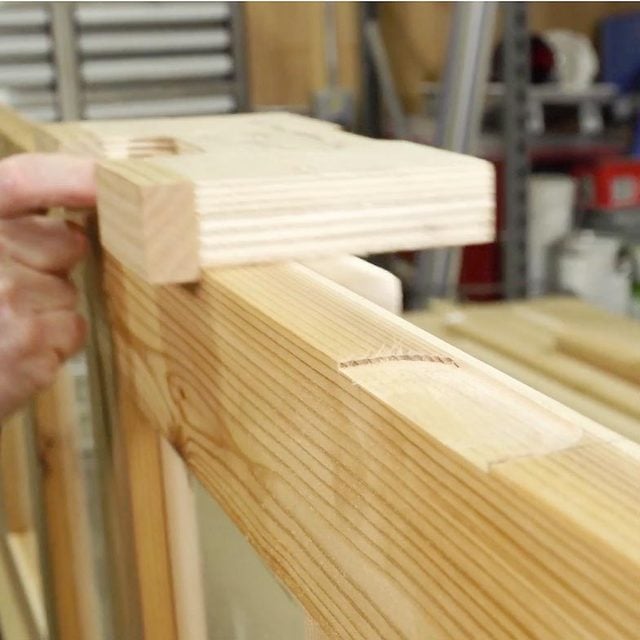
Door hinge template
- When recessing a hinge, there are a few ways to remove the material. One is with a wood chisel, which can be time-consuming and less accurate depending on your carving skills. The more efficient and precise way? Using a router with a flush-cut bearing bit and a door hinge template.
- Purchase a door hinge template or make your template to match the profile of the hinges you’re recessing. (See photo.)

Step 2
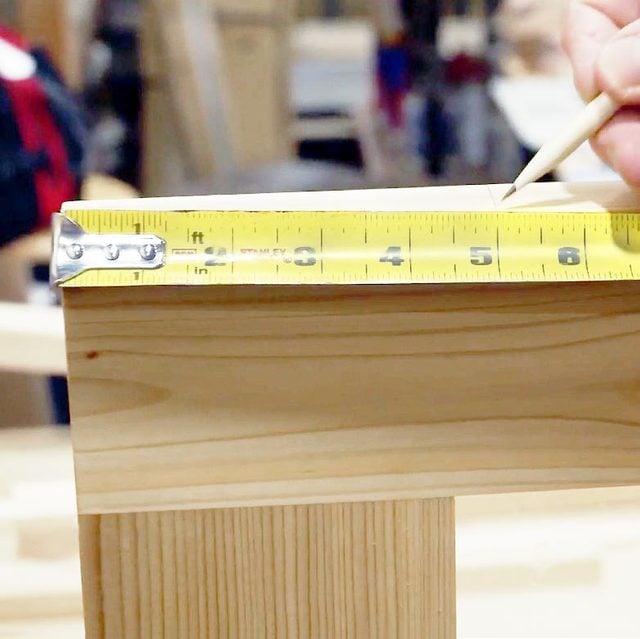
Hinge layout
- Most 80-in. doors need only three hinges. First, lay out your hinges five to eight inches from the top and bottom of the door and one directly in the center of the door. After you’ve made your marks, you’re ready to start routing.
Step 3
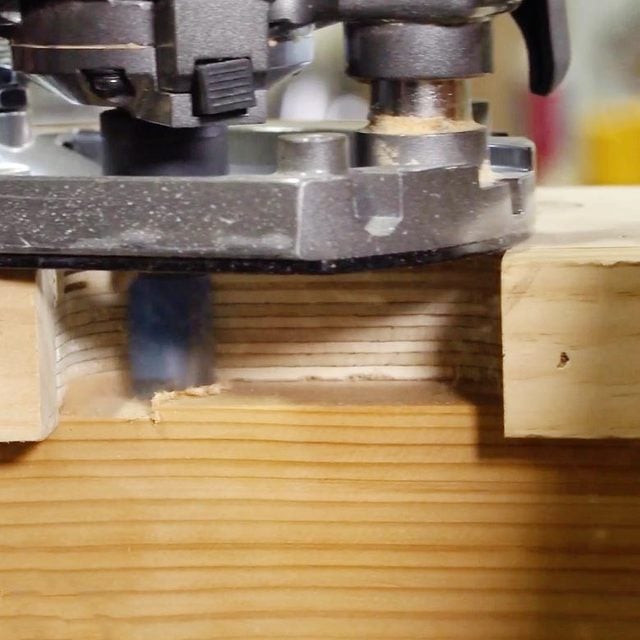
Time to rout
- Before you start routing, set the depth of your router bit. To do so, measure the thickness of your router template plus the thickness of your hinge plate. It’s always a good idea to test the depth of the bit on a piece of scrap wood.
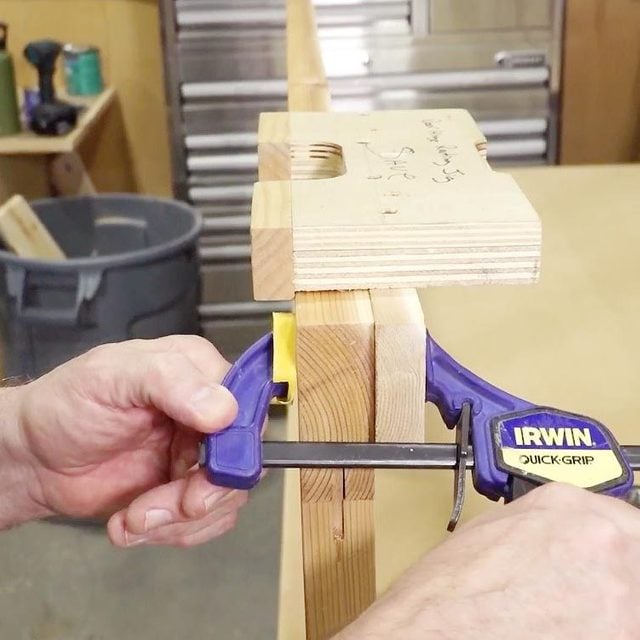
- Place the router template on the side of the door and line it up with your mark. Secure it in place with a clamp or two.
- Since the router bit is turning clockwise, always move the router in the same direction as the bit.
- Once you’ve finished routing, release the clamp and move on to the next hinge recess.
Step 4
Attaching hinges
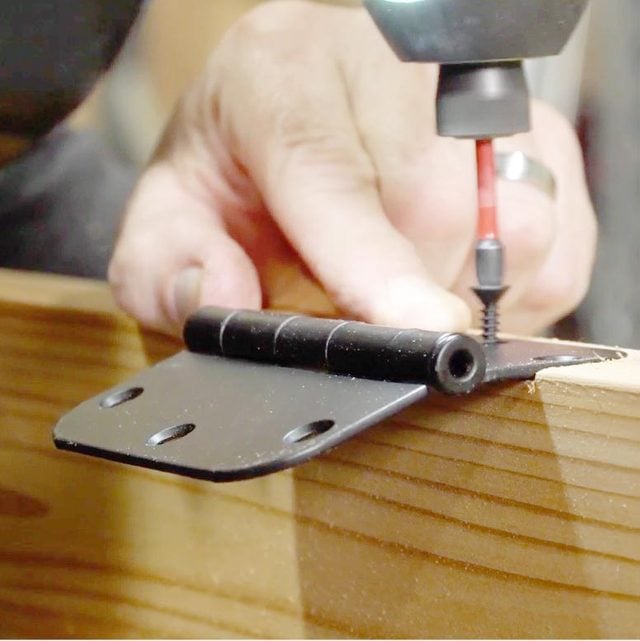
- A few tips when attaching hinges: Place the hinge into the recess you routed. Make pencil marks in the center of each screw hole, then drill the holes for the hinge screws. Better yet, get yourself a self-centering drill bit for this.
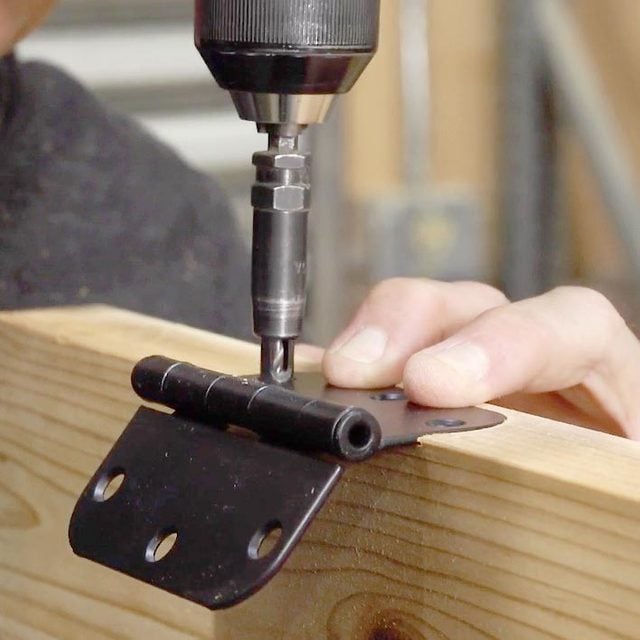
- When securing the hinges with the screws, be careful not to over-tighten them or you may strip them out.
Originally Published: July 26, 2022