


Achieve this durable and timeless finish yourself.
Two days
Beginner
$350
Introduction
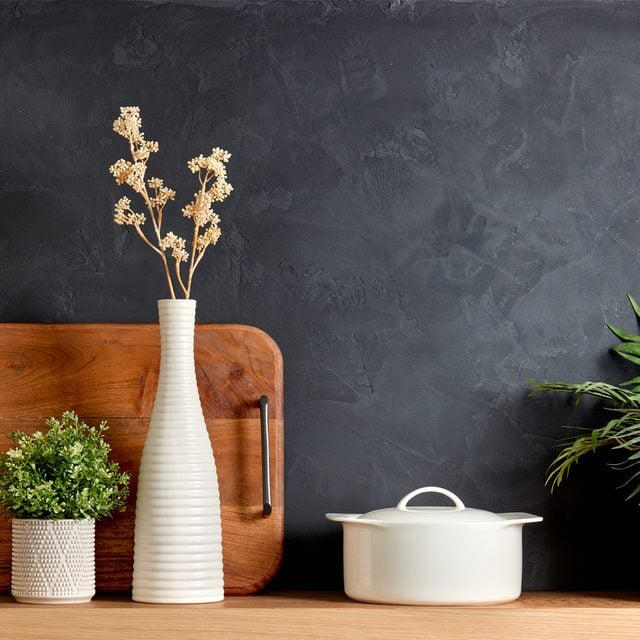
Venetian plaster, a beautiful and durable texture that mimics natural stone, is believed to date back to fourth-century Rome. Creating it is a skill that takes years to master; however, there’s room for artistic license. Modern tools and materials put the technique within the grasp of a DIYer.
Venetian plaster is a great choice for a kitchen backsplash. It may seem difficult to clean. But when the texture is burnished and sealed, cleaning it is no more difficult than cleaning grouted tile. Of all the projects the Family Handyman team completed in our kitchen remodel, this Venetian plaster wall is the most friendly to beginning DIYers and had a huge impact on the overall look.
This was my first try at a plaster wall, and I’m not even very good at finishing drywall. But with guidance from PlasterCenter’s Drew Beninati and a little practice, I felt confident enough to tackle it. After you read this, I hope you will too!

Watch How To Apply Real Venetian Plaster Like a Pro
Tools Required
- 10-in. taping knife
- 3-in. taping knife
- 6-in. taping knife
- 9-in. paint roller
- Basic hand tools
- Drill/driver
- Mud pan
- Putty knife
- Sponge
- Venetian plaster trowel
About the Expert
Drew Beninati owns and operates the PlasterCenter in Minneapolis, MN. He has been a plaster contractor for 40 years and has run his training center for 20 years. Learn more at plastercenter.com.
Project step-by-step (7)
Step 1
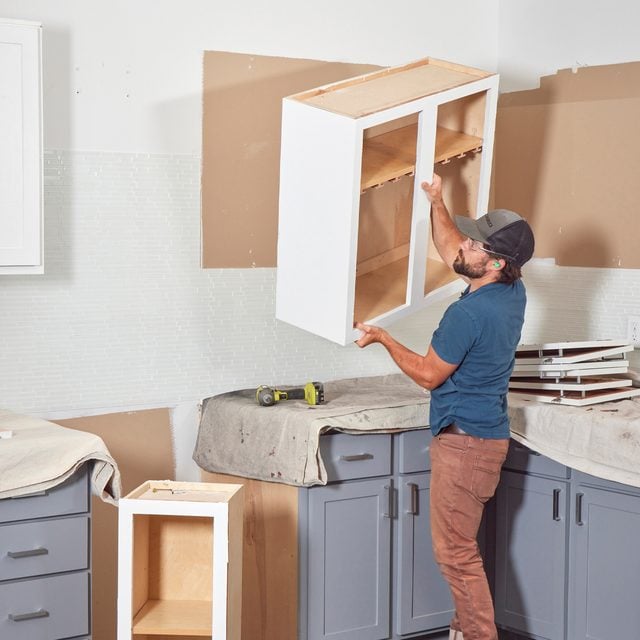
Remove Cabinets
The kitchen wall we chose to plaster had a few cabinets we planned to replace with open shelving, so our first step was to tear them out. If you’re plastering a wall that holds cabinets you plan to keep, you can plaster right up to them.
Step 2
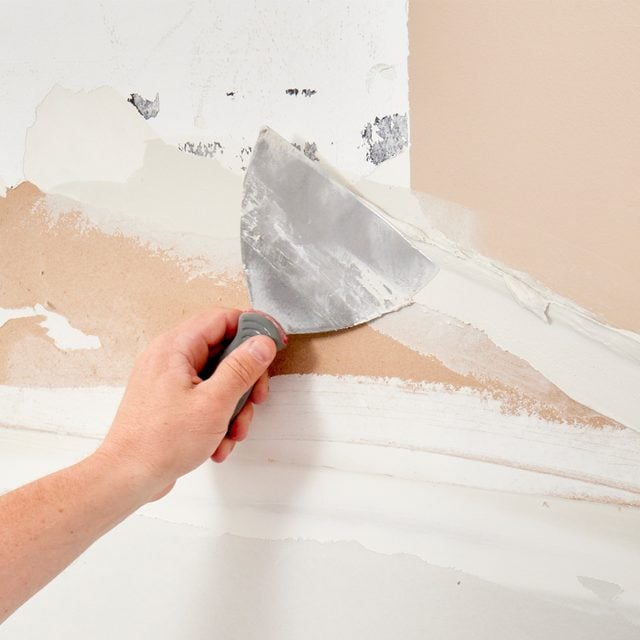
Repair Wall Damage
It’s best to start a plastering job with a smooth wall. Removing the cabinets damaged our drywall in some areas.
While we were removing the glass tile backsplash, chipping it away a tile at a time, we decided it was safer and easier to remove the backsplash as a unit by cutting out the drywall it was attached to. Then we patched in the new drywall, smoothed it out with a few coats of joint compound and repaired all the dents with surfacing compound.
Step 3
Prime the Wall
After sanding the repaired wall smooth, we sealed it with a special primer that has “tooth” to hold plaster, which is thicker and heavier than paint.
Texturline Sharktooth Primer rolls on just like any other primer but dries with a grittier surface — key to creating a good bond for the plaster. Let the primer dry for three to four hours. Try this primer for similar results.

Step 4
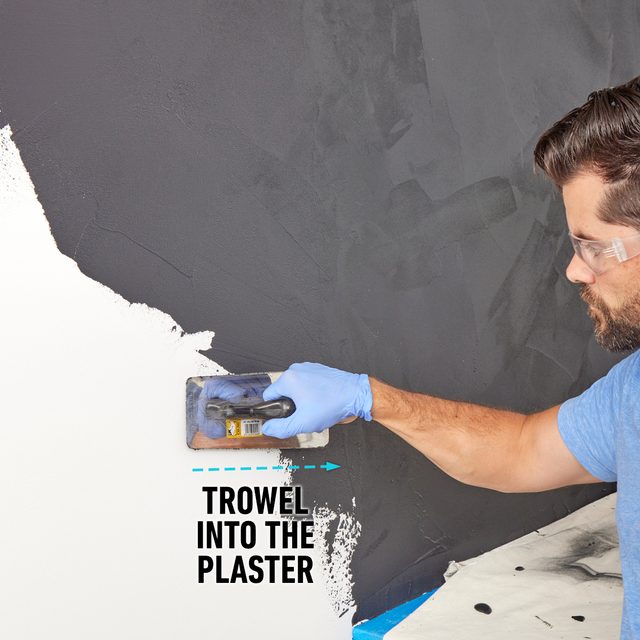
Trowel on the First Coat
Apply the first coat evenly across the entire wall. Use a 3-in. taping or similar knife to scoop the plaster onto your trowel. Then start from one end and work your way across the wall, applying a thin coat, troweling the plaster in different directions, then smoothing it out.
To avoid trowel marks in smoothed plaster, spread the plaster from the bare wall into your previous strokes. Use a good quality trowel for best results. If you’re going for lots of texture, make many small strokes; make longer strokes for larger smooth areas.
We visited a specialized retailer who mixed the exact color we wanted, but some online retailers offer pre-mixed plaster.
Step 5
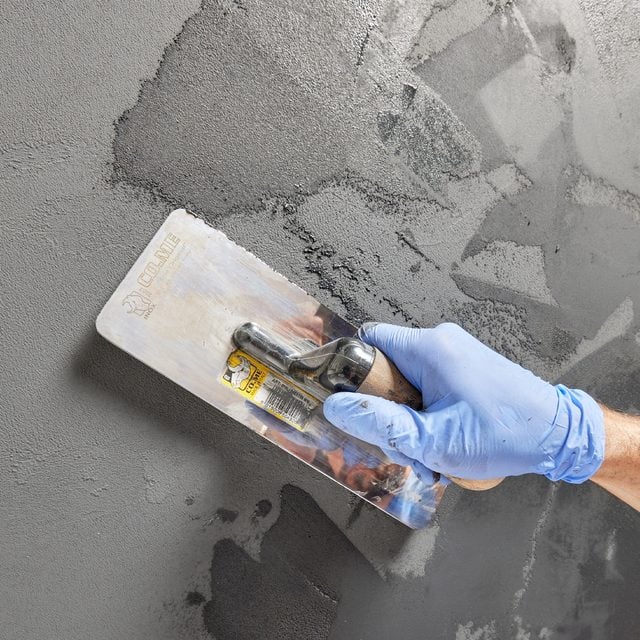
Skip-Trowel the Second Coat
The second coat is lighter than the first and meant to smooth out the ridges created by the first coat.
I started on the opposite side of the wall and worked my way across. I put plaster on my trowel, applied it to the wall and smoothed it out toward the previous strokes. I intentionally left some areas uncovered, letting the first coat show through in small patches.
Step 6
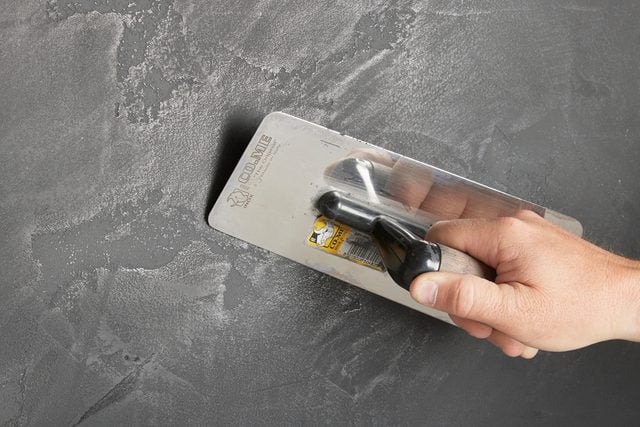
Burnish the Plaster
Before the second coat dried completely, I burnished the entire wall with a clean trowel. Starting on the same side of the wall as the second coat, I slid the trowel across the plaster, holding the trowel at an angle and using moderate pressure.
Burnishing closes the pores of the plaster, creating a smooth and more water-resistant surface. The technique also gives Venetian plaster its unique shine. Burnishing makes the texture created by the first coat come alive.
Step 7
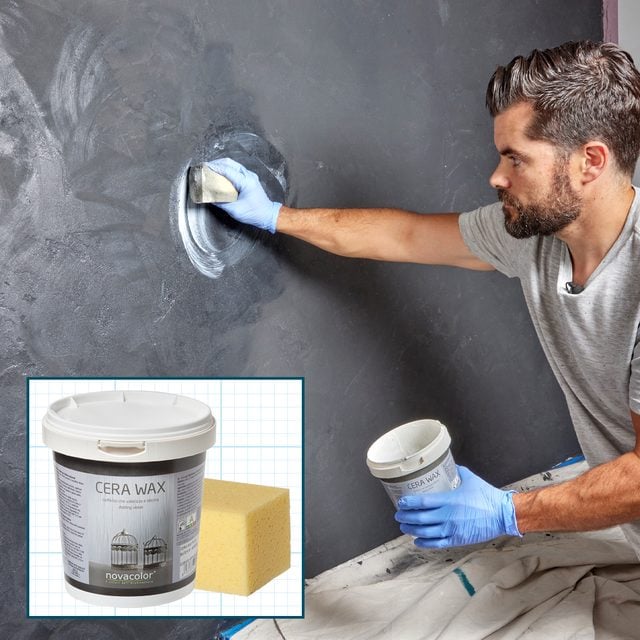
Wax the Plaster
After the second coat, wait 48 hours to let the plaster dry completely, then apply the protective wax. I used Cera Wax to brighten up the wall, protect it from moisture and make it soft to the touch. Here’s a similar product you can use.
I applied this liquid to the wall with a sponge in a circular motion. Apply two or three thin coats to complete the wall.
Originally Published: August 31, 2022