
How to Hang Pictures on Plaster Walls

Updated: Oct. 19, 2023
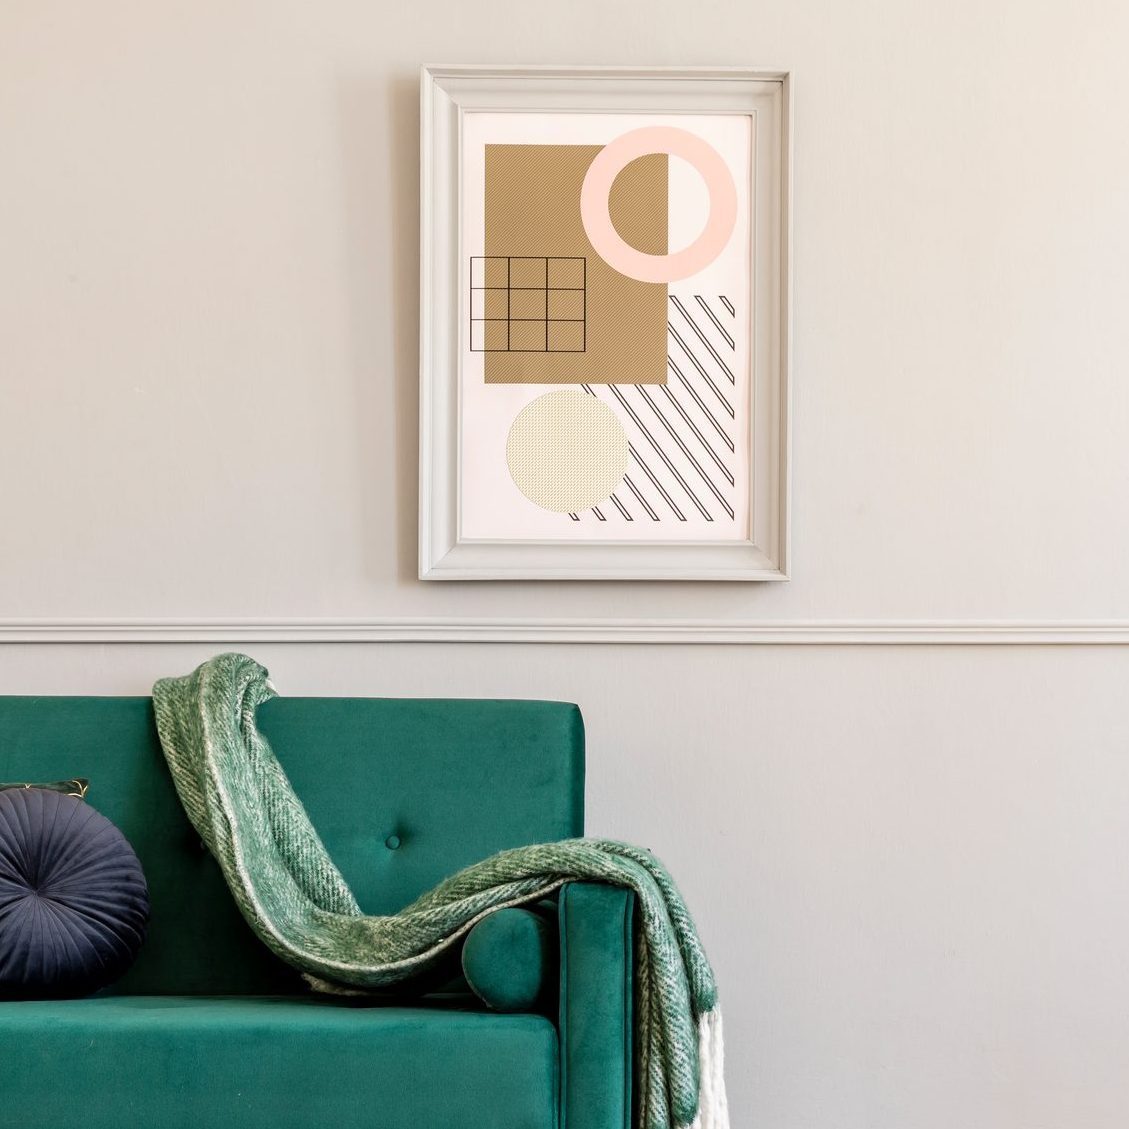
A plaster wall can easily be adorned with pictures using this approach.
15 minutes
Beginner
$10-$20
Introduction
I adore old homes with their beautiful rosette casings in window molding, detailed doorways and hardwood floors. But the plaster walls in many of these homes can be a source of stress.
Because plaster is harder and thicker than drywall, hanging pictures involve a bit more thought. Plaster walls feature thin strips of wood called lath, which are attached to the studs. Plaster is then mixed, applied to the lath and pressed between the strips to form keys. Then it's layered until it forms a thick, smooth wall.
The keys keep the plaster in place. While plaster is sturdy, hammering a nail into it can break those keys and separate the plaster from the lath. This would eventually cause the plaster to crumble and crack.
Luckily, there are ways to care for your plaster and still hang that picture of your Great Aunt Charlene.
Tools Required
- Bathroom scale
- Hammer
- Level
Materials Required
- Appropriate picture hook
- Painter's tape
- Sticky notes
Project step-by-step (6)
Use a stud
In both plaster and drywall, hanging heavy pictures on the studs are best for stability and long-term support. But if the perfect location doesn’t have a stud, there are other ways to safely hang pictures.
Use plaster hooks when hanging anything lighter than 30 pounds. To avoid bothering the plaster at all, go with adhesive hooks and strips for pictures less than 16 pounds.
For heavier pictures, anchors rated for plaster and gallery systems work best. That’s because, once installed, most use the plaster and lath’s strength to secure itself.
Weigh the picture
To determine the right fixture, weigh your picture.
Pull out your bathroom scale, stand on it and take note of your weight. Step off, grab the picture and get back on. Take the new total and subtract your weight. That gives you the weight of the picture.

Hanging methods
Adhesive strips or hooks
For frames weighing less than 16 pounds, it’s probably best to hang pictures without nails. By using adhesive strips or hooks, pictures can be attached without cracking the plaster. These also doesn’t leave marks, so it’s ideal for renters.
Steel picture hooks
For frames less than 30 pounds, use a picture hook with shock absorbing nail heads. This type employs a hardened steel nail that won’t bend, plus a shock absorbing head that helps prevent cracking the plaster. It’s important to be gentle. Tap, rather than hammer, the nail into the wall.
Picture hooks also work well, because the nail goes in at an angle that distributes the weight of the picture.
Pro tip: Place painter’s tape where you’re going to tap the nail as an extra precaution to keep the plaster from crumbling. Once the hook is in place, pull the tape off.
Gallery system
A gallery system involves securing a rail to the wall that connects to hanging wires. Pictures are then connected to these wires with hooks.
Gallery systems distribute the weight of the picture across the rail. It also minimizes the holes put into the walls, and you can swap out pictures and locations as much as you want.
The rail can also be disguised as molding to hold heavier pictures and cherish art. This is a great system for people who want to rent out their homes but dread fixing holes and broken plaster.

Mark the spot
Once you’ve purchased the proper hook, anchor or gallery system, it’s time to mark the spot.
Hang the picture about 57 to 62 inches from the floor, or at around eye level. Have a partner hold the picture where you want it and stand back to get a feel for the positioning. Adjust it to your liking, then place the corner of a sticky note to the top center of the frame. If you’re using a centered saw-toothed hanger, you’re done and ready for the next step.
There are various ways to install gallery rails. Most of the time, they’re screwed into studs close to the ceiling. Follow the manufacturer’s instructions.
Tap in nail
Place painter’s tape on the spot where you’re putting the nail. Take the nail and thread it through the hook at an angle. Gently tap the nail into place.
Hang picture
Depending on the hanger, hooks can appear to push the top of the frame away from the wall. To help even out the frame, add picture frame bumpers to the back lower corners of the frame. Once it’s hung, place a laser or bubble level on top of the frame to make sure it’s straight.
Wonderful! Now the picture of your Great Aunt Charlene has a perfect spot on your plaster wall.

Originally Published: July 20, 2023