Decorate your space while leaving hole-free walls.
An hour or less
Beginner
Less than $20
Introduction
Here are a few ways to hang your favorite cool posters without making your parents nuts or losing your security deposit.Watch 6 Ways to Hang a Poster Without Damaging the Wall
Tools Required
- Bubble level
- Measuring tape
- Painter's tape
Materials Required
- 3M Command Velcro
- 3M Spring clips
- Mounting putty
- Nano tape
- Paper clips
- String
- Suction cups
Project step-by-step (7)
Step 1
Before You Start
- Visualize and plan where you want to hang the poster. Have a friend or family member hold it up so you can see what it looks like. Try a few different walls — your poster may look better on a wall opposite or adjacent to the window for better light.
- Clean the area where you’re hanging your poster. A microfiber cloth works well for this.
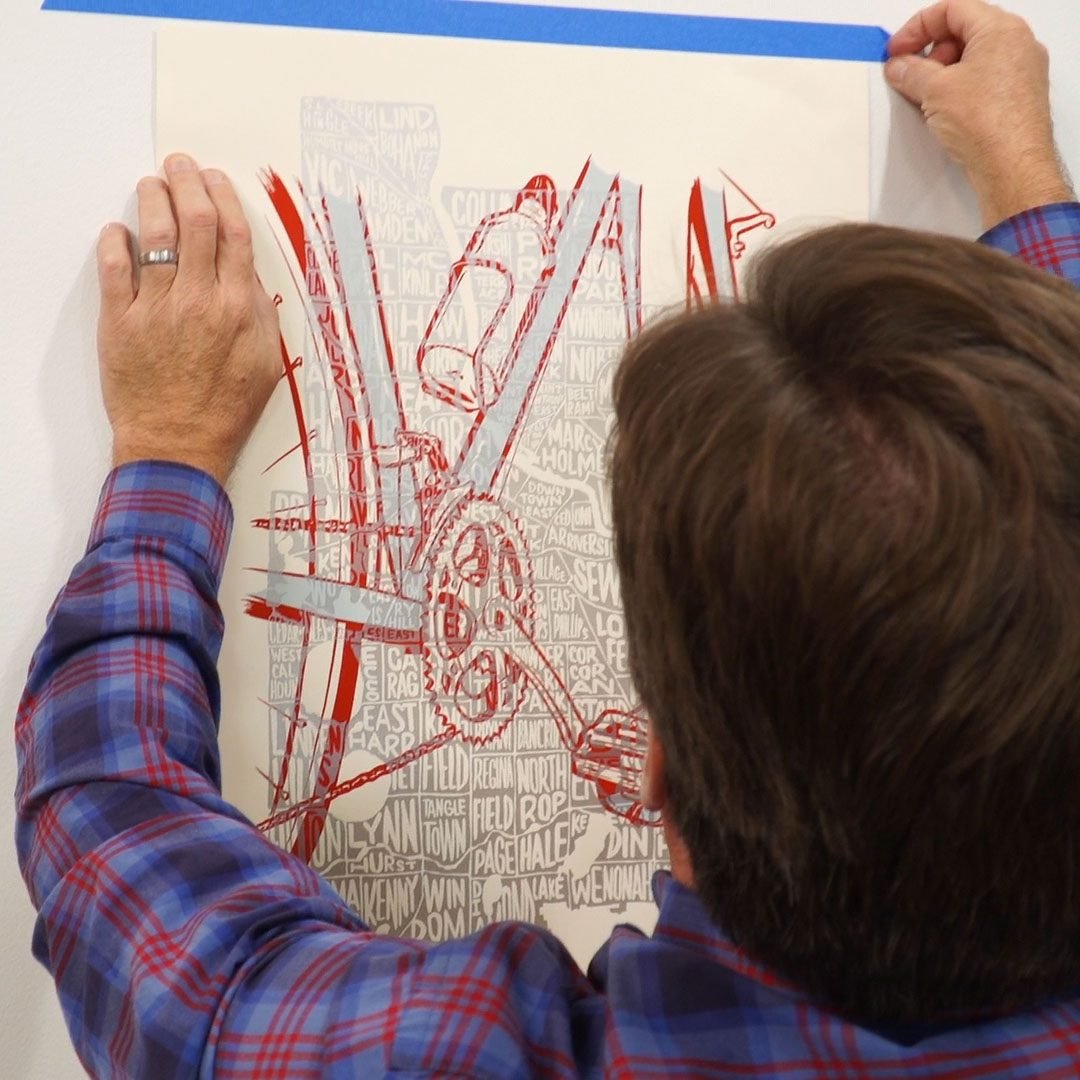
- Stick a piece of blue painter’s tape to the wall to mark where the top of your poster will land.
- Use a bubble level to ensure the tape looks good.


Step 2
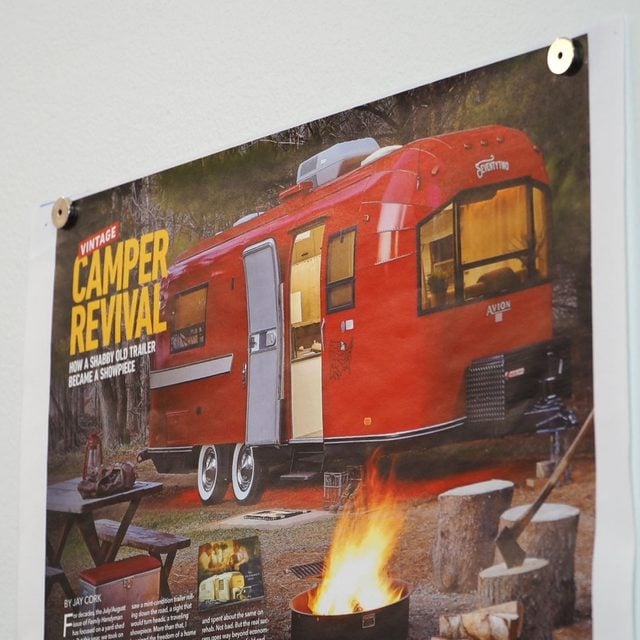
Loctite Fun-tak Mounting Putty
- Before applying Loctite Fun-tak Mounting Putty, make sure the surface is clean and dry and the paint fully cured.
- Stick a piece of blue painter’s tape to the wall to mark where the top of your poster will be. Level the tape with a bubble level.
- Pull or cut four, roughly one-inch pieces of putty. Knead them between your fingers into small balls so they’re soft like the consistency of chewing gum.
- Place your poster face down on a clean flat surface.
- Stick the putty balls in each corner of the back of your poster.
- First, stick the left corner to the wall just below the blue tape line. Then, while still holding a poster, stick the right corner.
- Pull down slightly on the corners of the poster and stick it to the wall one corner at a time, avoiding any ripples or creases in the poster.


Step 3
3M Spring Clips
- Before applying 3M Spring Clips make sure the surface is smooth, clean and dry, and the paint is fully cured.
- Stick a piece of blue painter’s tape to the wall to mark where the top of your poster will be. Level the tape with a bubble level.
- Attach two 3M Spring Clips to the top of your poster about one inch from each side.
- Peel the protective strip off the back of the clip.
- Stick the clips to the wall just below the blue tape line.
- If the bottom of the poster lifts, add two more clips to the bottom edge.


Step 4
Suction Cups, String & Paper Clips
- This is for hanging multiple pictures or posters at once.
- Before applying LEVERLOC Suction Cups make sure the surface is smooth, clean and dry, and the paint is fully cured.
- Stick a piece of blue painter’s tape to the wall to mark where the top of your poster will be. Level the tape with a bubble level.
- Lay all the posters next to each other on a flat surface and measure the width from the first one to the last.
- Cut a piece of string six inches longer than the width of your posters.
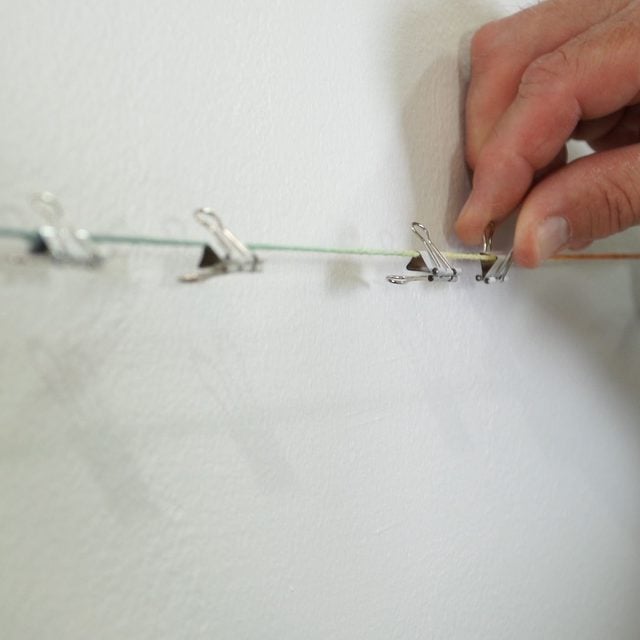
- Attach the piece of string to each suction cup.
- Attach two suction cups to the wall just below the blue tape line, keeping the string taut.
- Attach paper clips or clothespins to the string.
- Hang your poster or photos from the clips.
- Pro Tip: You can remove the suction cups using a hard plastic card.


Step 5
Paper Clips and Magnets
- Before taping the paper clips to the wall, make sure the surface is smooth, clean, and dry and the paint is fully cured.
- Stick a piece of blue painter’s tape to the wall to mark where the top of your poster will be. Level the tape with a bubble level.
- Measure your poster size.
- Tape two paper clips just below the blue tape line, two inches narrower than the poster measures, using blue painter’s tape.
- Hold your poster over the paper clips and place the magnets on the front of your poster, magnetically attaching to the paper clips.


Step 6
3M Command Velcro
- Before applying 3M Command Velcro make sure the surface is smooth, clean and dry, and the paint fully cured.
- Stick a piece of blue painter’s tape to the wall to mark where the top of your poster will be. Level the tape with a bubble level.
- Place your poster face down on a clean flat surface.
- Press four pairs of 3M Command Velcro strips together
- Peel the protective strip off and stick them in each corner of the back of your poster.
- First, stick the left corner to the wall just below the blue tape line. While still holding a poster, stick the right corner.
- Pull down slightly on the corners of the poster and stick it to the wall one corner at a time, avoiding any ripples or creases in the poster.

Step 7
Nano Tape
- This tape is great for heavier framed pictures.
- Stick a piece of blue painter’s tape to the wall to mark where the top of your poster will be. Level the tape with a bubble level.
- Place your picture frame faces down on a clean flat surface.
- Cut two six- to eight-inch pieces of Nano Tape and stick on the top and bottom of the back of your frame.
- Peel the protective strip off the two pieces of tape.
- Stick the top of the frame to the wall just below the blue tape line, then stink the bottom to the wall, pressing firmly on the frame.
- Pro tip: To remove the tape, slowly peel one corner then pulling it on an angle. Do not tear off the tape violently.


