Working With Metal-Clad (MC) Cable

Updated Oct. 20, 2023

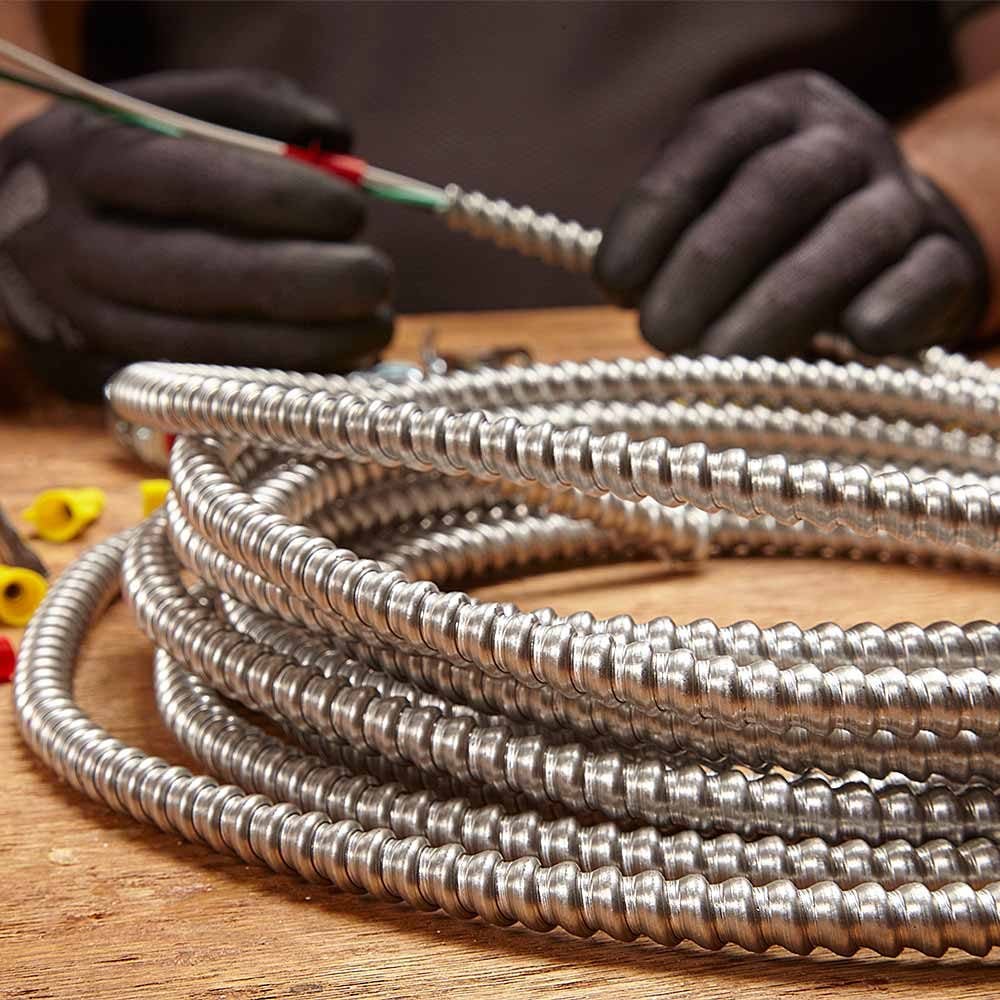
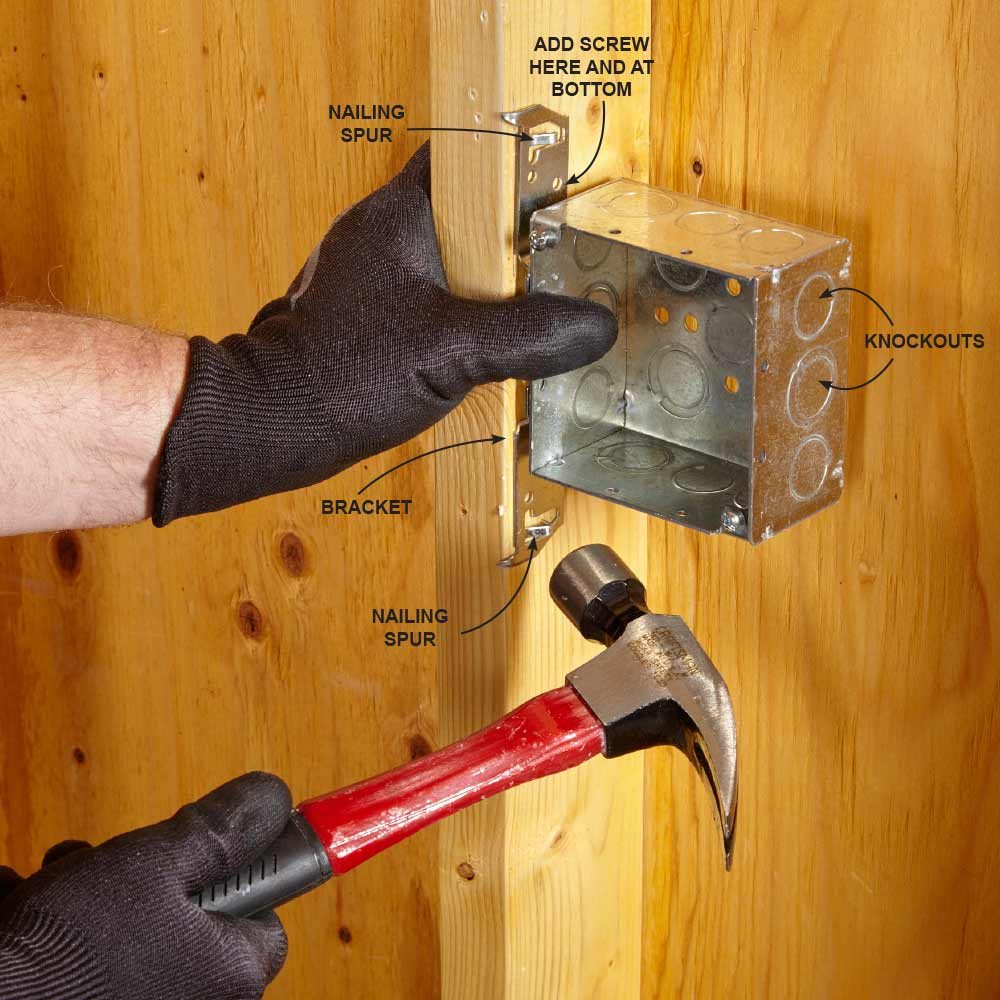
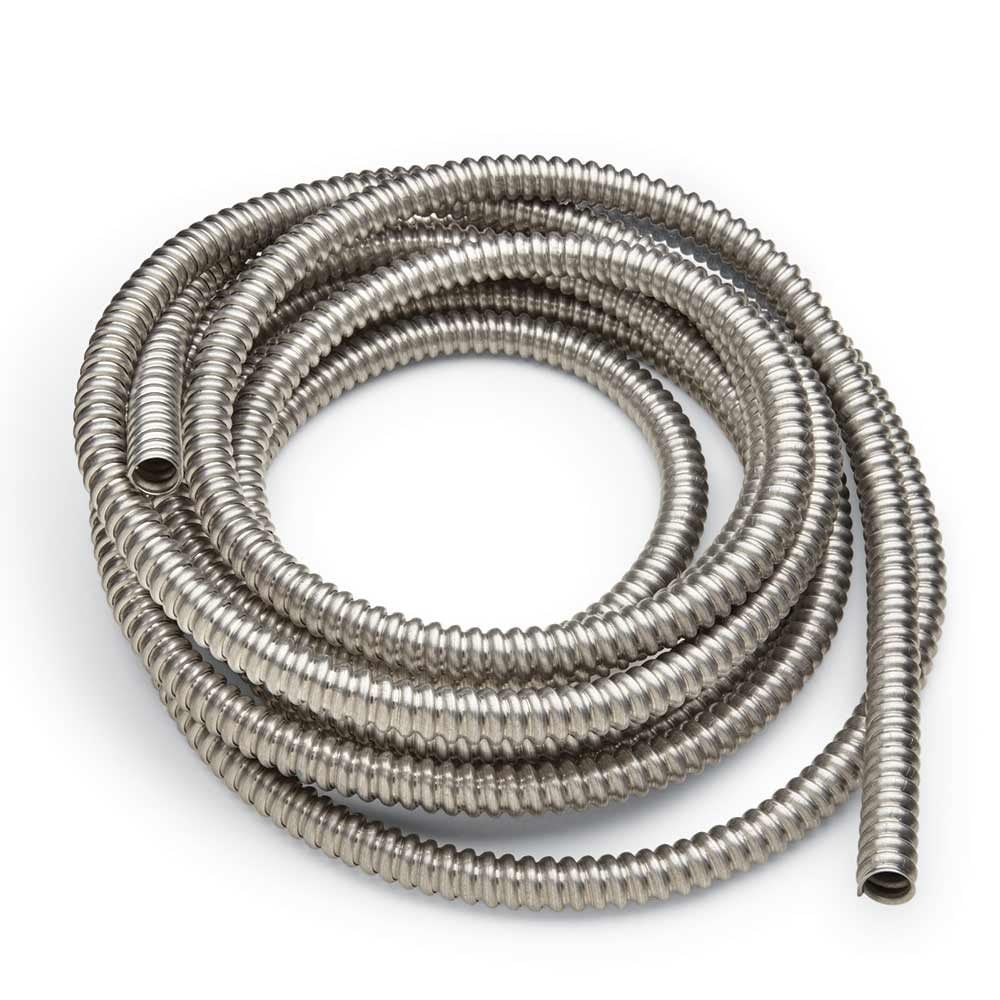
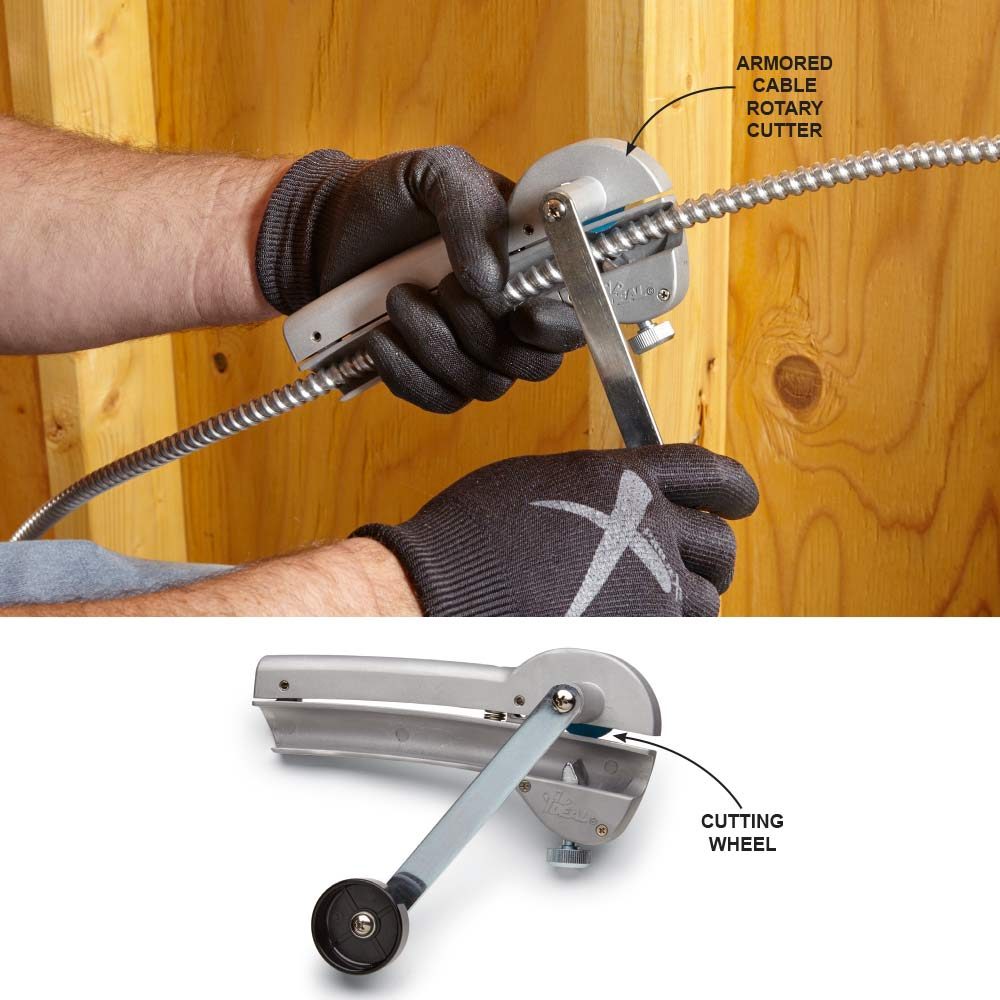
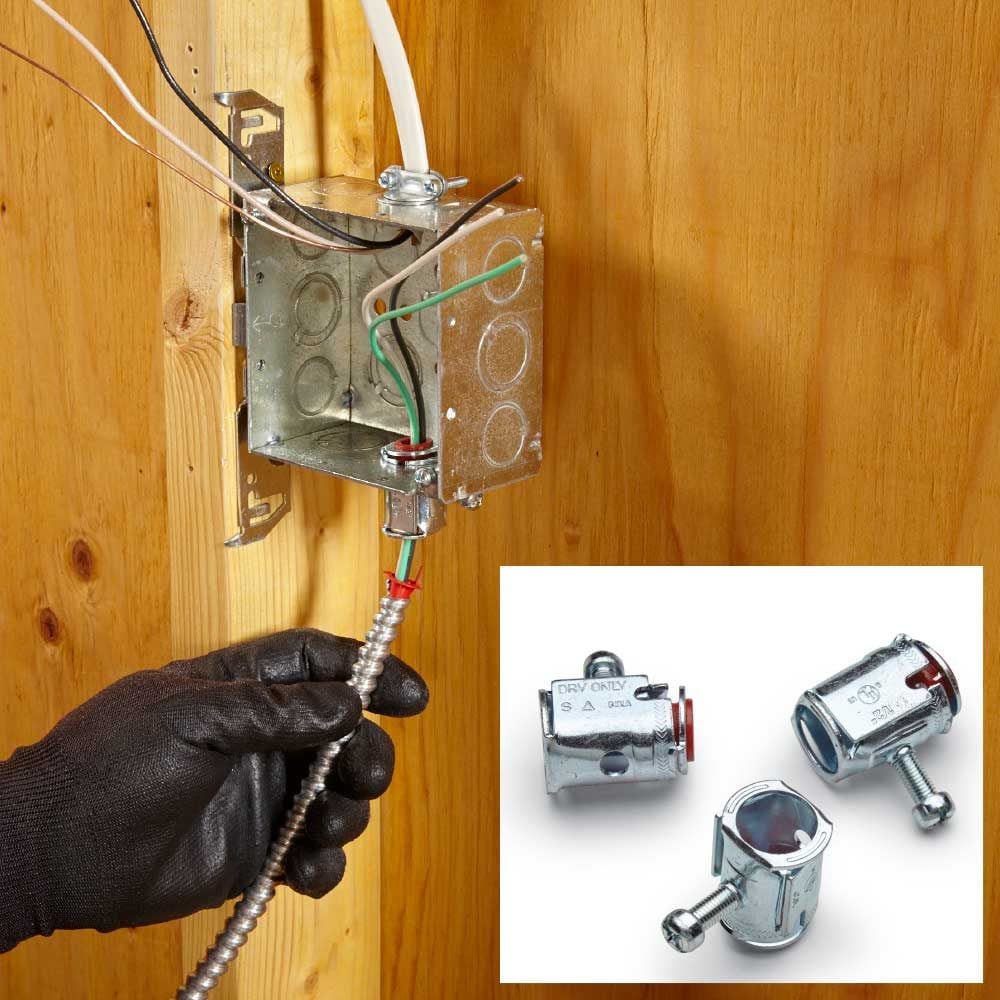
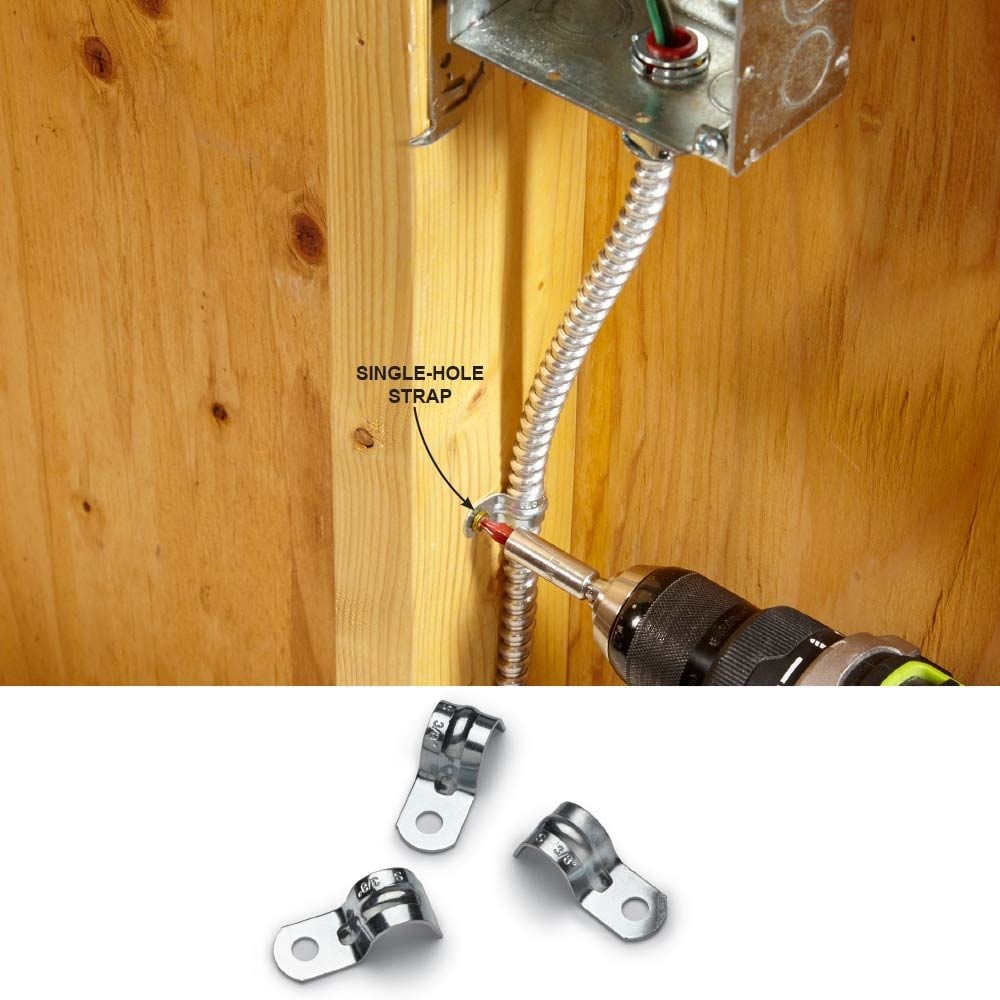
MC cable is easier to work with than rigid conduit and offers protection from fire, vibration, gnawing pests and physical harm in general. Learn more here.

Our editors and experts handpick every product we feature. We may earn a commission from your purchases.
Learn more.

Now Trending

1 / 12

a coil of metal clad cable on a table

What Is Metal-Clad Cable?

Metal-clad cable comes in several varieties, but the type you’ll find most commonly is three insulated wires (two circuit conductors and a green equipment grounding conductor) protected by a flexible armor usually made from aluminum. MC cable is identified by the gauge of the wire, not the diameter of the armor. The most common sizes of mc cabling are 14 gauge, 12 gauge, and 10 gauge.

2 / 12

nailing a box into a framing stud

MC Cable Is for Metal Boxes Only!

Plastic or fiberglass electrical boxes aren’t designed to be used with MC cable. Even if you’re able to rig up a connection to a plastic box, you will fail the electrical inspection. Make sure the metal box has knockout holes located where you need them, and don’t rely on the spurs on the bracket to hold the box in place—add a couple of screws as well.

3 / 12

coil of metal conduit

Use FMC for Multiple Circuits

Flexible metal conduit (FMC) is commonly called “Greenfield.” The main difference between MC cable and FMC is that FMC doesn’t have the insulated wires pre-installed; you have to pull them through instead. This requires more work but gives you the option of pulling, and protecting, more than one circuit in the same conduit. It also allows you to add wires in the future, something you can’t do with MC cable. FMC is identified by its diameter; the most common sizes are 1/2-in., 3/4-in. and 1-in.

4 / 12

Use ‘Liquid-Tight’ With MC Cable Outdoors

Install liquid-tight flexible conduit wherever the wiring will be subjected to wet conditions. Liquid-tight flexible conduit is water resistant and is available without the wires installed and in short lengths (whips) that come prewired. There are two common types: liquid-tight flexible metal conduit and liquid-tight flexible nonmetallic conduit. Ask an electrical inspector which type is approved for your project.

5 / 12

Bend and Cut MC Cable

If you just have one or two cuts to make and don’t want to invest in a cutting tool, bend the MC cable sharply until the armor pops open, and then use that opening to start the cut with a side/diagonal cutter. You only need to cut through one section in the armor. This method will leave a jagged edge that will need to be trimmed after the armor is separated and the cut ends of the MC cable will be sharp, so be sure to wear gloves.

6 / 12

A Rotary Cutter Works Best for MC Cable

Cutting the armor without damaging the wires is probably the trickiest part of working with MC cable. The best method is to use an armored cable rotary cutter. This tool uses a small cutting wheel powered by a hand crank and will cut only through the armor, leaving the wires undamaged every time. Apply firm pressure to the handle, but don’t squeeze too hard or the crank will be difficult to turn.

7 / 12

Install the Connector Into the Box First

You can attach a connector to MC cable, then join it to the box, but it’s easier to mount the connector on the box before feeding the wires through. Connectors like those shown above are popular with electricians because the one screw secures both the connector to the box and the MC cable to the connector. There should be a minimum of 6-8-in. of exposed wire inside the box.

8 / 12

Protect Conductors With Bushings

Plastic anti-short bushings protect the wires from being damaged by the sharp edge of the armor when the cable gets clamped down into a connector. And even if the connector you’re using has its own bushing, make sure to add a bushing like the one shown here. It’s a cheap and easy way to achieve an extra level of protection. Some manufacturers supply a bag of anti-short bushings when you buy the cable, or you can buy a pack for a couple of bucks.

9 / 12

Save Time With a Whip

Fixture, appliance, and air conditioner whips are short sections of cable or flexible conduit that have not only the wires installed, but the connectors as well. Whips cost a lot more per foot but are a huge time-saver because you don’t need to mess around with cutting the armor. Whips are usually available in 4-ft., 6-ft. and 8-ft. lengths.

10 / 12

Twist and Pull MC Cable

When removing a section of armor to expose the wires, twist the short end of cable counterclockwise as you pull the cable apart. If it feels like it’s taking too much pressure to separate, double-check that the cut went all the way through the armor. Don’t pull too hard or the armor could separate farther down the line. That’s a problem because damaged armor shouldn’t be installed, and you’d have to start over.

11 / 12

Ground the Box

Whether it’s the first box in a line or the only one on an entire circuit, every metal box needs to be grounded. Grounding a box is as simple as connecting the incoming and outgoing ground wires to a pigtail, and then connecting the pigtail to the box with a grounding screw.

12 / 12

Screw the Straps Around MC Cable

Single-hole straps make for easy and sturdy supports. Avoid connecting them with nails or you’ll risk smashing the MC cable with a hammer. Install a strap within 12-in. of each box. All subsequent straps need to be within 6-ft. of each other. When you’re routing electrical mc cable, be sure to avoid sharp bends that could damage the cable sheath or the conductors.