
How to Solder Wires

Updated: Sep. 13, 2023
Here's is how to solder wires to achieve a durable and long-lasting connection.
Less than 1 hour
Intermediate
Around $40
Introduction
Whether you're fixing an extension cord or repairing an aging lamp, knowing how to solder wires is a skill every DIYer should have.
Tools Required
- Heat gun
- Helping hands clamp
- Safety glasses
- Scissors
- Soldering gun
- Sponge
- Wire strippers
Materials Required
- Dielectric silicone paste
- Flux
- Heat shrinkable tubing
- Latex gloves
- Solder
- Tip thinner
Soldering electronics may sound intimidating, but it’s not as difficult as you may think.
Solder comes in many sizes and compositions depending on the application. For electrical purposes, electrical lead free solder or electrical lead solder would be appropriate; the choice comes down to personal preference.
Lead free solder is safer to work with and more environmentally friendly, but has a higher melting point so will take longer to heat up. Lead solder features a lower melting point, so it’s quicker to use and less challenging to work than lead free solder. However, it’s toxic and bad for the environment.
Many solders contain a rosin core, which aids in cleaning the wires you’re soldering and improves the integrity of the solder.
To create a strong solder connection, you need to prevent oxidation from occurring. Oxidation can negatively impact the conductivity and cause the solder joint to fail. To avoid this, use a rosin flux on the wire strands you solder together. Keep the tip of your soldering gun clean by wiping it with a damp sponge before and after every use. Applying a soldering tip tinner ensures it’s clean from impurities.
Here are some safety tips to keep in mind before you begin to solder:
- Always wear eye protection;
- Work in a well-ventilated space;
- Don’t wear loose clothing;
- Tie back long hair;
- Wear a long-sleeve cotton shirt;
- Wear close-toed shoes;
- Clear the area of anything flammable and use a nonflammable surface;
- Don’t lean directly over the solder as you work, to avoid breathing in fumes;
- Unplug your soldering gun when not in use.
Now we got the basics covered, let’s start soldering some wires!
Project step-by-step (9)
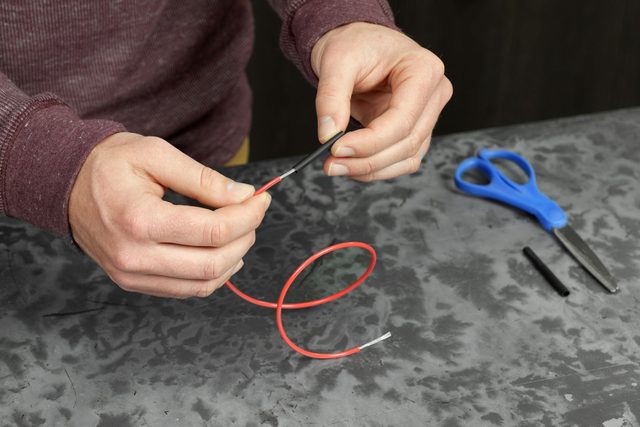
Strip wires
Strip the wires by removing approximately one inch of plastic sheathing from each end of the two wires, using a wire stripper. Make sure to not break strands from the wires you’re stripping.

Prepare heat shrink sleeves
Cut new heat shrink tube sleeve with scissors so it’s slightly longer than the open wires you will solder together. Slide sleeve over metal wire until it’s out of the way. Make sure the diameter of the sleeve is slightly larger than the original wire. Too large and it won’t shrink properly to the soldered wires.
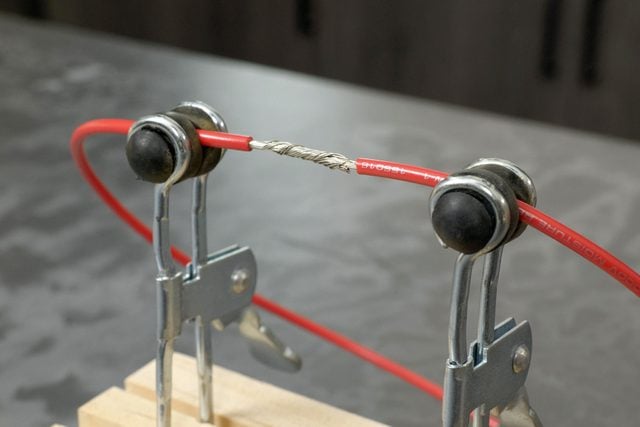
Connect wires
Connect the electrical wires by spreading and intermeshing wire ends together, then twisting until completely tight, with no strands are sticking up.
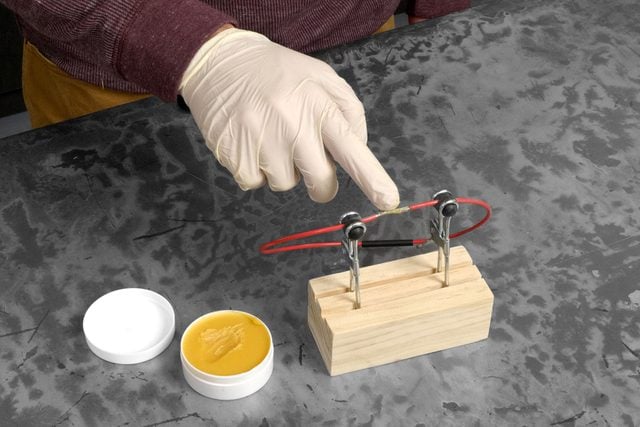
Apply rosin flux
Place wires into a helping hands clamp and cover completely with rosin flux, using a flux brush or your finger inside a disposable glove.
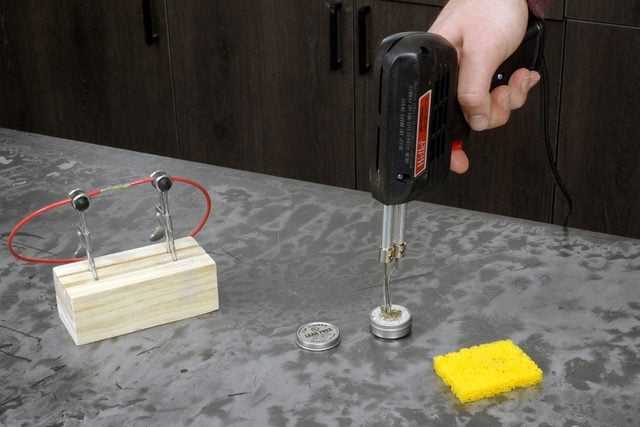
Tin solder gun
Dampen a sponge with water. Then heat up the soldering gun and wipe off the tip with the sponge. Apply tip tinner to prevent oxidation. Once the tip is bright and shiny, it’s ready for soldering.
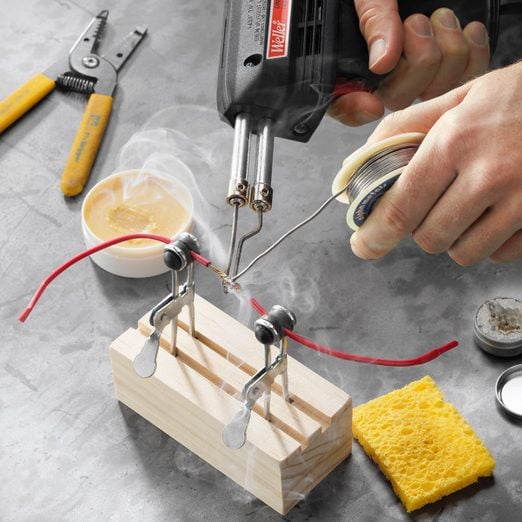
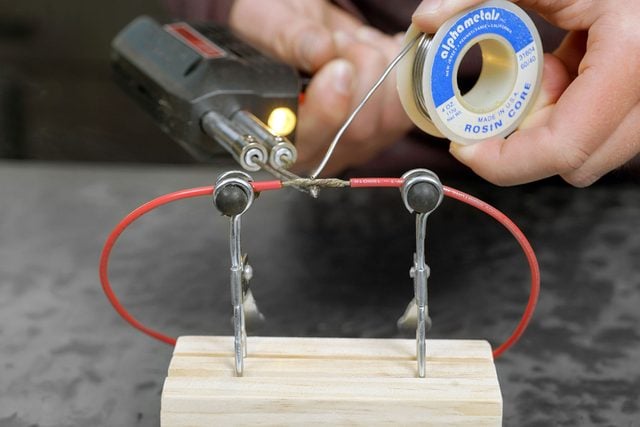
Solder wires
Begin heating the wires by placing the solder gun underneath them. Be patient; this will take time. Apply solder above wires so the solder is fed to the top and not the bottom. Allow solder to completely coat over the exposed wires, then remove heat and solder. Let the solder cool down without touching helping hands or wires.
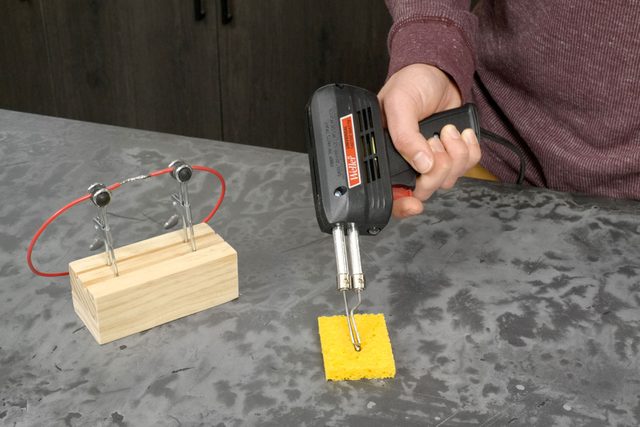
Clean tip
Wipe the soldering tip against the damp sponge.
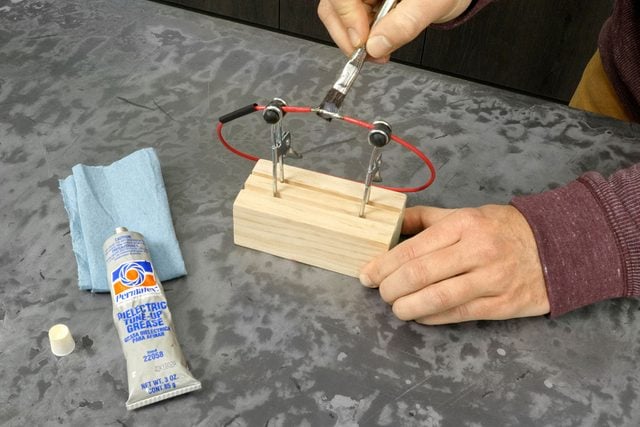
Add dielectric silicone
Apply dielectric silicone paste to the solder with a brush.
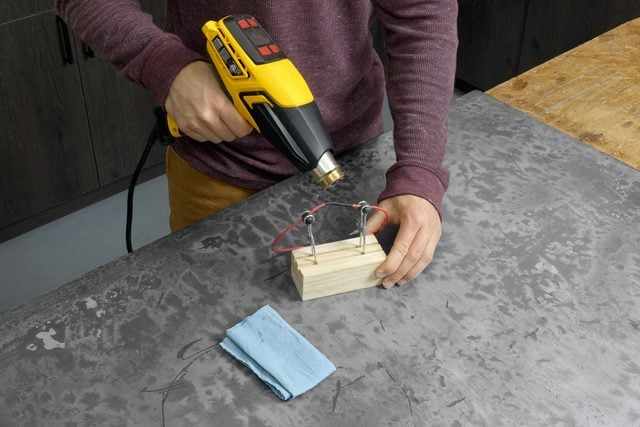
Heat shrink tube sleeve
Slide the heat shrink tube sleeve over the solder and begin heating the sleeve with a heat gun. Start at the center of the tube and work your way out slowly. Finish up by cleaning off excess dielectric paste.
Originally Published: September 13, 2023