


Whittling wood has been a hobby since there were sticks lying around and sharp things to shape them. Whittling has been passed down from one generation to another for millennia. And, the great thing about whittling wood is that there is very minimal investment and little skill required to start.
10 Tips to Start Whittling Wood Like an Expert

Updated Jun. 09, 2023
1
/
10
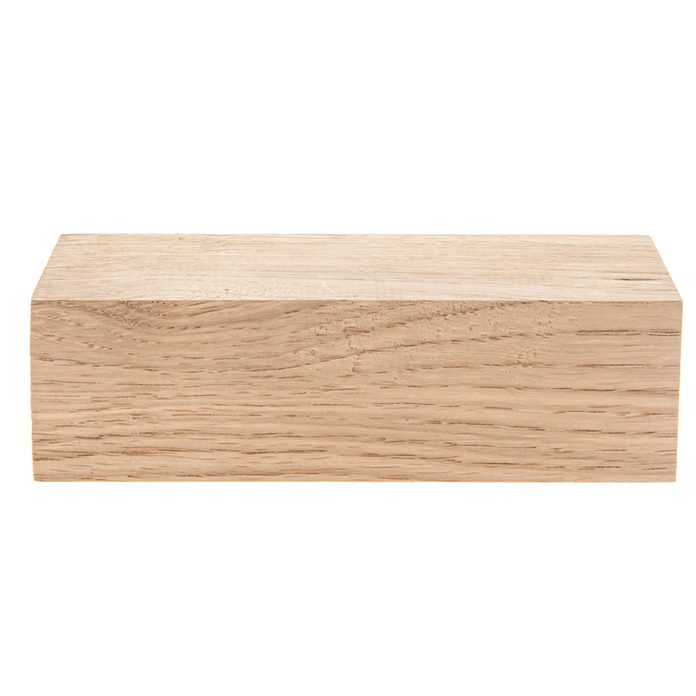
The Best Wood for Whittling
Almost any wood will work fine for whittling. If you’re anxious to get started, just find a stick or piece of wood and start slicing away. If you want to start with pre-cut wood, buy blocks and stick to softwoods. The hardness of wood is graded using the Janka Wood Hardness Scale, so you’ll want to look for something like basswood that’s near the bottom. Basswood is a common one for whittling, pine and cedar work too.
2
/
10

Whittling Knife
The simplest knife to use for whittling wood is a pocket knife. It’s easy to carry and has other functions, as well. Plus, unlike specialty knives, pocket knives can be found almost anywhere. Pocket knives with several different blades can give you variety in your cuts. Browse the best whittling knives for every budget, need and experience level.
3
/
10
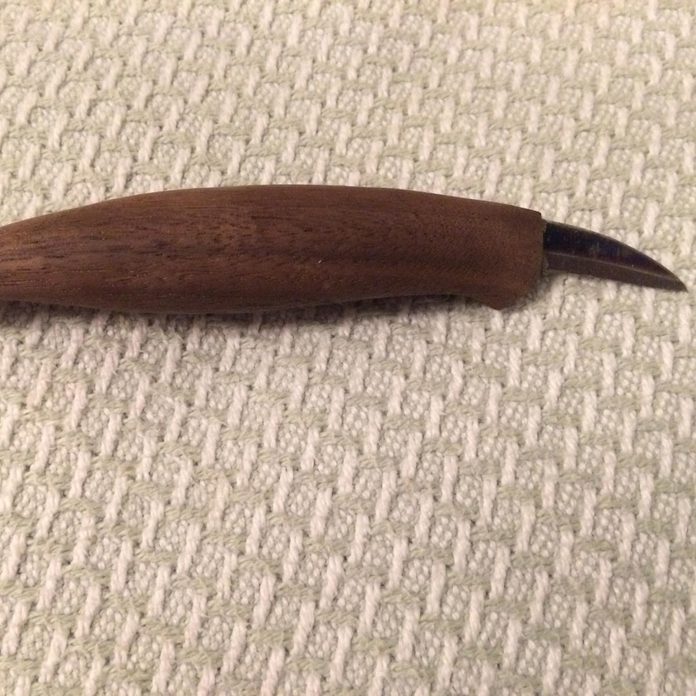
A Serious Carving Knife
A serious, yet inexpensive, carving knives have a larger handle for more control and usually stay sharper longer than your average pocket knife. They also are, generally, easier to sharpen and are better at detailed work, like feathers and beaks. Just be careful because these are fixed blades. You may want to consider putting an old wine cork on the end as protection.
4
/
10
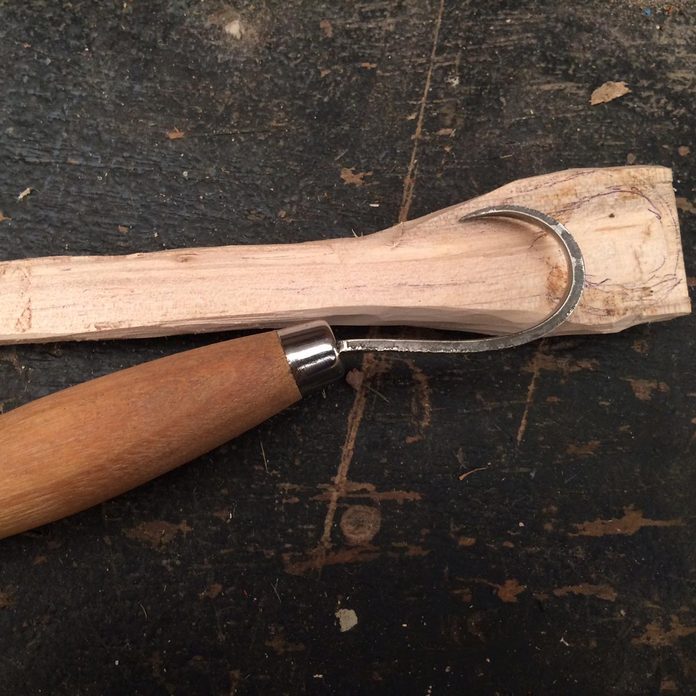
Specialty Carving Knives
As with any hobby, whittling wood can come with an array of accouterments. A knife with a curved blade, like the one above, is useful when carving spoons. The curved blade helps cut the bowl of spoons and ladles. It is harder to sharpen then straight knives but makes short work of curved cuts.
5
/
10
Whittle with a Dull Knife
An old axiom when using any blade is a dull blade will cut quicker than a sharp one. The thought is counter-intuitive at first, but is related to the force needed to make the cut. The harder you have to push or pull to remove the excess wood the greater the force the blade may hit you with if it slips. When you notice the cut getting harder, stop and sharpen the blade.
6
/
10
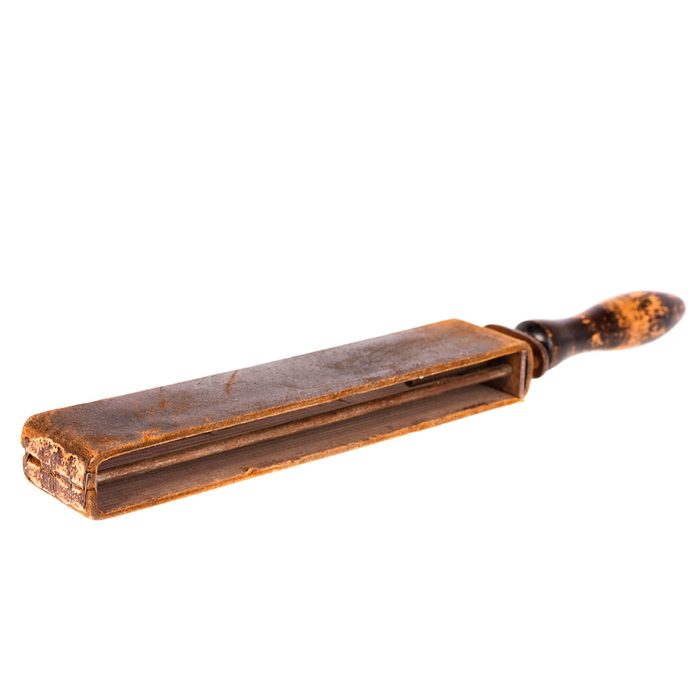
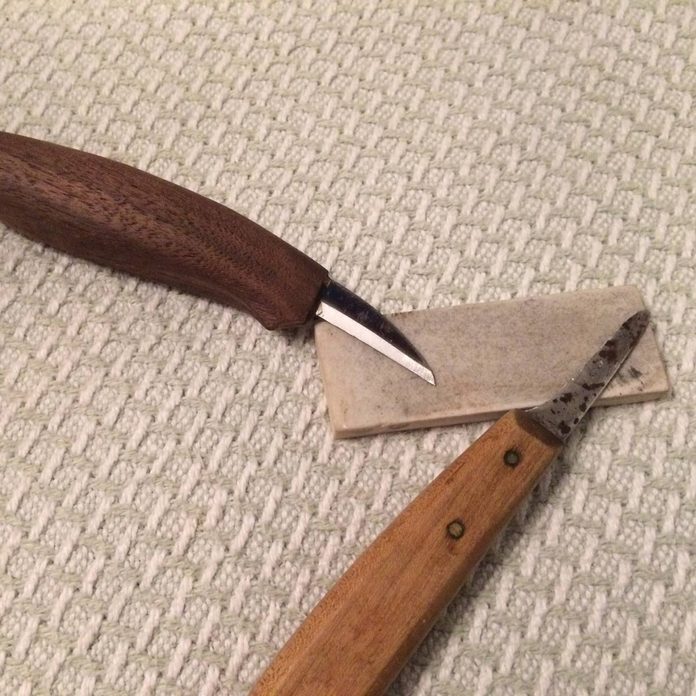
Sharpening Stone or Strop
So you’ve stopped to sharpen the blade while whittling wood. Great, but what are you using? This can certainly be personal preference, but there are two basic camps, strops or stones. Typically, those using a pocketknife use a stone, while those using a carving knife will use a leather strop, shown here. You can make your own strop buy gluing part of a belt to piece of wood. Draw the blade back and forth several times at a low angle (10 to 20 degrees).
7
/
10
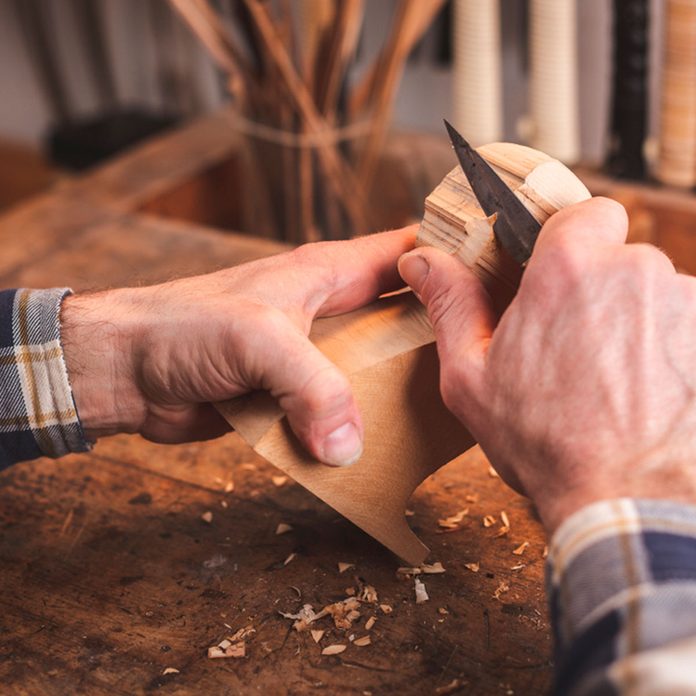
Making Cuts
You may have been told to always cut away from yourself and yes, this is generally a good rule. However, when whittling wood, several cuts require you to cut toward yourself. The rough cut is a hard pushing cut that takes off large chunks. The thumb-push uses the secondary hand’s thumb to guide the blade as you cut. The paring cuts, like if you’re paring apples, is a pulling cut that cuts toward you and your own thumb. It can take a bit of practice to get these cuts right.
8
/
10

Whittling Gloves
There are a number of gloves out there to protect you as you are whittling wood. One of my favorite is a cut-proof glove with a Kevlar palm. It’s pretty hard to hurt yourself while wearing one of these. It is also pretty hard to feel the wood and manipulate the knife. Old timers don’t wear any protection while whittling wood. However, you may feel more comfortable starting out with something protecting your digits.
9
/
10
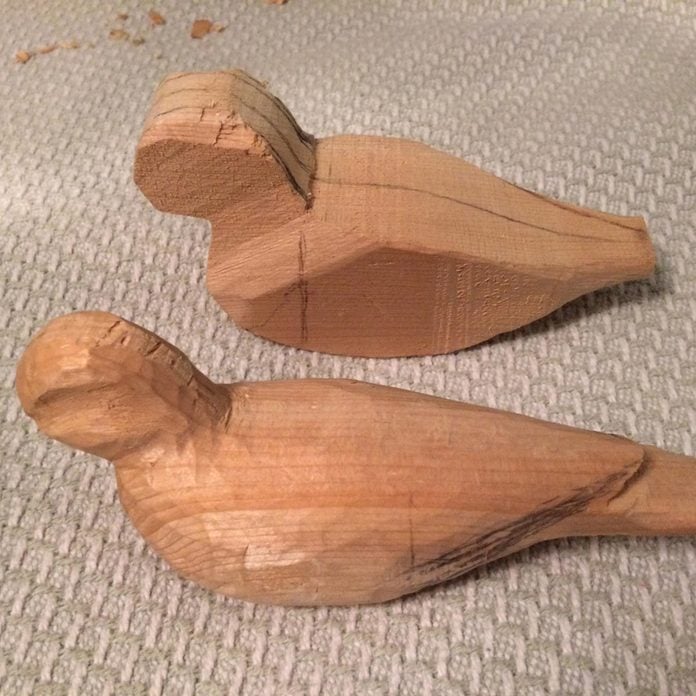
Whittling Projects for Beginners
Aside from the obvious things, like sticks and worms… other animals, like simple birds, are great woodworking projects for beginners. There are many kits for whittling wood out there that come with outlines and basic plans. Find one that intrigues you, just don’t start with one that requires a great of detail. You will build up your skill level as you practice. Try going layer by layer, roughing out the body and then redrawing the lines to make finer detail.
10
/
10

Where to Whittle
The nice thing about whittling wood is that it can be done anywhere. All you need is a knife and a stick. The idyllic vision of whittling wood has you sitting on the back porch while the sun goes down, chatting with a friend or a child. Also, many communities have groups of whittlers that meet, hang out and carve. Just remember that no matter where you whittle, always clean up after yourself.
Originally Published: March 20, 2019