
Kids, spouses, pets and everyday use destroyed these cars. Car detailing brought them to back life.
39 Before and After Car Detailing Photos That Will Stun You

Updated Apr. 05, 2023
1
/
39
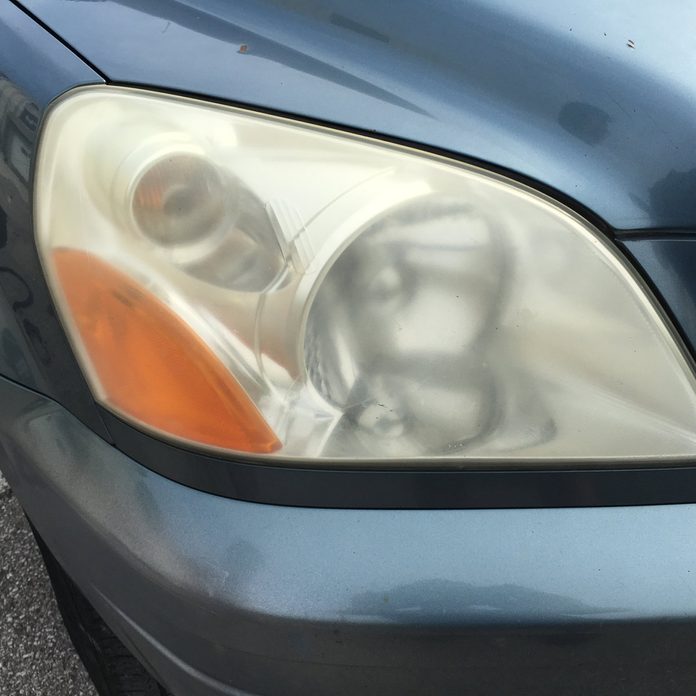
Car Headlights – Before
Car headlights aren’t supposed to look cloudy like this. MotorWeek says that headlight cloudiness can occur over time because of ultra-violet rays from the sun. It can even happen to cars that aren’t that old.
Thankfully, it is something that a little car detailing can fix if the damage is on the outside of the lens. You’ll likely have to replace the entire light if the problem is caused by moisture intrusion on the inside.
2
/
39
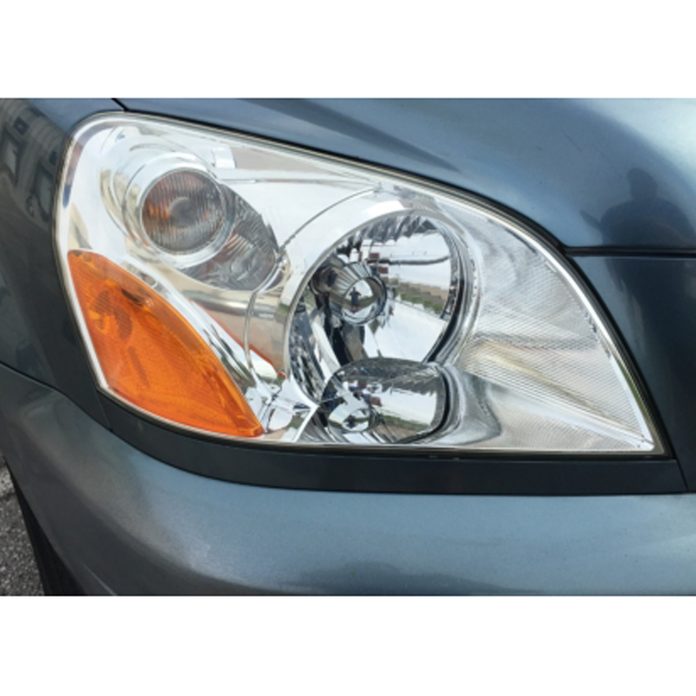
Car Headlights – After
Cloudy car headlights can be easily remedied with some car detailing supplies. An auto shop will take a buffing power tool to it and restore it with some plastic polish. They will then top it off with a sealer that protects against ultra-violet light.
3
/
39
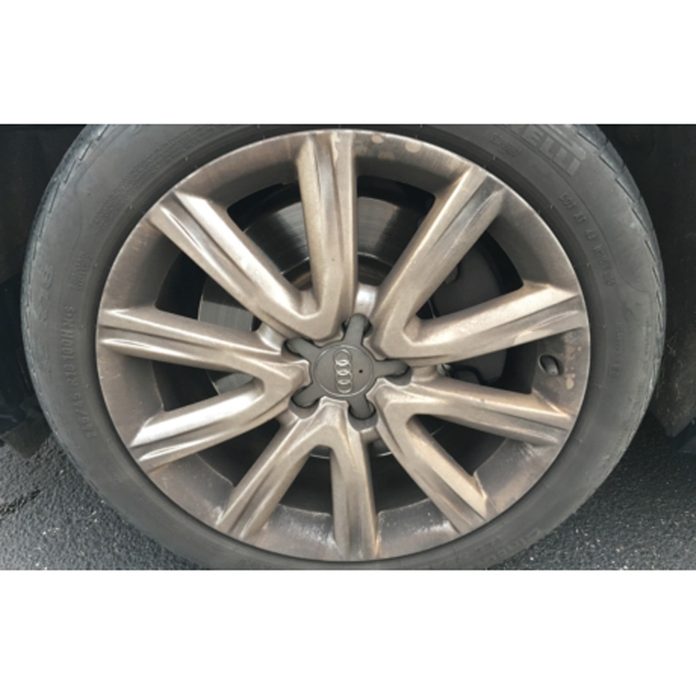
Tires and Rims – Before
The tires and rims on your car are a big part of its overall appearance. When the tires and rims look nice, your car looks nice. But ,tires and rims become grimy and dull-looking over time and that can make your car look old and dingy. You can make your tires look brand new with some careful car detailing.
4
/
39
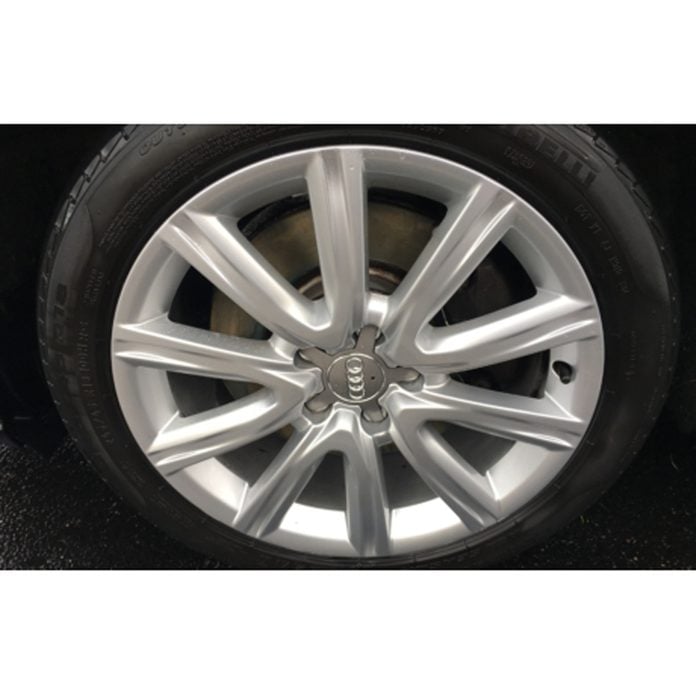
Tires and Rims – After
Keeping your wheels in good shape prevents them from rusting and becoming damaged. Taking care of your tires and rims will save you lots of money in the long run. First, you’ll want to give them a good cleaning with a soft-bristle brush and some soap and water.
Autogeek recommends applying a cleaner that is appropriate for the type of wheels you have, whether they are chrome, painted or anodized. You’ll probably want to use a cleaner that works on both tires and rims to save time and money. Rinse clean, then dry so they look beautiful again, like the wheel shown here.
5
/
39
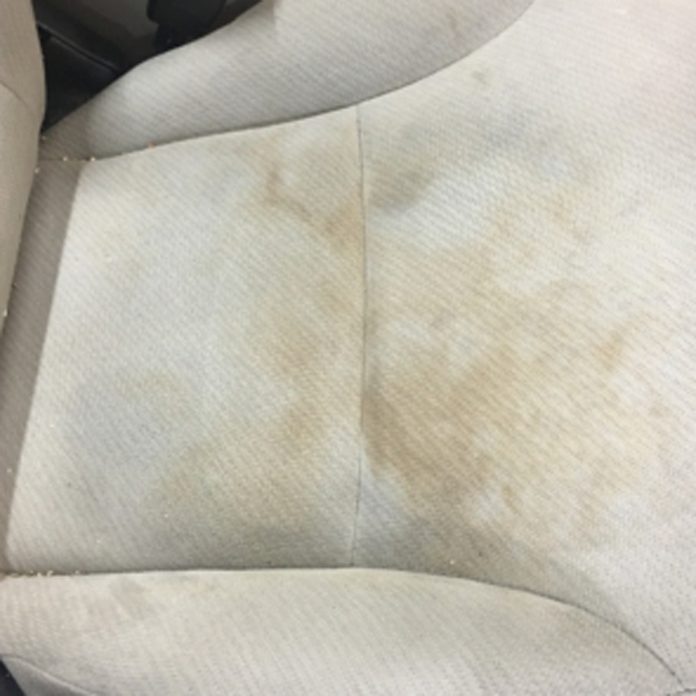
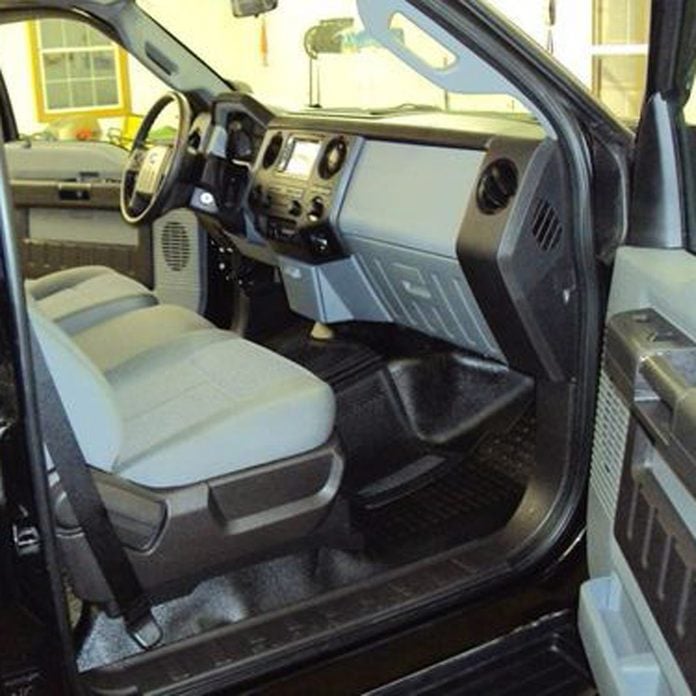
Seats – Before
Many of us say that we aren’t going to allow eating or drinking in our car when we first get it. But, who are we kidding? That never happens, so spills and seat messes are inevitable. Car detailing before and after photos will often show how seats can be cleaned up so they look as if they never got dirty in the first place. This seat mess looks like it could be a spilled cup of coffee or cola.
6
/
39
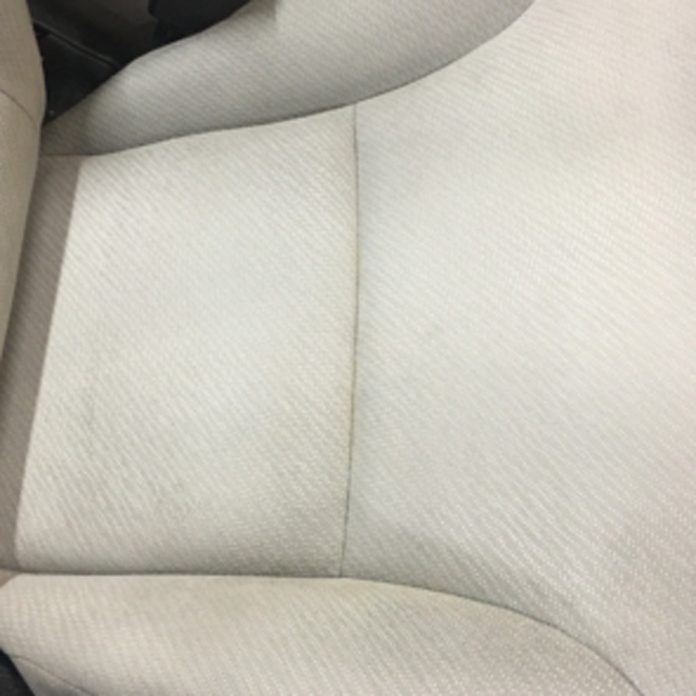
Seats – After
It’s important to make sure you keep your car seats clean. Sitting on them can embed dirt and grime in the fabric, making it harder to clean over time. Investing in machine-washable seat covers is a great fix.
If you’re cleaning your seats on your own, the first step involves vacuuming up anything loose. You’ll also want to invest in a good car upholstery cleaner and a soft-bristle brush. It’s best to test the product on a small spot in your car before following the directions to clean the entire upholstered area. Your seat will look brand new when you’re done.
7
/
39
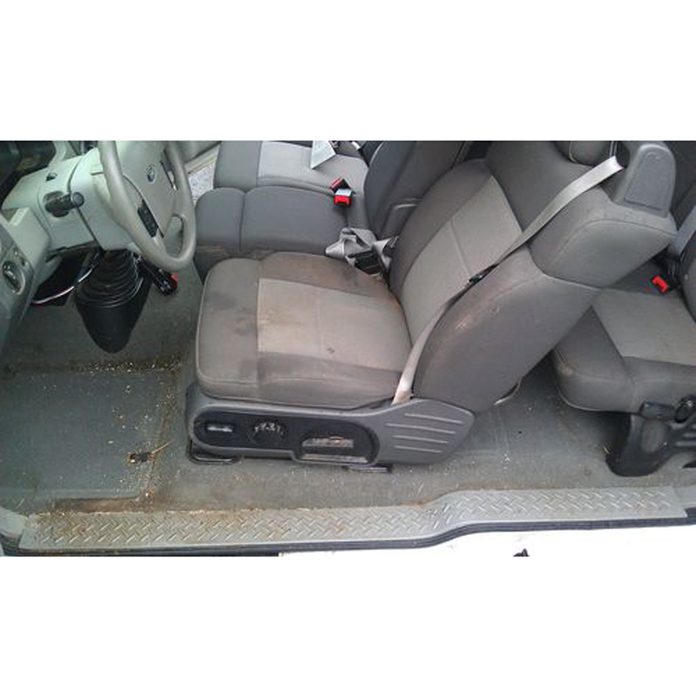
Carpets and Flooring – Before
Between food spills and dirty footwear, the carpets and flooring of our cars can get filthy fast. Over time, our car floors become covered with crumbs and stains. A little car detailing can do your car’s carpets and flooring a world of good by erasing the mess you made.
8
/
39
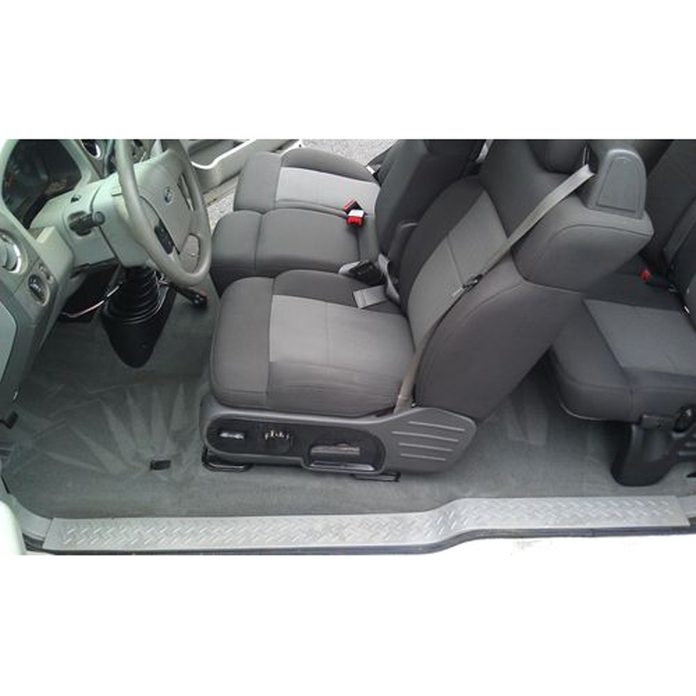
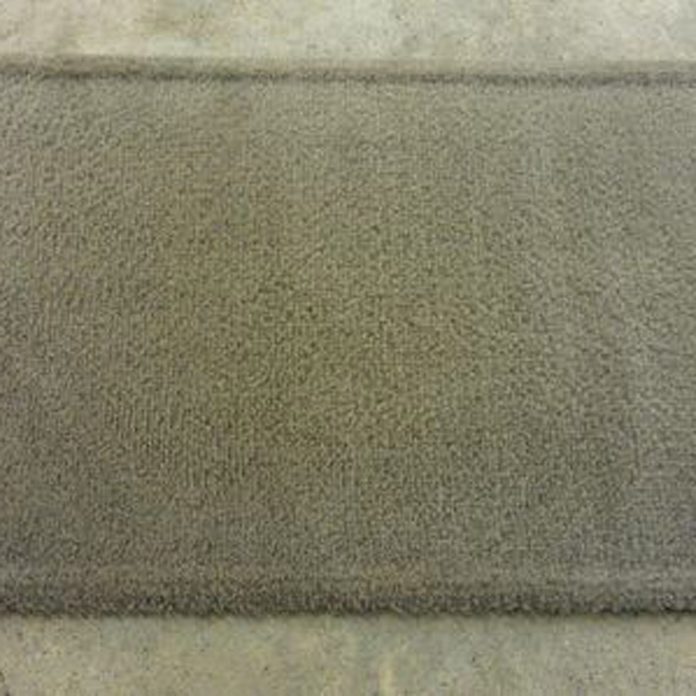
Carpets and Flooring – After
You’ll want to follow these car detailing basics to get your car’s flooring nice and clean. Remove any car mats and vacuum everything. Next, you’ll want to use a car upholstery cleaner to get rid of any stains. Let every fully dry before you put your mats back.
9
/
39
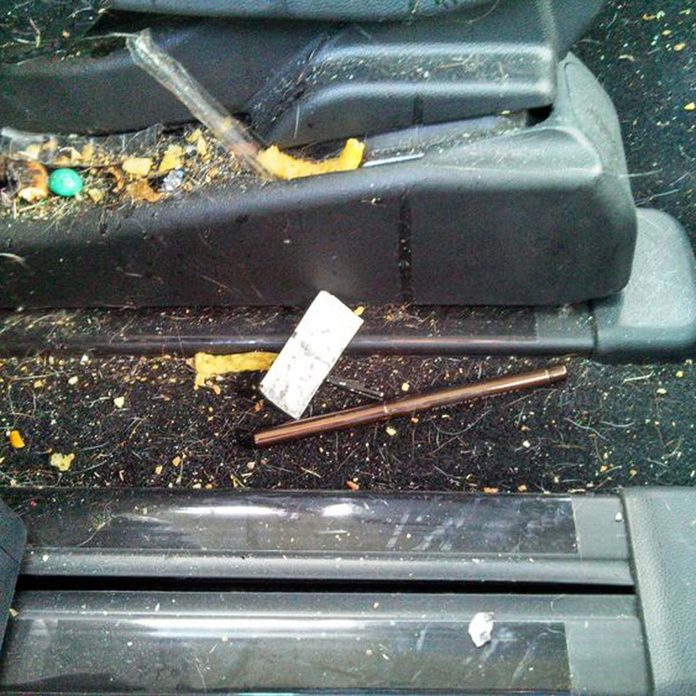
Crevices – Before
One of the reasons people pay for car detailing is so they can get those nasty nooks and crannies cleaned out. You know that crevice your phone falls into and you can’t reach it until you pull over and pull your seat all the way back. This is wear crumbs, dropped candy and all sorts of other junk ends up. These hard-to-reach areas need some extra detailing love. This car needs some major help.
10
/
39

Crevices – After
Here’s a car crevice that got a lot of detailing love. First, pick up all that bulky stuff, like straws, pens, pieces of candy and paper clips. Then, this area needs a thorough vacuuming. It’s also a good idea to wipe the area down with a good car vinyl and plastic cleaner like Carfidant Trim & Plastic Restorer.
11
/
39
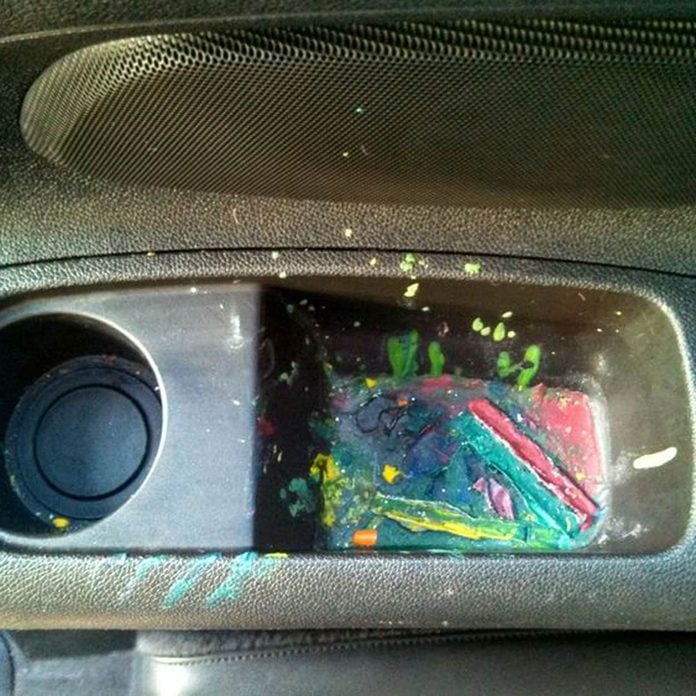
Melted Crayons – Before
Letting the kids color in the car seems like a good idea when you’re on a long car ride. And, it is, until those crayons get left behind in the car on a hot day. The result is a colorful waxy mess that’s stuck to your car’s interior. You’ll need to know some good car detailing tips to remedy a situation like this one.
12
/
39
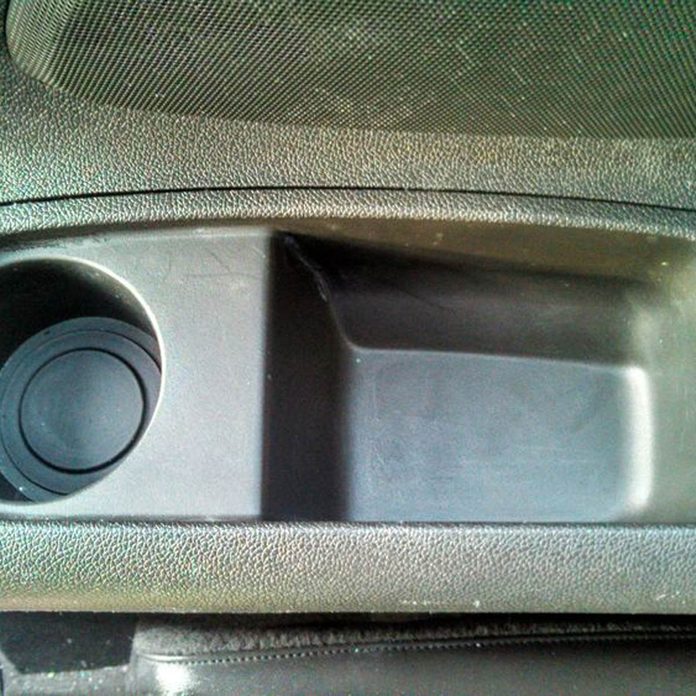
Melted Crayons – After
Here’s the car detailing trick you need to know for getting melted crayon off of a hard surface inside your car. Place an ice cube over the area so it hardens the melted crayon as much as possible. Then, use a spoon or a scraper to remove the wax. Wipe up all of the wax and use a Magic Eraser to scrub away any remaining residue. You can also scrub this away with Dawn dish detergent, water and a sponge.
If your crayon is stuck to car upholstery, Auto Detail Doctor recommends scraping excess crayon then covering the remaining stain with a microfiber towel. Use a vapor steamer to steam over the top of the towel. The towel should suck up the rest of the crayon wax. A product like Goof Off can get rid of any remaining stain.
13
/
39
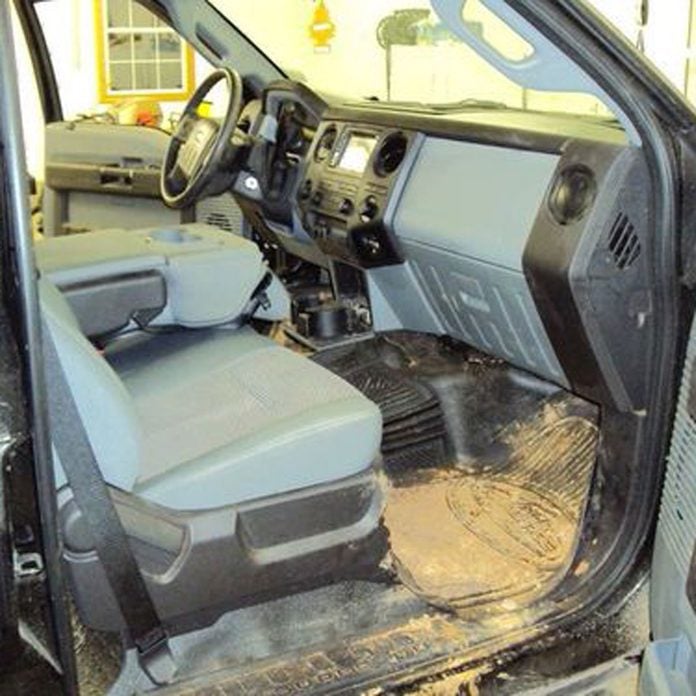
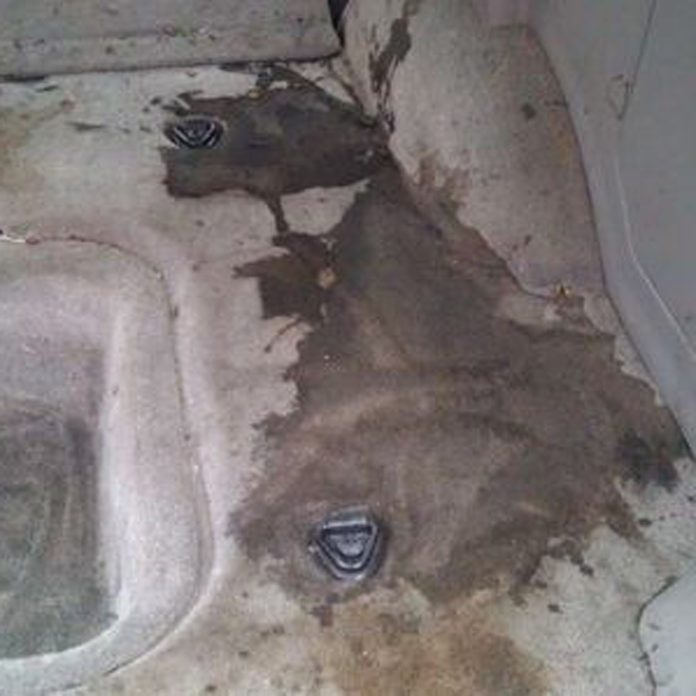
Muddy Interior – Before
Here we have a drastic example of a car detailing before and after situation. This is what happens when you enter a car with muddy boots. It can make a really big mess!
14
/
39
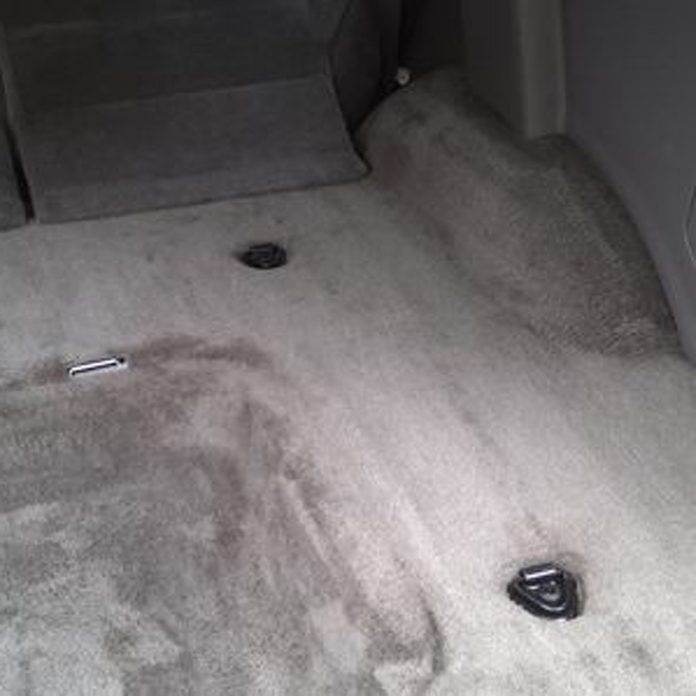
Muddy Interior – After
This car detailing solution is fairly simple. YourMechanic.com advises to first remove any mats and lay them outside, if possible. (Make sure all your mud is completely dry. You run the risk of spreading the mud deeper into the fibers if it’s wet.) Use a soft-bristled brush to remove as much dried mud as you can from the mats. Shake out the mats or vacuum them. Next, scrub the remaining stains with soap and water and let dry.
Next, vacuum the floor and scrub it, as you did the mats, until the mud and stains are removed. Now this car looks brand new!
15
/
39
Large Interior Spills – Before
We often toss things in our trunks or back seats without thinking twice, especially in SUVs that have that handy space in the back. But, that’s not always a good idea. Sometimes the result is a giant mess like this one that requires a major clean up job.
16
/
39
Large Interior Spills – After
Cars Direct reports that the car detailing cost for car upholstery cleaning is around $75. Footing that bill might be worth it if it’s a major or difficult spill, like oil. Otherwise, try soaking up the spill as best you can. Users on TeamCamaros.net suggested using a towel first then cat litter. After you vacuum that up, you might want to think about using a steam cleaner and some laundry detergent.
17
/
39
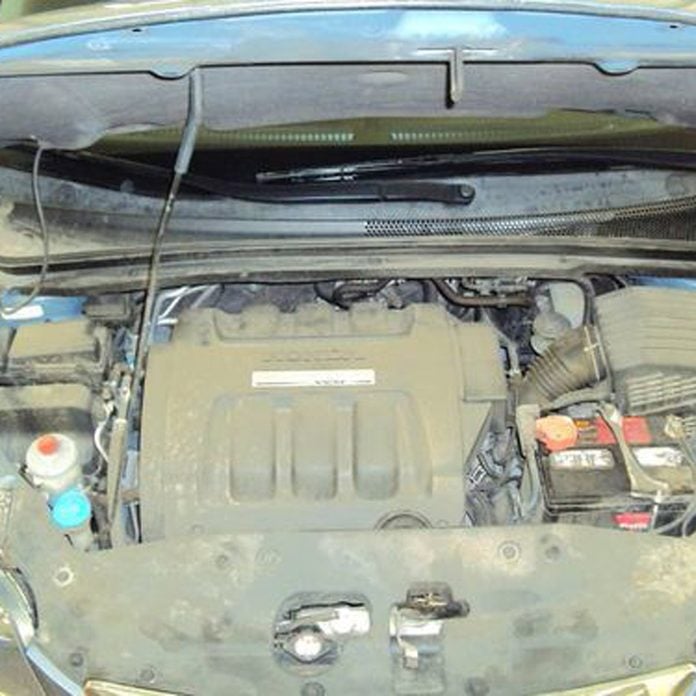
Car Engine – Before
While most of us think to clean the exterior and interior of our car, we often neglect what’s under the hood when we think about car detailing. This car looks like it drove through a heavy dust cloud or took a joy ride in the desert. Advanced Auto Parts says that cleaning the engine bay is extremely important when it comes to your car’s longevity.
18
/
39
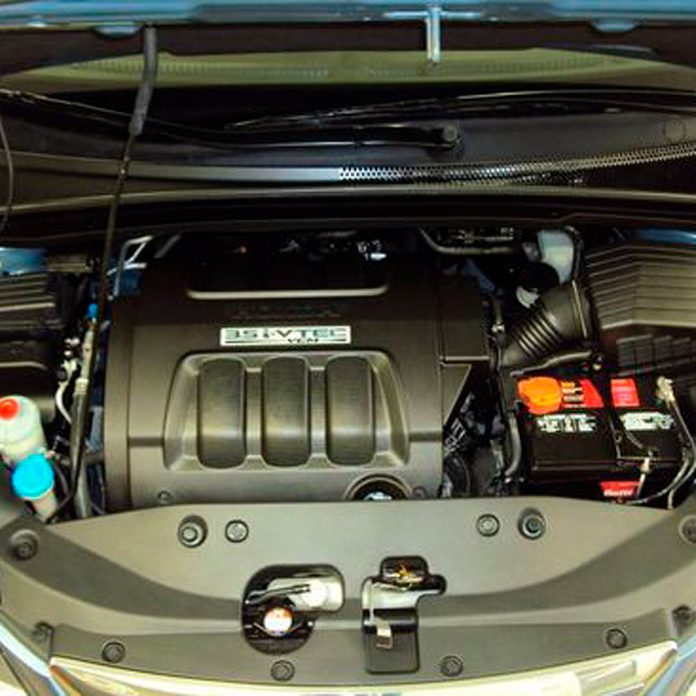
Car Engine – After
A dirty engine bay can lead to wear and tear on the pulleys and bearings and can hide serious issues like gasket leaks. Keeping the area under your hood clean can keep your car cooler, make it run more efficiently and for longer, as well as uphold its resale value. It might be the most important car detailing job that you do.
19
/
39
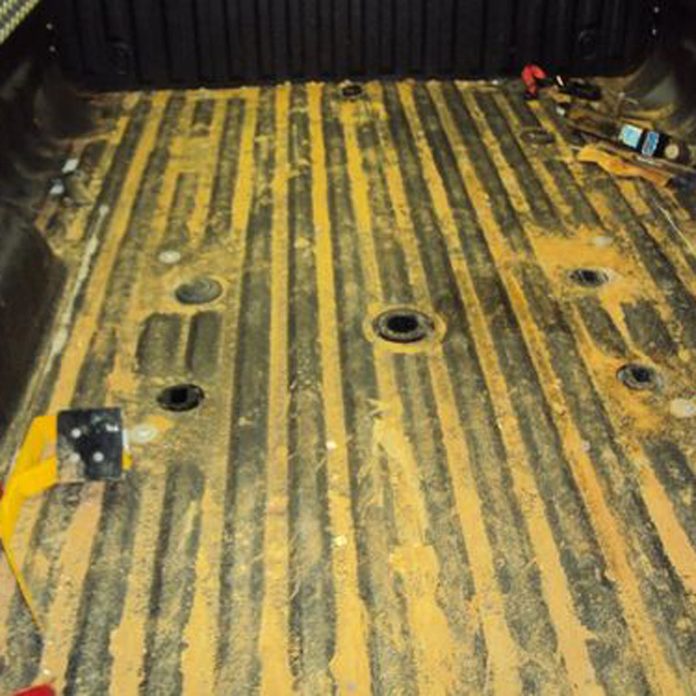
Truck Bed – Before
If you have a truck, you know how dirty the bed can get, even if you don’t haul much stuff around in it. A truck bed becomes filthy from just being exposed to the elements when left uncovered. This truck bed, however, looks like it spent the day hauling dirt. That or it got caught in a mudslide. Follow the car detailing tips in the next slide to get your truck bed nice and clean.
20
/
39
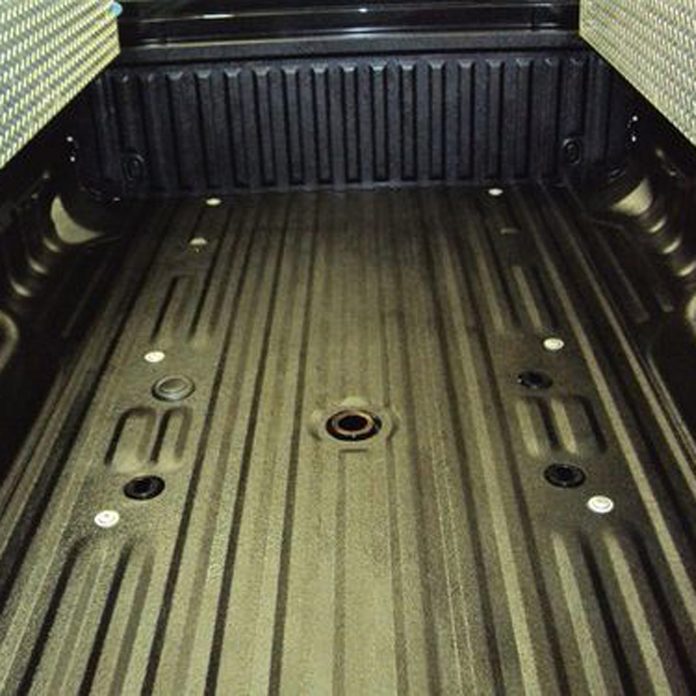
Truck Bed – After
Fortunately, you don’t have to spend money on pro detailing for a dirty truck bed because it’s easy to clean it yourself.
Durabak truck bed liner company says you should first sweep out dirt and debris from your truck bed. Next, spray it down with water and use a push broom to guide the water and dirt out of the truck. You can wash the area with car-wash soap before you give it a final rinse down.
21
/
39
Car Mats – Before
Car detailing professionals know that car mats can be one of the dirtiest things in your car. We step on them and track mud and dirt and other gross things all over them. They can quickly become stained and discolored, just like this one.
22
/
39
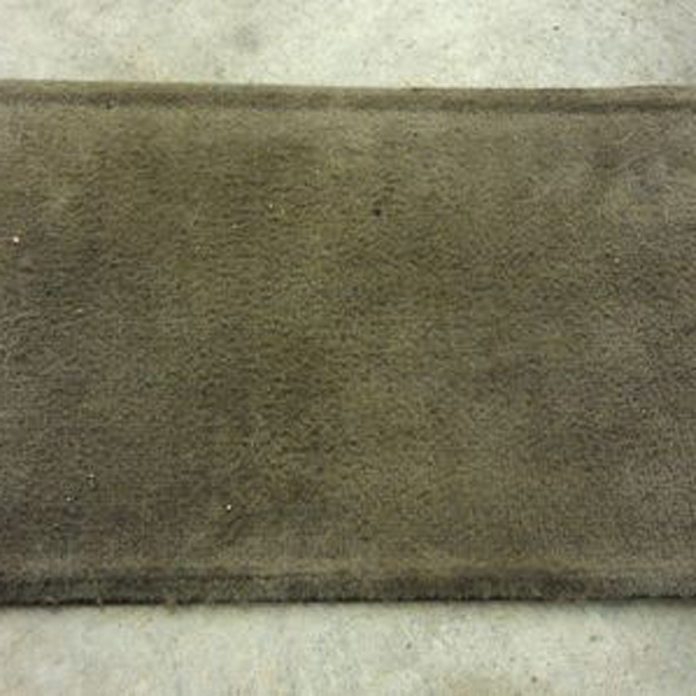
Car Mats – After
You can purchase some inexpensive car detailing supplies to get this job done. First, you’ll want to grab some car upholstery cleaner like Armor All Oxi Magic Carpet & Upholstery Cleaner. You can also get professional car detailing tools like the PowerBrush Kit which is a four-piece drill brush set that cleans your upholstery, interior, tires, rims and more.
23
/
39
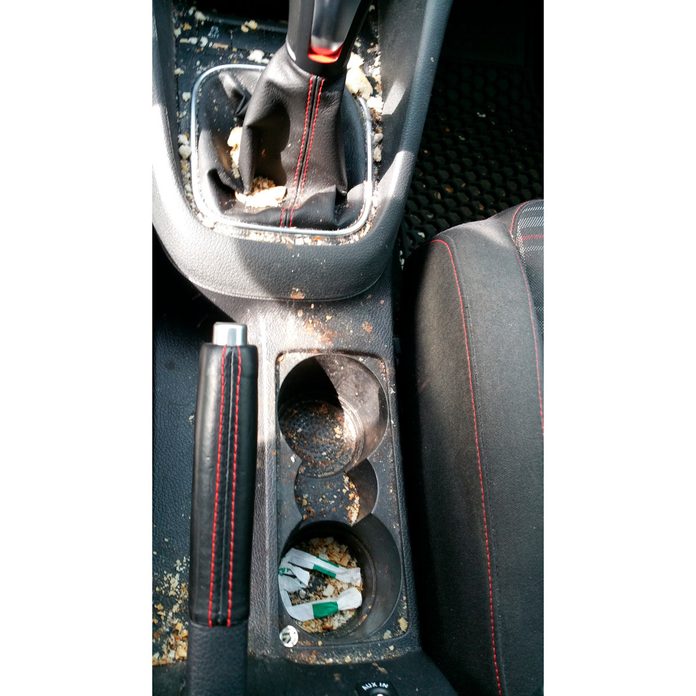
Cup Holders – Before
Between the spills, straw wrappers, crumbs and miscellaneous sticky stuff— those super-convenient cupholders can get really grubby. This is one spot that car detailing professionals will spend a lot of time on. This is because it’s a big focal point in your car. Has your cupholder ever looked this bad?
24
/
39
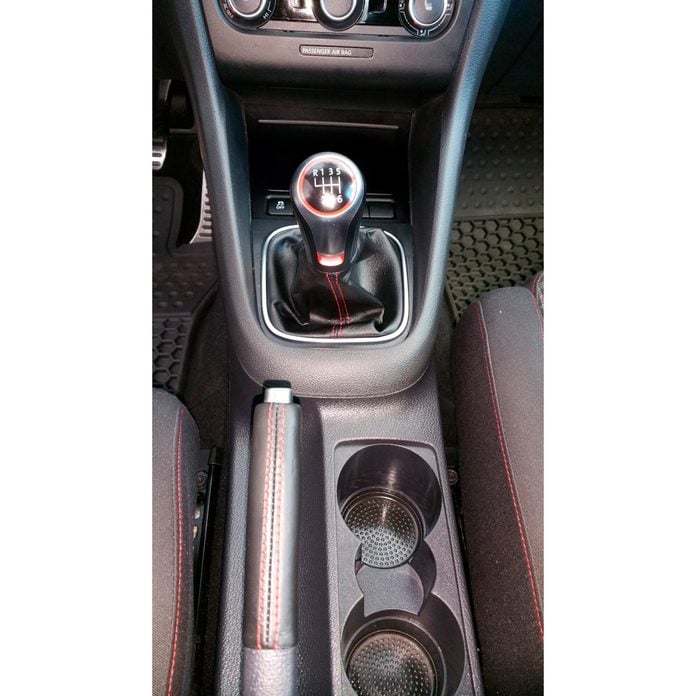
Cup Holders – After
With some car detailing magic, this cupholder looks spick-and-span. You’ll have to take a vacuum to this area first to get rid of the loose mess. Next, you’ll want to wipe everything down with a professional-grade car interior cleaner like Carfidant Ultimate Car Interior Cleaner.
25
/
39
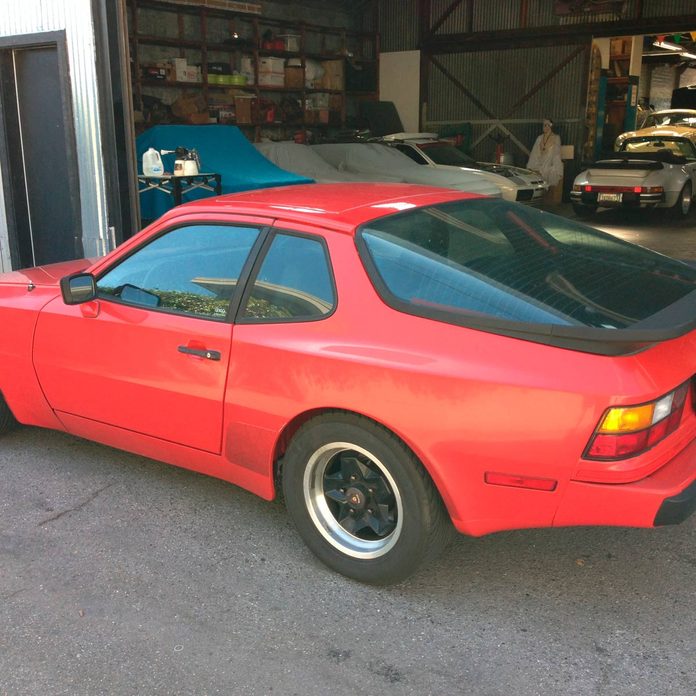
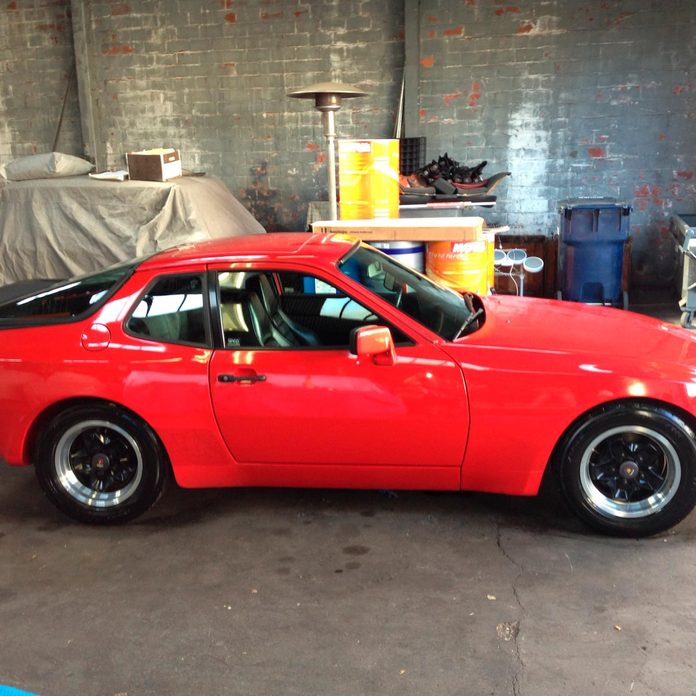
Car Exterior – Before
Your car’s shiny new coat can turn dull and flat over time. Car detailing experts don’t just wash the exterior of a car. They bring that shiny coat back to life by restoring the car’s original sheen.
26
/
39
Car Exterior – After
Here we have the same car, looking like it just rolled off the assembly line. The way to restore a car’s shine is to apply a glaze. You can have a less expensive acrylic glaze put on your car or a more expensive ceramic glaze. The car detailing cost for this kind of work can be between $200 and $2,000.
27
/
39
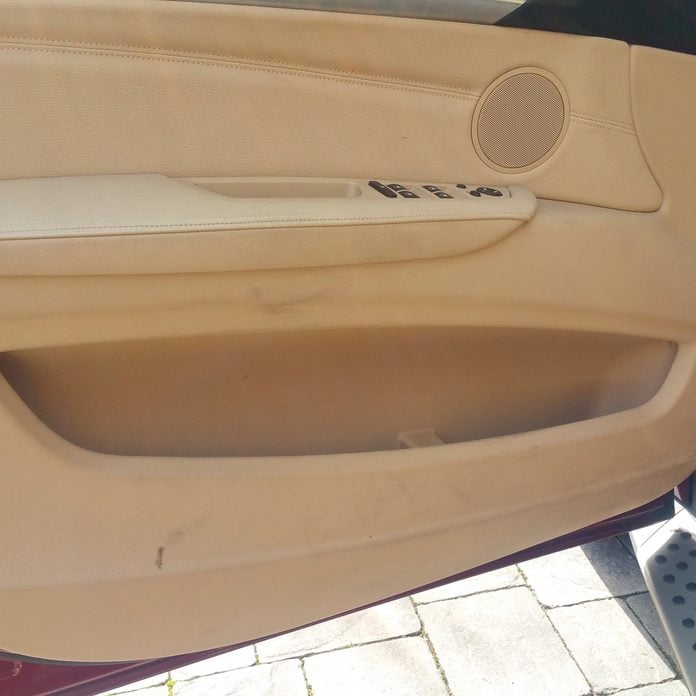
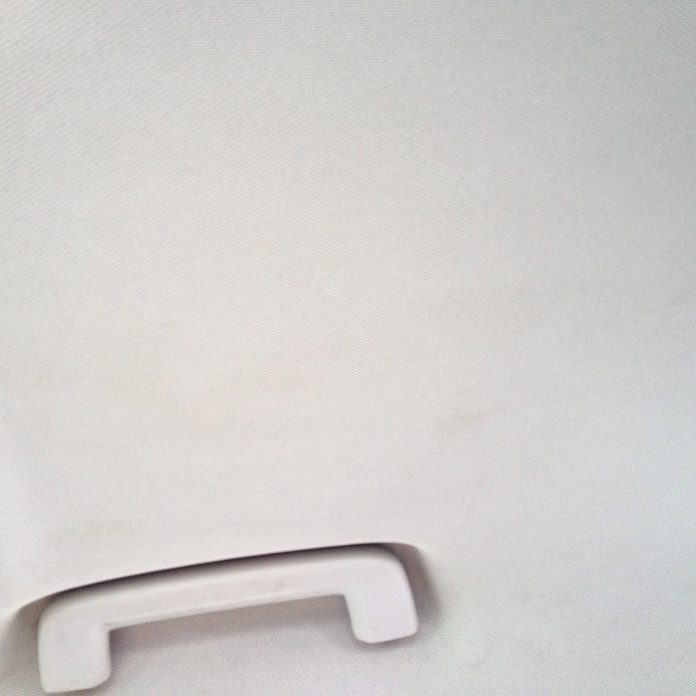
Car Door Interior – Before
Car detailing professionals know that car doors often end up with mysterious scuff marks. This car’s once-pristine beige interior is now riddled with unsightly smudges. That dirt and grime can be a result of damaged weather stripping.
28
/
39
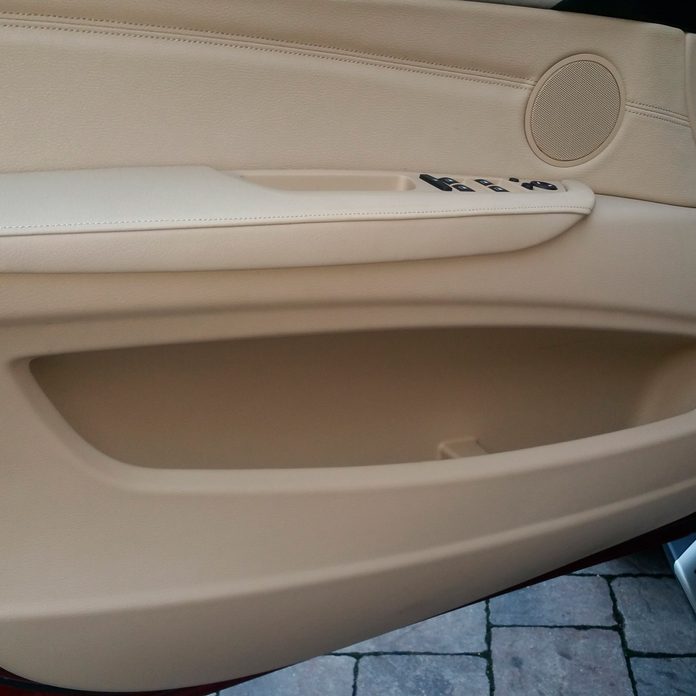
Car Door Interior – After
Your Mechanic offers some great car detailing tips on how to clean a door panel like the professionals. It’s important to vacuum the door panels to get rid of crumbs and larger debris. Use a vinyl cleaner and microfiber car detailing sponges to wipe the area down. Follow up with a car interior polish and protectant.
29
/
39
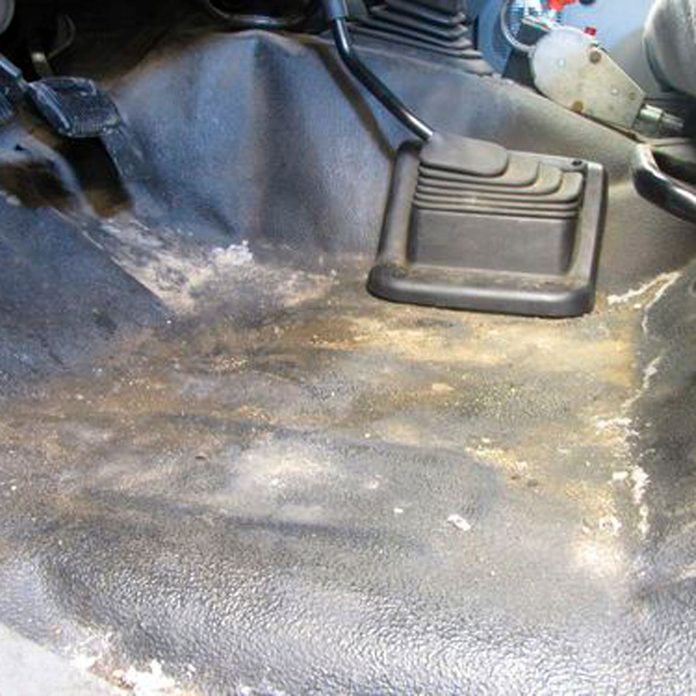
Hard Interior – Before
A lot of vehicle interiors are made from hard, molded plastic or vinyl. These surfaces can become stained and dull if they aren’t properly cleaned and conditioned. This truck floor is a perfect example of that. It looks like it’s covered in salt marks and dirt. Car detailing can easily remedy this sad-looking situation.
30
/
39
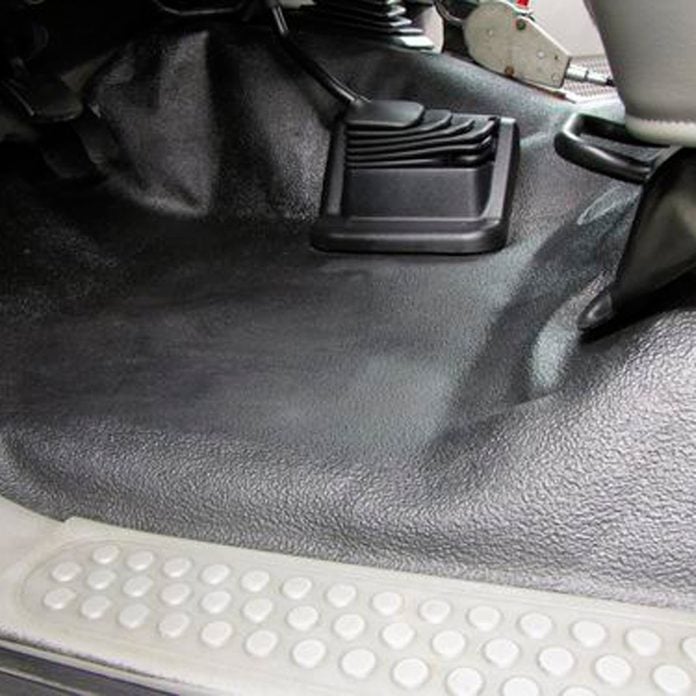
Hard Interior – After
Car detailing professionals restored this hard floor to like-new condition. This area got a good vacuuming and a wipe down with a damp cloth. It then got a thorough cleaning with a heavy-duty vinyl, plastic and rubber car cleaner like Meguiar’s Mirror Glaze Heavy Duty Vinyl Cleaner.
31
/
39
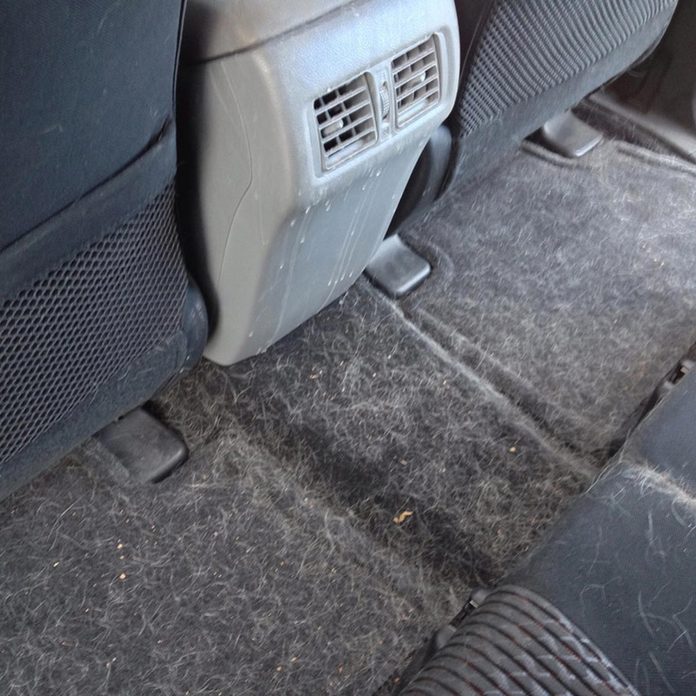
Pet Hair/Fur – Before
Lots of people take their vehicle for car detailing because of their shedding pets. Pet hair/fur sticks to car upholstery like glue. It accumulates over time to create a thick unsightly layer. So, this is what your car ends up looking like. No one wants to be in that car or sit on those seats.
32
/
39
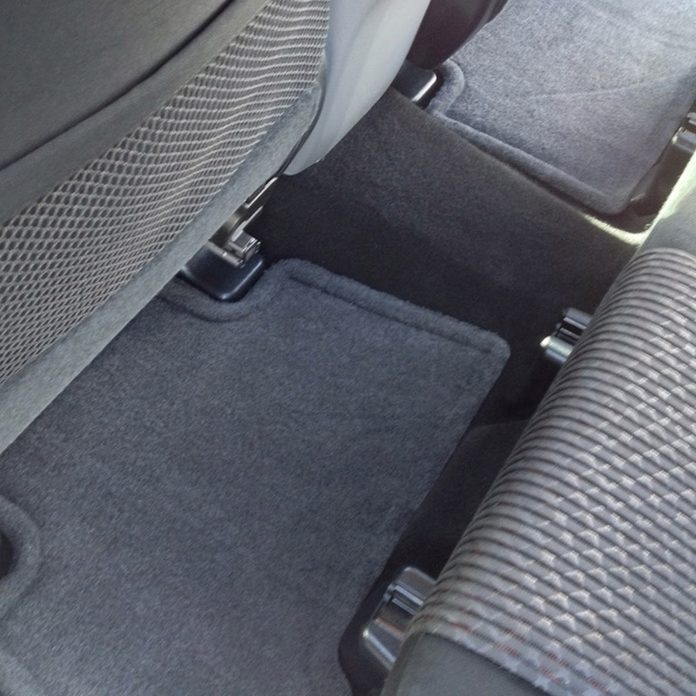
Pet Hair/Fur – After
These car detailing before and after photos are like night and day. If you’re detailing your car yourself, first, vacuum up as much pet hair/fur as you can. Then spray the area down with water so it’s damp. Run a squeegee or a rubber glove over the area to pull up stuck-on hair/fur. Let dry and give it one more vacuuming.
33
/
39
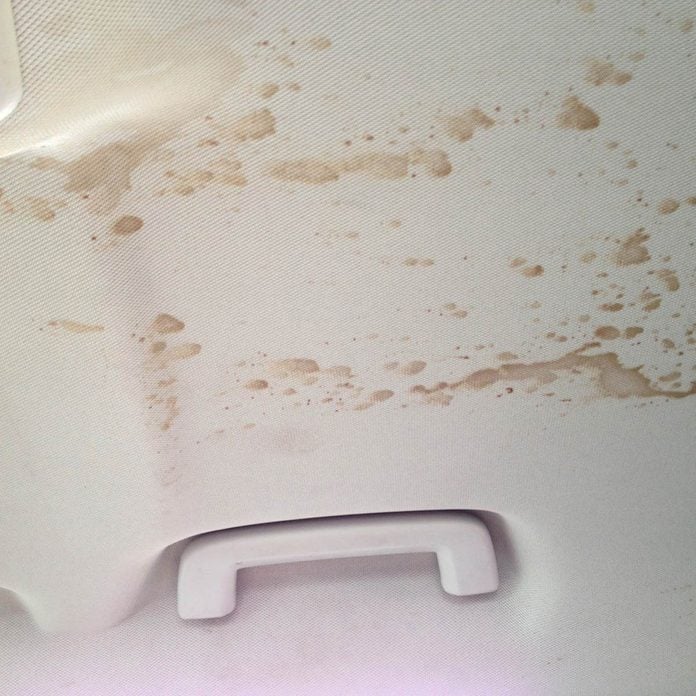
Headliner – Before
How this happens is quite baffling, but car detailing professionals aren’t strangers to ceiling splatter. Somebody must have opened a shaken-up soda in this car because this ceiling is a mess. Your car’s headliner can also get dingy if someone smokes in the car.
34
/
39
Headliner – After
Car detailing professionals were able to make this car’s headliner look pristine. Auto Blog suggests gently wiping the area with a microfiber cloth before spraying a car upholstery cleaner on it. Use a clean cloth to gently wipe the area (with the grain of the fabric if it’s that kind of headliner). You’ll want to be gentle with this area so the liner doesn’t start to sag.
35
/
39
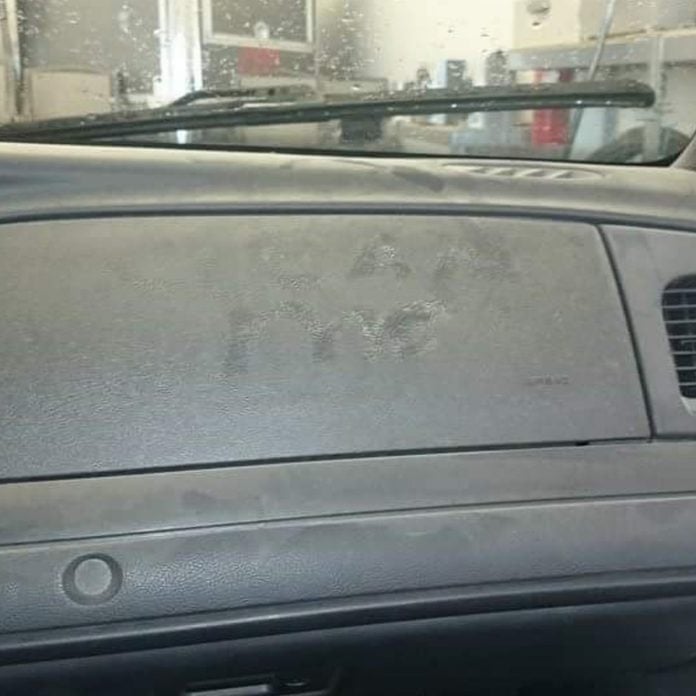
Dashboard – Before
Car dashboards can get filthy fast. A layer of dust can accumulate quickly and you’ll eventually need some elbow grease to get rid of. The dashboard can also become covered in grubby fingerprints. UV rays can also cause this area to lose its shine.
36
/
39
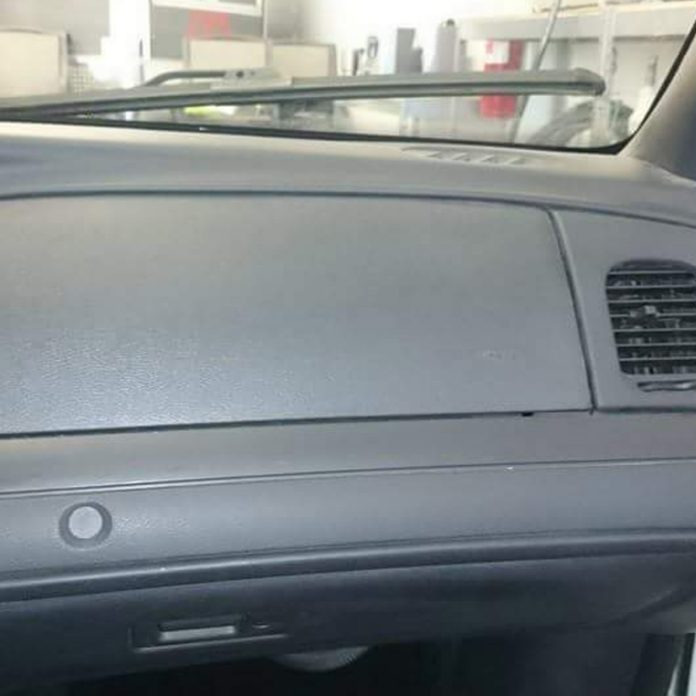
Dashboard – After
Use some car detailing supplies to clean and condition your dashboard to make it look like new. Car detailing professionals will use a car interior cleaning spray to wipe this area with a microfiber cloth. You’ll want to buy one that also serves as a UV protectant. This Interior Quick Detailer from TriNova does it all!
37
/
39
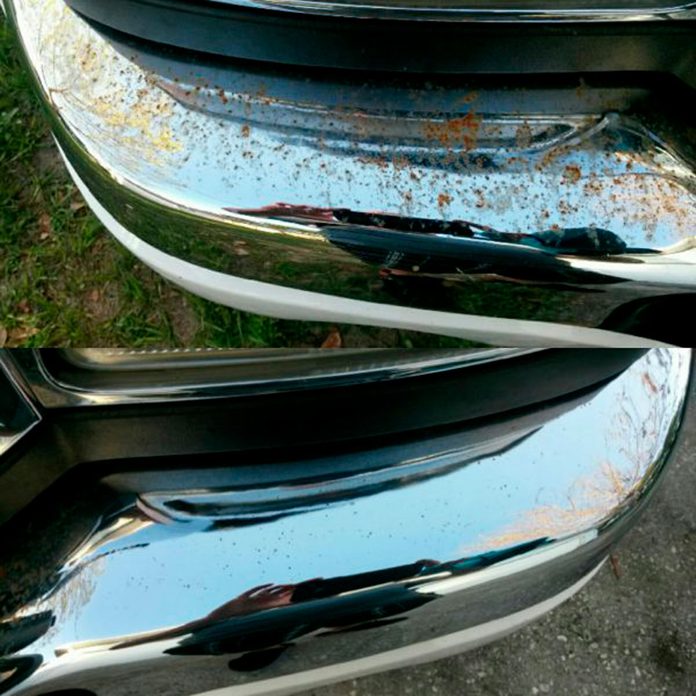
Chrome Bumper – Before & After
Chrome parts can give your car a gorgeous high-end look. But chrome requires regular maintenance and upkeep to retain that lustrous gleam. Otherwise, it will end up looking like this rusty chrome bumper that was taken in for some car detailing.
Investing in some good car detailing supplies can help you get rid of unsightly rust on your formerly elegant looking chrome. Quick Glo Chrome Cleaner gets rid of water spots, rust and shines the chrome so it looks like it’s new.
38
/
39
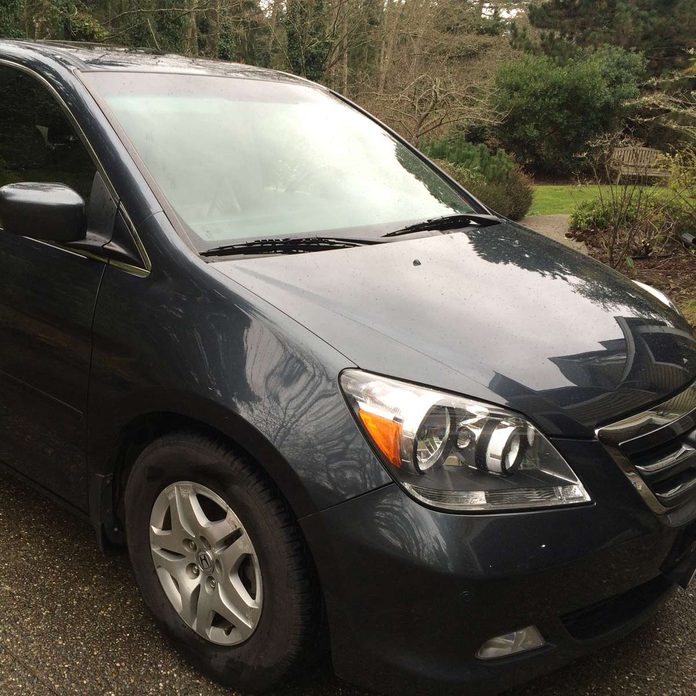
Tree Sap – Before
You have to be careful where you park your car. Otherwise, it could end up covered in tree sap and looking like this. Tree sap can become a huge problem and damage your car, if left untreated.
39
/
39
Tree Sap – After
Nissan paint material engineer Leonard Raykinsteen says that tree sap can rip the paint right off your car if left untreated for a long period of time. He says you should remove sap from your car as soon as possible. You’ll need some good car detailing products like Turtle Wax’s Bug & Tar Remover to get the job done. Looking for more options? Here are the best bug and tar removers for cars.
Originally Published: August 26, 2019