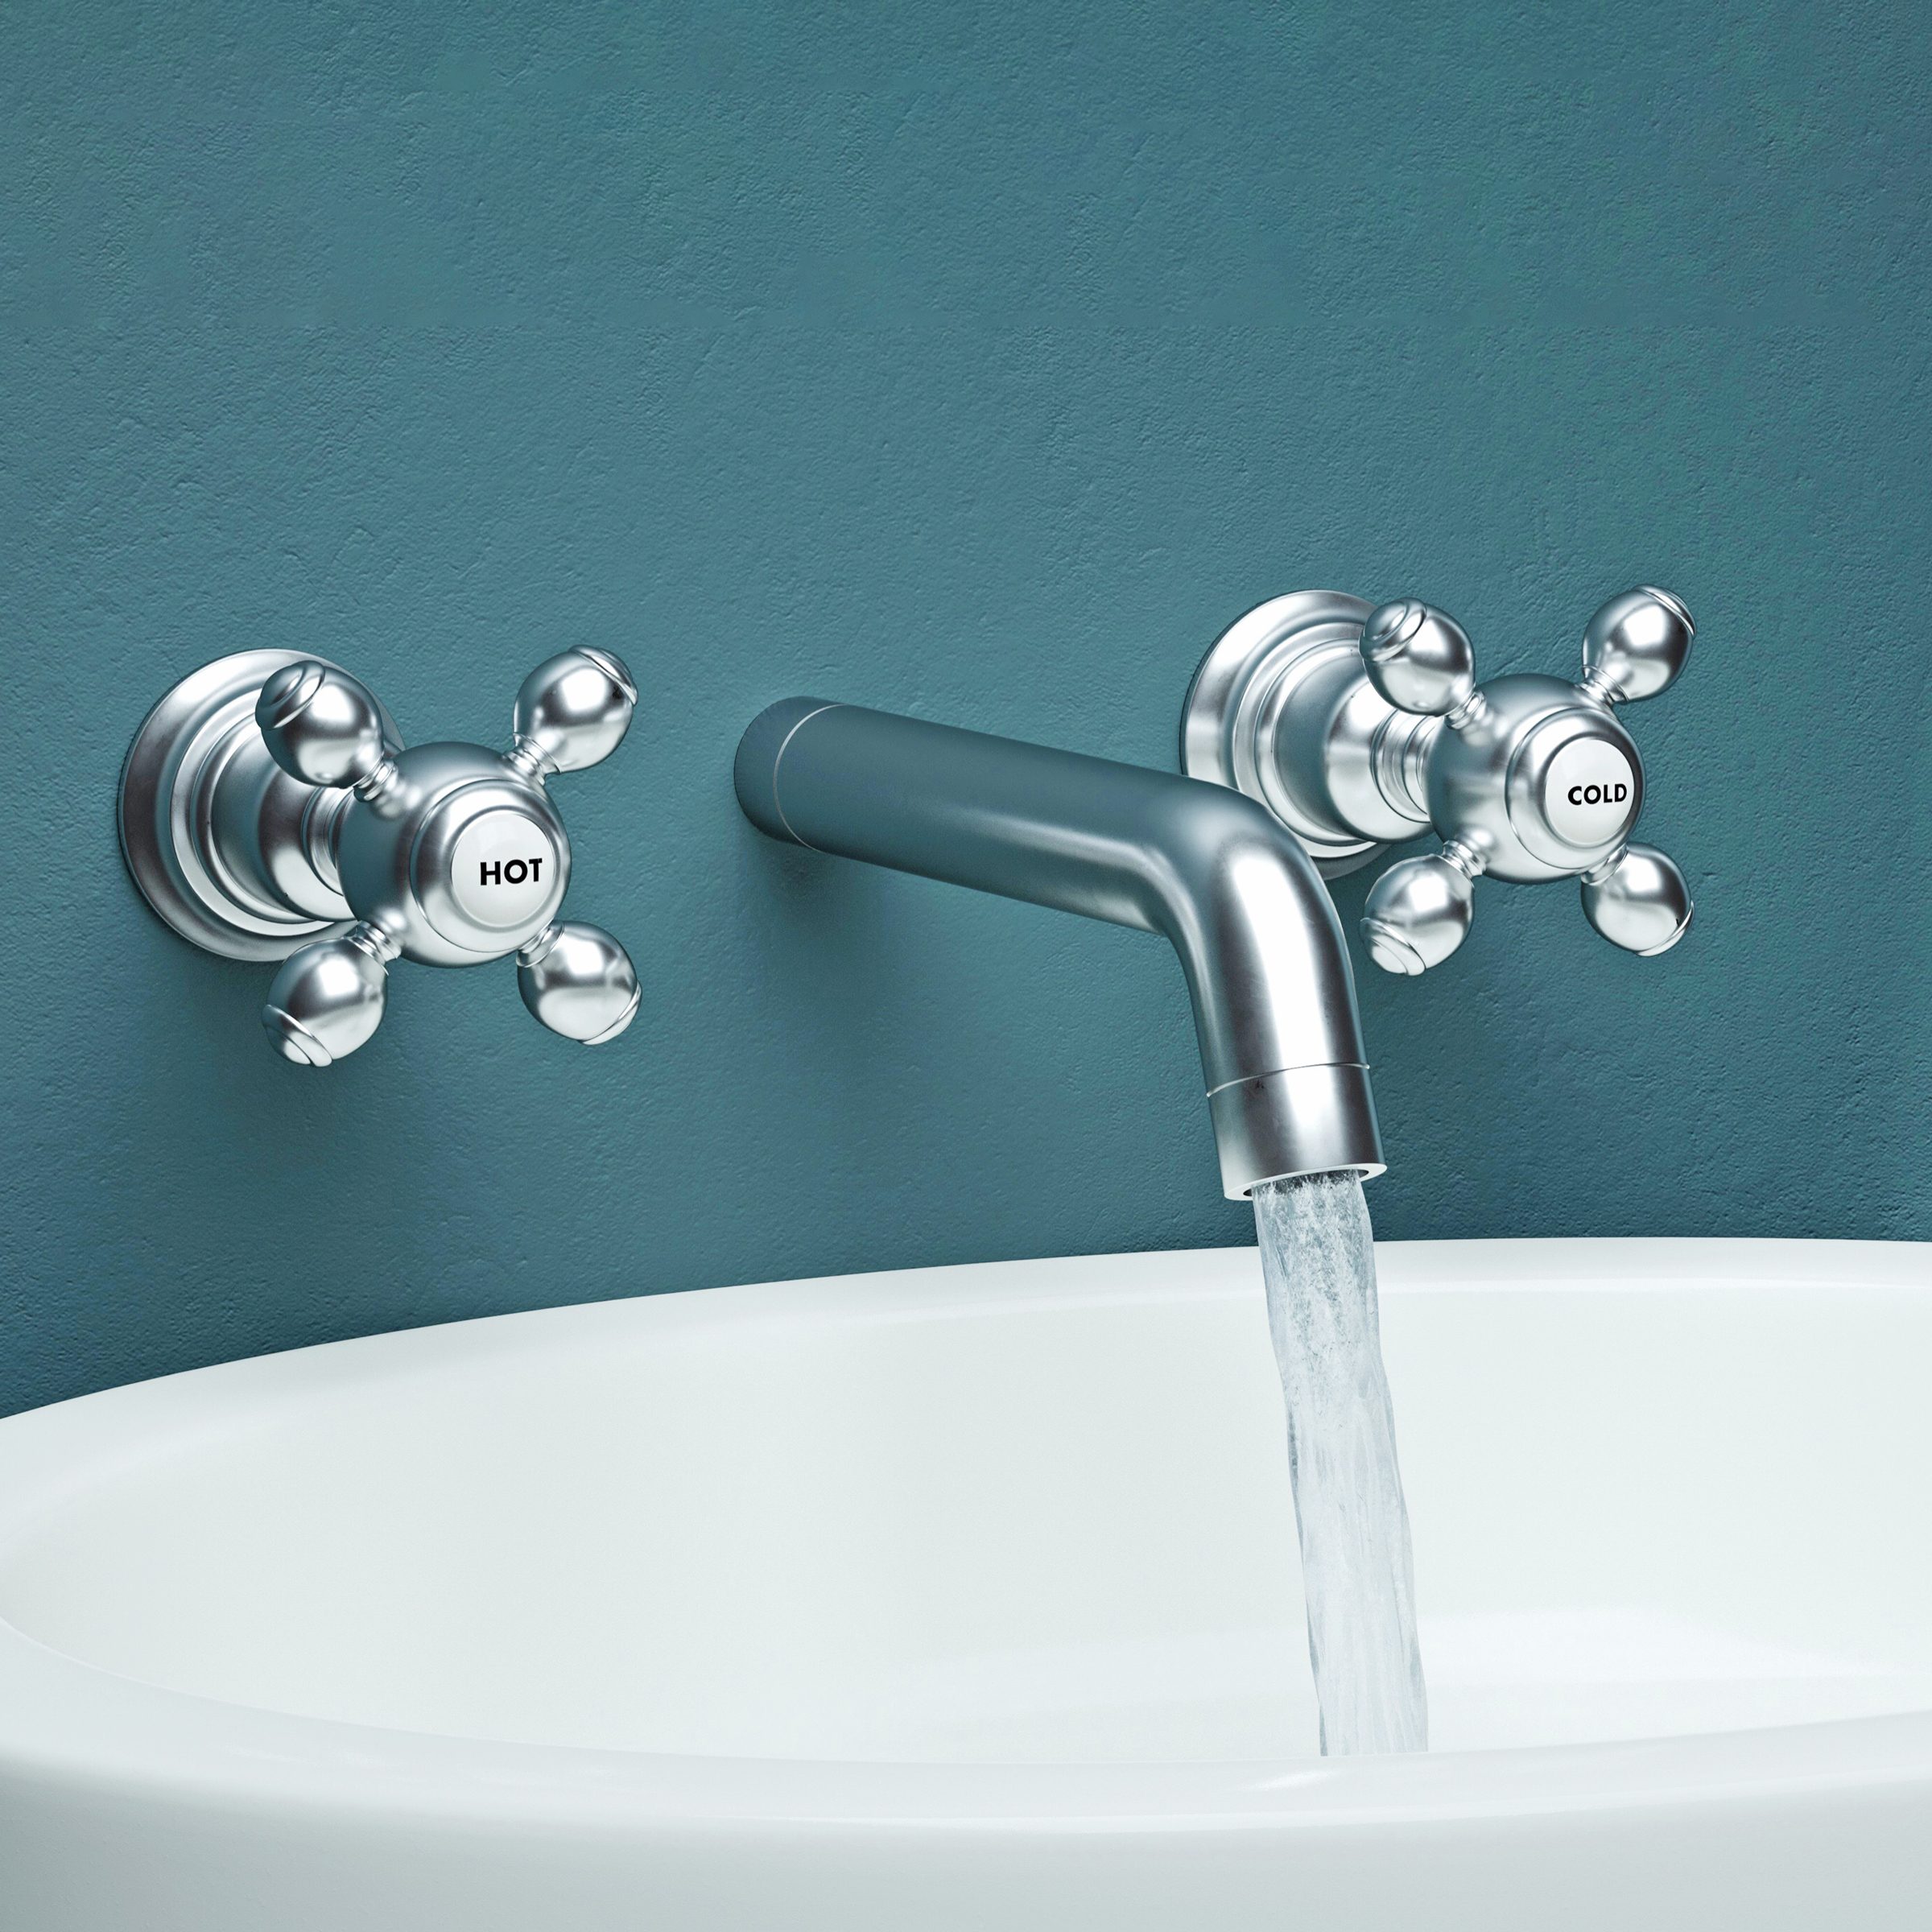
If you're considering one of these cool-looking, space-saving, easy-clean faucets for your home, here's what you need to know.

What To Know About Wall-Mounted Bathroom Faucets

In the early days of plumbing, the bathroom faucet was often simply a spigot mounted to the wall. The introduction of deck-mounted faucets changed all that. Adam Horwitz, from faucet manufacturer Speakman, says that despite the sophisticated look, only a small number of faucets sold today are wall mounts.
Simone Bumpus, a design specialist for Kitchens by Good Guys in Scottsdale, Arizona, says their difficult (and expensive) installation makes wall mounts rare. The supply pipes must be behind the wall, and installation in an existing bathroom involves cutting into the wall and repairing it.
Yet Michael Clarke, founder of the Pulled App, sees the popularity of wall mounts increasing due to one of their main design advantages: They free up valuable counter space, which is often at a premium in a small bathroom. If you can afford the extra installation costs, the space-saving advantages might be reason enough to consider a wall-mount bathroom faucet.
On This Page
What Is a Wall-Mount Bathroom Faucet?
No mystery here: A wall-mount bathroom faucet is mounted on the wall. It works like any other faucet, but the supply pipes are behind the wall. That may seem like a small difference, but it necessitates important planning before installation.
For one thing, wall mounts eliminate the need for faucet holes on the sink or countertop. Retrofitting an existing deck-mounted faucet with a wall-mount may not be practical, because it often means replacing the sink or countertop as well. Another consideration is the faucet height. Determine this carefully, and because you install the faucet before the sink, you can’t use the sink for reference.
On the other hand, if you’re installing a new vessel or undermount sink, a wall-mount bathroom faucet can be an ideal complement. It extends from the wall just above the sink, with the spout three to four inches above the rim and about seven inches from the wall to provide clearance to wash your hands. That leaves the sink and countertop free of hardware.
Wall-Mounted Bathroom Faucet Pros and Cons
Pros
For style, Bumpus considers wall mounts most appropriate in bathrooms with contemporary designs. But they have utilitarian features that also benefit standard bathrooms.
- Space saver: It allows you to push the sink closer to the wall, so you can install a more compact vanity in a small bathroom.
- Design feature: Wall-mounts come in solid brass, stainless steel, or with a matte-black finish that can combine with a stylish backsplash to make a design statement. A widespread model with exposed pipes fits well in a bathroom with an antique motif.
- Utilitarian: As Clarke points out, wall mounts make it easier to keep the sink area clean. That’s big. They’re one of the best options for vessel sinks, eliminating the need for sometimes clumsy high-arc deck-mount faucets.
Cons
The main one we’ve already mentioned: Difficult installation. Because of this, Horwitz thinks homeowners should consider them only when undertaking remodeling or new construction.
- Can’t be installed everywhere: A wall mount won’t work if there’s a window behind the sink. Installation in an exterior wall may call for extra wall space to install insulation to keep the pipes from freezing.
- Difficult to replace: Removing an existing wall mount that’s leaking or no longer fits with an updated bathroom design is just as much work as installing one.
- Extra measurements required: Unlike a deck-mount faucet, the position of a wall mount needs careful planning. If you set it too low, there’s not enough room to use it. But if you set it too high, water will splash out of the sink every time.
How to Install a Wall-Mount Faucet
Tools and Materials
- 1/2-inch copper or PEX pipe;
- Soldering supplies or crimping tool and barbed fittings;
- Two shutoff valves;
- 2×4 blocking crossmember;
- Measuring tape;
- Torpedo level;
- Drill;
- Screws;
- Pipe straps.
Steps
- Run the water supply pipes. If you’re retrofitting an existing faucet, you can extend the stubouts for that faucet to the location of the new one. Otherwise, tee the supply lines into the nearest existing hot and cold water supply lines. Connect pipes and fittings with soldering supplies (for copper) or a crimping tool and barbed fittings (for PEX).
- Install shut-off valves. You need a shut-off valve for each supply line. Put them in an accessible location. Some plumbers prefer to locate them behind a panel in the room adjacent to the bathroom.
- Install the blocking crossmember. Modify the framing as needed to accommodate a 2×4 blocking crossmember at the height of the faucet. Level the crossmember with a torpedo level and screw it to the two studs on either side. Read the faucet installation instructions to determine how far behind the wall surface the crossmember needs to be.
- Mount the valve body. Screw the valve body to the block, using a torpedo level to level it. Measure the distance the pipes stub out beyond the wall and double-check with the manufacturer’s requirements.
- Connect the water. Finish installing the water lines and connect them to the valve body. Secure the pipes to the framing with pipe straps. Turn on the water and check for leaks.
- Finish the wall and install the faucet trim, according to the installation instructions.
About the Experts
Simone Bumpus is a design specialist for Kitchens by Good Guys in Scottsdale, Arizona.
Michael Clarke is the founder of the Pulled App.


