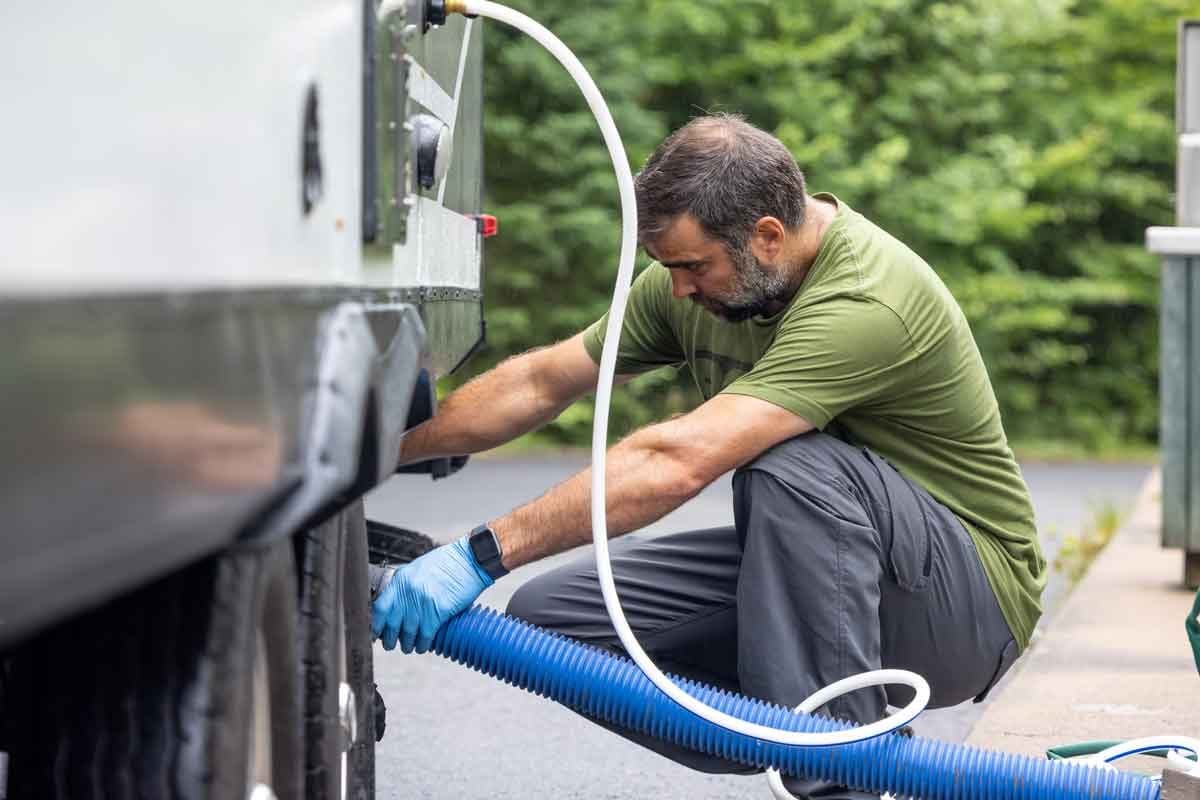
Whether you're new to RV travel or a veteran of many excursions, basic knowledge of how the on-board water tanks work helps ensure a pleasant trip.

RV Water Tanks: What To Know

When it comes to recreational vehicles, an on-board water system — including working sinks, a toilet and a shower — can make your travels a whole lot more comfortable. If you’re an RV owner or are thinking of purchasing or renting one, understanding how an RV water system work is important. RV water tanks are one of the main components.
Did you know RVs have three water storage tanks? Varying in size and location, RV water tanks are usually made of ABS or polyethylene plastic. There is one for fresh water, gray water (waste from sinks and showers) and black water (waste water from an RV toilet). Here’s what you need to know about these three types of water tanks and how they work in an RV.
On This Page
What Are the Different Types of RV Water Tanks?
Fresh Water Tank: Usually made of seamless polyethylene plastic, this is where your RV holds water for use in your sinks, toilet and shower. It is vital that you figure out your camping water filtration system before the adventure begins. Every time you stop at an RV-friendly campsite and hook your rig up to the water supply, the fresh water tank is where that water goes. From there, it flows through your RV’s water pipes to the sinks, shower and toilet. Fresh water tanks vary depending on the size and layout of the RV, but they generally hold anywhere from 20 to 100 gallons.
Note: If you’re shopping for a new RV fresh water tank, make sure the plastic is rated BPA-free.
Gray Water Tank: When water is demanded in your RV’s sinks or shower, it flows from the tap, then enters the drain. From there it’s collected in your RV’s gray water tank. Usually holding 50 gallons or so, gray water tanks are for sink and shower waste water only — never toilet water.
Black Water Tank: When you flush your toilet, the water is directed into a second holding tank called the black water tank. As with fresh and gray water tanks, black water tank sizes vary by vehicle, but most fall somewhere between a 40 and 70 gallon capacity. Toilet waste water is held in a separate tank because some places allow RV gray water to be dumped on the grass or in a designated dumping area. Black water can only be disposed of in a certified dump spot at an RV campground.
How Do You Empty and Maintain RV Water Tanks?
Emptying gray and black water RV tanks might sound gross, but it’s not so bad if you do it correctly.
Start by picking campsites with designated dump stations for gray and black water. Some RV water tanks have sensors that let you know when they’re approaching full, but don’t assume this is the case. Be prepared to empty your tanks at least once a week if you’re traveling with someone else, or as often as every other day if traveling with a group.
Park near your campsite’s dump station, making sure you have a sewer hose and gloves ready. Hook the sewer hose to the “black” valve on the RV first. Hook the other end to the corresponding valve at the dump station. Double check all connections, then pull the tank valve, let the tank drain until empty, then close valve. Disconnect the sewer hose, then repeat the process for the gray water tank.
Dumping the gray water tank last will wash the dirtier black water from your hose. Refill both tanks with clean water, then do a second dump to clean them. It’s also wise to dump sanitizing chemicals made for RV use down your drains and toilet after every dumping, to keep unwanted smells and bacterial growth at bay.
RV Water Tank Tips and Safety
- Always use single-ply toilet paper to prevent clogging.
- Always add water to the toilet before flushing to prevent blockages.
- Always sanitize the black water tank with chemicals after dumping.
- Clean the black water tank by putting a hose down the toilet to flush any build-up.
- Avoid putting food particles down the sink to prevent blockages in the drain pipes, gray water tank or hose.


