


If you're dealing with drainage issues on your property, installing a French drain might be the aesthetically pleasing solution you're looking for.

What Is a French Drain? What to Know

Updated Apr. 10, 2024
When I bought my first house and horse barn, the first heavy spring rain revealed significant drainage issues on the property. The rain and melting snow sent a river of water through the barn aisle.
I heavily researched drainage solutions and determined that a French drain was the best option for the property. Then I dug and installed one myself. The 40-foot drain worked and has redirected rainwater away from the barn.
If you’re experiencing a drainage problem on your property, a French drain might be the right solution for you, too.
On This Page
What Is a French Drain?
While you might think that the French drain originated in France, the name derives from its inventor, Henry Flagg French, a farmer from New England born in 1813. Fascinated by agriculture, in 1859 French wrote a book, “Farm Drainage,” highlighting the drainage systems in use at the time. French recommended a new drainage system he designed and called a cellar drain. Today, it’s known as the French drain.
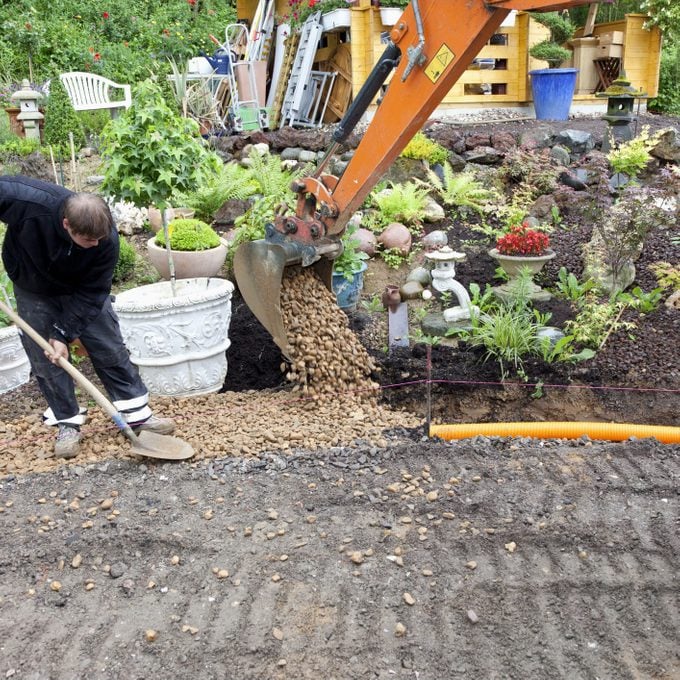
A French drain consists of an excavated trench with gravel sides and a perforated pipe to carry the water. Water runs down the gravel into the pipe, where it’s captured and directed away.
How Does a French Drain System Work?
A French drain collects surface water and groundwater, then uses gravity to redirect it into a more appropriate outlet, like a drainage basin or even low-lying area in another part of your property.
As the water level in the trench rises, water enters the drainpipe through perforations and is channeled away from the area. The pipe angles down, carrying water from the problem area to a more appropriate space.
Because French drains are filled with gravel and then covered with soil, the area over it remains accessible and usable. There are no open ditches or unsightly drains, so French drain systems are practical for yards and areas where you don’t want anything sticking out of the ground. A French drain is completely buried so your yard will look normal once it’s in.
How To Know if You Need a French Drain
French drains are a versatile, practical solution for many drainage issues, such as:
- An area where an open ditch isn’t practical or safe;
- Water jeopardizes the integrity of a retaining wall during and after heavy rains;
- Water is flowing toward a low-lying building, like a barn or shed;
- Water must be redirected away from the house foundation;
- Water is pooling in an area you want to keep dry, like a play area or garden.
Should You Hire a Professional?
There are plenty of reasons to consider hiring a professional to install a French drain:
- If you’re installing a long drain or if you’re digging through rocky soil. When I installed my drain, I ran into a boulder and had to re-route half the drain, extending it by 10 feet. A professional, working with a trencher, can better deal with any challenges than you can with a shovel.
- If you don’t want to deal with contacting call811.com to come and mark your underground utility lines — a necessity before you start digging — a pro installer will do that for you.
- By hiring a pro, you’ll avoid mistakes that could cost you time and money. Choosing the wrong pipe or failing to calculate the correct angle of the pipe could cause the drain to clog or back up with water. A professional who frequently installs French drains will ensure every step is done correctly, minimizing the chances of something going wrong and you having to dig up the drain in the future.
- Before you decide to install a French drain yourself, consider contacting a pro for a quote. Hiring a pro could save you time and ensure that the project goes smoothly.
Should You DIY?
You can install a French drain yourself, but be prepared for the labor-intensive nature of this project. Most of your time will be spent digging, but you can rent a trencher to make the job easier and faster. Filling the trench with gravel also takes time and strength. It’s easier if you can get a truck right up next to the trench to dump the gravel close by.
The exact cost of your project depends on the materials you use and the size of the drain. When I installed a 40-foot drain on my property, I used the EZ Drain Gravel-Free French Drain System. It’s more expensive than just pipe alone, but it’s wrapped with Poly-Rock and eliminates the need for additional gravel. That saved me money overall.
To determine your project cost, consider the types and amounts of materials required. You’ll need the following:
- Shovel;
- Ditch digger (optional rental);
- Spray paint or marking flags;
- Level;
- Drain pipe;
- Inlet grate;
- Outlet grate;
- Filter fabric;
- Drill;
- Gravel, or a French drain pipe with a gravel substitute.
Gravel may be the most expensive part of the project, depending on the costs and delivery options near you.
Check for Underground Utility Lines
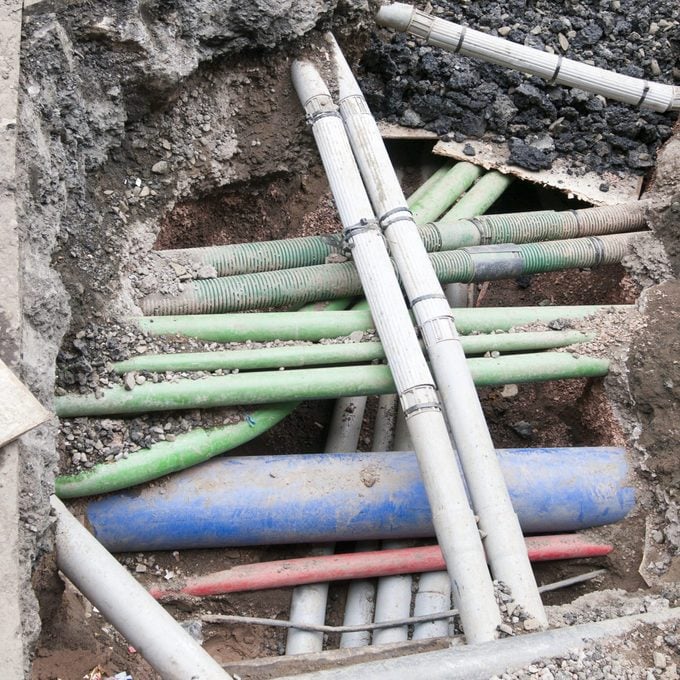
Before you dig, call 811 to have your underground utility lines marked. Hitting an underground line can be expensive, dangerous and even deadly.
When you call 811, your call will be routed to your local utility company. Explain that you’ll be digging in your yard and you need your utility lines marked. Your utility company will send someone out to identify the lines.
French Drain Installation
If you decide to install a French drain, these steps will guide you through the process:
- Plan your drain’s location, and look for an ideal area for the water to drain. To work properly, the drain needs to run from a higher to a lower elevation. Once you determine the location, mark it with spray paint or flags.
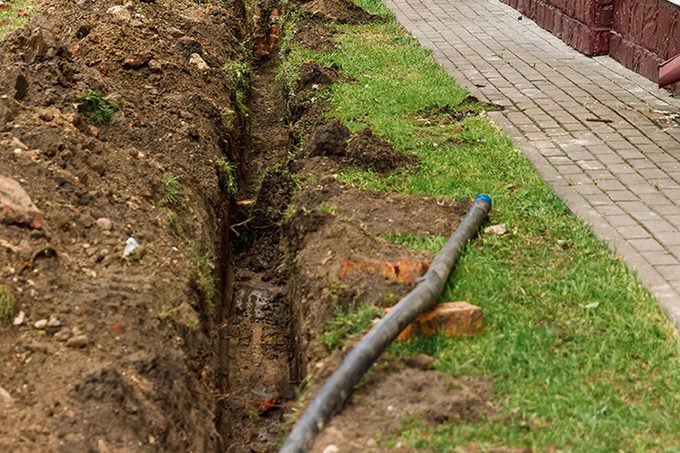
- Dig a trench about 18 inches deep where it begins. The drain pipe in this trench needs to slope by at least one percent to properly channel water, or one inch every 10 feet. I dug a sloped trench, but you can also dig deep enough so the pipe itself angles downward within the trench.
- Lay filter fabric inside the trench. You’ll wrap the pipe in this fabric to prevent dirt and silt from clogging it. Leave the top of the fabric open so you can cover the pipe.
- Pour about three inches of gravel into the bottom of the trench as the pipe’s base.
- Install an inlet grate at the beginning of the trench to help capture additional water.
- Attach the inlet grate to your first pipe length and set the pipe into the trench. If you’re working with non-perforated pipe, drill 1/4-inch drainage holes approximately every six inches. Set the pipe so the holes face downward.
- Pour water into the inlet grate and make sure that it flows out the outlet end of the pipe. If it doesn’t, you may need to regrade your trench.
- Attach the remaining pipe lengths and cover the pipes with the remaining filter fabric.
- You may want to leave the pipe uncovered until there’s a heavy rain to be sure water flows appropriately through the drain’s outlet.
- Cover the pipe with another two inches of gravel, then backfill the trench with soil.
If you’re working with a drain pipe and a gravel substitute, you don’t need to line the trench with gravel and add gravel on top of the pipe. You can likely just wrap the pipe and gravel substitute in filter fabric and backfill the trench. Refer to the instructions with the pipe you’re using.
Originally Published: September 23, 2021