
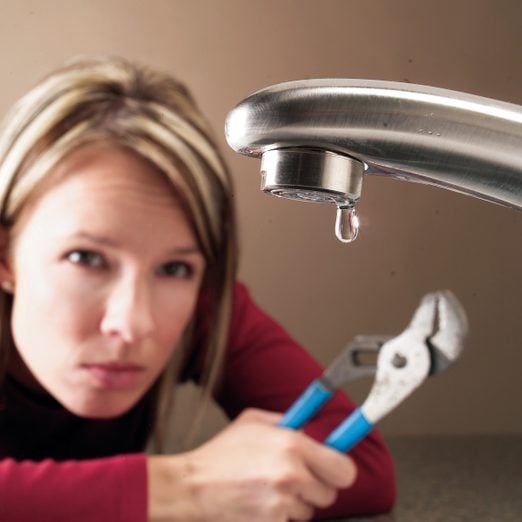
Quickly Replace a Leaky Faucet Cartridge
Updated: Dec. 22, 2023
Whether your faucet leaks from the spout or handles, you'll find it easy to repair with these tips for replacing a faucet cartridge.
An hour or less
Beginner
Less than $20
Introduction
We'll take the mystery out of cartridge-type faucets and show you how to fix them yourself. Regardless of where the faucet is leaking, you can make the DIY repair by following the steps in this story. It doesn't take any plumbing expertise, and it'll finally put an end to that annoying leak.Tools Required
- 4-in-1 screwdriver
- Adjustable wrench
- Allen wrench
- Pliers
Materials Required
- New seats
- New spring
- Plumber's putty
Quick Fix for a Leaky Faucet Cartridge
They sure don’t make ’em like they used to—and when it comes to faucets, it’s a good thing. In the old days, repairing a leaky faucet could be as simple as replacing a rubber washer, but more likely it involved struggling with corroded screws and stripped valve stems.
New faucets are easy to take apart, and replacement parts are readily available at most hardware stores, home centers and plumbing supply stores. Of course, there are still many different brands and styles, so it’s best to shut the water off, disassemble the faucet, and take the parts along to assure a perfect match. But even with all of those steps, it’s still fairly easy to replace a faucet cartridge.
Project step-by-step (3)
Remove the handles and retaining nut

Shut off the water to the sink. Remove the faucet handles. Most are held on by retaining screws under the caps on the top of the handles. Our handles were held on with small Allen screws located under the handle. Then unscrew the large nut that holds the faucet cartridge in.
If your faucet leaks from the spout, replace the seats and springs (Photos 1 – 3). If it continues to drip from the spout after replacing the seats and springs, replace the cartridge, too. If your faucet leaks around the handles, the O-rings on the cartridge are bad. Buy a new kit that includes a new cartridge and O-rings.
Choosing the right faucet can be a task. Check these tips for choosing the right sink faucets!
Remove the faucet cartridge and old seat

Pull straight up on the faucet cartridge to remove it. Use pliers if you have to, but be sure to protect the faucet cartridge with tape or a rag. In order to successfully replace the leaky faucet cartridge, be sure to note the orientation of the cartridge to the notches in the faucet. You need to reinstall it the same way. Remove the old seat and spring with a small screwdriver.
Install the new faucet cartridge

Drop the new spring into the recess and push the new seat in with your finger. Spread a thin layer of plumber’s grease around the cartridge. Push the faucet cartridge into the faucet, aligning it with the notches. Then tighten the large retaining nut with the wrench and replace the handles.
Kits containing faucet repair parts are readily available at hardware stores and home centers. We spent $3 for a set of seats and springs that fit both Delta and Peerless faucets. You’ll also need a small tube of plumber’s grease (Photo 3). Leaks usually develop on the hot side, but replace the seats on both hot and cold sides while you’re at it.